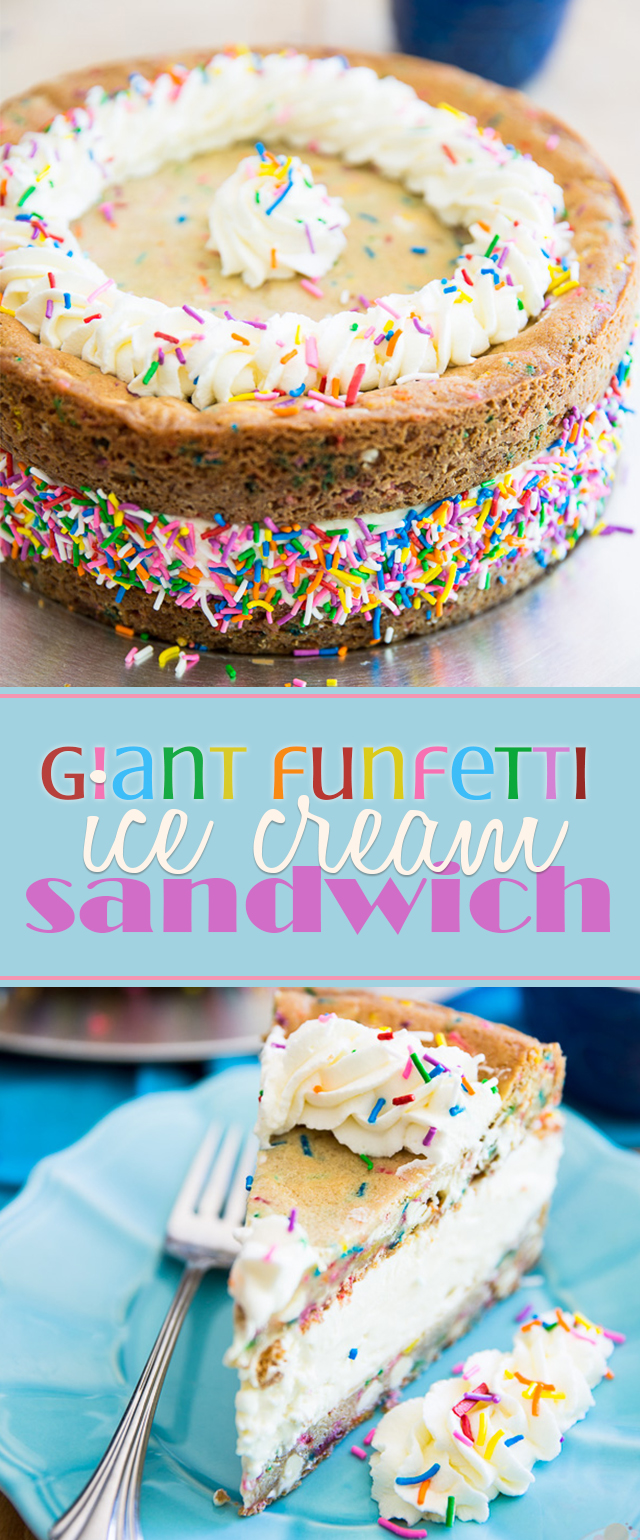
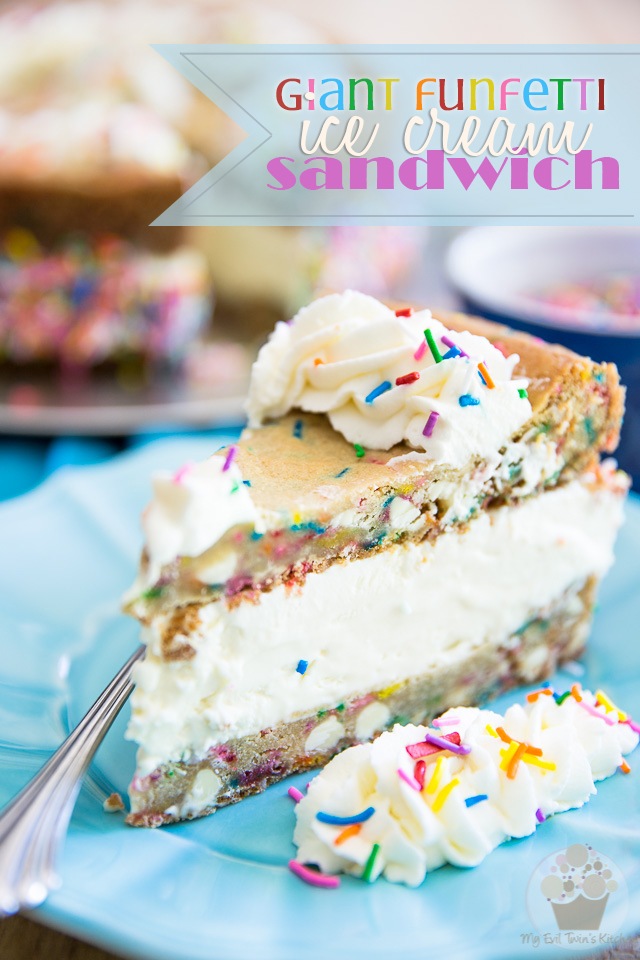
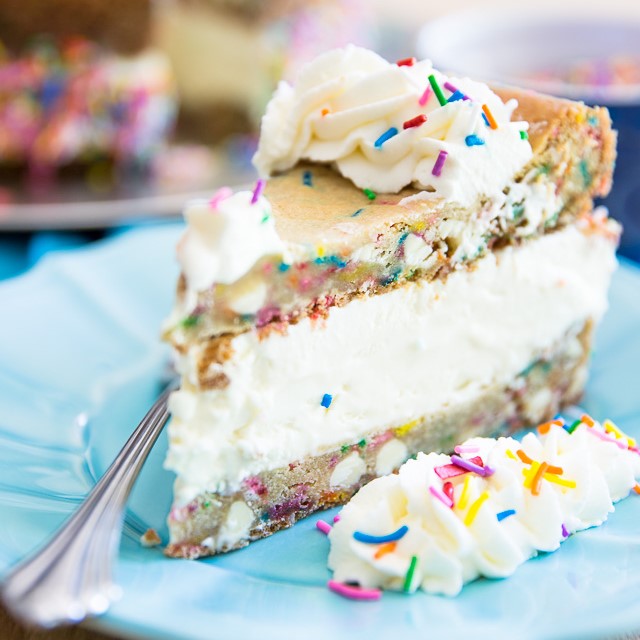
Turn a summer favorite into a real party with this White Chocolate Funfetti Giant Ice Cream Sandwich. Guaranteed to please the kid in you!
Do you own an ice cream churner? I do, but to be honest, it’s one of those kitchen gadgets that I barely ever use: I find the process of churning ice cream at home to be way too cumbersome.
First, you need to freeze the bucket for AT LEAST 24 hours before you can use it… that’s IF you can find enough space to actually fit the thing in your freezer (I mean seriously, who actually has room for this monster in their freezer?)
And then, the churning process in itself happens to be a real pain in the butt. At least with my churner it is: half the ice cream always ends up clinging to the sides of the frozen bucket like its life depended on it and I practically need a jack hammer to pry it loose.
As for the ice cream that I actually manage to retrieve from said bucket, it’s usually way too soft for my liking (I’m not a big fan of soft serve, you see), so I need to send it to the freezer to firm up some, but then it seems to get hard as a rock as soon as it spends a little more than a few hours in the freezer, so I need to leave it on the counter to soften up before I can eat it. And then it gets too soft for my liking… GAH!
Can you relate? Please, tell me that you can relate! Or maybe it’s just me that has no talent whatsoever when it comes to making ice cream…
But my life has just recently been made so much better. Like really, A MILLION TIMES BETTER! I discovered the wonders, the wizardry, the magnificence of no churn ice cream.
OH! THE DREAM!
Finally, I can make ice cream at home that has a nice, FIRM texture but that remains smooth, creamy AND scoopable even after spending a whole bunch of time (as in DAYS) in the freezer. Plus, I no longer need to free up 17 cubic feet of space in the freezer for that churning bucket… I still have to wait for the ice cream to set, but hey, that’s a small price to pay!
I get the feeling that I’ll be having loads of fun with that new discovery and will be coming up with all kinds of different flavors before summer is over. Seriously, this thing is so easy to make, it’s not even funny: just mix and whip a few ingredients together, send them to the freezer and wait for the magic to happen.

No churn ice cream is exactly what I needed to go in the center of this super fun White Chocolate Funfetti Giant Ice Cream Sandwich. When I first started imagining this super festive, summer treat, I had decided that I was going to make it with plain, boring, store-bought vanilla ice cream. Because, well… you know. Ice cream churner. But then, I wasn’t happy with that decision and started researching different avenues…
And that’s how I learned about no churn ice cream. The rest is history. This sinful carnivalesque frozen delight happened.
And it’s a good thing. A really good thing. Now you need to make it happen in your kitchen, too.
It’s sweet, really sweet, but it’s also rich, creamy chewy and soft, and refreshing, and festive, and delicious, and, and, and… so very addictive!
Best ice cream sandwich I ever had, that’s for sure!
STEP-BY-STEP INSTRUCTIONS & PICTURES
TO MAKE THE ICE CREAM LAYER
First, line a 9″ round cake pan with plastic film and set it aside. Make sure that you leave a little bit of excess film hang around the pan so you can use it later to pull the ice cream out of said pan.
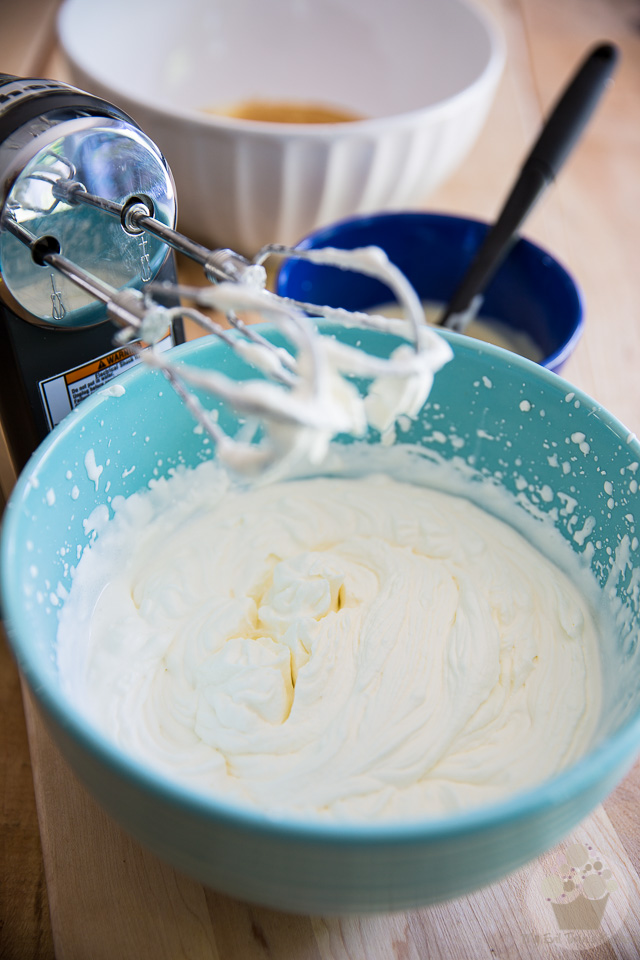
Next, whip the heavy cream to soft peaks and reserve.
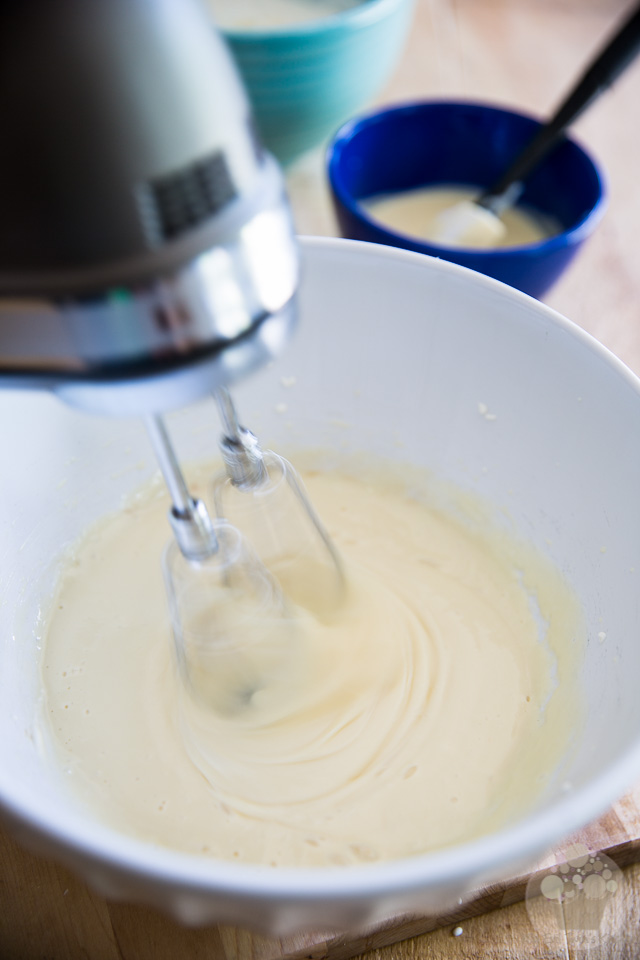
In a separate bowl, combine the sweetened condensed milk, cream cheese, vanilla extract and salt and beat with an electric mixer until well combined.
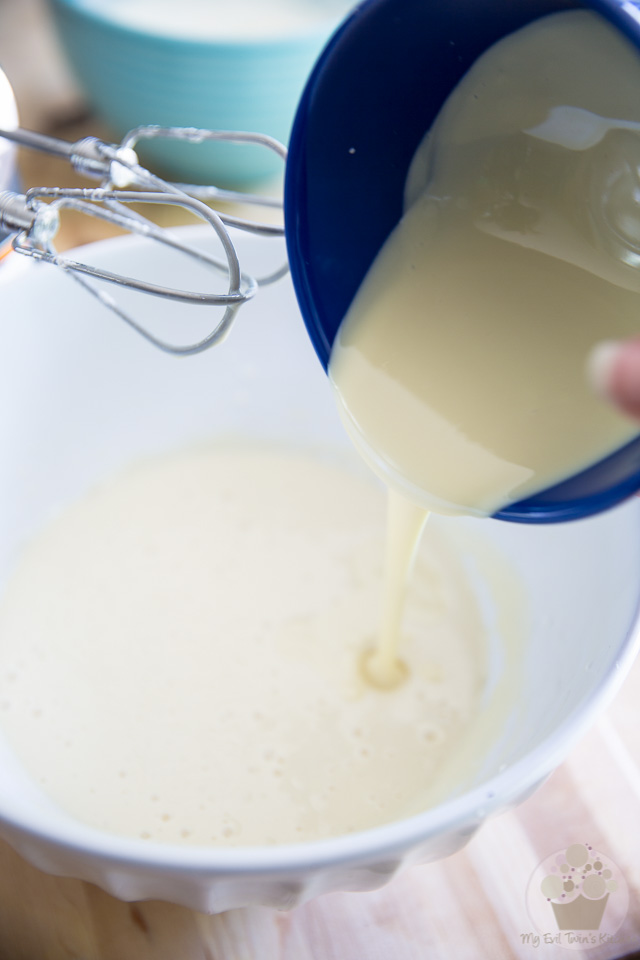
Pour in the melted white chocolate…
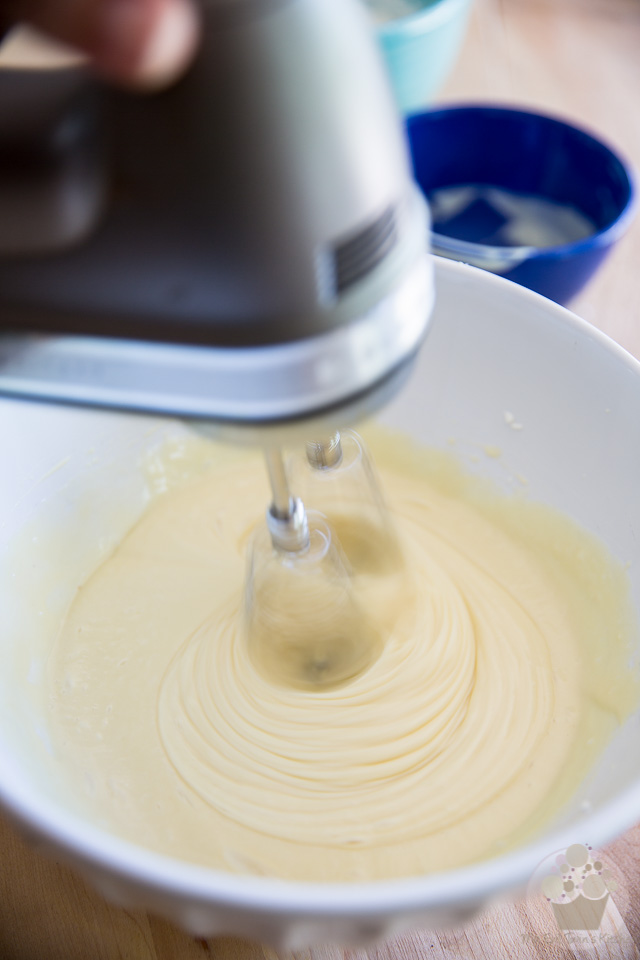
…and resume mixing until it’s well incorporated.
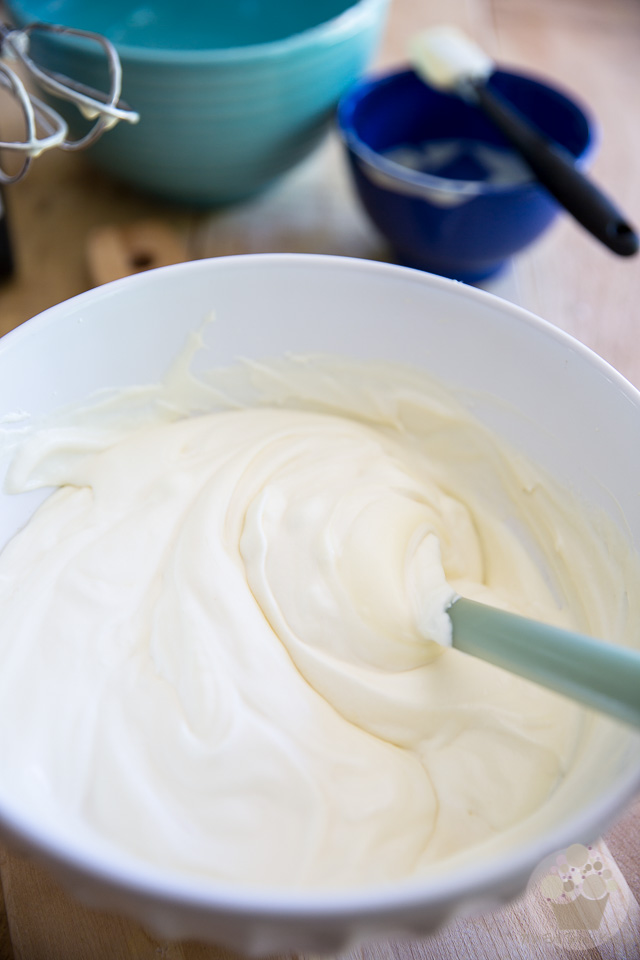
Very delicately fold in the whipped cream with a rubber spatula and mix until barely just combined.
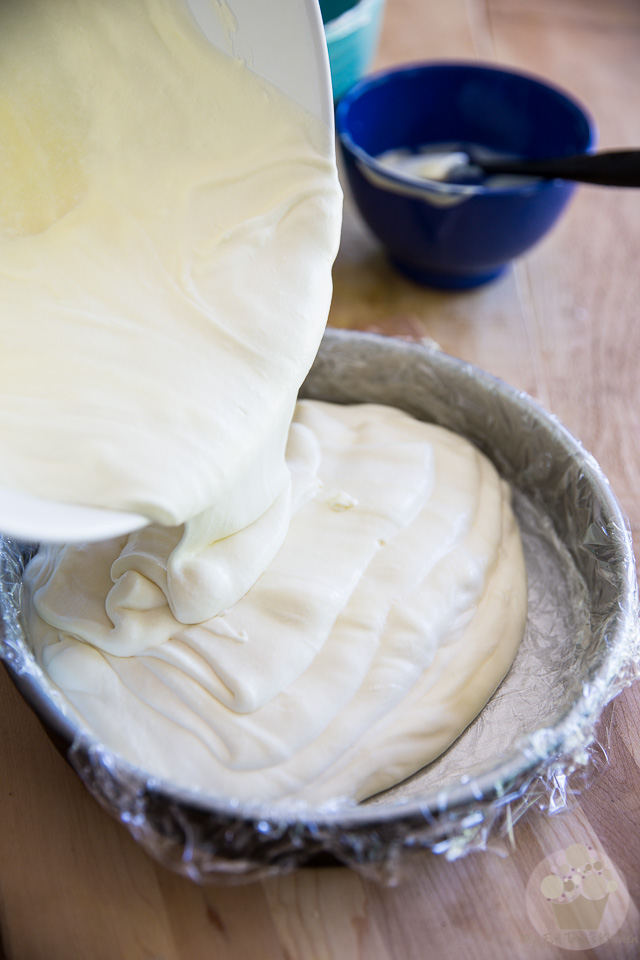
Pour the mixture into the prepared pan…
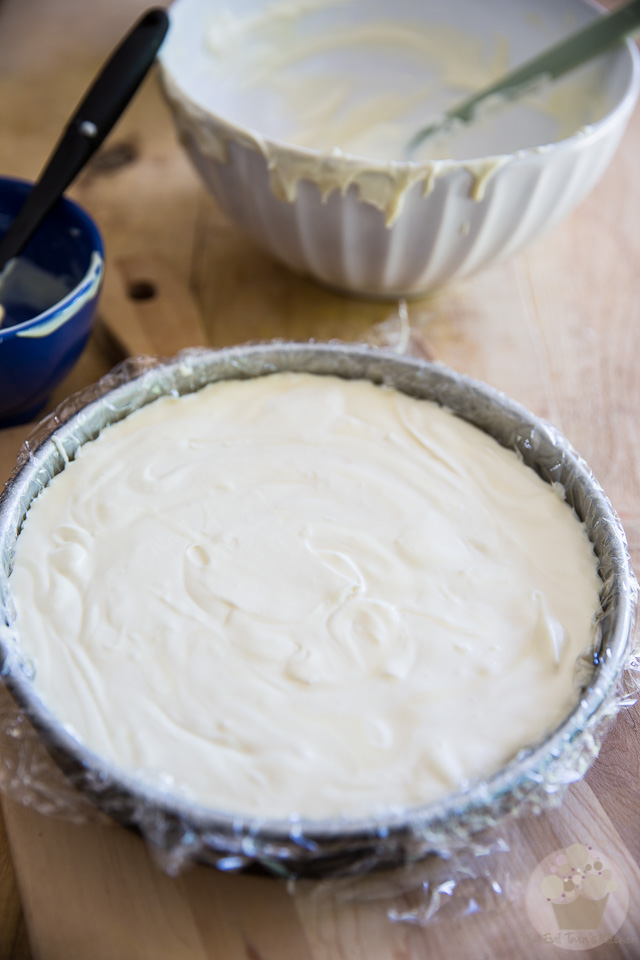
Now delicately spread the mixture evenly all the way to the edge of the pan and place it in the freezer for at least 6 hours, or preferably overnight.
That’s it! You won’t need to do anything else. No scraping, no mixing, and more importantly: no churning.
Yes, this is going to turn into the most deliciously smooth and creamy ice cream. Trust.
TO MAKE THE GIANT COOKIES
Now that the ice cream making is out of the way, it’s time to work on the giant cookies. You’ll want to make them right away, as they will need to chill completely before you can assemble your ice cream cake.
First, you’ll need to preheat the oven to 350°F; then, grease and flour two 9″ round cake pans. Hold each pan upside down and knock it gently against the counter a few times to remove any excess flour and set aside. Alternately, you could line the pans with parchment paper, if that was easier for you.
Next, combine the flour, corn starch, baking soda and salt together in a mixing bowl; mix well with a whisk until fully combined and reserve.
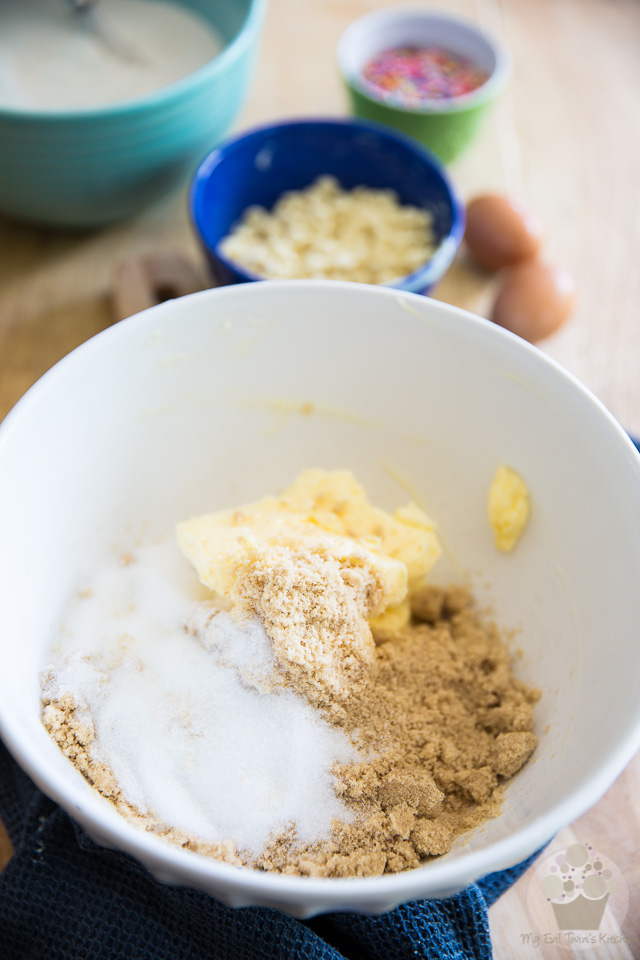
In a separate bowl, combine the butter, brown sugar and granulated sugar…
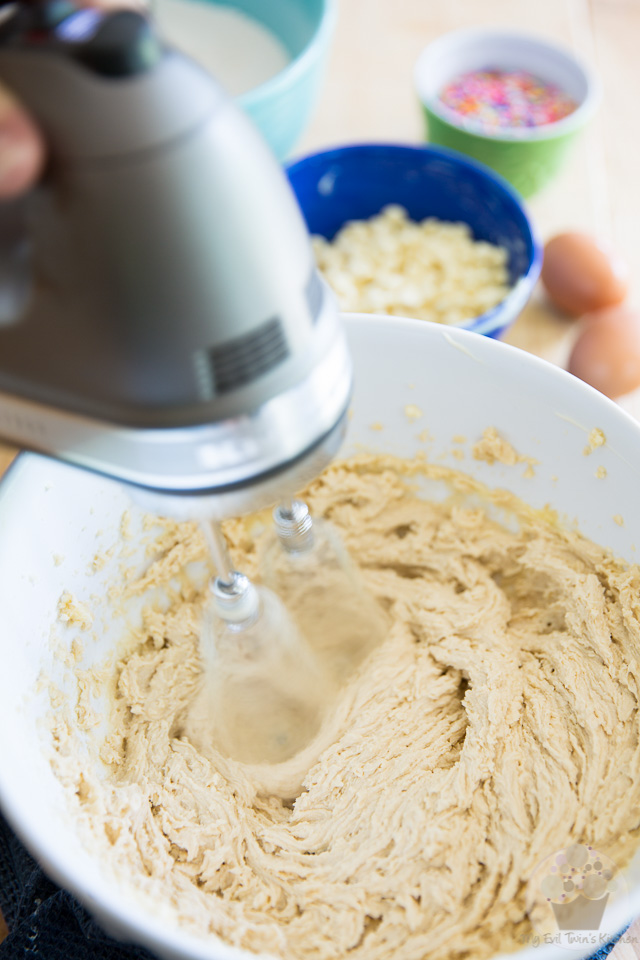
…and beat with an electric mixer on high speed until creamy.
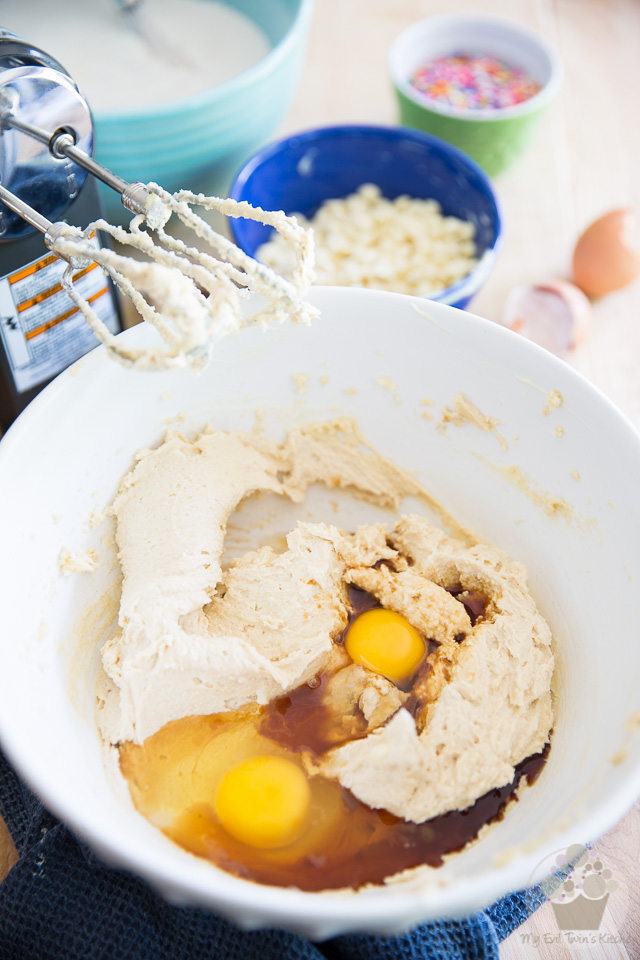
Add the eggs and vanilla extract…
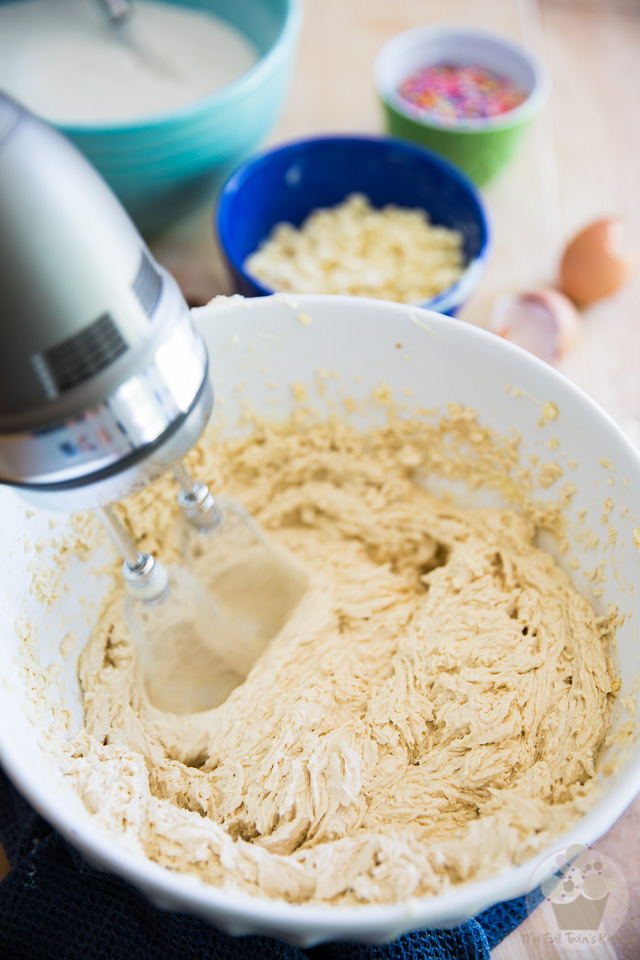
…and beat on high speed until light and fluffy, scraping the sides and bottom of the bowl as needed, about 1 minute.
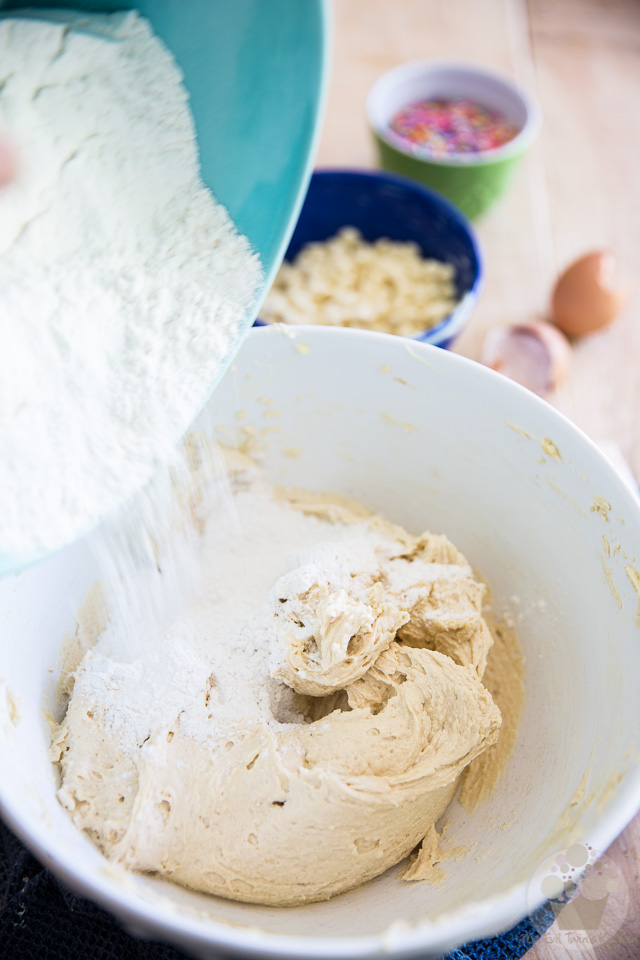
Add the dry ingredients, all at once…

… and mix them in on low speed until just incorporated, no more.
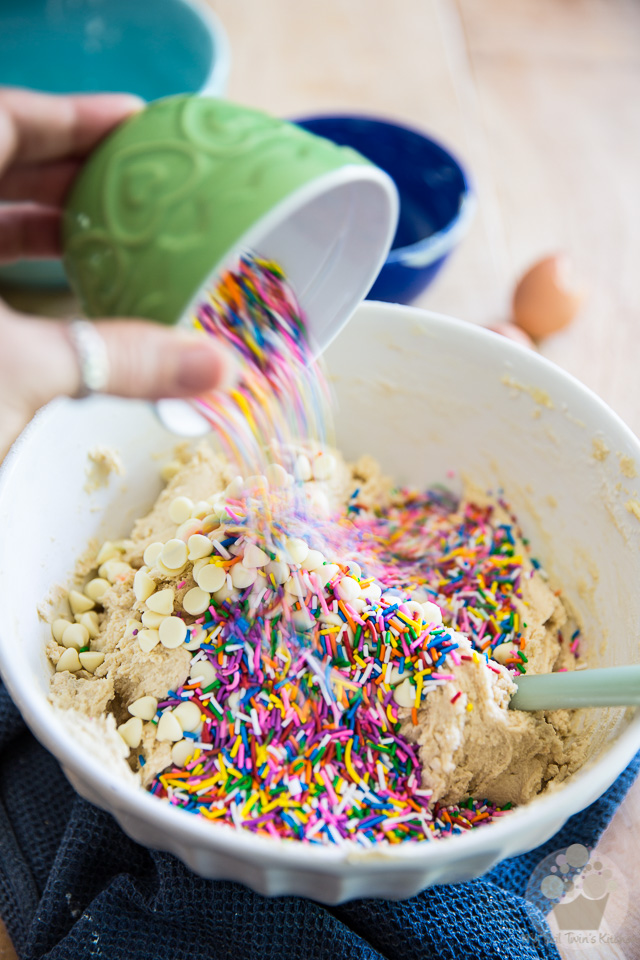
Throw in the white chocolate chips and rainbow sprinkles…

…and delicately mix them in with a wooden spoon or rubber spatula.

Divide the cookie dough equally between the prepared pans. You should be looking at about 775g (27.3oz) per pan.
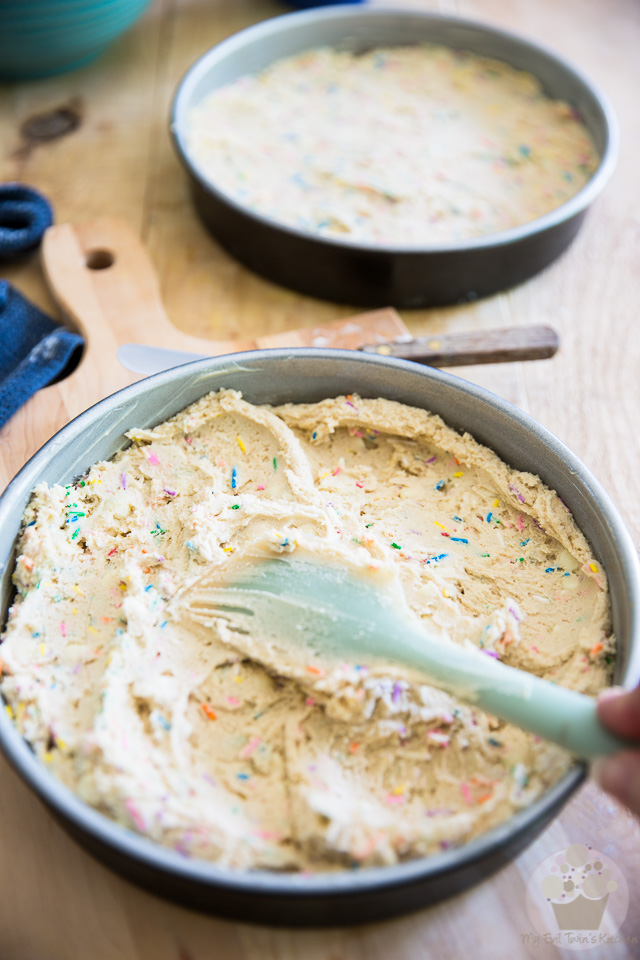
Spread the dough evenly all the way to the edge.
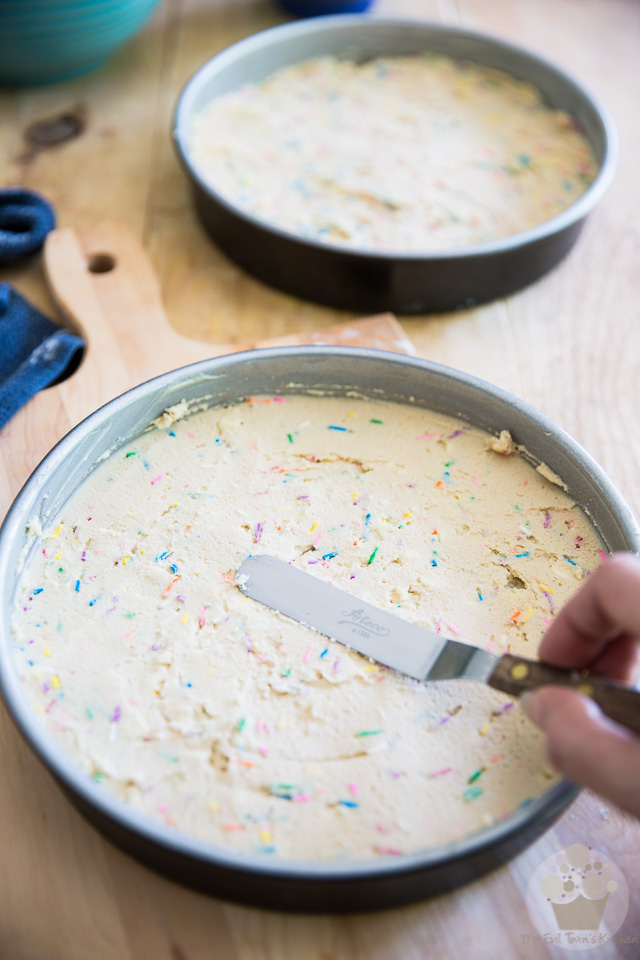
Unlike my ice cream churner, this small offset spatula is one of those kitchen tools that I would never part with…
If you happen to own one of those, now would be a great time to take it out. It does a tremendous job at smoothing out the top of the cookies, as it fits completely inside the pan.
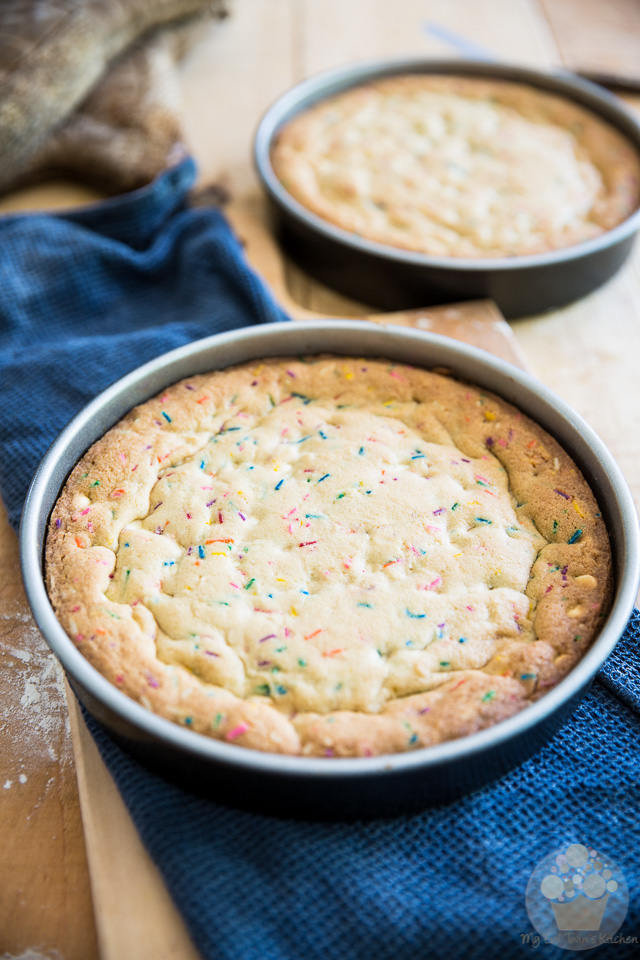
Bake the cookies for 20 to 22 minutes or until the edges take a beautiful golden coloration and the center appears to be set but still somewhat soft. The center will sink a little bit but don’t be alarmed; that’s perfectly normal.
Run a thin spatula (still got that cute little offset spatula handy?) around the edge of the cookies and let them cool in the pans for 20 to 25 minutes.
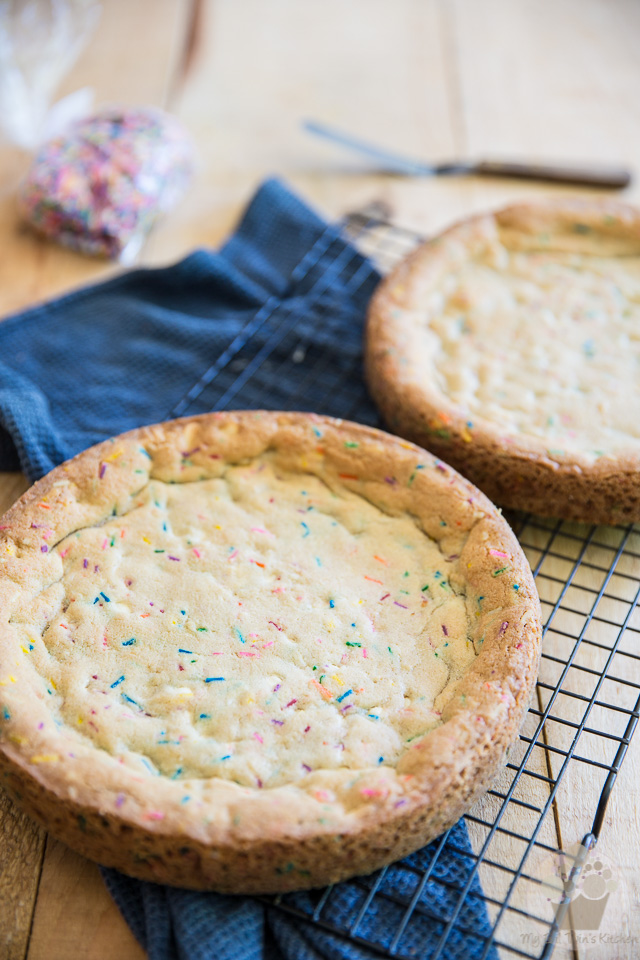
Next, VERY delicately transfer the cookies onto a cooling rack and allow them to cool for a few hours, then place them in the refrigerator to cool completely before assembling.
The cookies will still be very soft and fragile as you take them out of the pans, so make sure you give them ample support as you do it. To play it safe, you might want to invert them onto a plate and then reinvert them onto the cooling rack. Unless you have gigantic hands and fingers like mine that can really cover the entire surface of the cookies…
TO ASSEMBLE YOUR ICE CREAM SANDWICH
Once your ice cream has had ample time to set and your cookies plenty of time to chill, you can start assembling your giant ice cream sandwich.
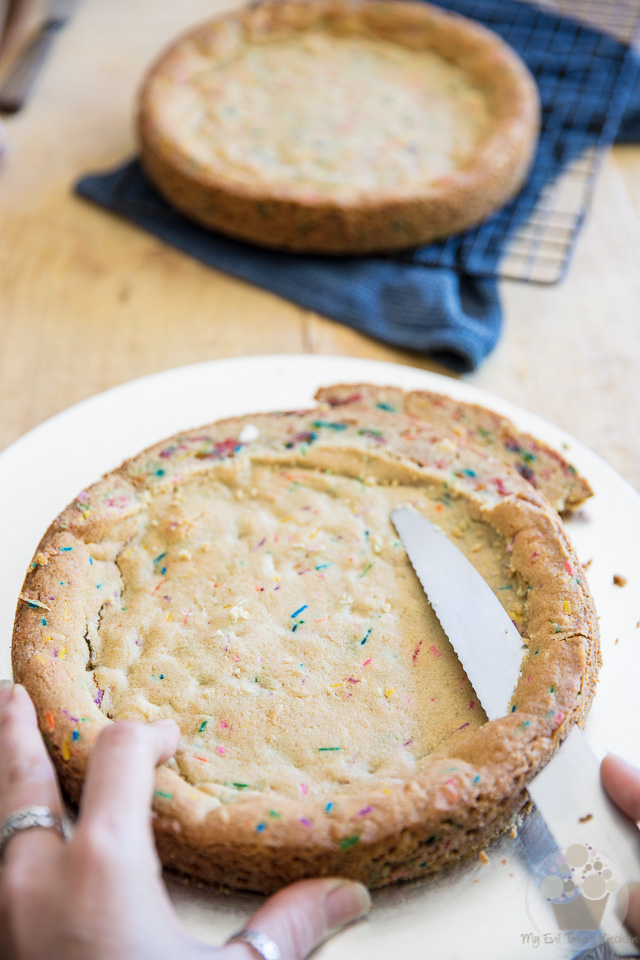
The first thing you need to do is take one of the giant cookies and trim the excess “crust” off the top with a serrated knife to level it out.
Of course you’re allowed munching on those trimmings! I’m pretty sure no one’s looking…
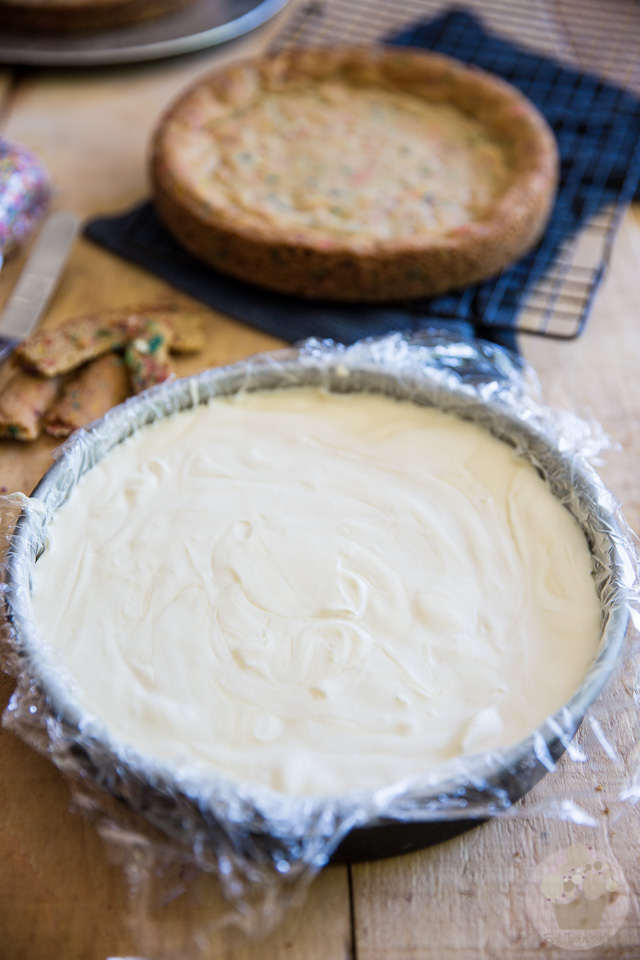
Remove the ice cream from the pan by pulling gently on the plastic film.
Keep that cake pan handy, though. We’ll be using it again in a sec…
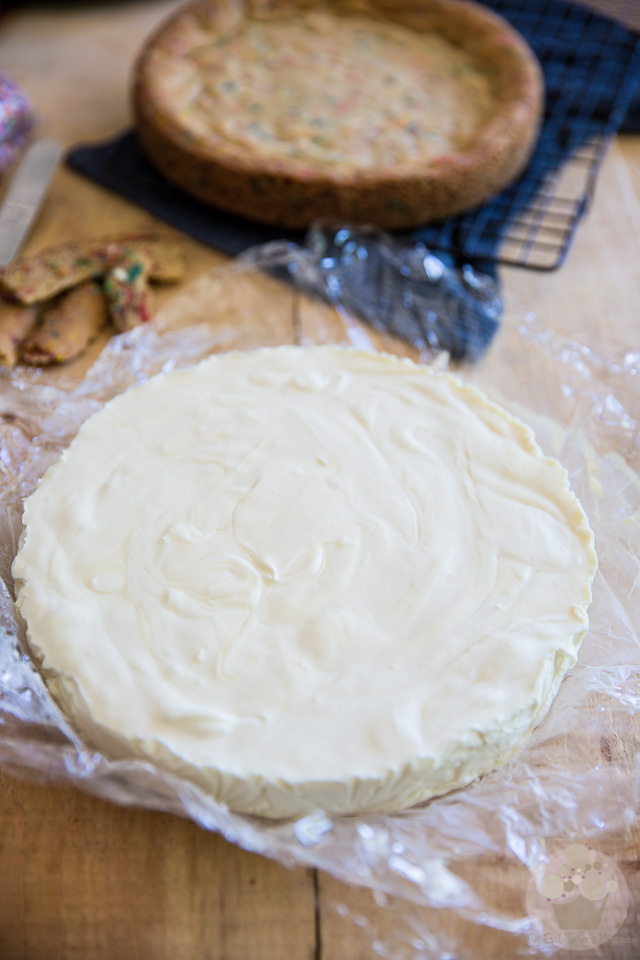
And leave the ice cream disc on the piece of plastic film…
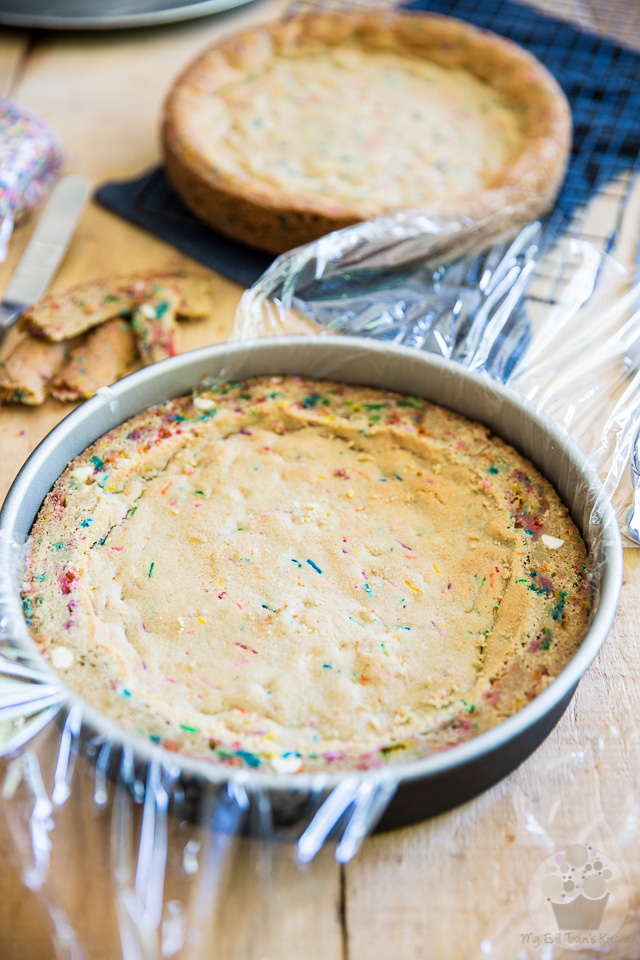
Line the cake pan with a fresh piece of plastic film and place the cookie that you just trimmed, cut site up, inside the pan.
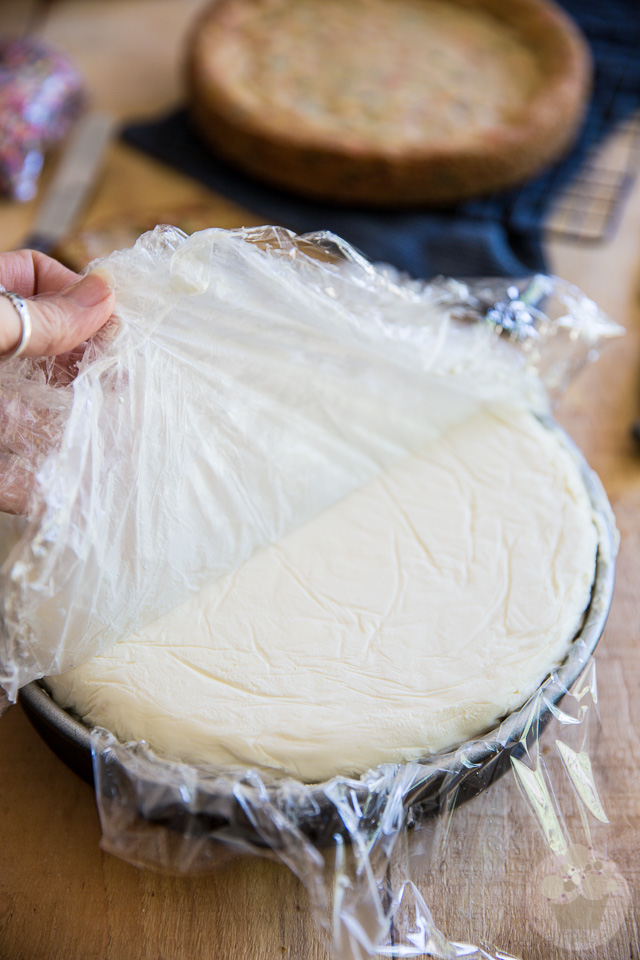
Invert the ice cream disc over that cookie, press it firmly in place and remove the plastic film that covers it.
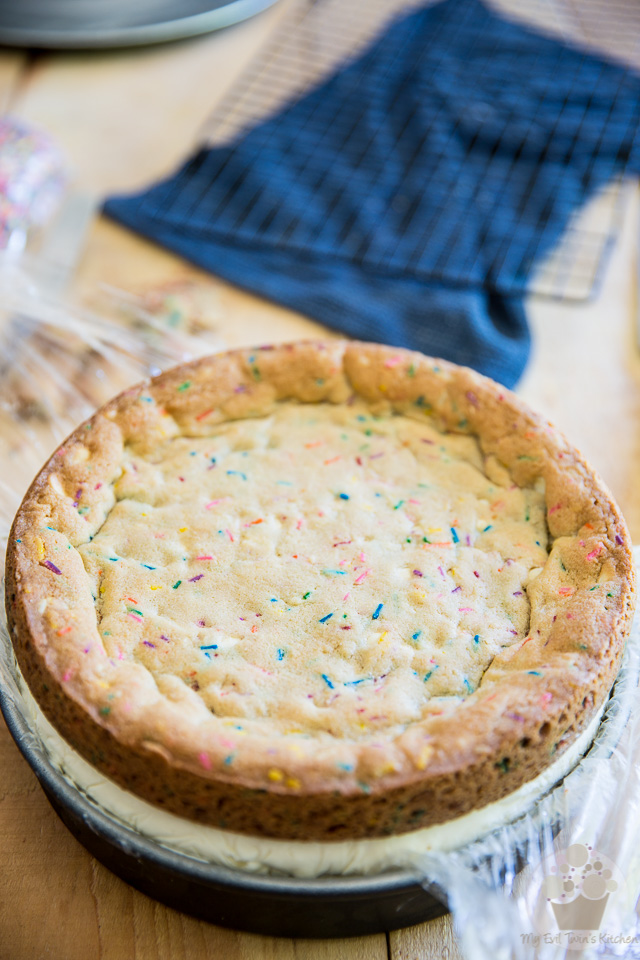
Place the second cookie over the ice cream, nice looking side up, and press it down firmly.
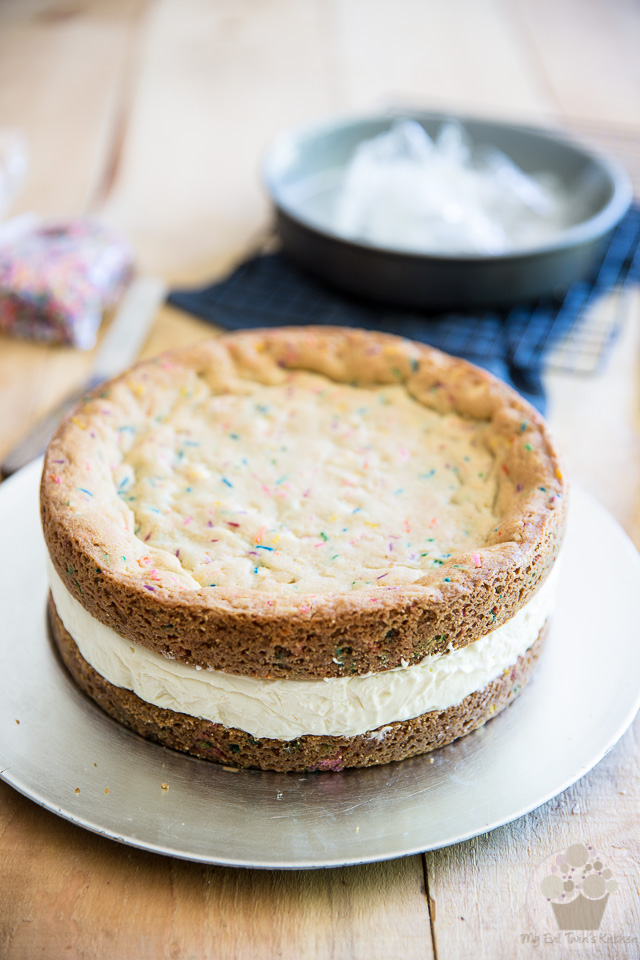
Remove the ice cream sandwich from the pan by pulling on the plastic film, or turn the cake upside down and lift the pan right up.

To decorate your giant ice cream sandwich, pick it up and hold it in your non-working hand. Then, with your other hand, press some rainbow sprinkles directly onto the ice cream, all around the cake.
Make sure to work over a large bowl or plate to catch all the candies that don’t adhere to the ice cream.
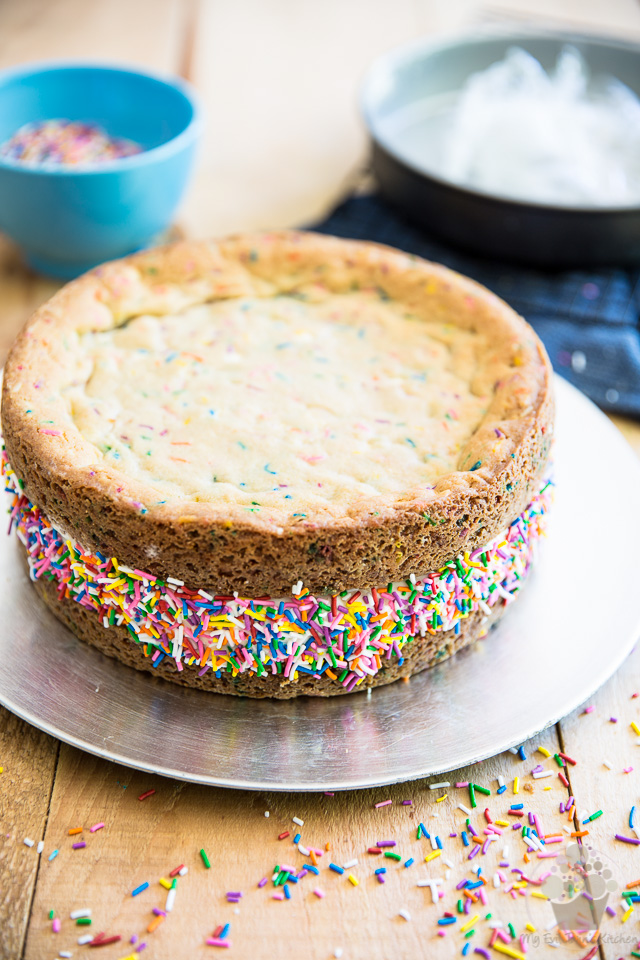
Now that’s what I call an ice cream sandwich!
You could very well stop right here, but why not kick things up another little notch and make this thing REALLY spectacular?
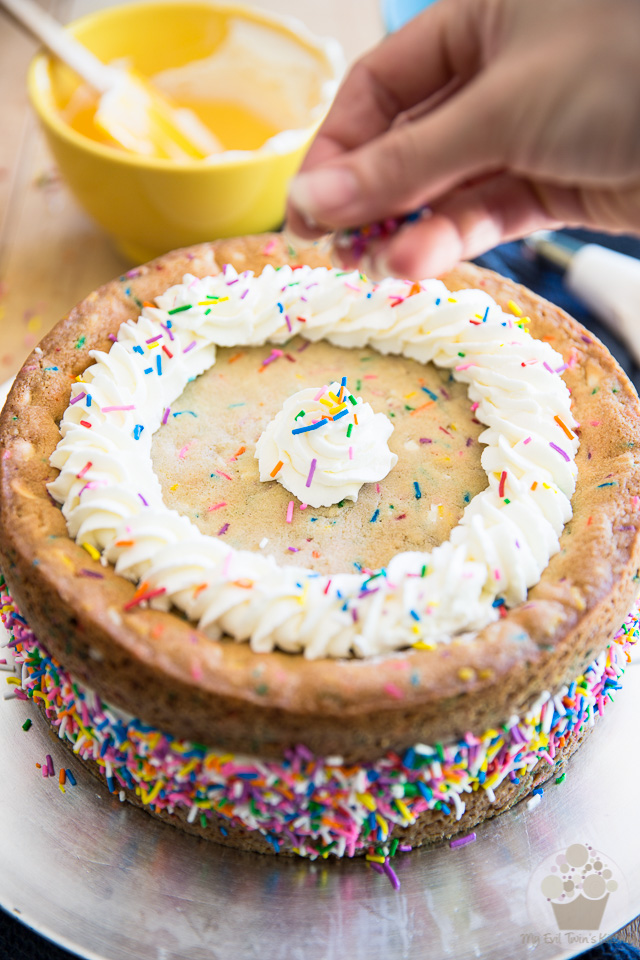
Make the whipped cream, stuff it into a 14″ pastry bag equipped with a medium open star tip and pipe a beautiful border all around the top of the cake, as well as a giant rosette right in the center. Then, sprinkle more rainbow jimmies over the cake.
I personally didn’t bother to sweeten my whipped cream because I found that, in its natural state, it offered a nice break from the overall sweetness of the cake. If you, however, prefer to add a bit of sugar to yours, feel free to throw in a few tablespoons of powdered sugar to the cream before you start whipping it.
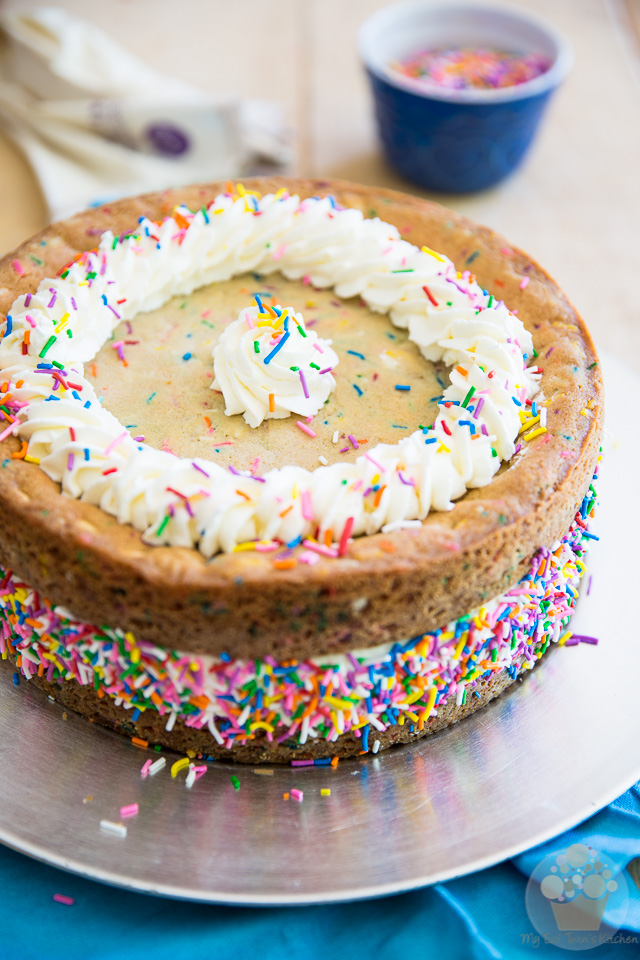
Your giant ice cream sandwich is now ready to be served! You could very well slice it up and serve it immediately or send it back to the freezer until ready to serve.
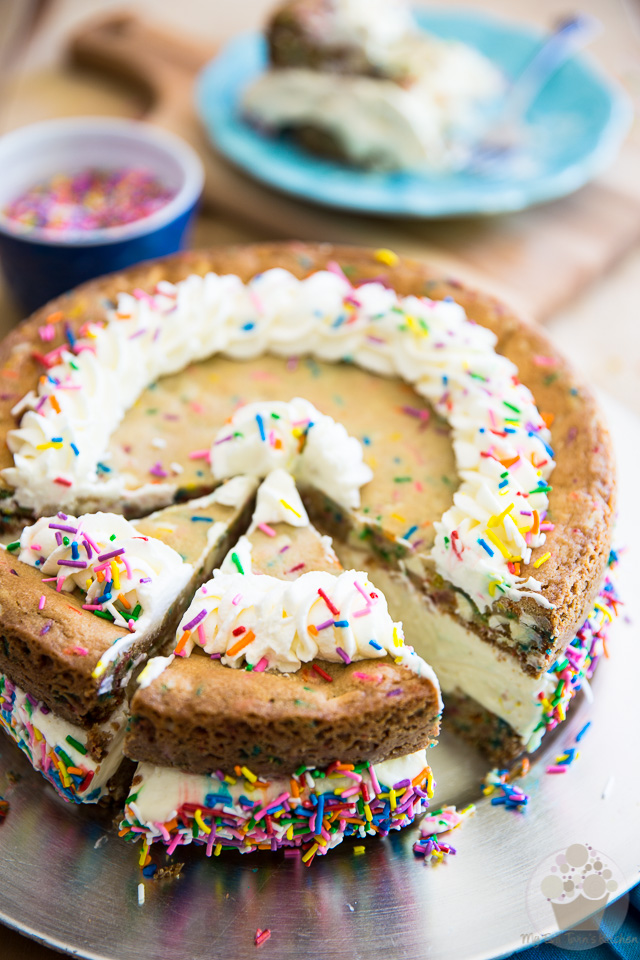
Don’t worry about the cookies or whipped cream getting too hard after spending a few hours (or even days) in the freezer; trust me, they will be just as good, if not better! However, the cake does get quite firm once it’s been completely frozen and as a result, can be a bit tricky to slice. For best results, I strongly suggest that you use a sharp chef knife dipped in hot water.
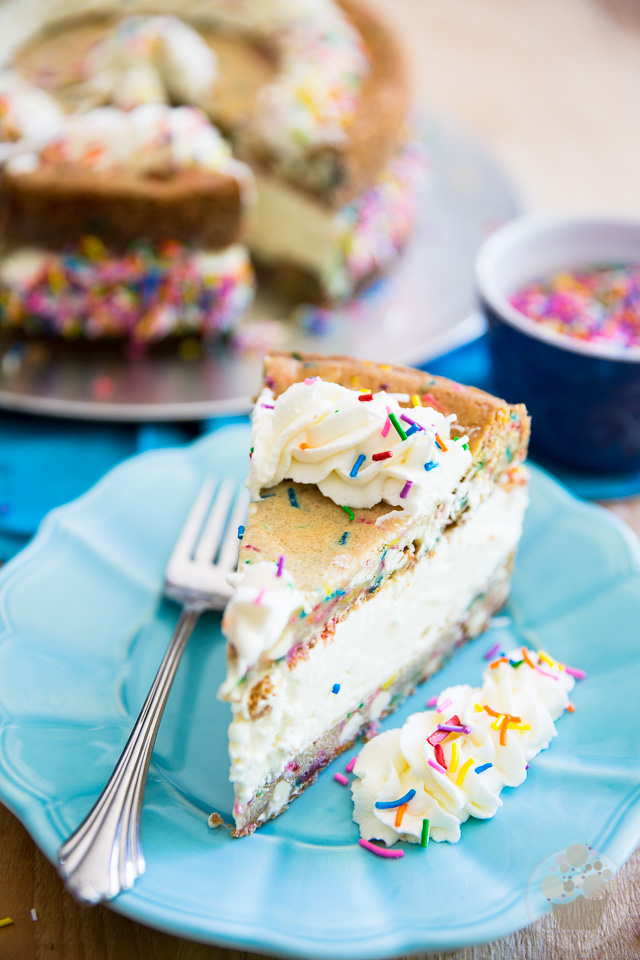
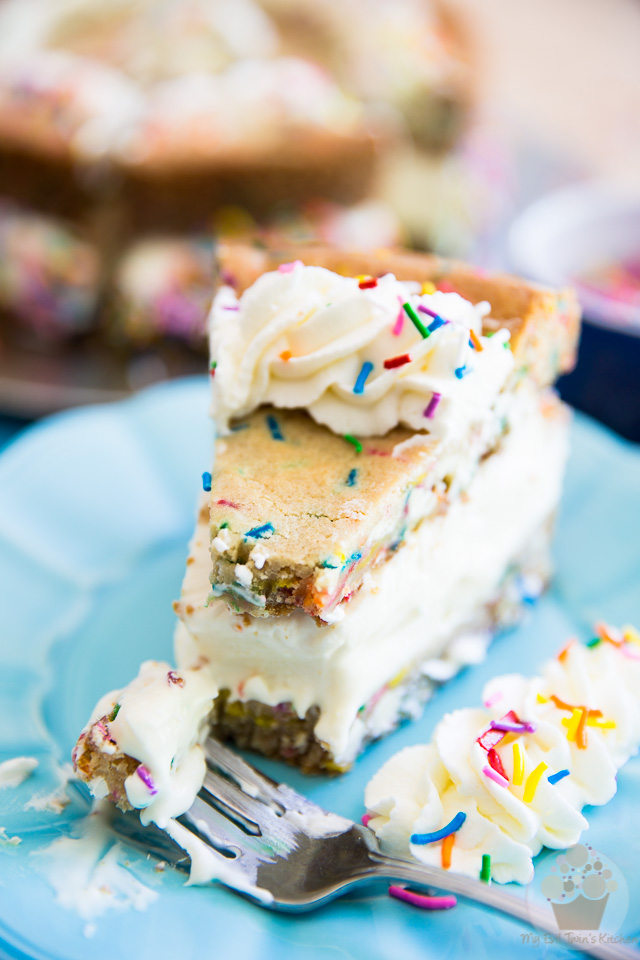
Likewise, it may be a little difficult to eat this cake with a fork, especially once it’s frozen solid. As you can see, I did give that option a try, but I can’t say I cared much for it. My favorite way of eating this cake has definitely been by holding it up in one hand while nibbling on it with my teeth!
And the best way to handle potential leftovers, in my opinion, is to slice and wrap them up as individual servings, so they’re ready to grab (in one hand) and enjoy, the very second a craving strikes!
After all, isn’t that how ice cream sandwiches are meant to be enjoyed?
Ingredients
- 2 cups (480ml) whipping cream
- 1 can (300ml | 14oz) sweetened condensed milk
- 1/2 package (115g | 4oz) cream cheese, softened
- 1 cup (170g | 6oz) finely chopped white chocolate, melted
- 1 tsp pure vanilla extract, (store-bought or homemade)
- 1/8 tsp salt (I use Himalayan salt)
- 3-1/2 cups (450g | 15.8oz) unbleached all-purpose flour
- 1/4 cup (28g | 1oz) corn starch
- 1 tbsp baking soda
- 1/2 tsp salt (I use Himalayan salt)
- 1-1/2 cup (360g | 12.7oz) butter, softened
- 1-1/2 cup packed (300g | 10.6oz) light brown sugar
- 1/3 cup (65g | 2.3oz) granulated sugar
- 2 large eggs
- 1 tbsp pure vanilla extract, (store-bought or homemade)
- 1-1/4 cup (215g | 7.5oz) white chocolate chips
- 3/4 cup (125g | 4.5oz) rainbow sprinkles
- 3/4 cup whipped cream
- 3/4 cup rainbow sprinkles
Instructions
- Line a 9" round cake pan with plastic film and set aside.
- Whip the heavy cream to soft peaks and reserve.
- Combine the sweetened condensed milk, cream cheese, vanilla extract and salt in a large mixing bowl and beat with an electric mixer until well combined. Pour in the melted white chocolate and resume mixing until well incorporated.
- Very delicately fold in the whipped cream with a rubber spatula, mix until barely just combined.
- Pour the mixture into the prepared pan, spread evenly all the way to the edge and place in the freezer for at least 6 hours or preferably overnight.
- Preheat the oven to 350°F; grease and flour two 9" round cake pans. Hold each pan upside down and knock it gently against the counter a few times to remove any excess flour. Set aside.
- Combine the flour, corn starch, baking soda and salt together in a mixing bowl; mix well with a whisk until fully combined.
- In a separate bowl, combine the butter, brown sugar and granulated sugar and beat with an electric mixer on high speed until creamy; add eggs and vanilla extract and beat on high speed until fluffy, scraping the sides and bottom of the bowl as needed, about 1 minute.
- Add the dry ingredients and mix on low speed until just incorporated, no more.
- Delicately mix in the rainbow sprinkles and white chocolate chips with a wooden spoon or rubber spatula
- Divide the cookie batter equally between the prepared pans and spread evenly all the way to the edge.
- Bake for 20 to 22 minutes, until the edges take a beautiful golden coloration and the center appears set but soft. The center will sink a little bit, that's perfectly normal.
- Run a thin spatula or knife around the edge of the pans and let the cookies cool in the pans for 20 to 25 minutes. Next, delicately transfer the cookies onto a cooling rack and allow them to cool for a few hours, then place them in the refrigerator to cool completely before assembling.
- Take one of the giant cookies and trim the top with a serrated knife to level it out.
- Remove the ice cream from the pan by pulling gently on the plastic film. Reserve.
- Line the pan with a fresh piece of plastic film and place the cookie that you just trimmed, cut site up, in the pan.
- Flip the ice cream center over that cookie, press it firmly in place and remove the plastic film that covers it. Place the second cookie over the ice cream, nice looking side up, and press it down firmly.
- Remove the ice cream sandwich from the pan by pulling on the plastic film. You could also turn the cake upside down and lift the pan right up.
- To decorate your ice cream sandwich, pick it up and hold it in your non-working hand. Then, with your other hand, press some rainbow sprinkles directly on the ice cream, all around the cake. Make sure to work over a large bowl or plate to catch all the candies that don’t adhere to the cake.
- Next, put the whipped cream into a 14" pastry bag equipped with a medium open star tip and pipe a beautiful border all around the top of the cake, as well as a giant rosette right in the center, and then sprinkle more rainbow jimmies over the cake.
- Serve immediately or send back to the freezer until ready to serve.
- This cake gets quite firm after freezing and as a result, can be a bit tricky to slice. For best results, use a sharp chef knife dipped in hot water.
Wow. This. Is. Incredible!! So adorable and so perfect for a summer birthday or family get together! Can’t wait to impress everyone with one of these!!
Thank you Karly! I can only hope that you get equally impressed should you ever decide to give it a go! 🙂
Awww yeah! You know me and white chocolate 😉 and my nickname is Cookie Monster, sooooo I’ll be there soon lol
That’s Cookie Monster’s dream come true! I say it should be to your liking! 🙂
O yes I can definitely relate to the icecream trouble. I did try a real icecream maker and that is all the difference but those things are sooo expensive! Now this looks kinda perfect to me. O and Sonia: I just discovered your evil twin.. Lol… Too funny!
Haha! Really? How did you find me?
And I totally agree: commercial ice cream makers are a real dream to use (although a true pain to clean) and have absolutely nothing to do with the ones we use at home, but they will cost you an arm and a leg, on top of taking up way too much kitchen space. I say no churn is the way to go for me now! 🙂
Dear Sonia, your recipes always amazes me, I will try this for my boyfriend since he’s a white chocolate lover, I also want to add a cane of diced delche to the ice ream what do you think?
That could work. I would simply mix it in at the very end, like I did here: https://eviltwin.kitchen/no-churn-dulce-de-leche-ice-cream/