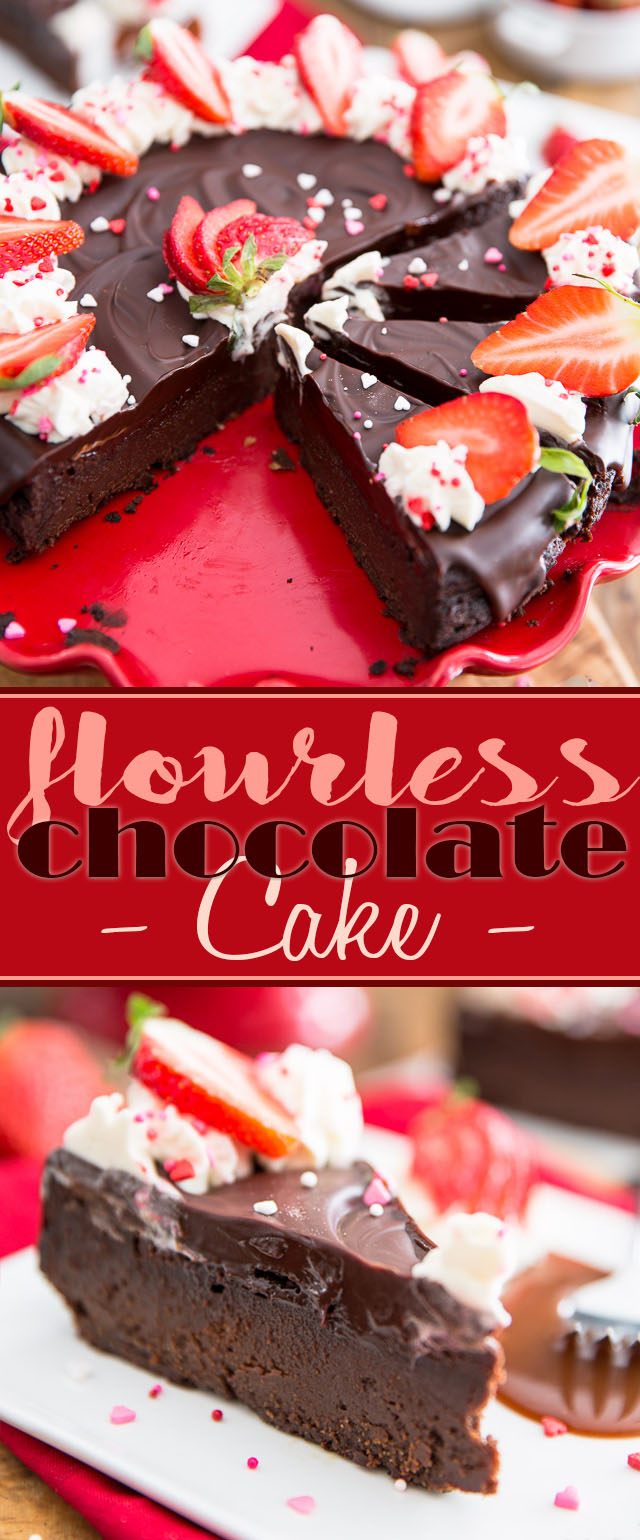
So rich, dense, creamy and decadent, this Flourless Chocolate Cake is what every true chocolate lovers’ dreams are made of!
I’ve been making this Flourless Chocolate Cake ever since I was in my early twenties. Well, a version of it anyway… over the years, it’s evolved quite a lot and has become even more devilish than it was back then.
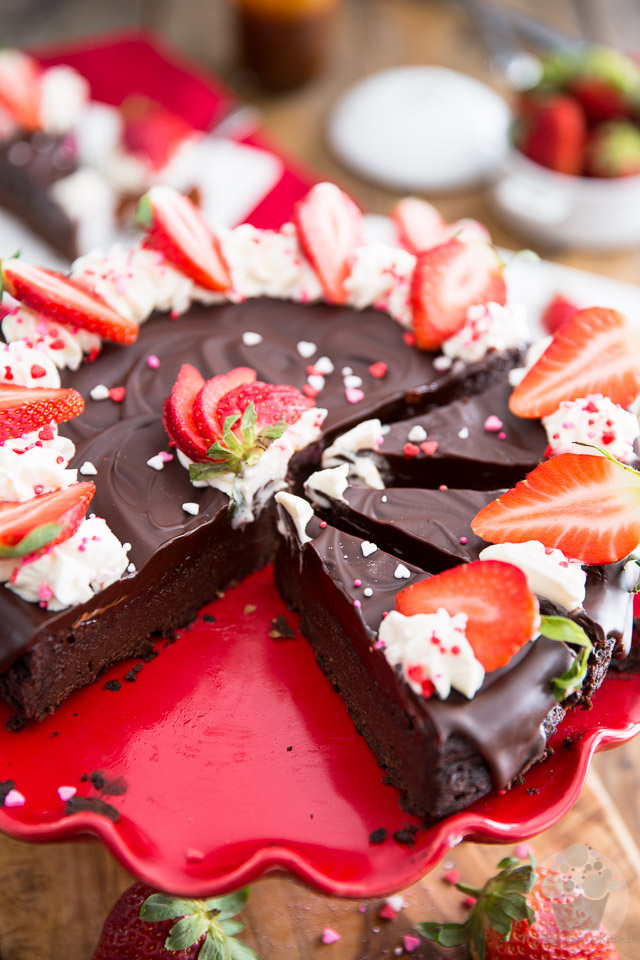
This cake is so rich, so dense, so crazy creamy and decadent, it’s definitely what every true chocolate lovers’ dreams are made of!
Really, it’s almost like a cross between a fudgy brownie and a piece of the silkiest chocolate fudge you’ve ever eaten.
One quick look at the ingredient list and you’ll know that this is not what you could call a skinny dessert! You’re talking one full pound of chocolate, close to a pound of butter, half a dozen eggs, loads of heavy cream, sugar… and that’s only for the batter. We haven’t even looked at the icing just yet!
This is without the shadow of a doubt an indugent dessert that you want to save for special occasions. Like I don’t know… Valentine’s Day, perhaps?
The very best part about this cake is that it really isn’t all that hard to make.
I know I’ve included A LOT of pictures, but they’re mainly for “voyeurism” purposes.
Just make sure you don’t look at them for too long, though. With a cake this wickedly rich, I wouldn’t be surprised if it were possible to gain weight by looking at the pictures alone!
All joking aside, though, if you or someone you know is a true lover of all things chocolate, then you owe it to them, or to yourself, to make this cake if only just once in your life.
It’s a treat they’ll remember you by for a very long time!
Or that you yourself won’t soon forget…
STEP-BY-STEP INSTRUCTIONS & PICTURES
MAKE THE CAKE
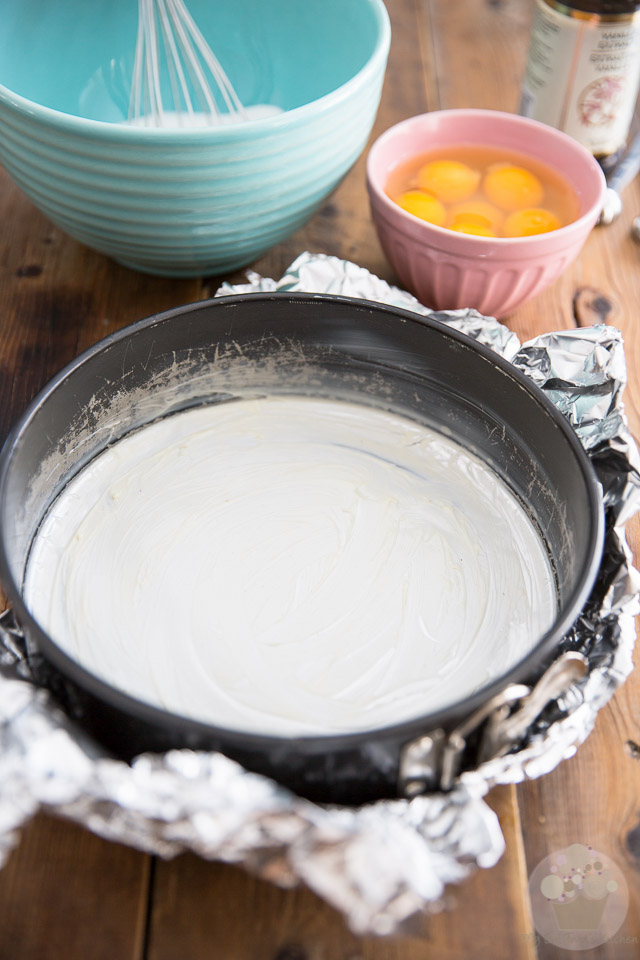
Preheat oven to 370°F; Line the bottom part of a 9″ springform pan with aluminum foil and fold the edges under it. Assemble pan by putting rim in place, then bring aluminum foil up around the walls of the pan. Grease the bottom with butter and set aside.
In a large mixing bowl, combine the finely chopped chocolate, butter and heavy cream and place that in the microwave on high for 1 minute. Allow to rest for 1 full minute and then stir for 1 minute.
If there are still lumps of unmelted chocolate left after that, which I’m pretty sure there will, repeat the process but for only 30 seconds this time…
Continue repeating this process until the chocolate is completely melted, and the mixture is fully smooth and combined without feeling hot to the touch. Set aside.
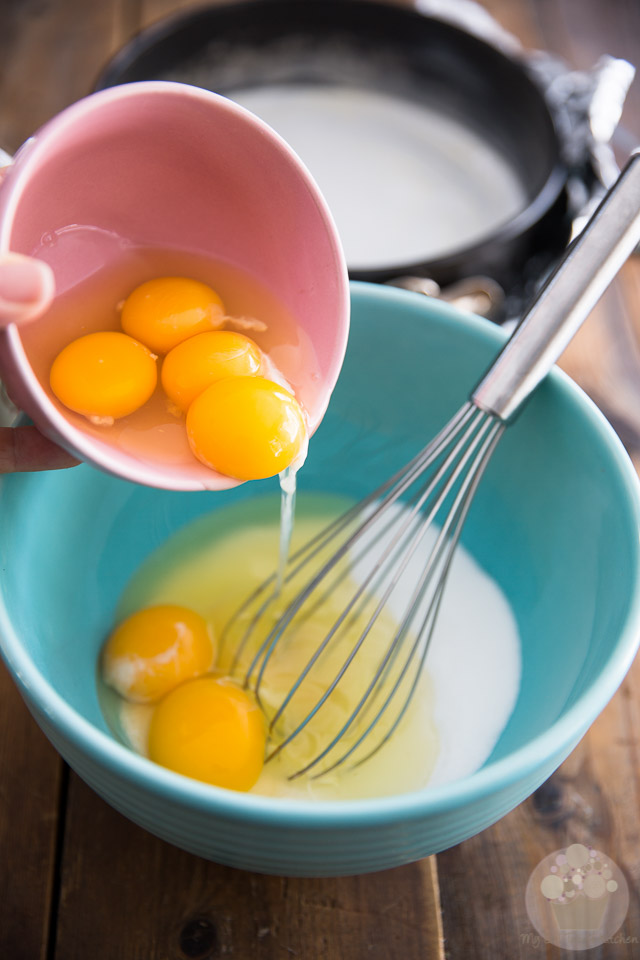
In a separate mixing bowl, combine the eggs, sugar and vanilla…
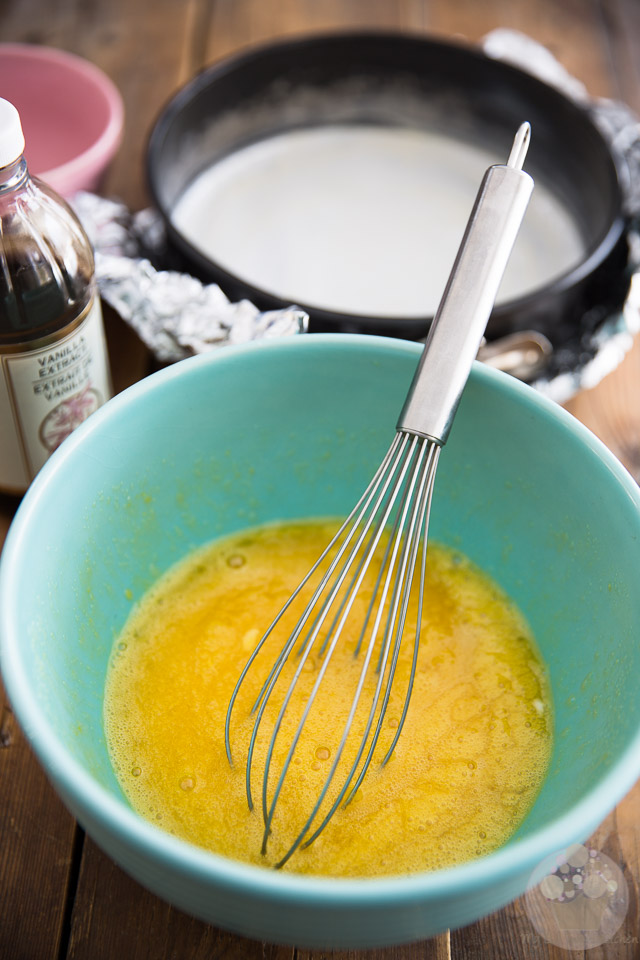
Mix delicately with a whisk until the sugar is well incorporated and the eggs are slightly foamy.
Don’t overdo things here, you don’t want to go incorporating a whole bunch of air into the eggs.
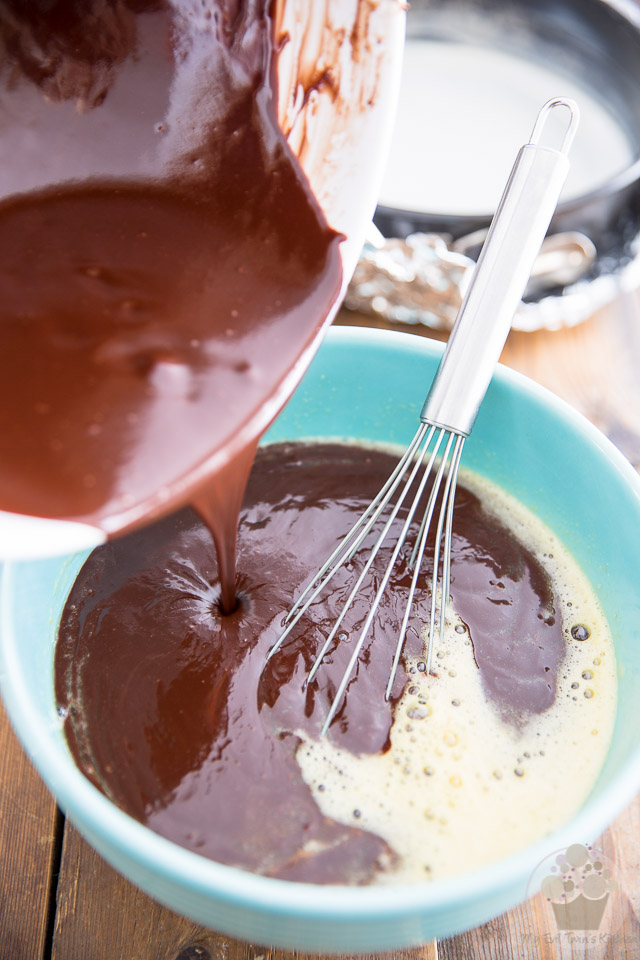
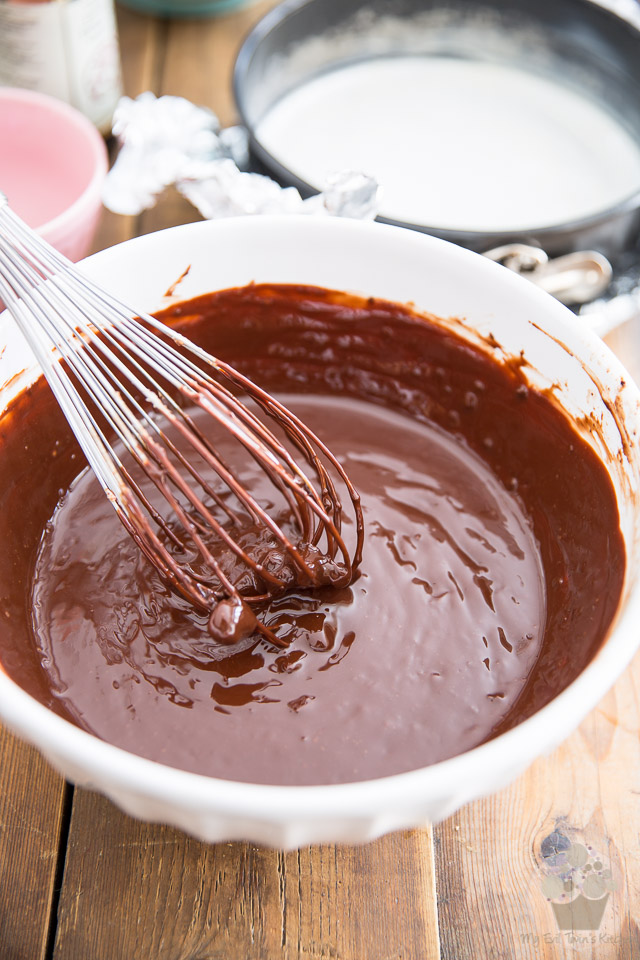
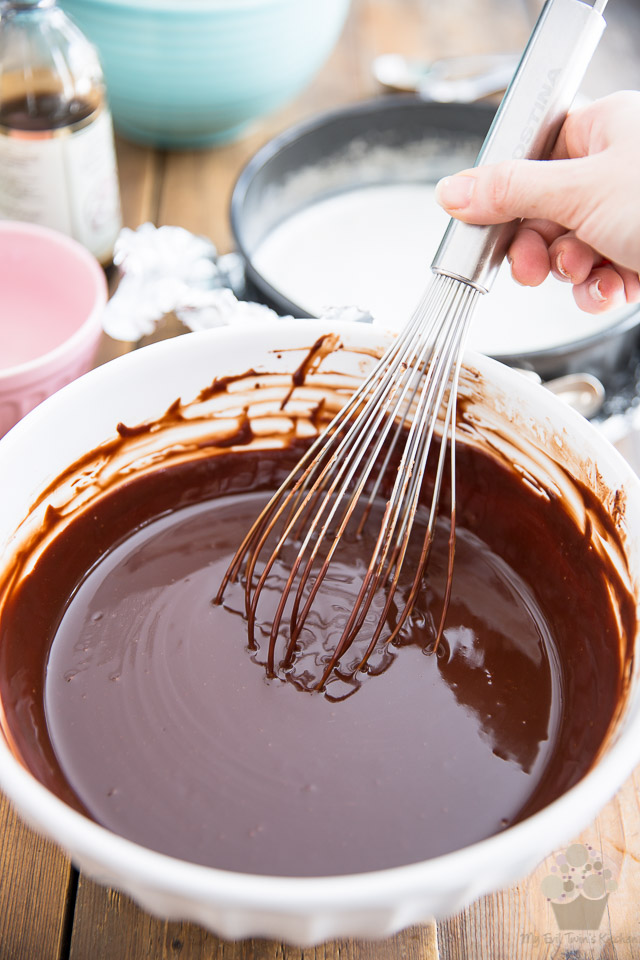
Slowly pour in the reserved chocolate mixture…
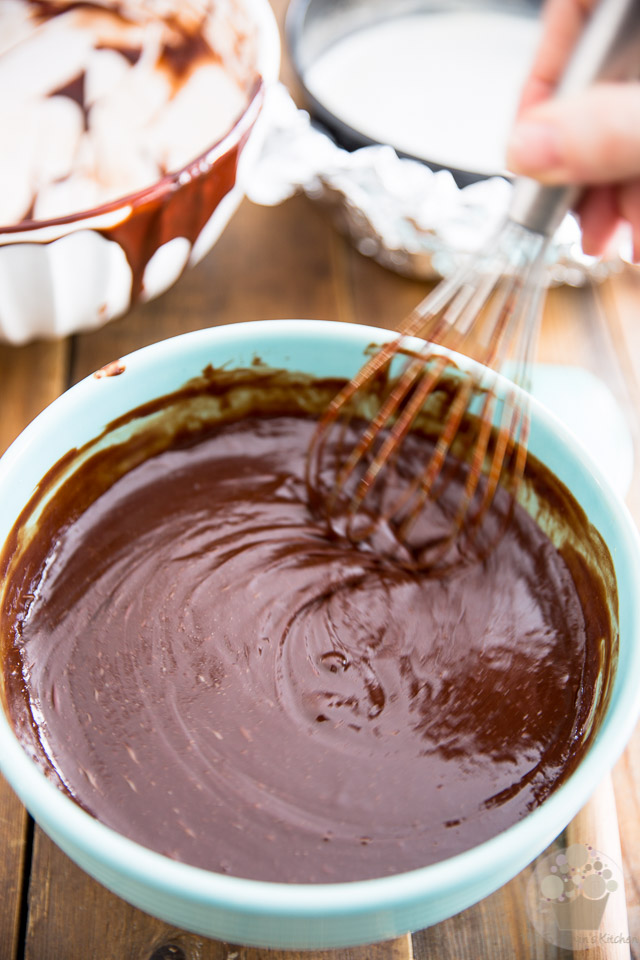
Stir constantly but delicately, as to not incorporate any air into the mixture; this cake batter is supposed to be really thick and dense!
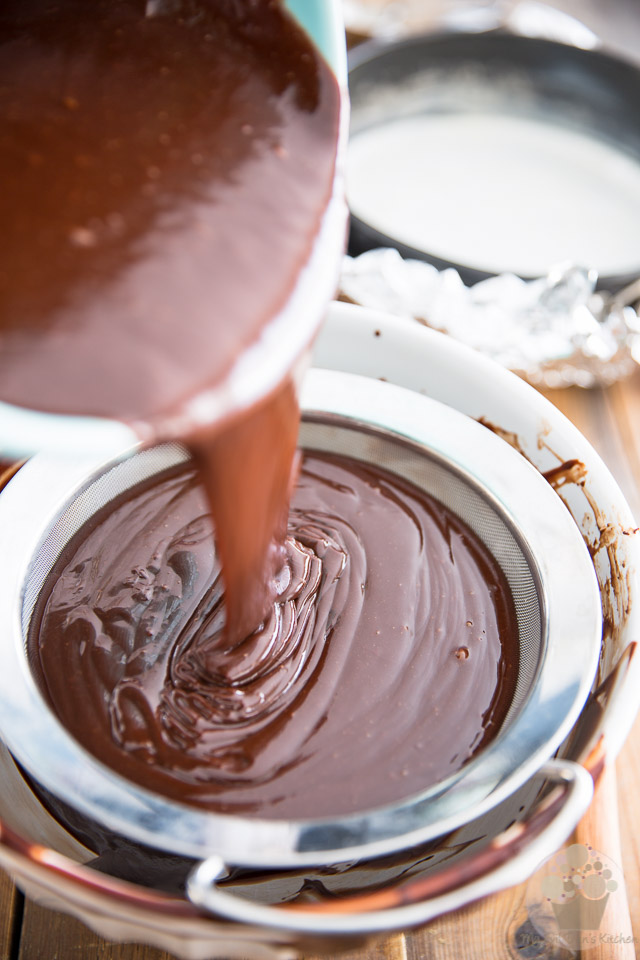
While not mandatory, it’s strongly suggested that you now push the batter through a fine meshed sieve with a rubber spatula.
This will ensure that you catch any potential lumps of unmelted chocolate and pieces of cooked eggs, as well as the unsuspected pieces of egg shells that you may have inadvertently dropped in the batter…
Yeah, apparently, I sometimes manage to do that!
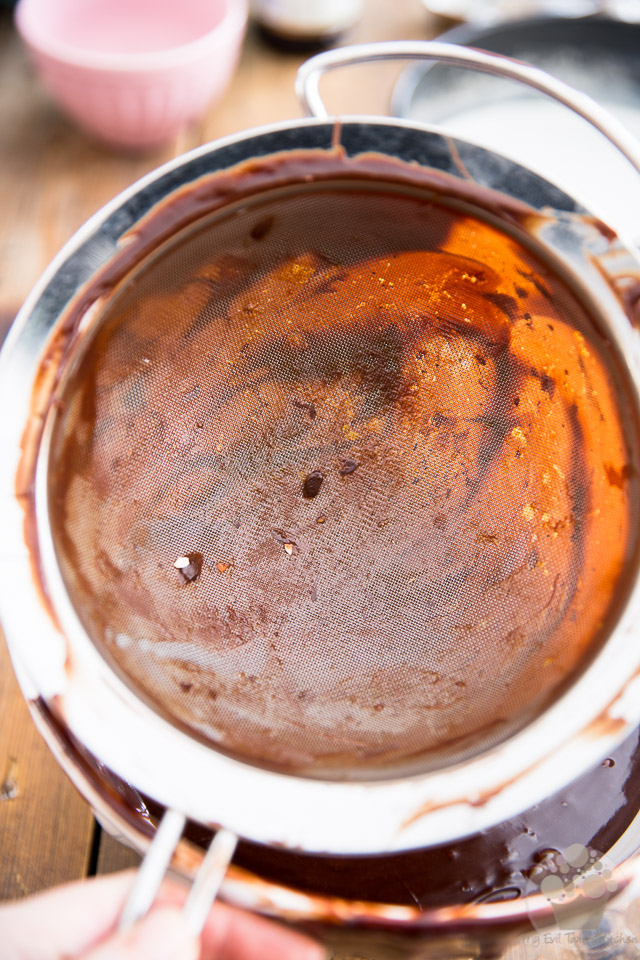
Seriously, though, if you look closely, you’ll see that I trapped a whole bunch of tiny little pieces of coagulated egg; while they are super tiny, you’d still be able to feel them if you were to bite into one, which sort of ruins the whole super rich and creamy experience. Personally, I’d rather play it safe and make the extra effort!
Oh, and whatever you do, make sure you don’t forget to scrape the underside of your sieve! You’ll be surprised the amount of batter that actually clings to it!
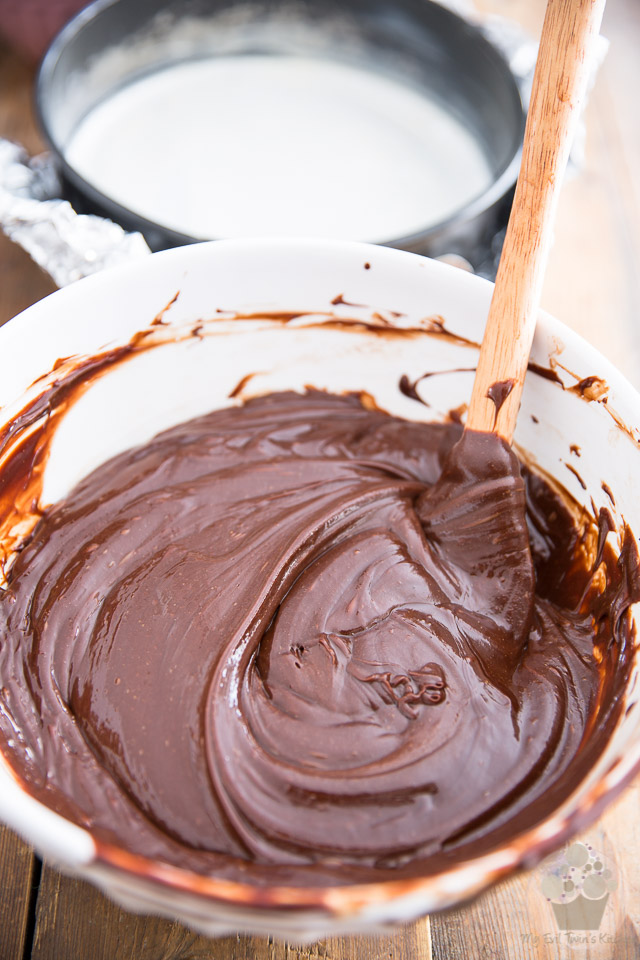
Now take a moment to pause and appreciate just how incredible that cake batter looks! Can you say thick, rich, dense and creamy?
It looks so yummy, you almost want to forget about baking the cake altogether and just sit yourself down with that bowl in one hand and a great big spoon in the other!
But trust me, this cake is totally worth baking, so be good. Have a little taste and keep going. Plus, you can leave a little bit at the bottom of the bowl, too. A few teaspoons worth, you know… I promise I won’t look or tell anyone.
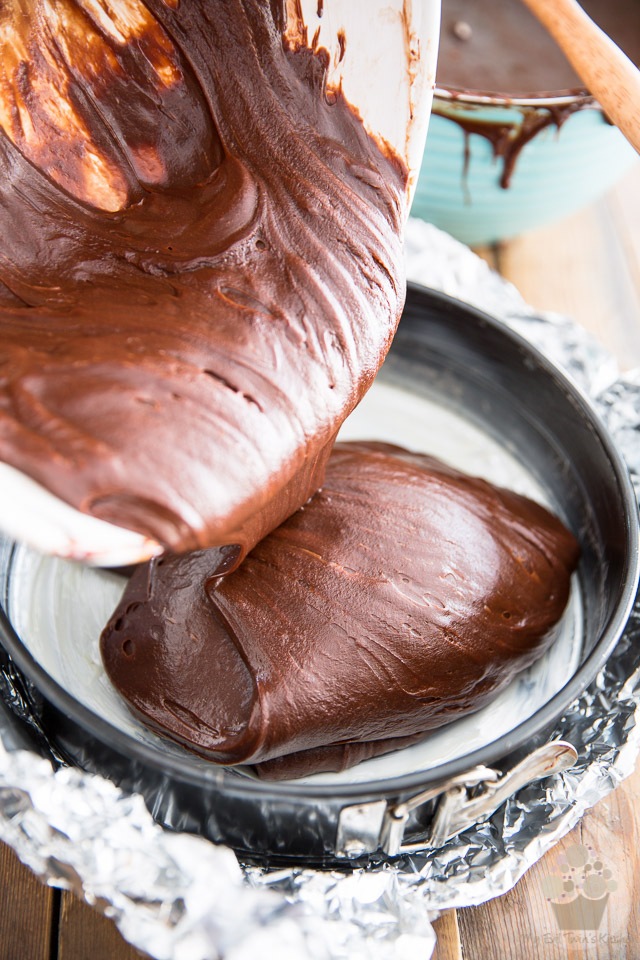
Pour the batter into the prepared pan…
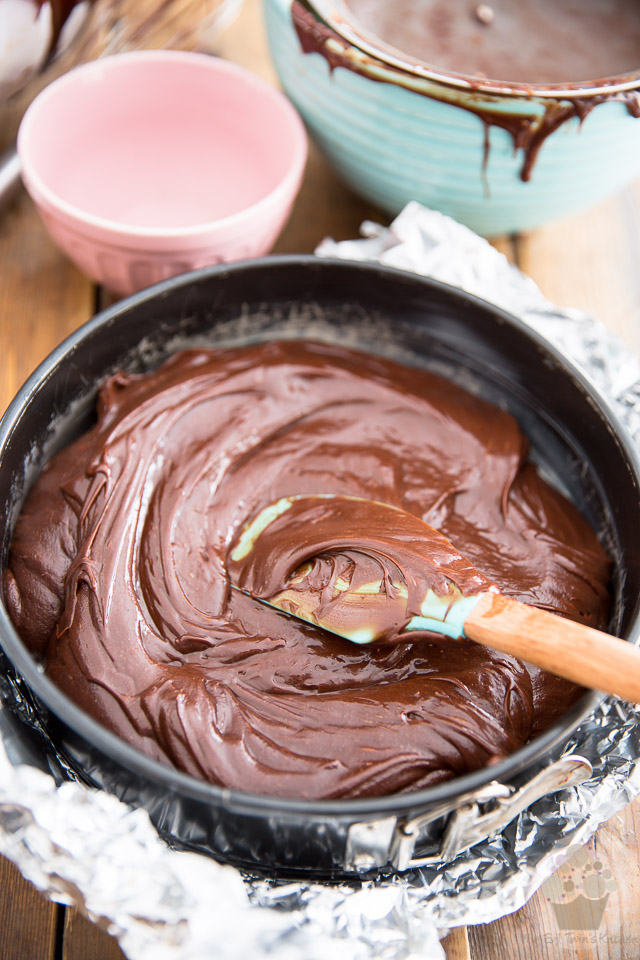
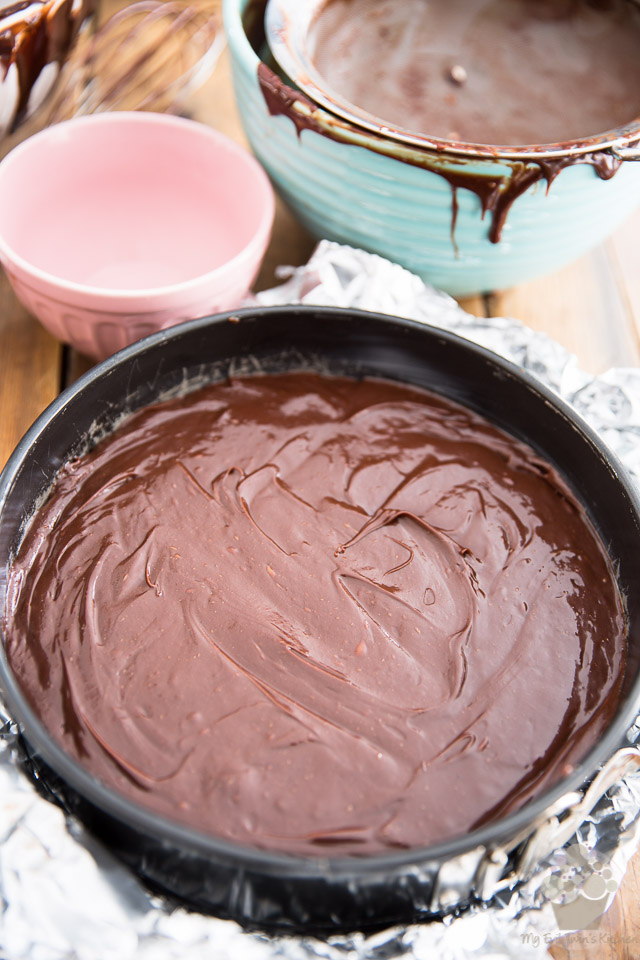
Spread it delicately all the way to the edge with a rubber or offset spatula…
And pause once more to take one last look at that amazing cake batter before sending your cake to the oven.
No finger dipping… you’d only end up ruining the nice flat top you just created and then you’d have to redo the whole spreading thing again. Go, put that baby in the oven.
You can lick the bowl instead! Remember the few teaspoons of batter you left behind on purpose earlier? Don’t tell me they’re gone already!?
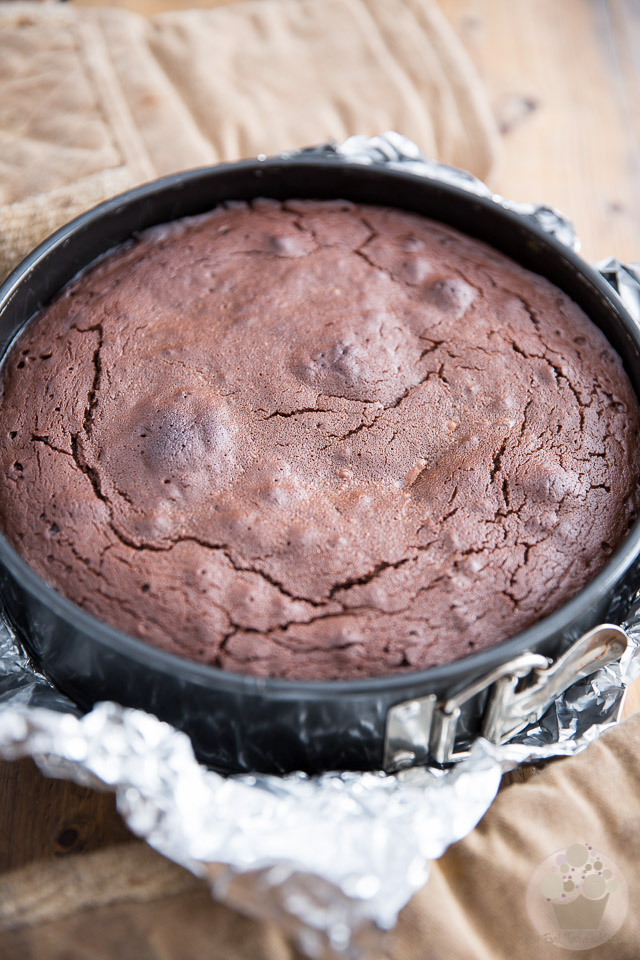
Bake the cake in the oven for about 40 minutes or until a toothpick inserted 2.5cm deep comes out clean and the center appears set.
Allow the cake to cool completely on a cooling rack, then transfer it to the fridge to chill for at least 4 hours, but preferably overnight.
The cake will sink quite considerably in the center after it’s cooled. Don’t panic, that’s completely normal!
MAKE THE ICING
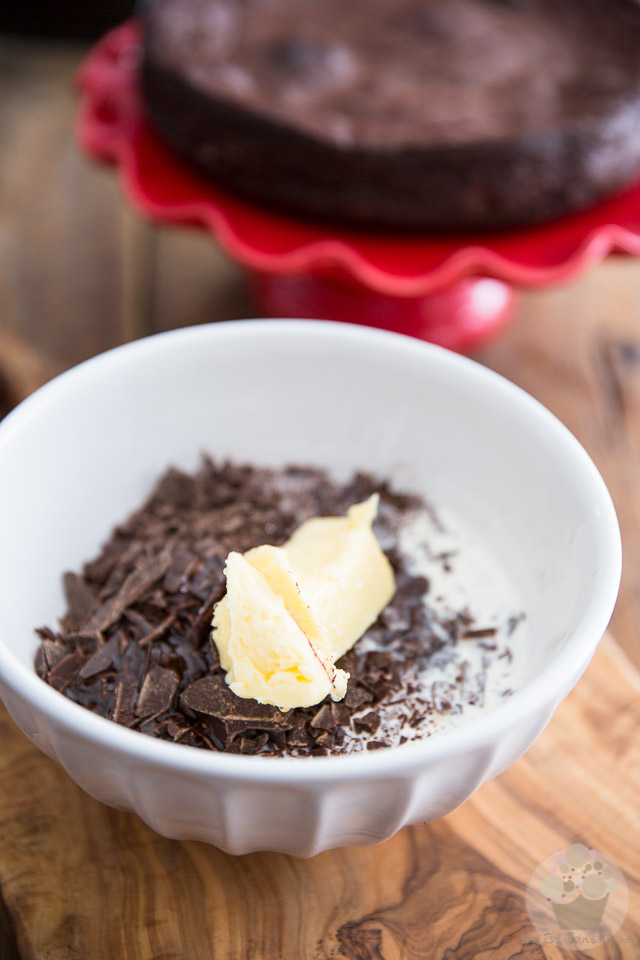
Combine the chocolate, heavy cream, butter and corn syrup in a mixing bowl.
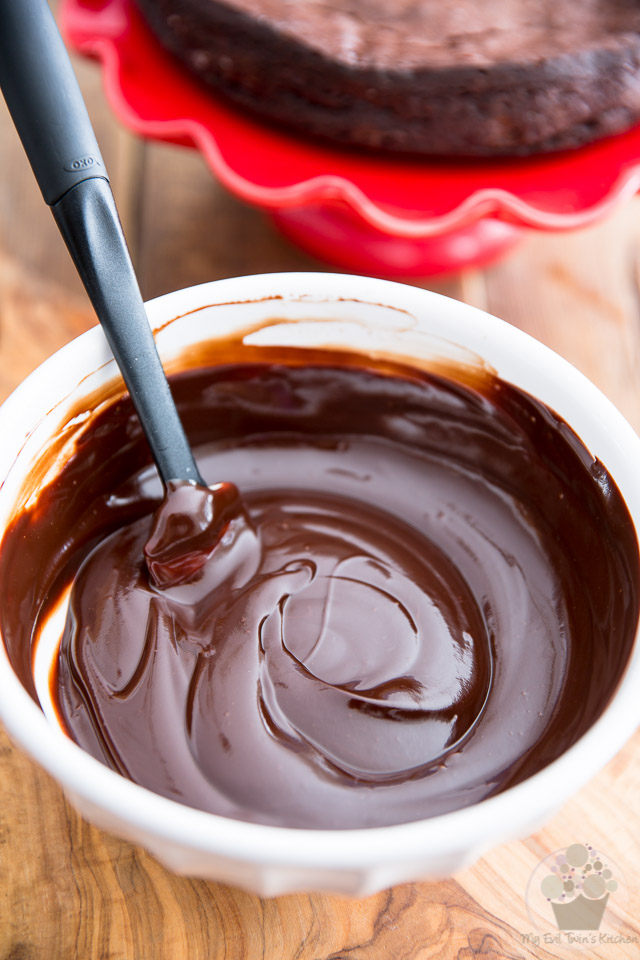
Melt in the microwave just like you did previously when you made the cake, except this time, start with 30 seconds instead of one full minute, and then repeat in 20 seconds increments. Again, repeat as necessary and stir until smooth and well combined.
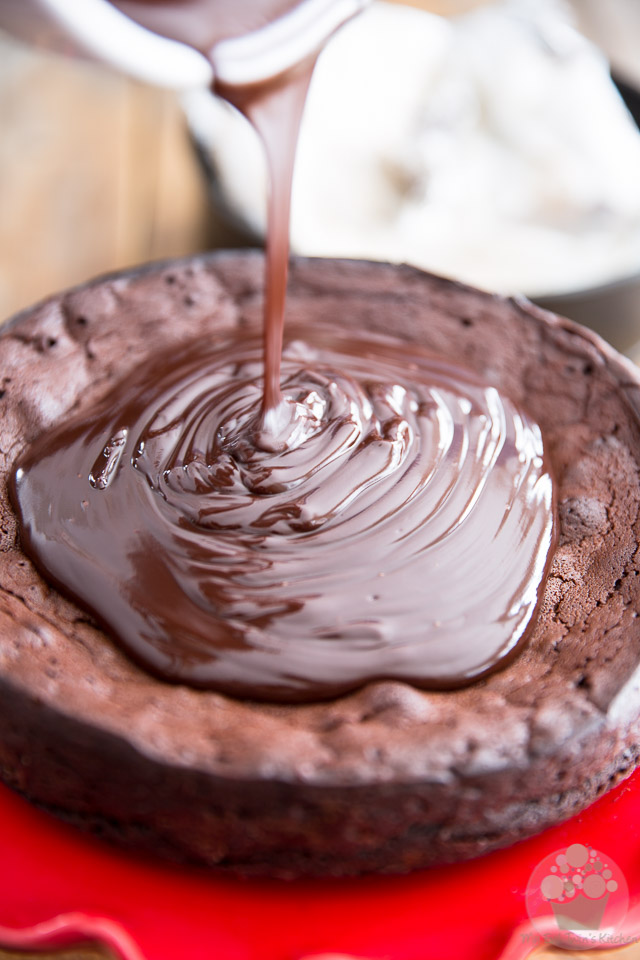
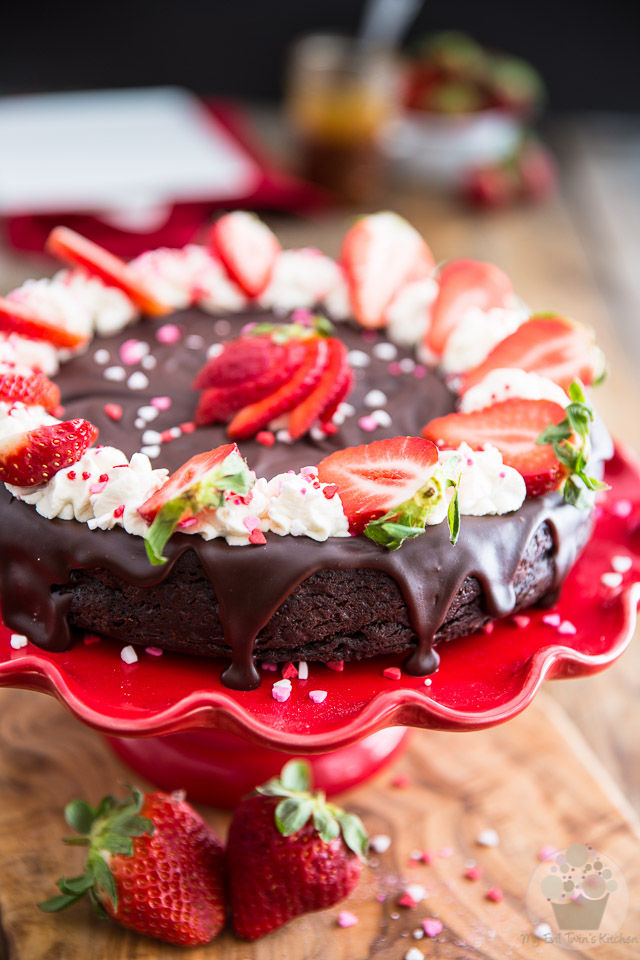
Carefully remove the cake from the pan and place it on a cake plate or stand and delicately pour about half of the ganache in the center the cake.
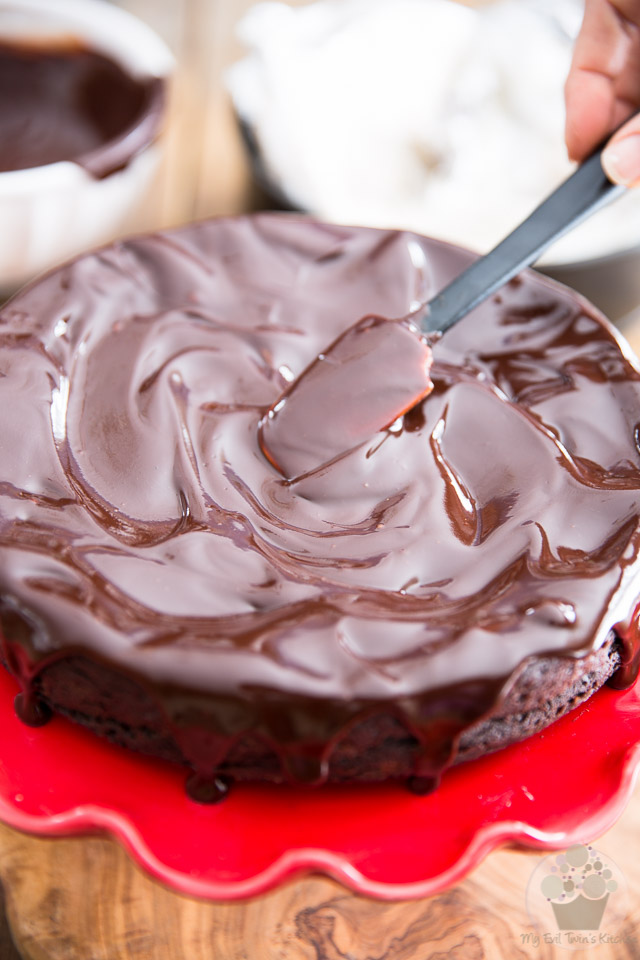
Spread the melted chocolate all the way to the edge, pushing it slightly past the edge to create little drizzle down the sides of the cake.
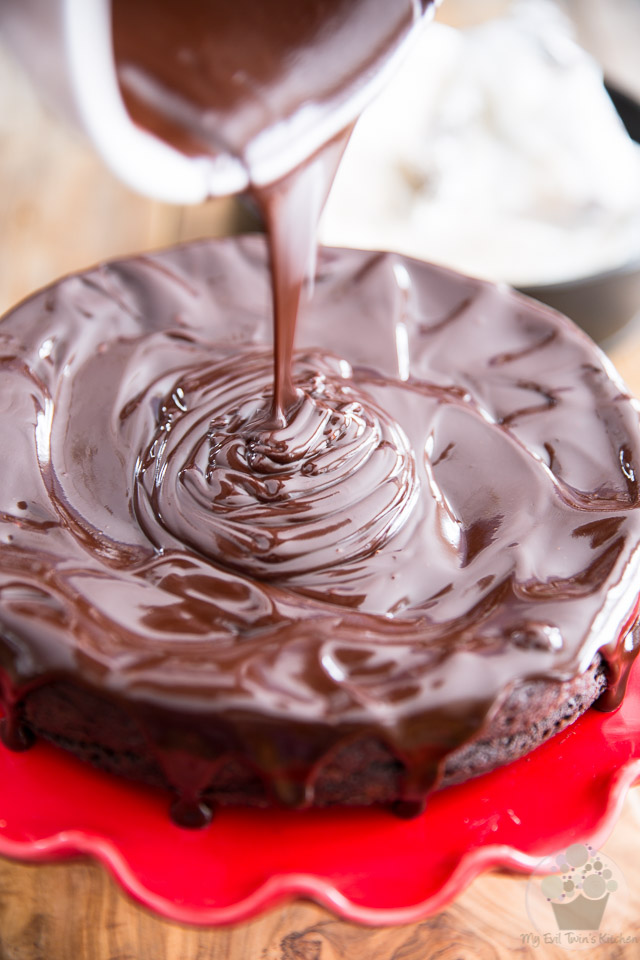
Repeat the process with the rest of the ganache, keeping it mainly in the center this time, to help level it out.
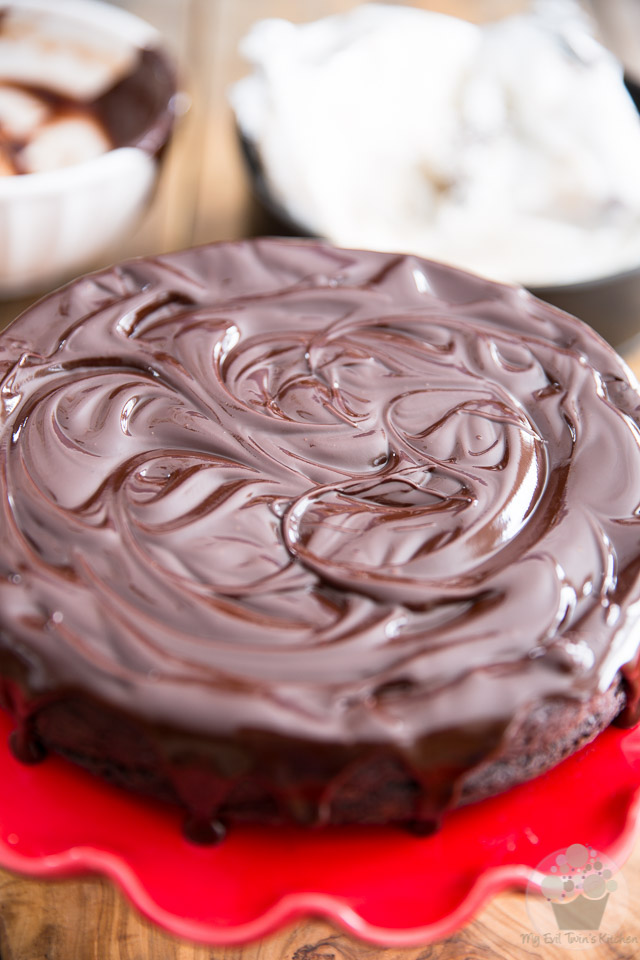
Create beautiful swirls in the icing with the tip of a spatula and then send your cake to the refrigerator for about 15 minutes until the icing has set.
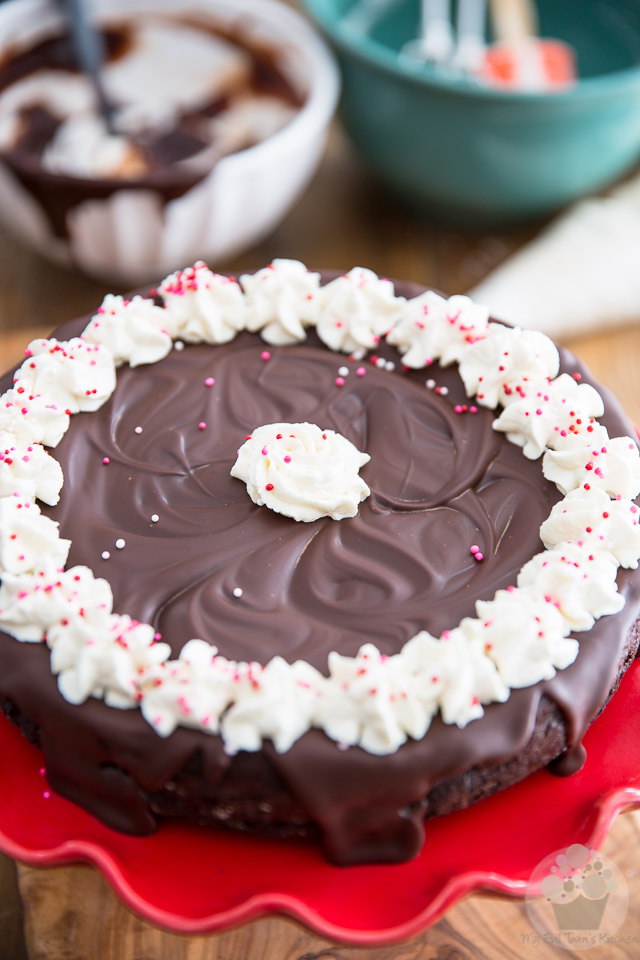
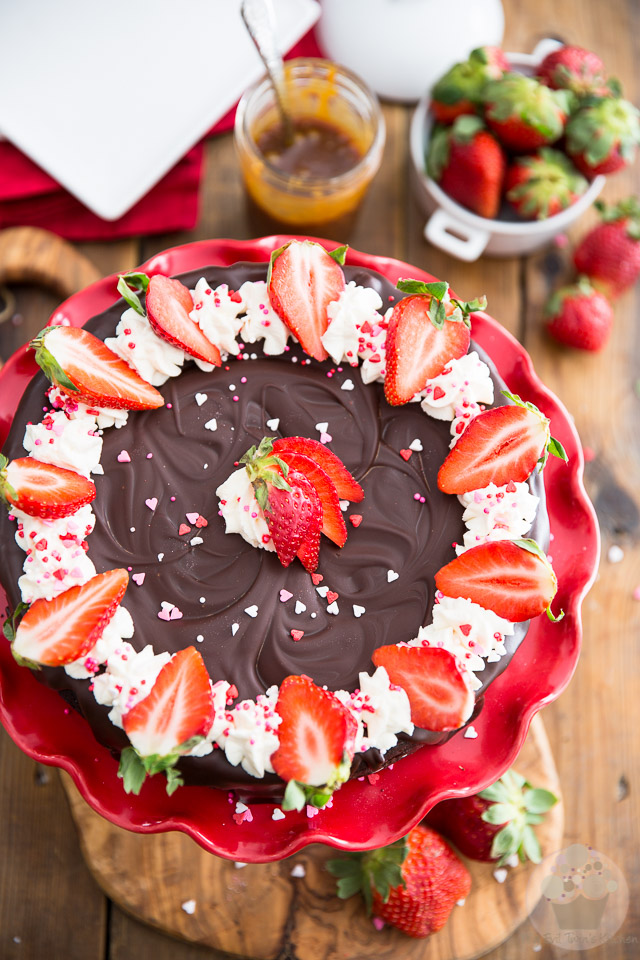
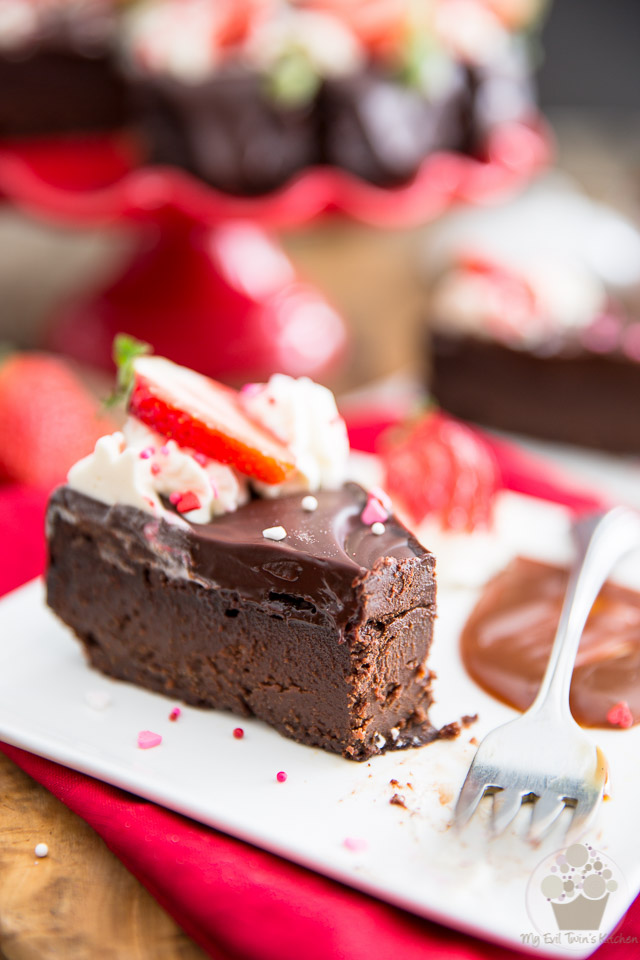
Garnish your cake with swirls of whipped cream and sprinkle it with a few nonpareils if desired.
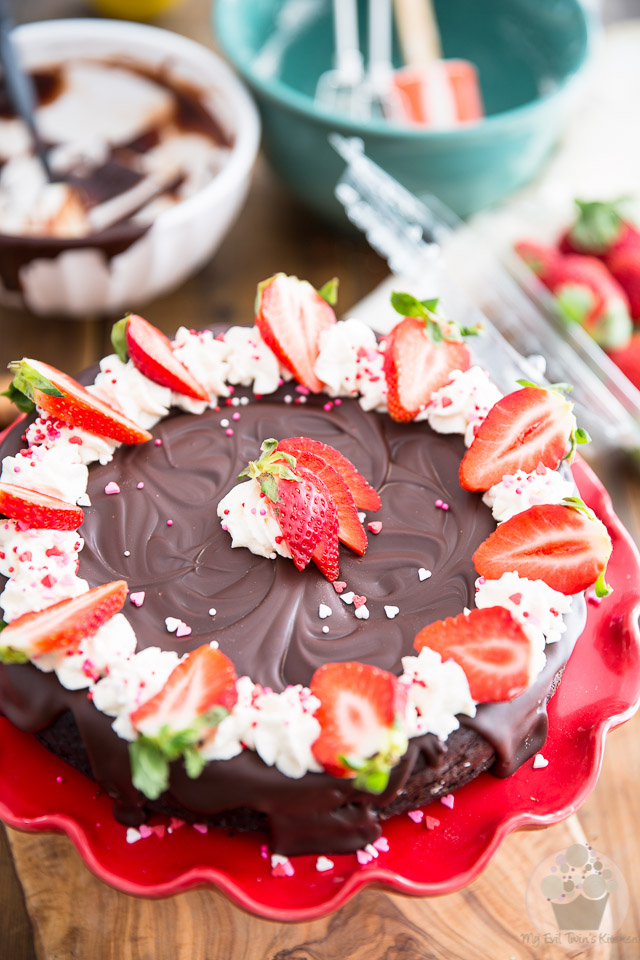
If you want to kick things up a notch a little bit, add a few slices of strawberries, for a visually stunning effect… especially if Valentine’s Day is right around the corner…
Plus, the strawberries add a nice refreshing touch that pairs really well with the intense chocolate flavor of this cake, you know… you simply can’t go wrong with a classic combo such as strawberries and chocolate.
Still, feel free to improvise here and use raspberries instead, or blueberries, or slices of orange, or chocolate shavings, or soft caramels, why not?
Speaking of caramel…
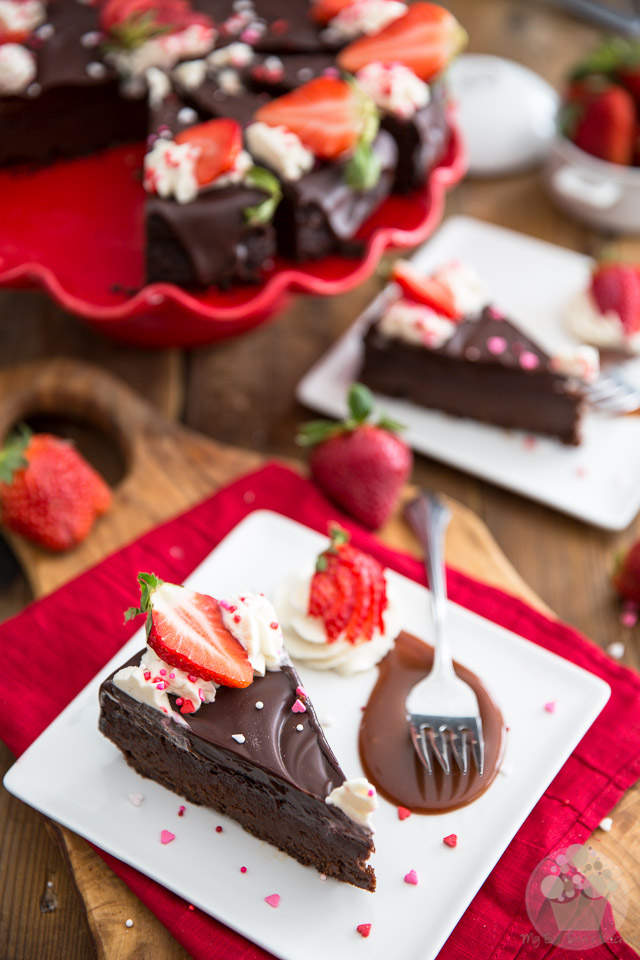
If you REALLY want to take this cake to the next level, serve it with a little drizzle of this amazing salted caramel sauce. OH! Let me tell you, your taste buds will be in for a serious treat, if you do that!
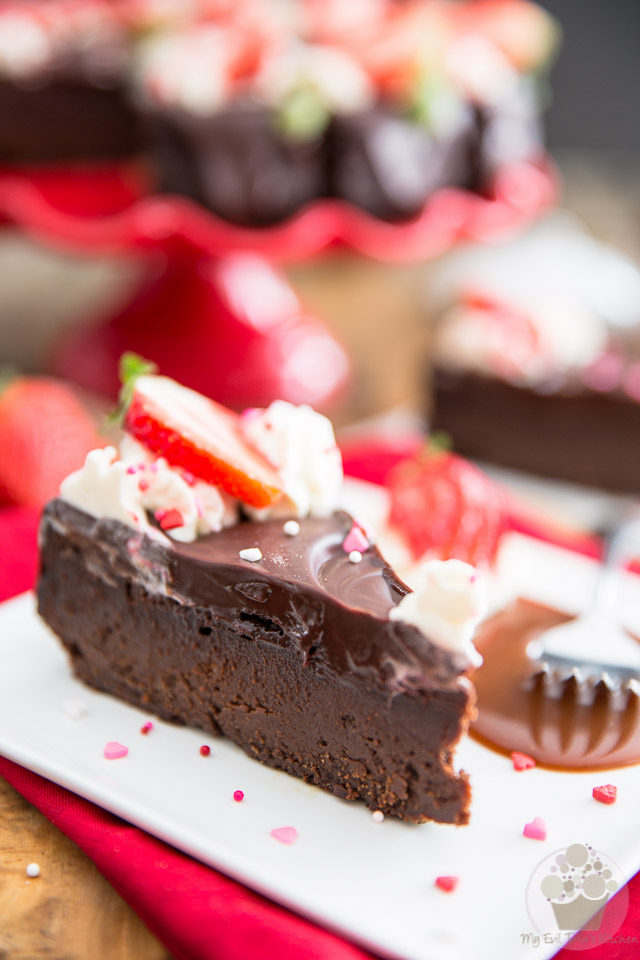
Whatever you do, make sure to serve this cake at room temperature – which means take it out of the fridge at least 2 hours prior to serving.
That’s the only way to fully enjoy its amazingly creamy, dense and super fudgy texture. Trust me when I say that your patience will be greatly rewarded!
Just take a look at the following pictures and let your imagination take you on a delicious gustatory and sensory adventure…
And then get busy baking some cake!

Ingredients
- 3 cups (450g | 15.9oz) good quality dark chocolate (70% cocoa), very finely chopped
- 1-1/2 cup (360g | 12.7oz) butter, cubed or softened
- 1/2 cup (120ml) heavy cream
- 6 large eggs
- 1 cup (200g | 7.1oz) granulated sugar
- 1 tbsp pure vanilla extract, (store-bought or homemade)
- 1-1/2 cup (225g | 7.9oz) good dark chocolate, very finely chopped
- 1/2 cup (120ml) heavy cream
- 3 tbsp butter, softened
- 3 tbsp light corn syrup
- 1/2 cup whipped cream
- 5-6 fresh strawberries, sliced
- 1-2 tbsp assorted nonpareils
Instructions
- Preheat oven to 370°F
- Line the bottom part of a 9" springform pan with aluminum foil and fold the edges under it. Assemble pan by putting rim in place, then bring aluminum foil up around the walls of the pan. Grease the bottom with butter and set aside.
- In a large mixing bowl, combine the chopped chocolate, butter and heavy cream and place that in the microwave on high for 1 minute. Allow to rest for 1 full minute and then stir for 1 minute. If there are still lumps of unmelted chocolate left after that, repeat the process but for 30 seconds this time, and continue doing that until the chocolate is completely melted, and the mixture is fully smooth and combined without feeling hot to the touch. Set aside.
- In a separate mixing bowl, combine the eggs, sugar and vanilla and mix delicately with a whisk until slightly foamy. Slowly pour in the reserved chocolate mixture, stirring constantly but delicately, as to not incorporate any air into the mixture.
- While not mandatory, it's strongly suggested that you now push the batter through a fine meshed sieve with a rubber spatula to catch any potential lumps, egg shells and pieces of cooked eggs.
- Pour the batter into the prepared pan and bake in the oven for about 40 minutes or until a toothpick inserted 2.5cm deep comes out clean and the center appears set. Allow the cake to cool completely on a cooling rack, then transfer it to the fridge to chill for at least 4 hours, preferably overnight.
- Combine the chocolate, heavy cream, butter and corn syrup in a mixing bowl. Melt in the microwave just like you did previously when you made the cake, except this time, start with 30 seconds instead of one full minute, and then repeat in 20 seconds increments. Again, repeat as necessary and stir until smooth and well combined.
- Carefully remove the cake from the pan and place it on a cake plate or stand.
- Delicately pour about half of the ganache over the cake and spread it all the way to the edge, pushing it slightly past the edge to create little drizzle down the sides of the cake. Repeat the process with the rest of the ganache, keeping it mainly in the center this time. Refrigerate for about 15 minutes until the icing has set.
- Garnish with swirls of whipped cream and sliced strawberries, then sprinkle with nonpareils if desired.
- Serve at room temperature (take cake out of the fridge at least 2 hours prior to serving) with a little bit of salted caramel sauce, if desired (the caramel is totally optional, but really takes the cake to the next level!)
Oh my! I am so making this cake this week. I have to say – I love your healthy foodie recipes, but these Evil Twin recipes are really making my heart go pitter-patter. Could be from all that sugar, though 😀
Thanks for another great recipe and I’ll let you know how it turned out!
Cheers,
Claudia
Awww, thank you so much Claudia, that is so very kind of you to say! Enjoy the cake, and be sure to let me know how it turned out! 🙂
Wow! If you like chocolate, then bake this cake, because chocolate is what you are going to get! I had a large quantity of very dark Belgian chocolate drops hanging around in my pantry, so I used those. Not sure about the cocoa percentage, but they were dark for sure. I didn’t have corn syrup, so I used maple syrup instead. Both batter and ganache turned out slightly firmer than in your pictures, the cake didn’t sink at all, and the result was… chocolate galore! With a slightly minty taste to the ganache. Weird, huh? Must be the interaction between the maple syrup and the chocolate. Anyway… the cake is so very rich and dense, we’re only eating a small piece at a time, so it takes forever to finish (which makes it a skinny dessert in my book ;-)). Sometimes we feel that the chocolate is a tad bit too overpowering, but at the same time, we cannot stop eating it. It’s just horribly addictive!
Thank you so much for taking the time to share your impressions, Claudia. I sincerely appreciate that! And now I am definitely intrigued, too… Minty you say? And no sinking whatsoever? I think I definitely need to explore that avenue.
And I suppose you’re right about this cake belonging to the “skinny” category somehow. A tiny little slice really does go a long way! 😉
It’s in the oven! This is only the second dessert I’ve made since going Keto, but after reading the ingredent list, all I needed to do was change out the sugar. Not only did I lick the bowl, I also licked the sieve! That could not have been a pretty sight, but the batter was that good! Out Valentine Day celebration will be a little sweeter because of you.
Many thanks for 2 great blogs. KellyL
Hahahaha, thank you so much for the chuckle! I don’t think I’ve ever hear of anyone licking a sieve before. It must have been a very very funny sight indeed.
I hope that your cake turned out great! I’m curious… what exactly did you do to tweak the sugar/carbs content?