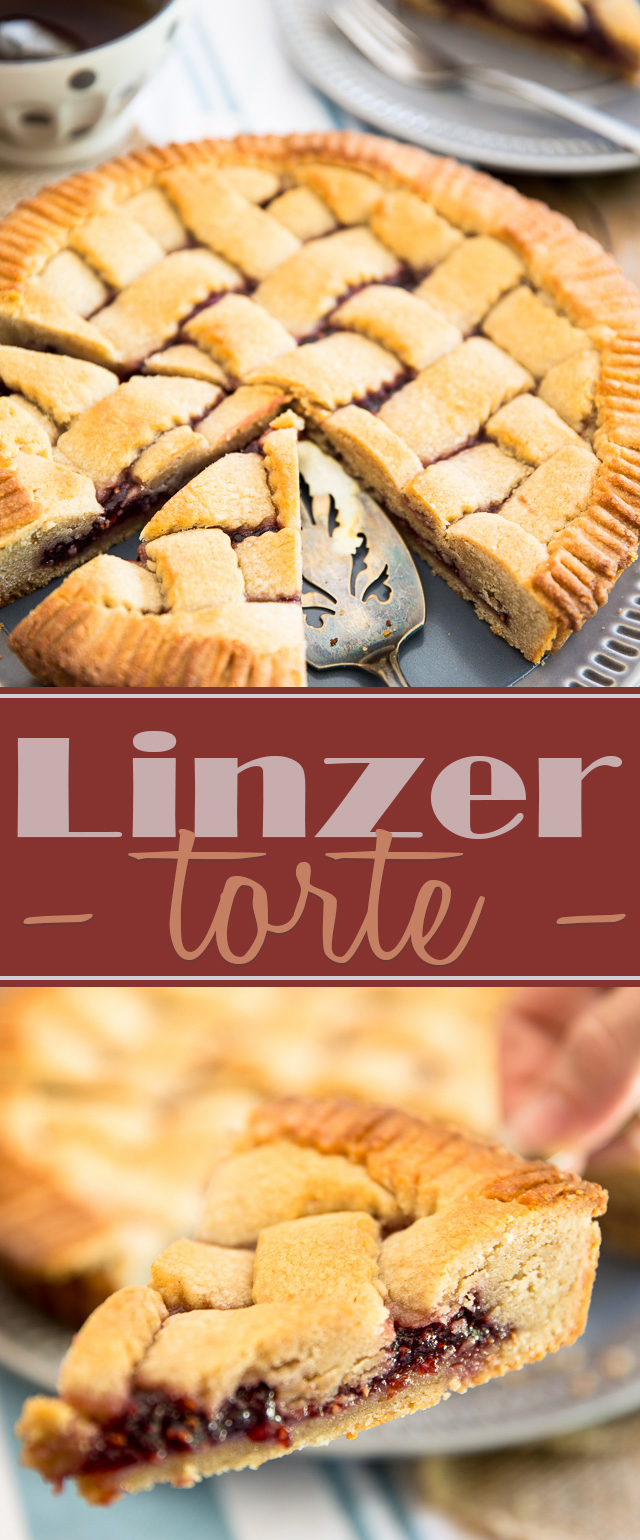
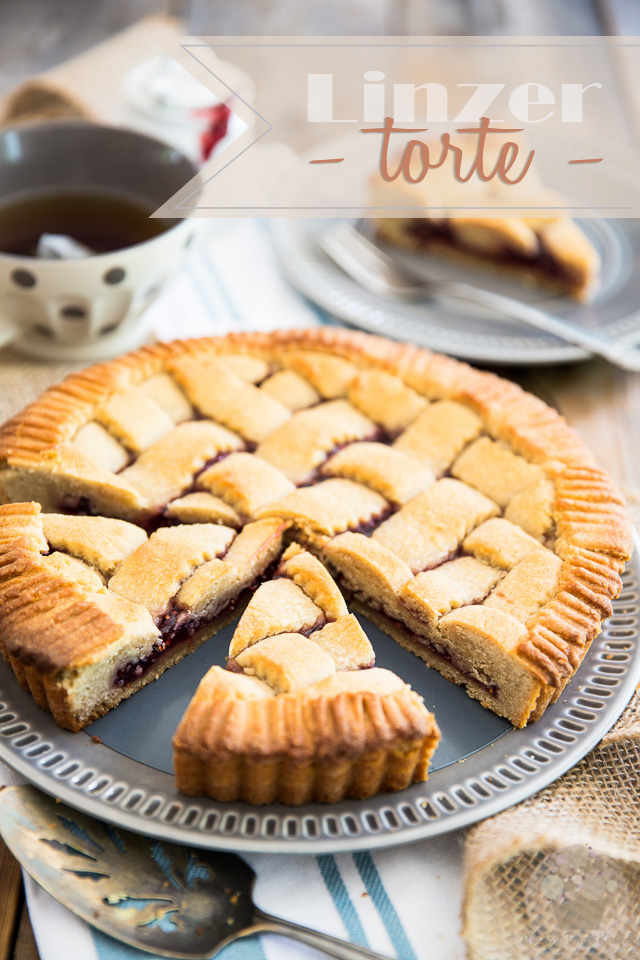
With its scrumptious nut based pastry and thin layer of fruit preserve, Linzer torte is a simple but delicious Austrian classic unlike any other!
I’m not much of a pie person. I find they’re way too messy to make, take way too much time and usually aren’t really worth the trouble. To me, with most pies, the really, truly interesting part would the filling. The pie crust itself (which, ironically, is what usually requires the most work and contains the most calories) is, for lack of a better word, uninteresting.
But Linzer Torte is a completely different story! This pie is TOTALLY worth making spending hours cursing while I dirty up the entire kitchen and send flour flying all across the floor (hey, I’m really not good at making pie, what can I say?)
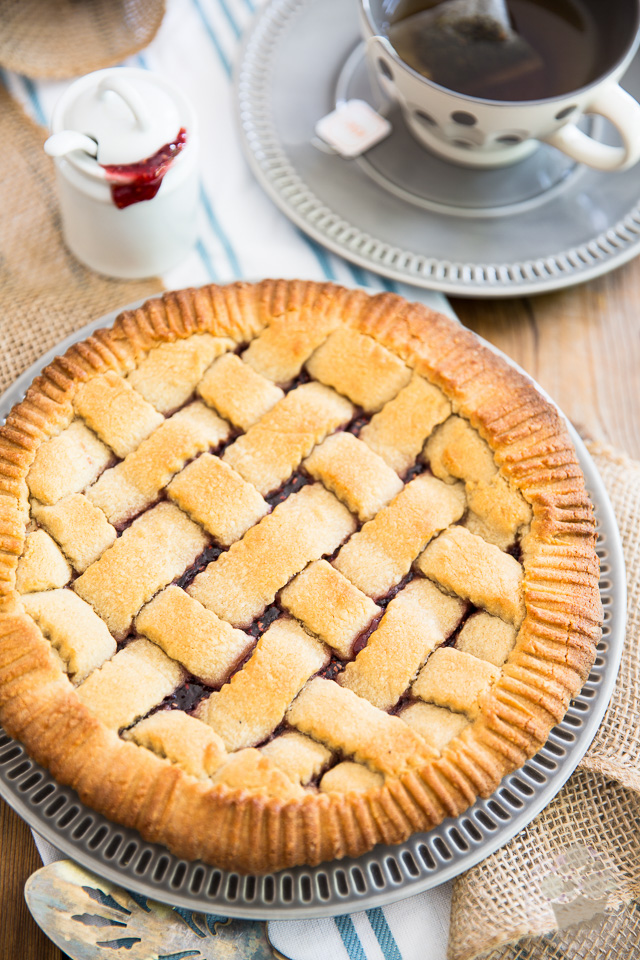
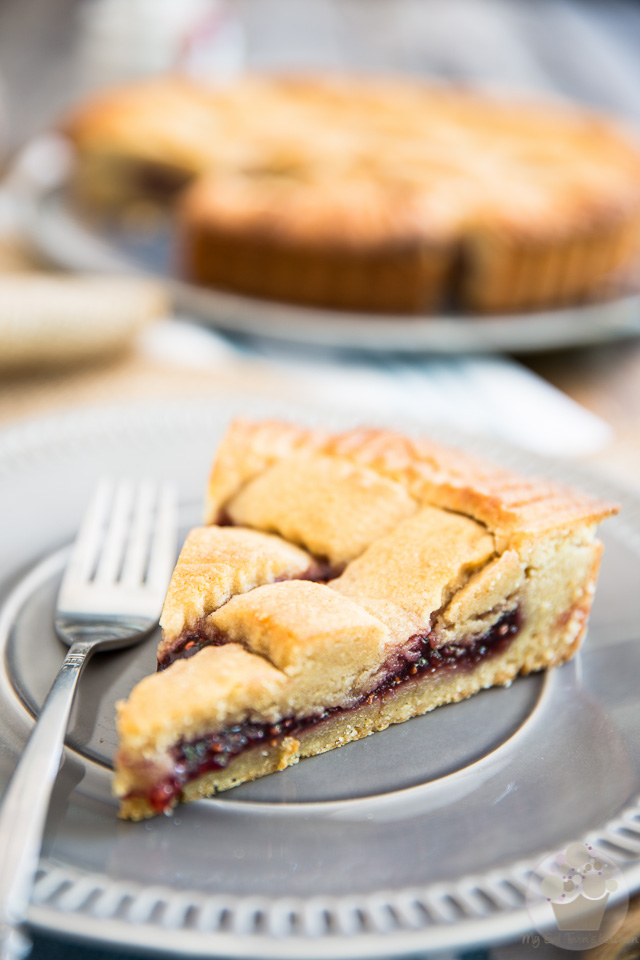
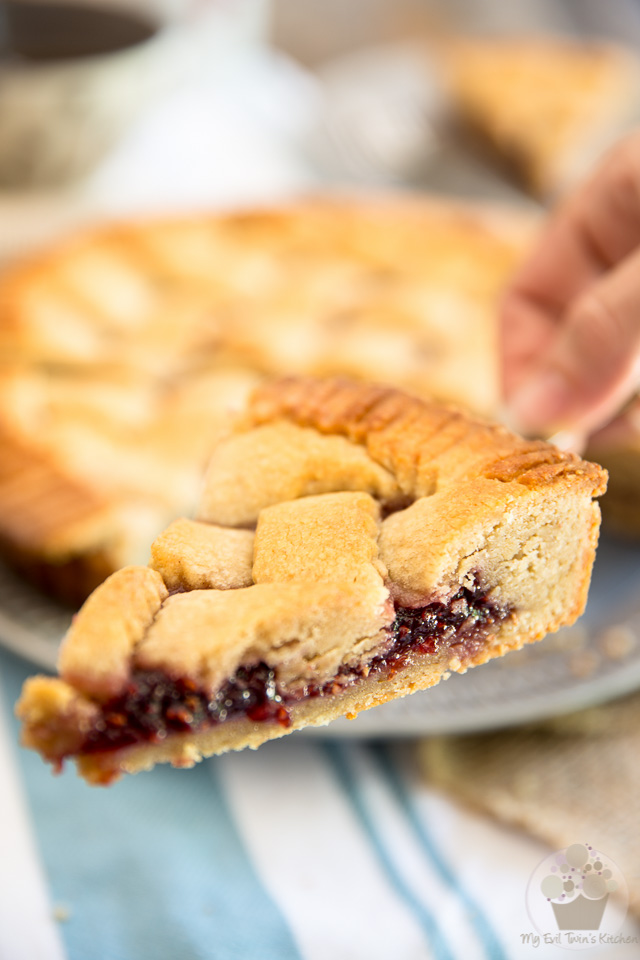
In fact, with Linzer Torte, it’s the crust that actually MAKES the cake. The filling (if we can call it that, since so very little of it is being used) just makes a very modest contribution to the flavor department. Most of the cake’s interest comes from the crust. Just look at how thick the thing actually is!
Made primarily from butter, brown sugar and ground almonds, the pastry is sweet, nutty, light and delicate, just like a soft cookie, and it’s packed with so much flavor, it’ll make your heart sing. Really, you have to taste it to believe it.
Be warned, though: Linzer Torte is a delicious yet super simple (in presentation, not execution!) Austrian classic tart that’s unlike any other pie out there. Try it once, you’ll be hooked for life!
What’s the problem with that, you ask? Well, it’s a pie… and pie equals a fair amount of work. There’s no getting around that.
I feel I should extend a couple of warnings before we get started with this project. First, the dough is seriously tricky to work with because it really is super soft. As such, you need to chill it for a full day before you can use it and then you also need to keep it chilled while you’re working on the actual pie.
That holds ESPECIALLY true if it happens to be two hundred trillion degrees out, like it was when I decided to whip this one up. That was not the most brilliant idea, I’ll admit… in fact, I came *this* close to not sharing this recipe, because I had to work SUPER fast and felt I wasn’t able to take all the pictures I wanted to take.
So yeah… perhaps it’s best that you save the project for a day when it’s not so hot out.
Unless the craving strikes, you know. There’s never really much you can do against that. Proof: this very post.
The other thing that you need to know is that this pie needs to be made over the course of several days:
- On day one, you make the dough (then chill overnight, MANDATORY!)
- On day two, you make the pie (then IDEALLY chill overnight)
- On day three, you FINALLY get to eat the pie (if you were patient enough to wait that long)
So yeah… you might want to plan ahead if you need to make the pie for a specific event. But trust me, it’s all VERY MUCH worth the effort in the end. Linzer Torte definitely sits very high on my list of favorite pies. And I know I’ll be making it many, many more times again in my lifetime.
Only next time, I’ll wait until it’s a little cooler out.
STEP-BY-STEP INSTRUCTIONS AND PICTURES
In a large mixing bowl, combine the flour, almond flour, cinnamon, baking powder and salt. Mix well with a whisk and reserve.
In a small measuring cup, whisk together the milk, egg, egg yolk and vanilla extract. Set aside.
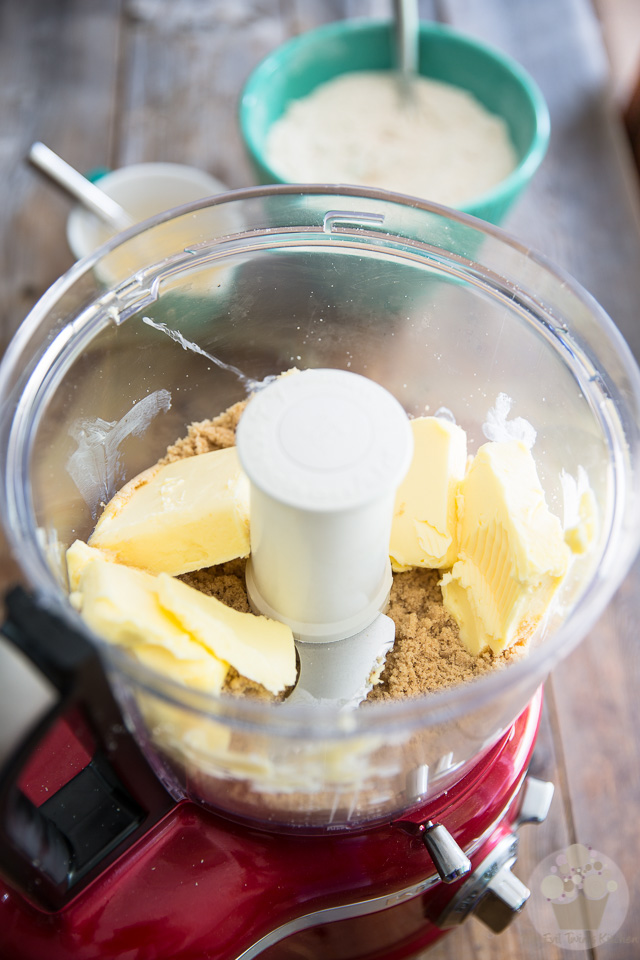
As for the brown sugar and butter, throw them directly into the bowl of your food processor.
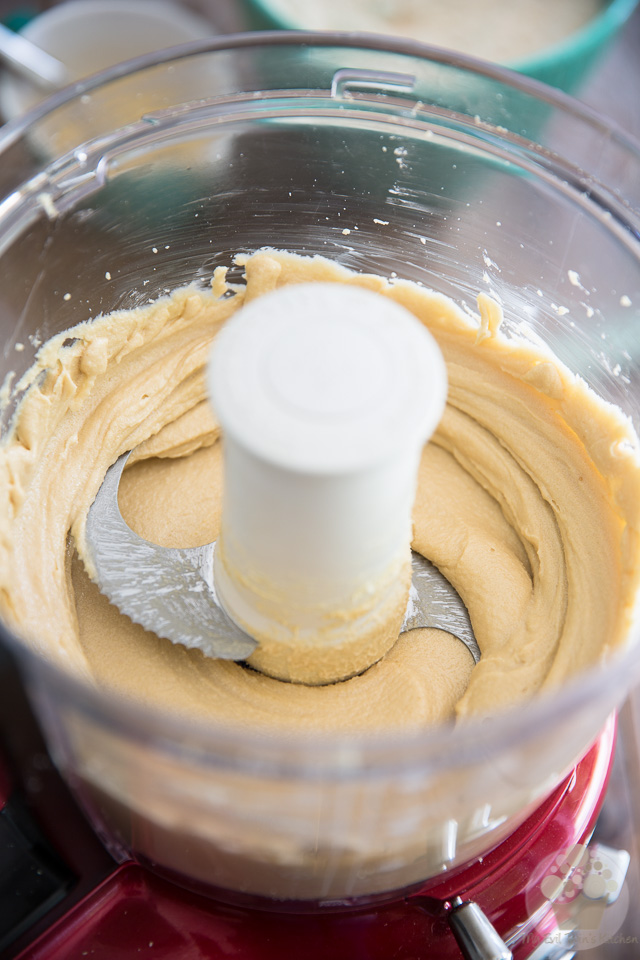
Beat the butter and brown sugar until well combined and creamy.
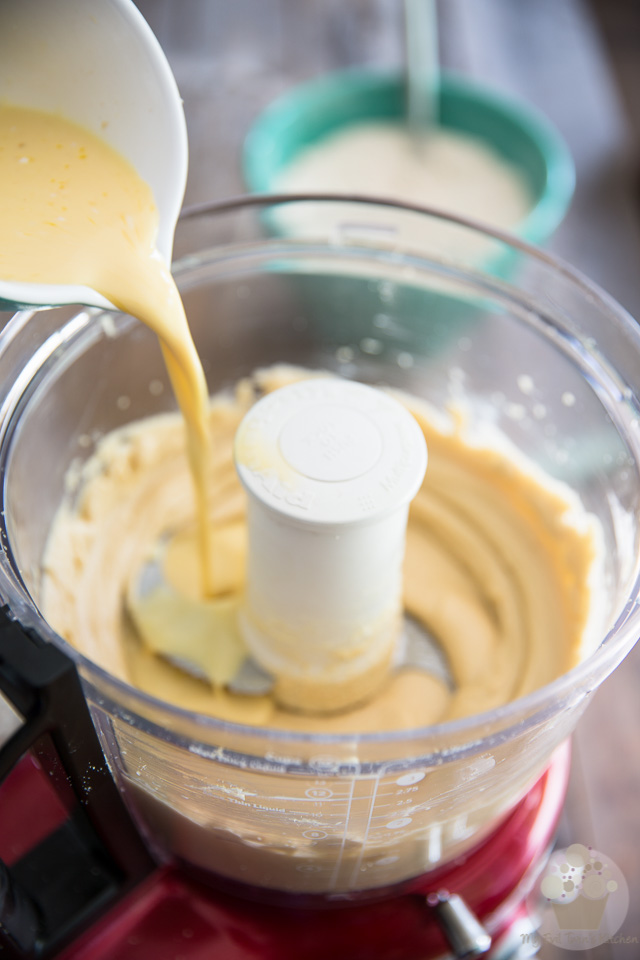
Then pour in the milk and egg mixture…
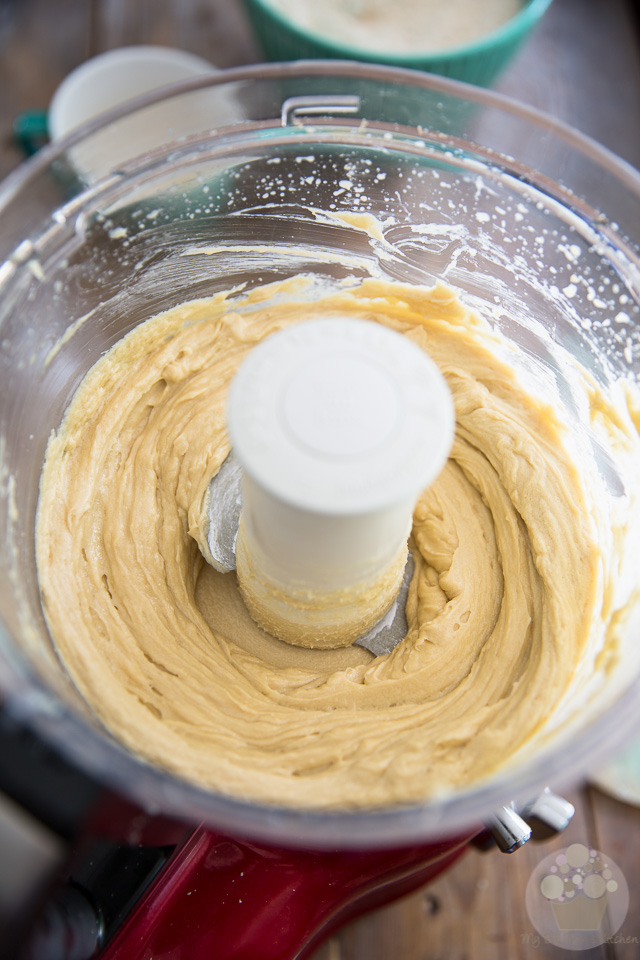
Resume processing until light and fluffy.
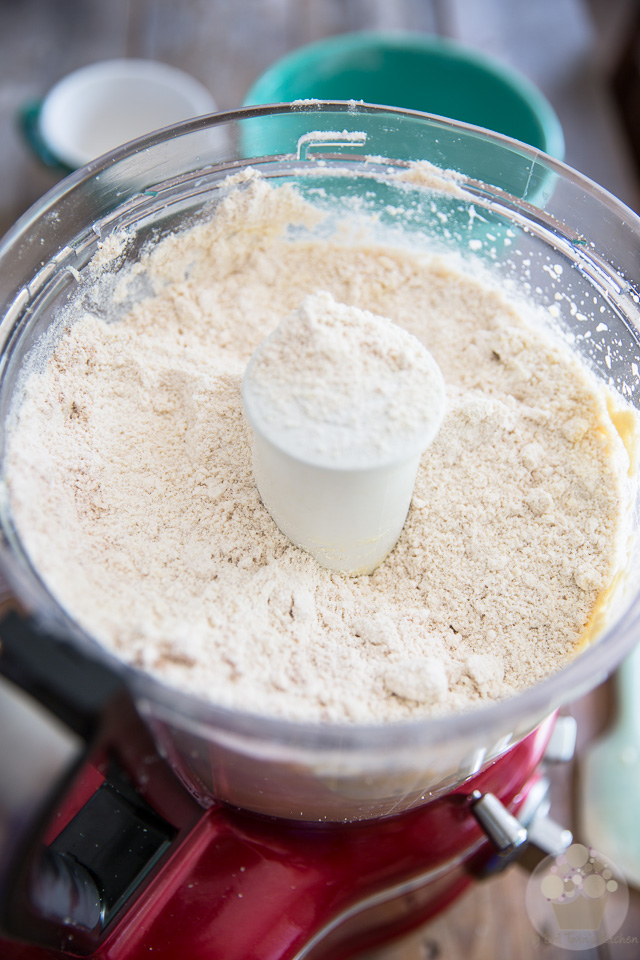
Then, throw in the dry ingredients…
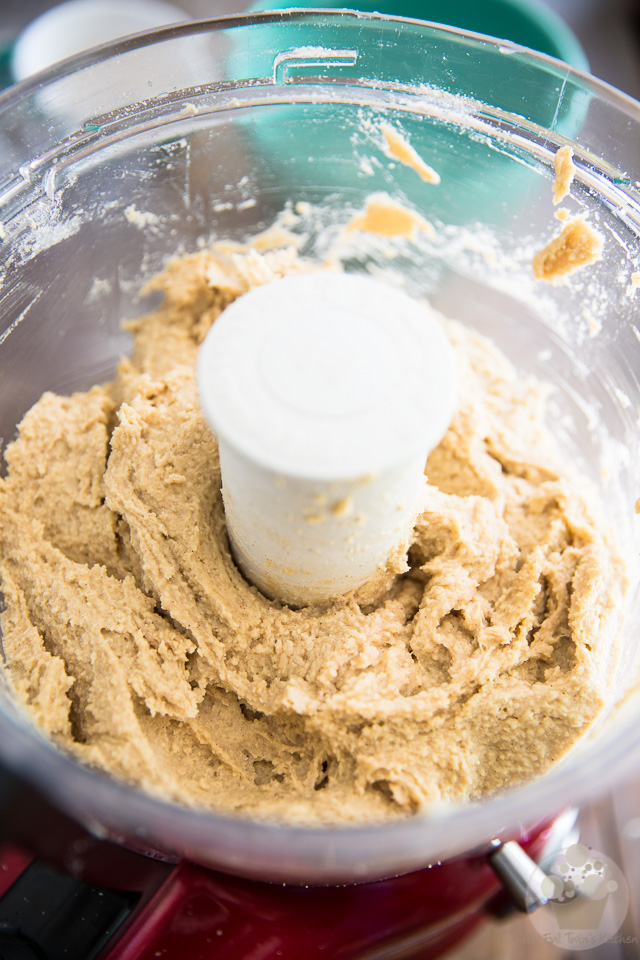
And mix on pulse until the dough just comes together, no more.
As you can see, the dough will be VERY soft at this point. MUCH too soft to roll… in fact, you’ll probably look at it and think “OMG, there’s no way I’ll ever be able to do ANYTHING decent with this dough”
But trust the process… go on!
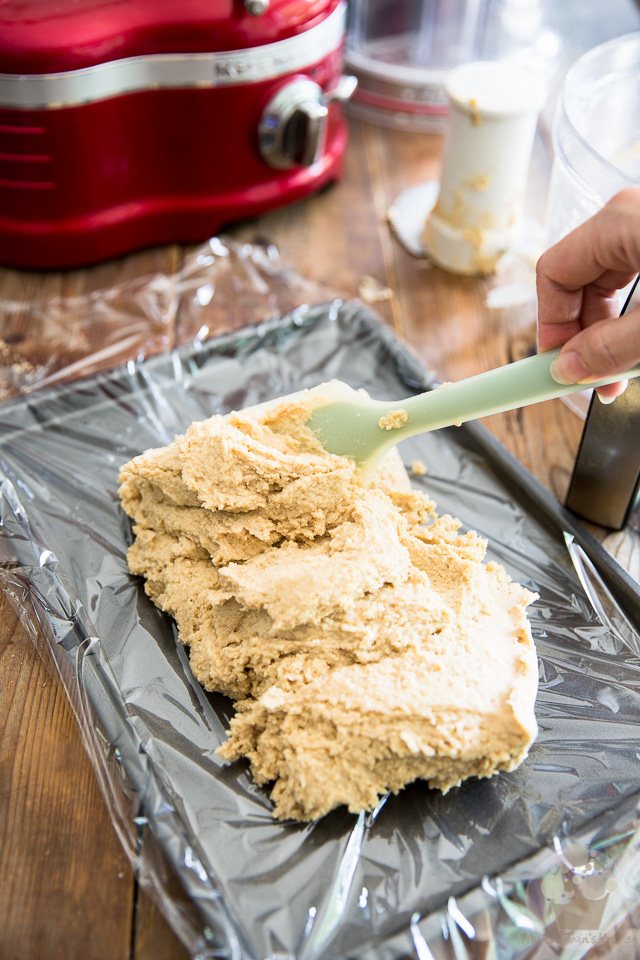
Line a 9″ x 13″ baking sheet with a piece of plastic film and then dump the dough right onto it.
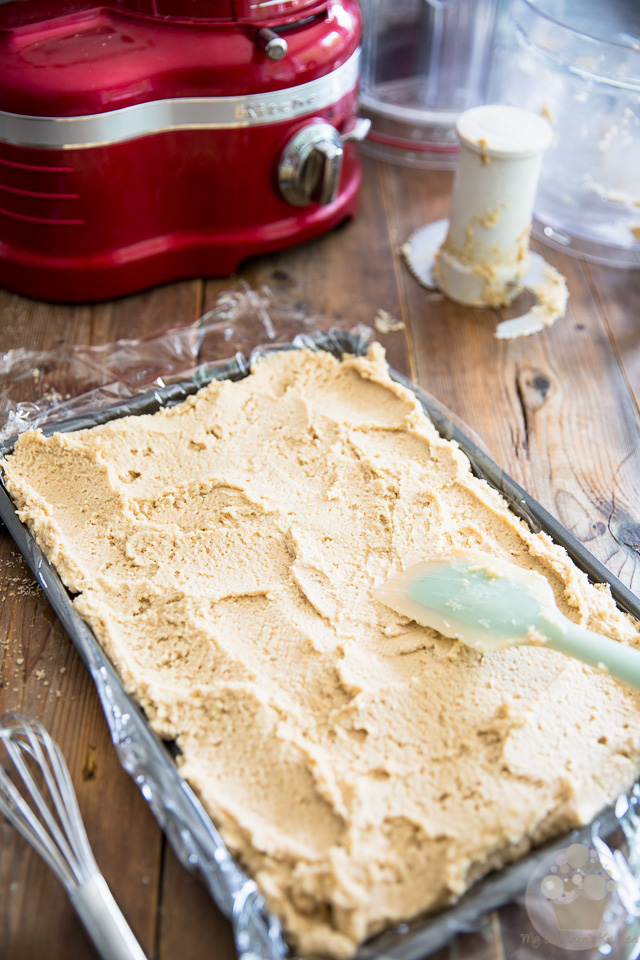
With a spatula, spread the dough evenly and all the way to the edge of the pan, and then cover it with a second piece of plastic film.
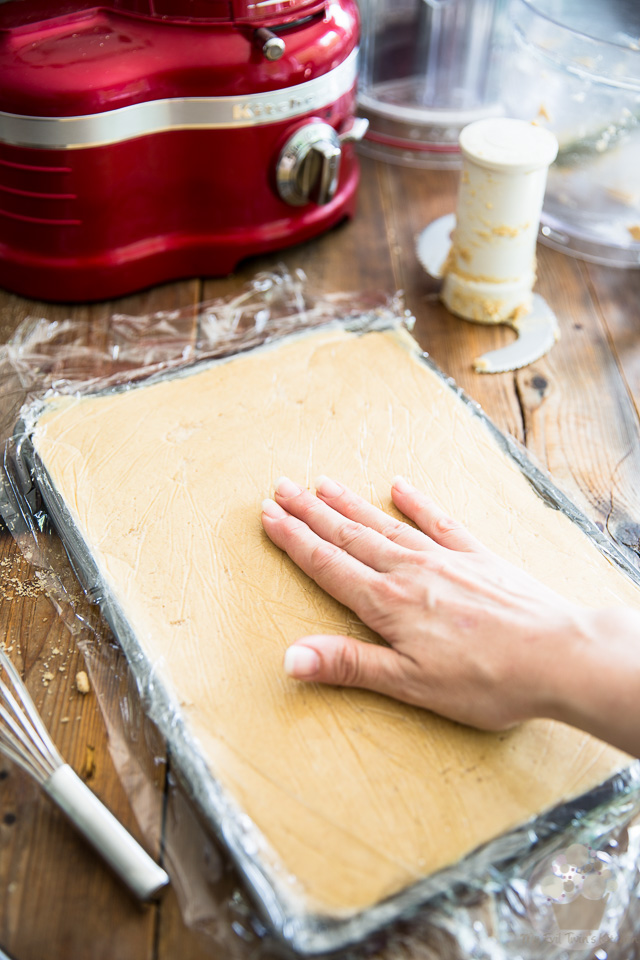
Make the top of that dough really nice and smooth by stroking the surface gently with a flat hand. Refrigerate until the next day.
Yes, that’s until the next day; NO cheating allowed. The dough absolutely needs to chill all the way through before you can use it.
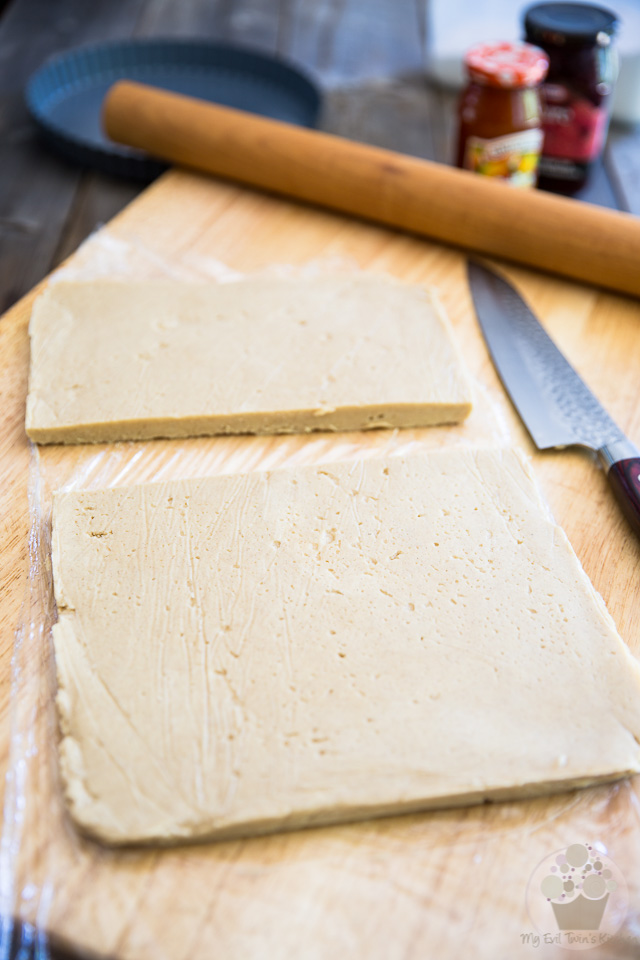
The following day, when you are ready to make your pie, remove the slab of dough from the pan, place it on a cutting board and slice it in half, crosswise.
I know, I know… my halves were *ahem* slightly off. Hmpft! Well, do as I say, not as I did, alright? Maybe I should’ve taken the time to grab my ruler… but give me a break, please? Did I mention it was like two hundred trillion degrees out when I made that pie? I couldn’t even see straight because of all the sweat that was dripping right into my eyes!
And to my defense, the angle of the camera makes it look far worse than it actually was.
So there. Cut your slab of dough in half. That’s smack down in the middle.

Return one half to the refrigerator (really, I’m not kidding. This thing softens up FAST! Need I remind you of how soft it was before you initially chilled it?) and place the other half onto a generously floured surface, or between 2 pieces of parchment paper if you prefer that technique.
Roll your dough to 1/4″ thickness and into a circle that’s about 12″ in diameter.
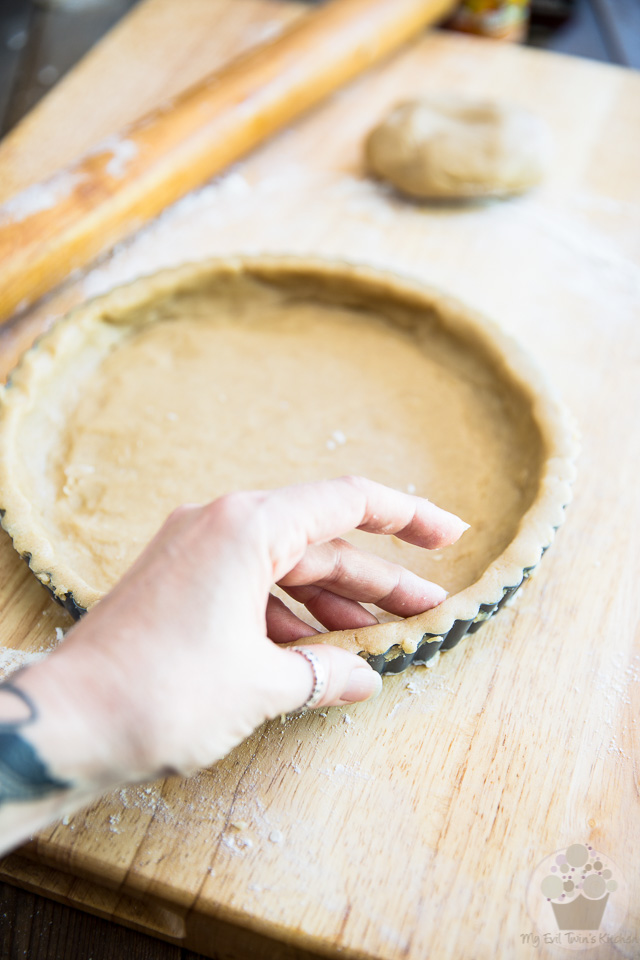
Delicately lift and place the dough into a 9″ fluted pie plate with removable bottom and press it into the pan until the sides and bottom are completely lined with the dough.
Should the dough break and tear a little as you put it in the pan, don’t worry about it: this dough might be extremely delicate, but it’s also extremely forgiving. Simply press, fold or pinch the dough as needed to fix all eventual defects.
Seriously, you should’ve seen mine a few minutes before I took this picture. Cracks everywhere! In fact, I should’ve taken a picture of that, just to show you. Oh well. I will next time, promise !
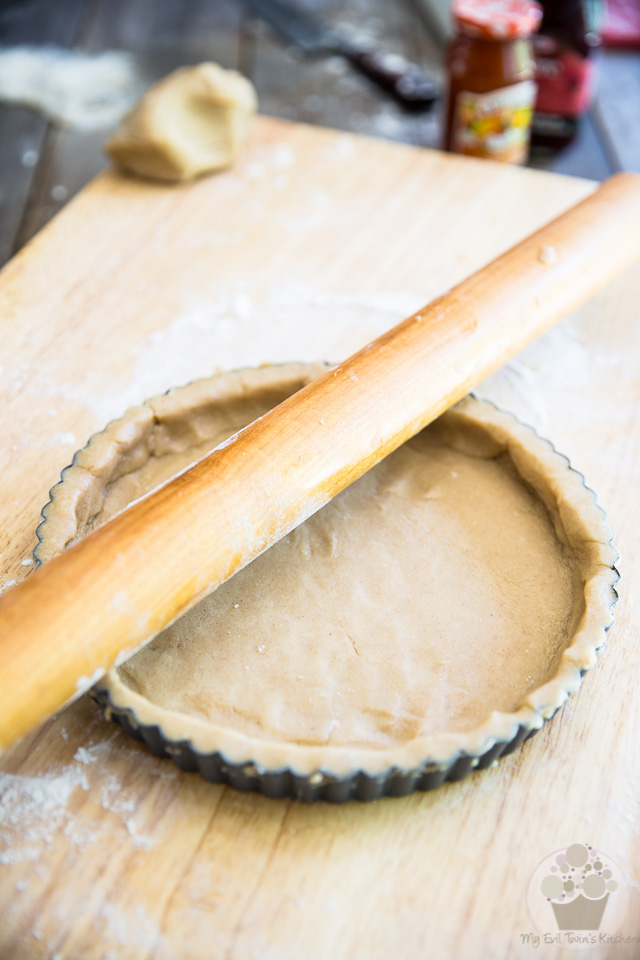
As a finishing touch, lightly roll over the top edge of the pan with your rolling pin to trim any excess dough and make sure that it’s flush with the pan.
Be gentle when you do that; you wouldn’t want to leave all kinds of unsightly indentations in your rolling pin now, would you?
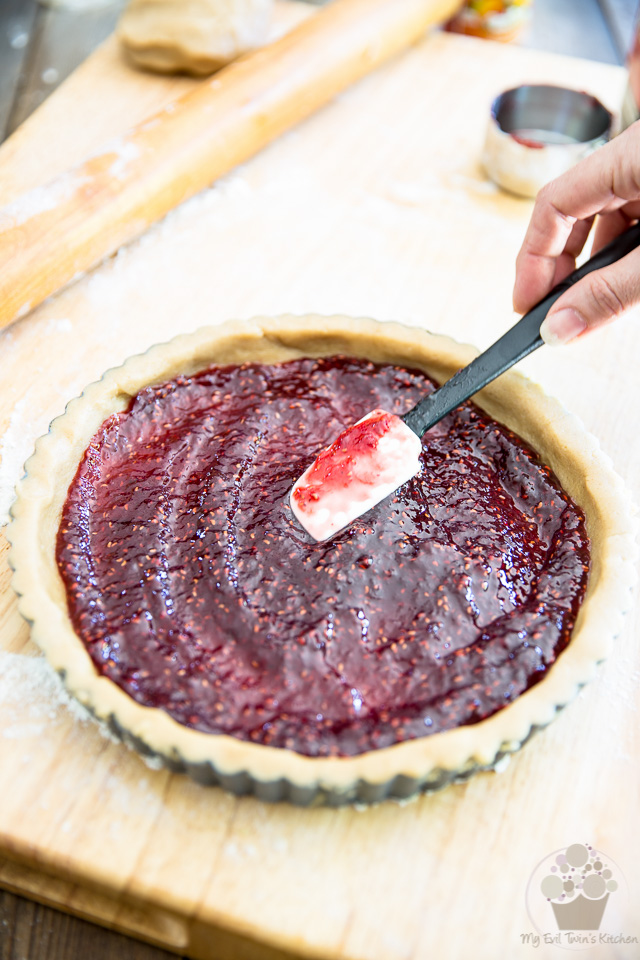
Now delicately spread the raspberry jam all over this bottom crust and set aside.
Note that my personal preference goes to raspberry jam, but you could also use apricot preserve, which is another classic and popular option for this particular tart. Or, you could just as well go with your own personal favorite jam or preserve. Hey, it’s your pie: you decide!
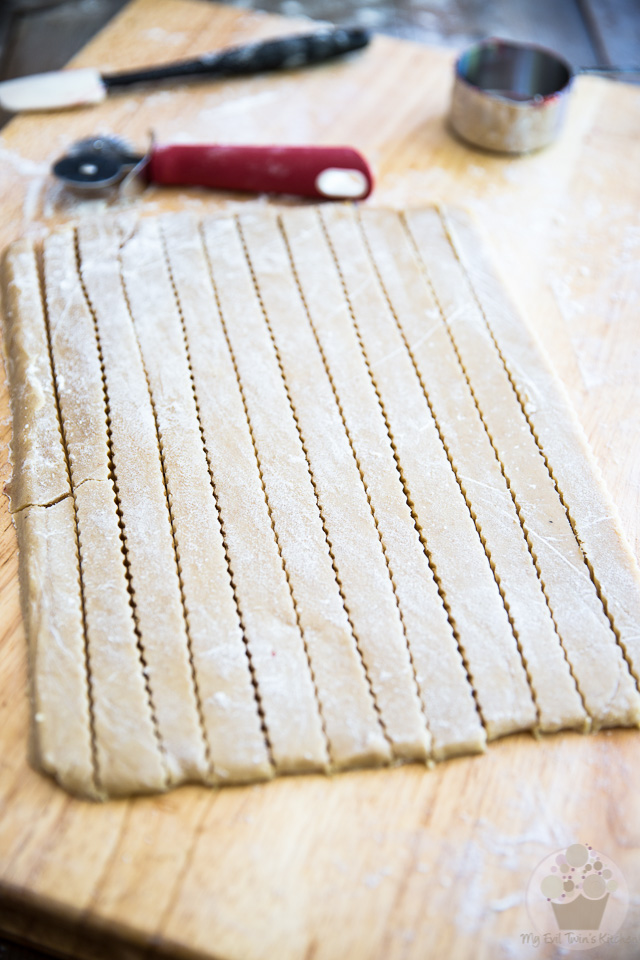
Take the second portion of dough out of the refrigerator and roll it into a roughly 10″ x 14″ rectangle. Cut the rectangle of dough into 12 long strips using a fluted pastry wheel.
This time, you may want to roll the dough over a piece of parchment paper; it will definitely make things easier for you should the dough become too soft and need to be sent back to the refrigerator for a few minutes.
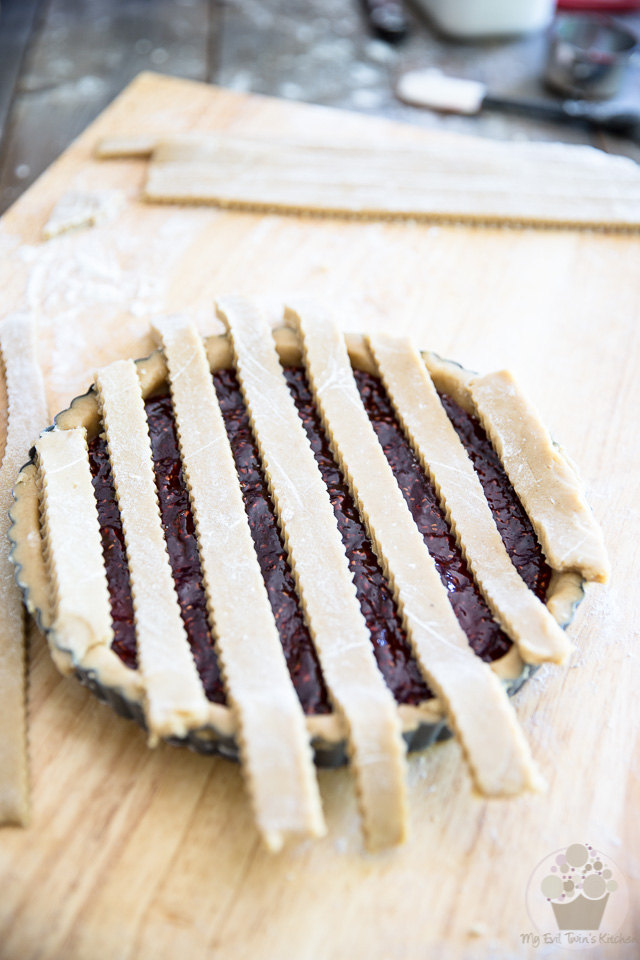
Delicately pick up each strip and arrange them across the top of the torte in a lattice pattern. Trim off any excess.
I wish I’d been able to take a few more shots here to show you how to actually do the lattice pattern, but I had to work really fast since I did NOT work over a piece of parchment paper and therefore, did NOT have the luxury of returning my dough to the refrigerator…
Hopefully next time I make this pie, it won’t be quite as hot out and I’ll have a bit more time to work so I’ll be able to take a few extra clicks and fill in the blanks!

Save 2 full length strips of dough to encircle the outer edge of the tart and then use a fork to press them into the edge of the bottom crust and seal the edges.
Send your pie to the refrigerator for 30 minutes.
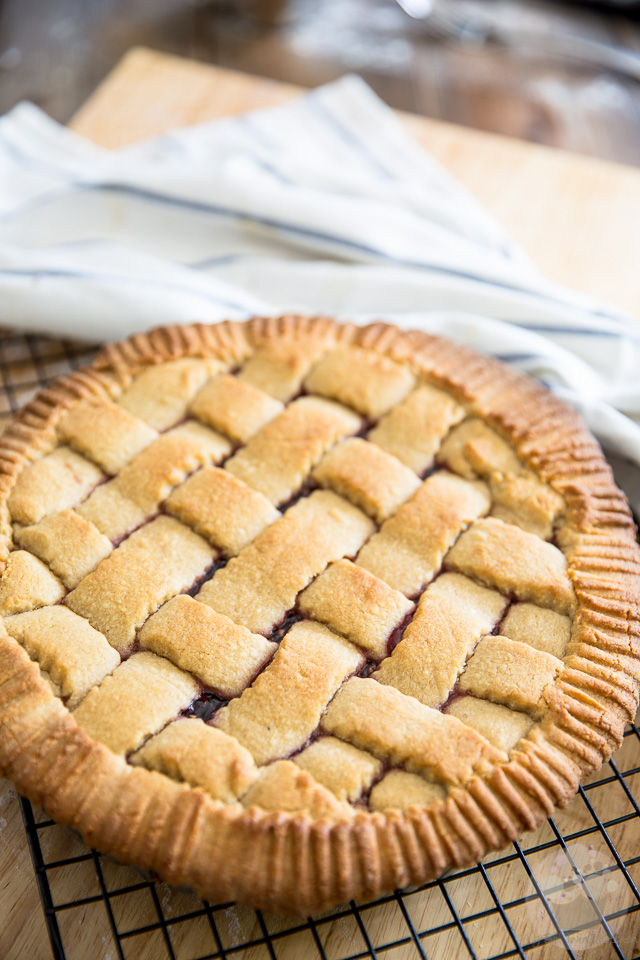
Preheat your oven to 350°F; bake the pie for 30 to 35 minutes, rotating the pan halfway through, until the pastry is golden brown.
Place the pie on a wire rack and allow it to cool completely before unmolding.
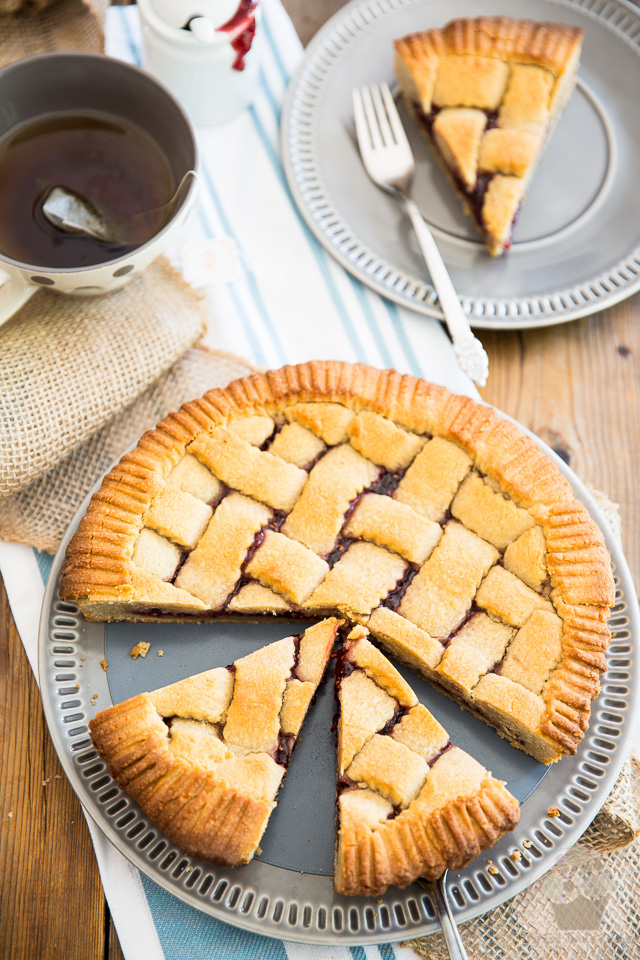
Ideally, if you still have some patience left in you that is, you’ll want to let the pie sit in the fridge until the next day before you serve it…
But hey, before you throw rocks at me, it would still be super delicious if you chose to have a piece today, you know. Just promise me that you’ll at least wait until it gets down to room temperature before you get a taste: this tart is not meant to be enjoyed warm.
Why of course, you can shove it in the fridge to help it get colder faster!
Haven’t you noticed yet? Linzer Torte + Ice Box = BFF Forever!

Ingredients
- 3 cups (385g | 13.5oz) unbleached all-purpose flour
- 2-1/2 cups (265g | 9.3oz) almond flour
- 1 tsp ground cinnamon
- 1 tsp baking powder
- 1/2 tsp salt (I use Himalayan salt)
- 1-1/4 cups (300g | 10.6oz) butter, at room temperature
- 1-1/2 cups (300g | 10.6oz) light brown sugar
- 1/4 cup (60ml) whole milk
- 1 large egg
- 1 large egg yolk
- 1 tsp pure vanilla extract, (store-bought or homemade)
- 1 cup (330g | 11.6oz) pure raspberry jam (or other preferred fruit preserve)
Instructions
- In a large mixing bowl, combine the flour, almond flour, cinnamon, baking powder and salt. Mix well with a whisk and reserve.
- In a small measuring cup, whisk together the milk, egg, egg yolk and vanilla extract. Set aside.
- In the bowl of your food processor, beat the butter and brown sugar until well combined and creamy. Pour in the milk and egg mixture and resume processing until light and fluffy. Then, add the dry ingredients and mix on pulse until the dough comes together, no more.
- Line a 9" x 13" baking sheet with a piece of plastic film and then dump the dough onto it. With a spatula, spread the dough evenly and all the way to the edge and then cover it with a second piece of plastic film. Smoothen out the dough by stroking the surface gently with your hand. Refrigerate until the next day.
- When you are ready to make your pie, cut the slab of dough in half crosswise. Return one half to the refrigerator and place the other half onto a generously floured surface (or between 2 pieces of parchment paper); roll it to 1/4" thickness and into a circle that's about 12" in diameter. Delicately lift and place the dough into a 9" fluted pie plate with removable bottom and press it into the pan until the sides and bottom are completely lined with the dough. Should the dough break and tear a little, don't worry about it: simply press or pinch the dough as needed to fix all eventual defects.
- Lightly roll over top edge of the pan with your rolling pin to trim any excess dough so it's flush with the pan.
- Delicately spread the raspberry jam all over this bottom crust and set aside.
- Take the second portion of dough out of the refrigerator and roll it into a 10" x 14" rectangle. Cut this rectangle into 12 strips using a fluted pastry wheel. (You may want to do this over a piece of parchment paper, it will make things easier for you should you need to return the dough to the refrigerator.)
- Delicately pick up each strip and arrange them across the top of the torte in a lattice pattern; trim off any excess. Save 2 full length strips of dough to encircle the outer edge of the tart and then use a fork to press them into the edge of the bottom crust and seal the edges.
- Send your pie to the refrigerator for 30 minutes.
- Preheat your oven to 350°F; bake the pie for 30 to 35 minutes, rotating pan halfway through, until the pastry is golden brown.
- Place the pie on a wire rack and allow to cool completely before unmolding.
- Serve chilled or at room temperature.
Oh I am right there with you! Pies just don’t do it for me. I’m just not a big fan of cooked fruit :/ but goodness this looks absolutely stunning. Your photography never ceases to amaze me. Teach me your ways, master! Lol
Hahaha! You are too kind, Jordan. I’m afraid the only thing I could teach you is how to push a button (sometimes, I feel that’s all I do… it’s the camera that does all the work!)
And now that I think of it, I don’t think I care much for cooked fruit either. No wonder, I’m not a pie person!