A tangy no-bake cheesecake nestled in a maple cookie crust, topped with fresh berries buried under a thick layer of creamy maple fudge.
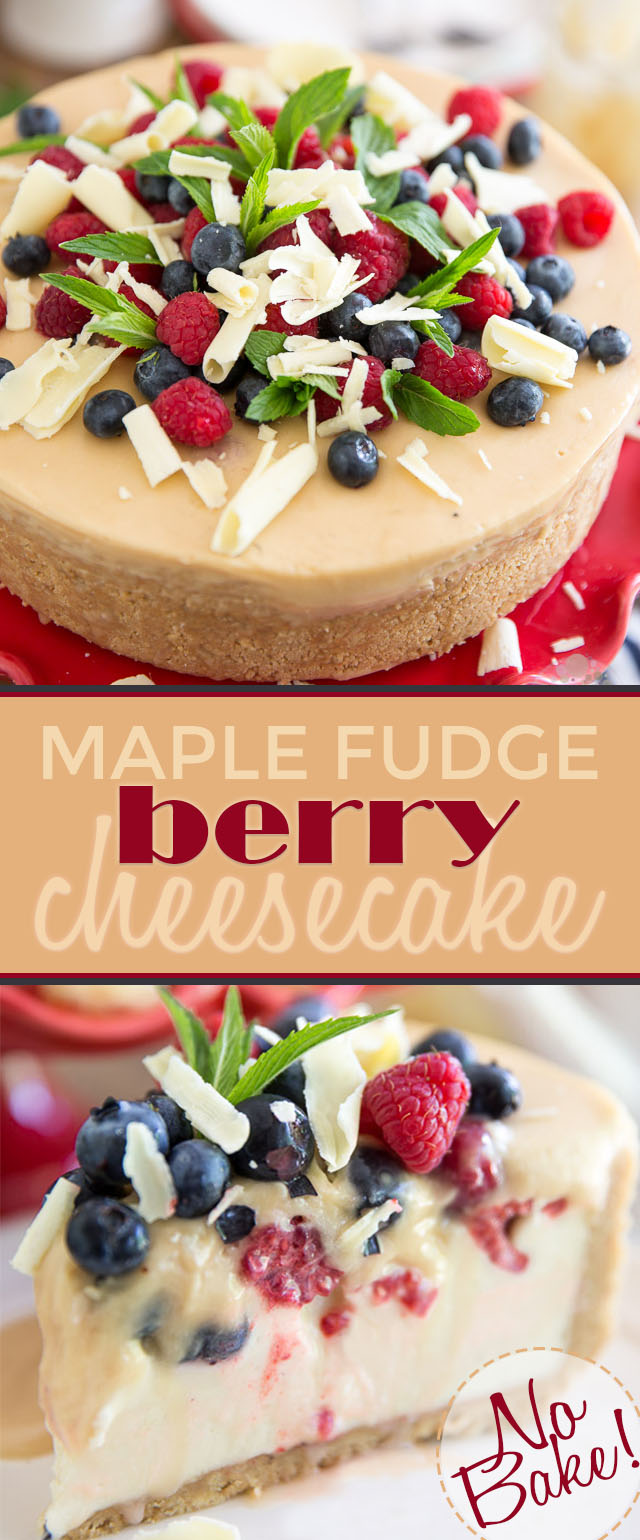
I was talking with my best bud, partner and taste tester the other night and asked him what indulgence he would like me to create next for my blog. My visions had been to make either some kind of sugar pie with loads of fresh berries buried under the filling, or a Coconut-y “Almond Joy” Cheesecake. Of course, he had to complicate things for me. He couldn’t have simply chosen one — no, that would’ve been too easy. The guy always has to challenge me, you know. So he answered that he would actually love a combination of both: a Maple Cheesecake topped with loads of fresh berries, buried under a thick layer of some kind of sweet fudge filling.
HA! You know how I always love me a good challenge: I immediately started to try and create this thing in my mind…
Oh, it was going to happen, and it was going to be decadent!
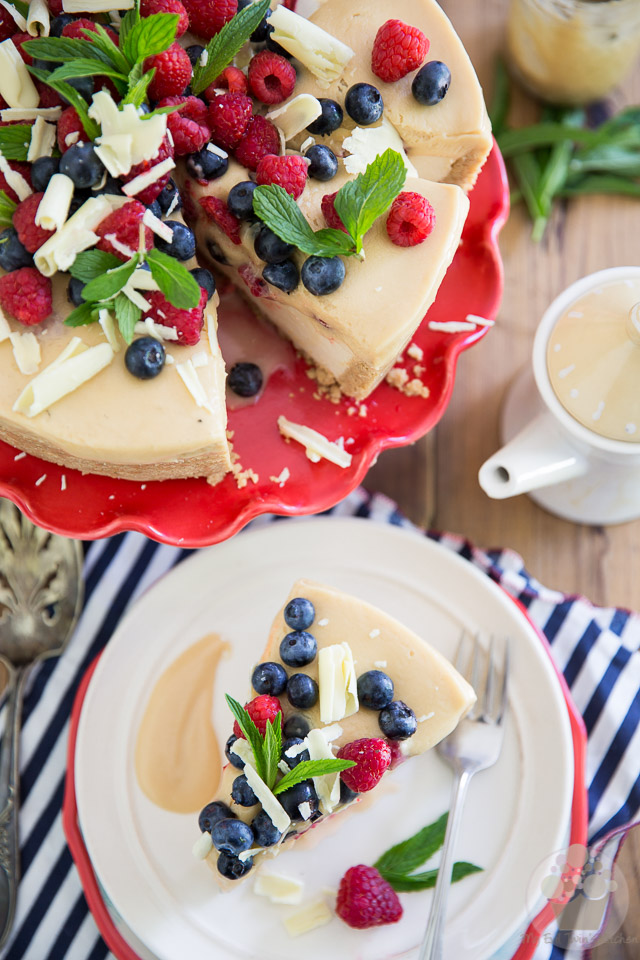
To make the crust, I was initially going to go with Nilla wafers, but then I had the craziest idea: why not take things to the next level and make that crust out of Maple Leaf Cookies? After all, if one could use Oreo cookies and turn them in to a cheesecake crust, I saw no reason why maple leaf cookies would not work! And my oh my do they ever! Just you wait until you try that crust!
Since fresh fruit was going to be involved, I decided that the filling would have to be of the no-bake kind: fresh, light, creamy, delicate and velvety.
And then came the matter of the fudge topping. I wanted to go with something like this pure maple fudge, only I’d have to come up with a version that would remain soft, to match the delicate texture of the cheesecake.
The result was nothing short of spectacular; one of my favorite cheesecakes, if not plain overall desserts of all time. It’s just the perfect balance of sweet, salty, tangy and fresh! Every flavor and texture perfectly complements the next. Every bite is a pure symphony for the taste buds.
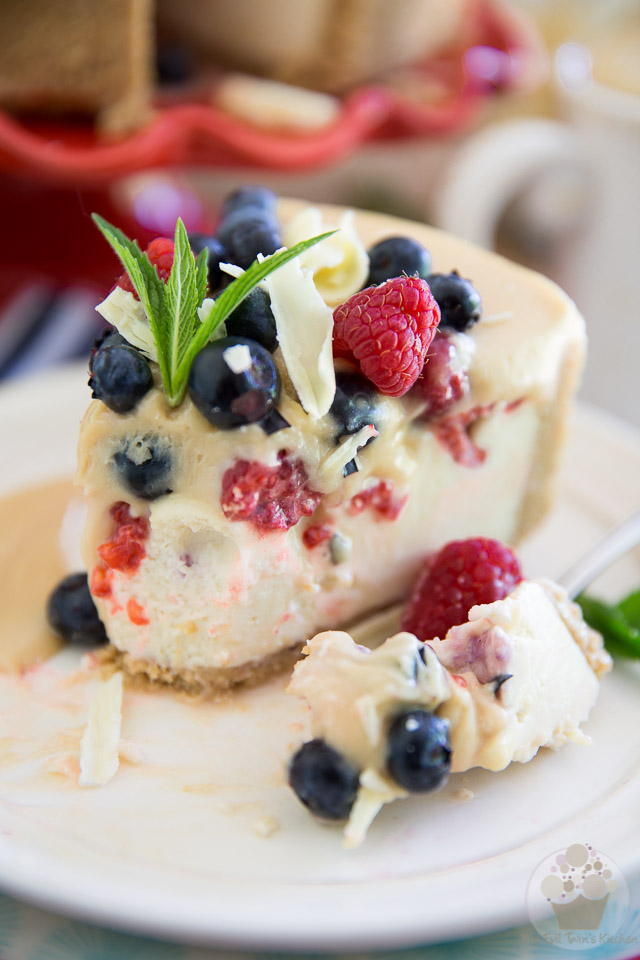
This No-Bake Maple Fudge Berry Cheesecake is the perfect tangy no-bake cheesecake nestled in a delicious and unique maple cookie crust, topped with mounds of fresh berries and buried under a thick layer of creamy, velvety maple fudge.
Totally worth sinning for!
STEP-BY-STEP INSTRUCTIONS & PICTURES
TO MAKE THE CRUST
Line the bottom of a 9” springform pan with parchment paper. To do that, remove the ring and cover the bottom with parchment paper. Fold the excess paper back under the plate and, while holding it in place with one hand, put the ring back in its position with the other hand. Bring the excess paper back from under the pan but do not cut it off.
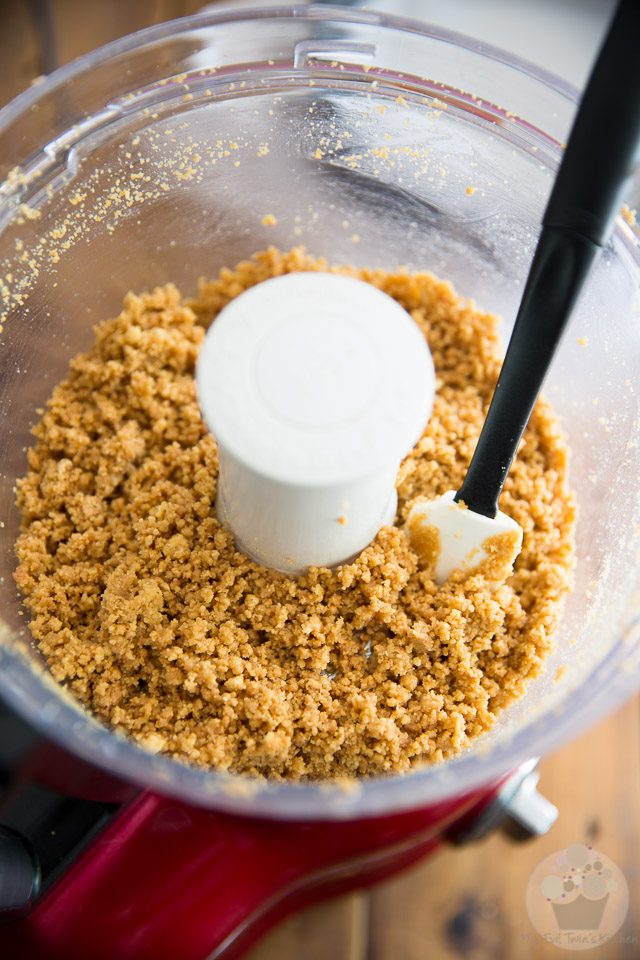
Next, place the maple leaf cookies and melted butter in the bowl of your food processor; process until reduced to fine crumbs.
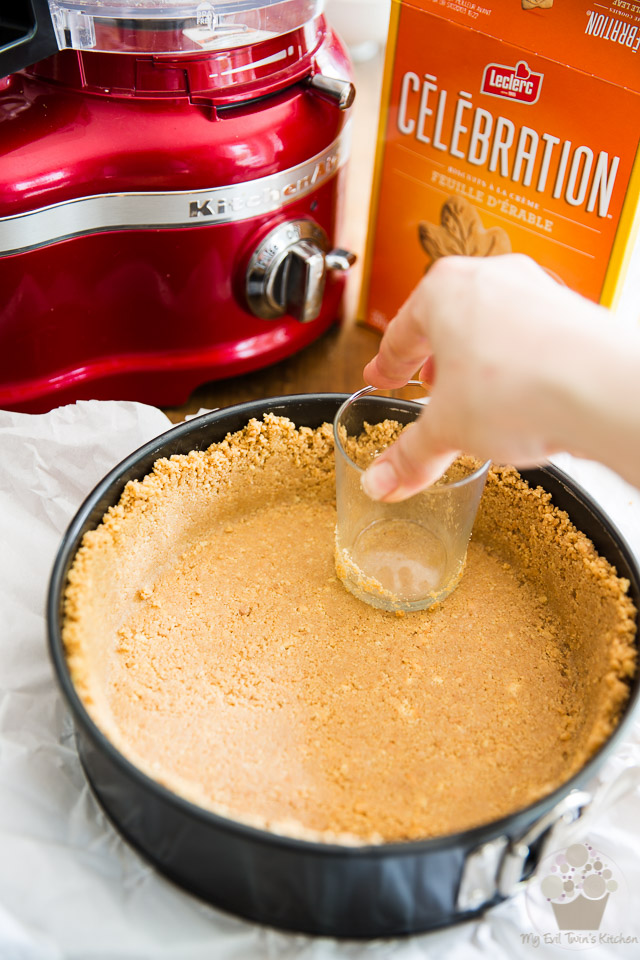
Press the mixture firmly (emphasis on firmly!) at the bottom and about 3/4 of the way up the side of the prepared pan and set that crust aside for now.
To press the crust, I always find that a flat bottomed glass was the ultimate tool. Speaking of which… notice anything different? Remember how I was recently telling you about my super cute and beloved giraffe glass and how, if I ever broke that adorable little guy, I’d be devastated?
Well, guess what… I must have jinxed it that day because I broke it less than a week later. Total bummer. And yes, I was devastated.
But this new replacement guy does the trick, only he’s not half as adorable…
TO MAKE THE CHEESECAKE FILLING
The first thing you should do is place the sheet gelatin to soak in a large bowl filled with icy cold water. Or, if using powdered gelatin, sprinkle it over the maple syrup so it has a chance to bloom. If you’re not familiar with sheet gelatin, you can refer to this post where I talk about it a little bit more extensively.
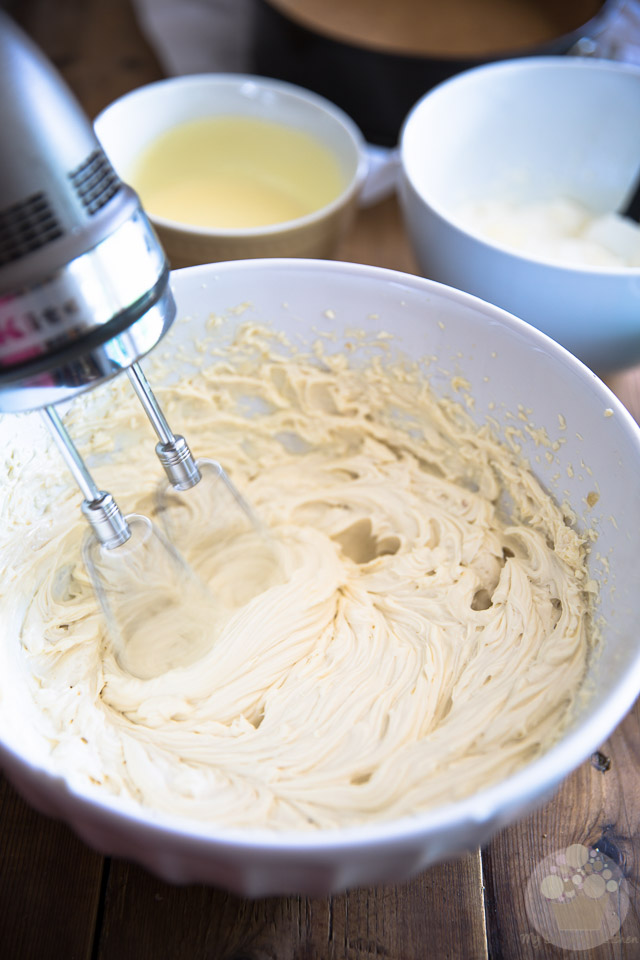
In a large mixing bowl, combine the cream cheese, sour cream, brown sugar, lemon juice and salt and mix on high speed with an electric mixer for about 2 minutes, until light and fluffy.
Just as an FYI, there is no need to have the ingredients at room temperature here. In fact, it’s probably best if you take them straight out of the fridge.
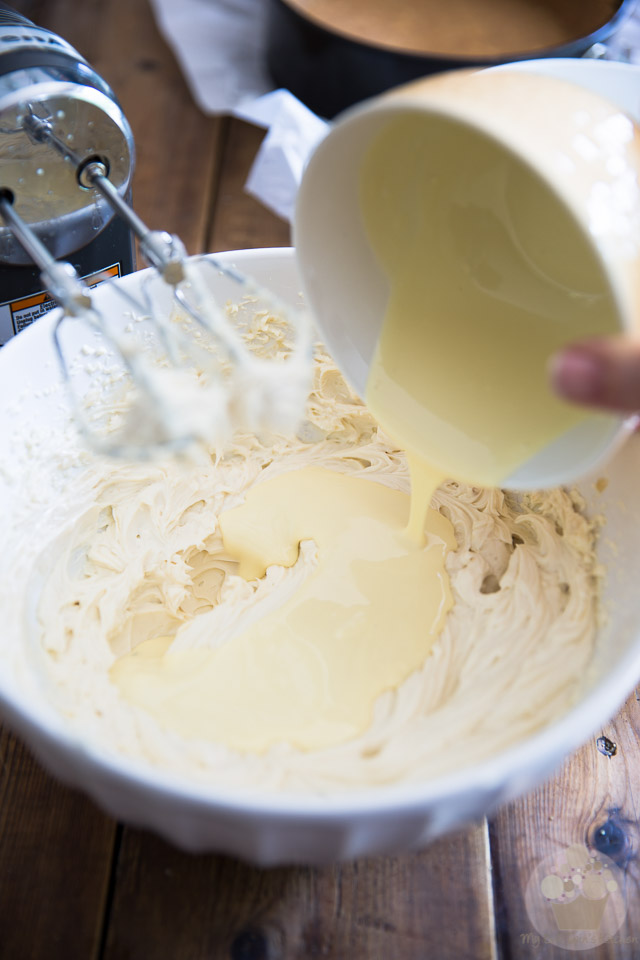
Now add the melted white chocolate and quickly mix it in with the electric mixer.
Make sure that your white chocolate is nice and warm and completely lump free and don’t let it sit in the cold cheese mixture for too long, or else it might seize up on you…
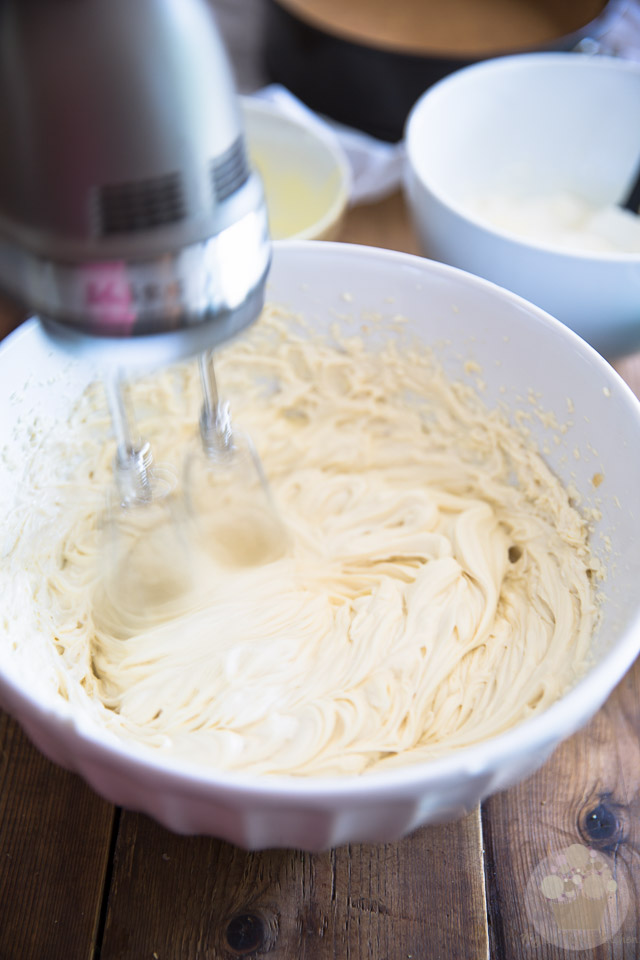
Start beating as soon as you’re done pouring that white chocolate into the bowl, and don’t stop until it’s completely and evenly combined.
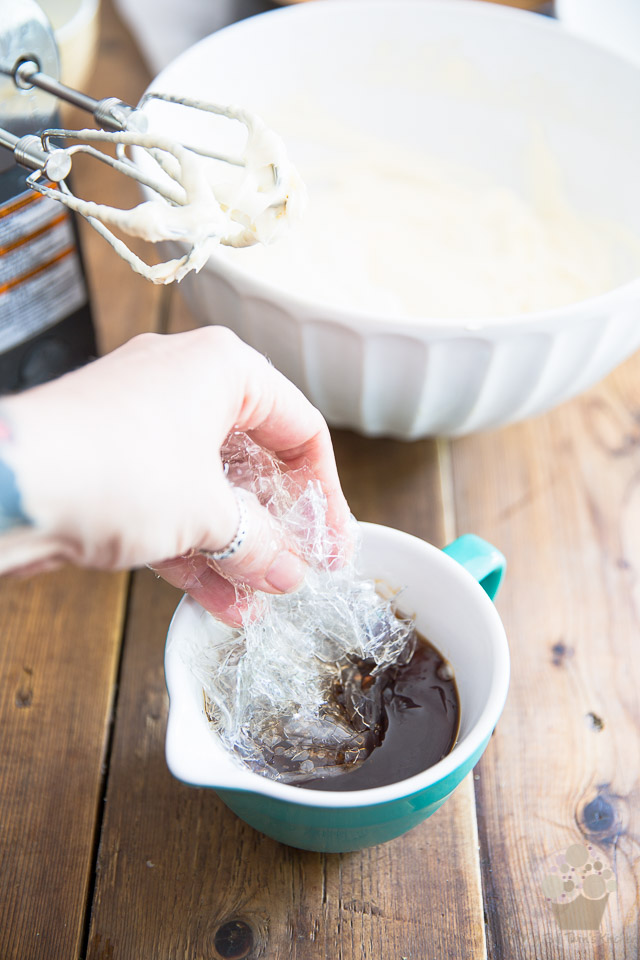
Warm the maple syrup in the microwave until barely just warm to the touch (and until gelatin is completely melted, if using powdered gelatin).
Remove the sheet gelatin from the cold water and squeeze it well between your hands to remove as much water as possible. (Again, see this post for detailed instructions and pictures)
Add the gelatin to the warm maple syrup and stir until fully dissolved. If the gelatin won’t completely dissolve, warm it in the microwave for just a few seconds and stir well between each session until it’s completely dissolved.
Regardless of what kind of gelatin you’re using, it’s extremely important that you never let the maple syrup become hot, or you may end up destroying the delicate gelatin.
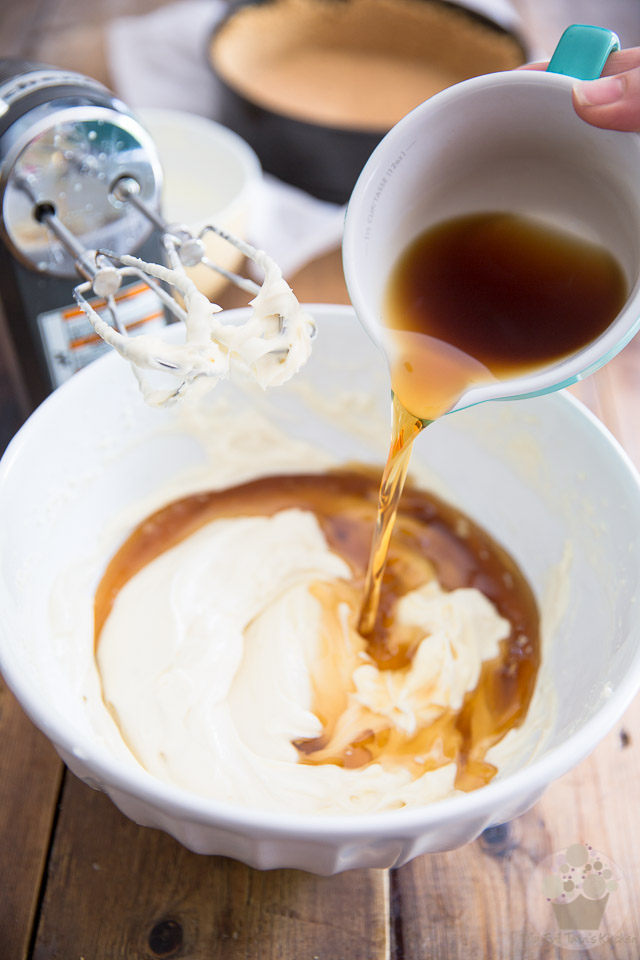
Now pour the warm syrup and melted gelatin into the cream cheese mixture…
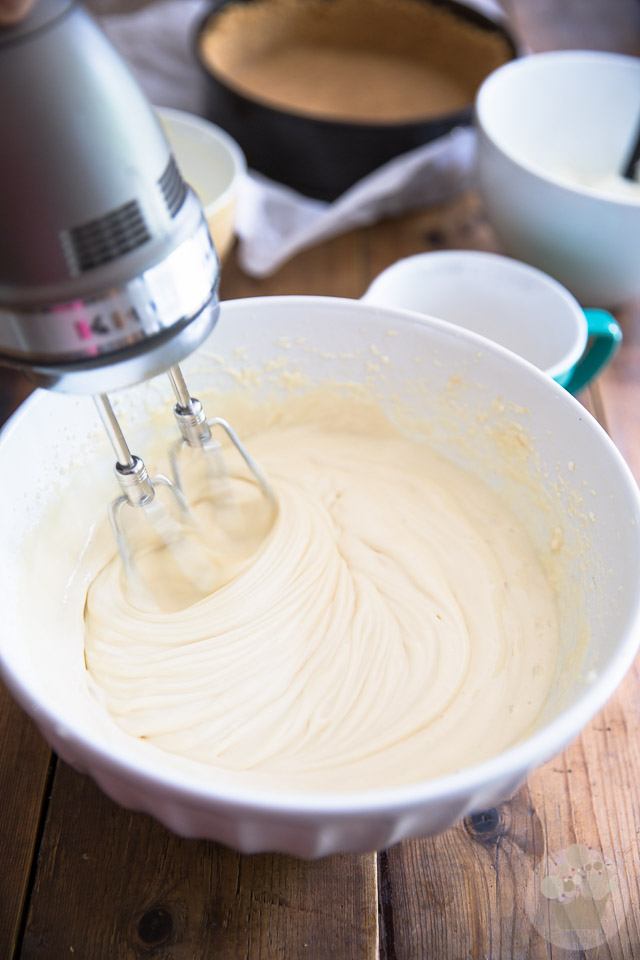
And resume mixing until it’s well incorporated.
Again, don’t let things sit for too long here. You wouldn’t want that gelatin to start gelling before you’ve had a chance to transfer the batter into the pan. Or worse, to lump up on you, which could very well happen if you didn’t mix it in right away.
No time to answer the door or put a load in the washer. Focus on the task at hand!
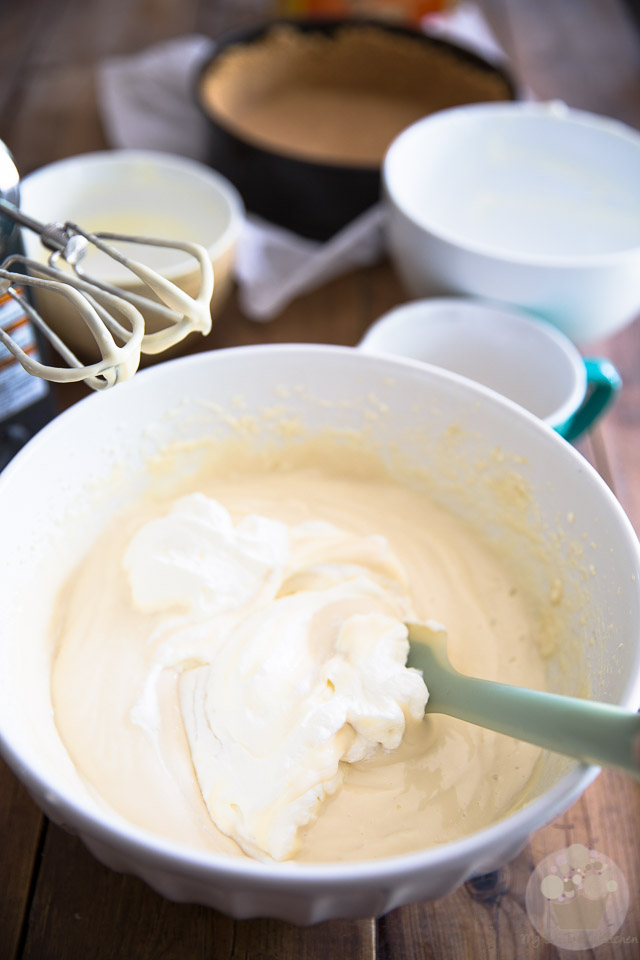
Lastly, promptly fold in the whipped cream. Remember: that gelatin is still gelling! Time is of the essence; work fast!
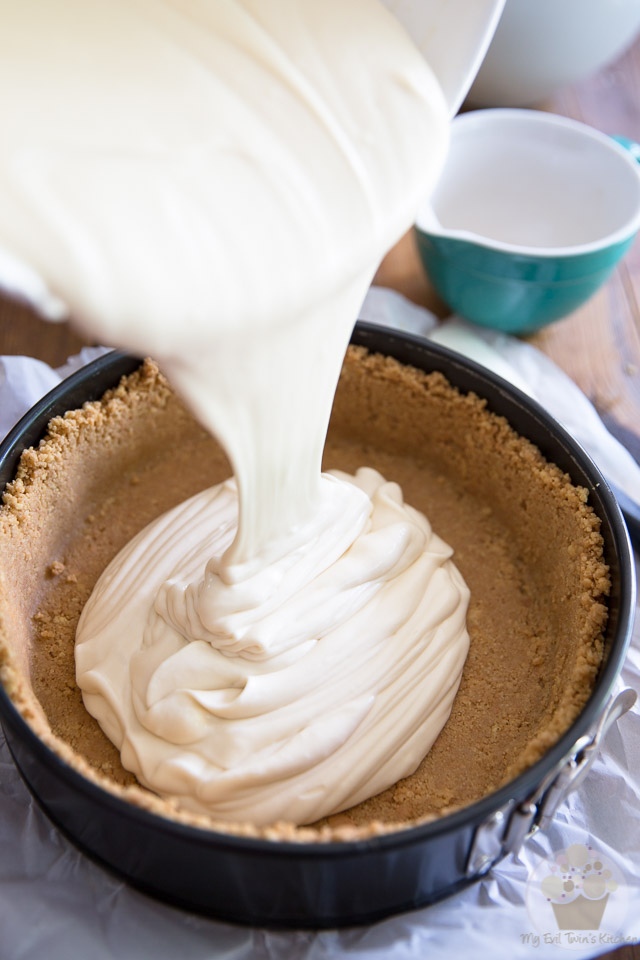
Pour the cheese filling onto reserved crust…
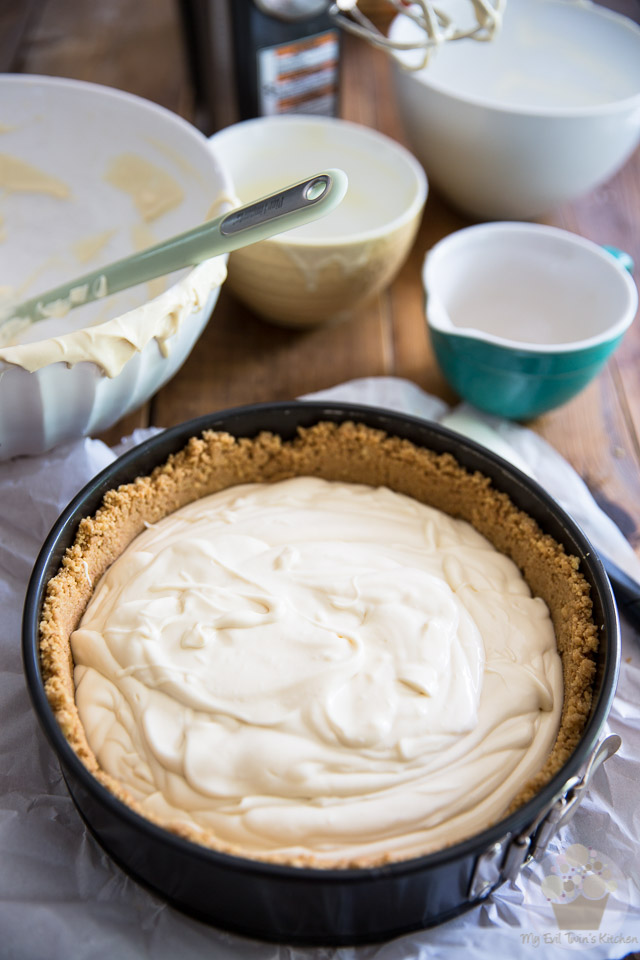
And spread evenly all the way to the edge.
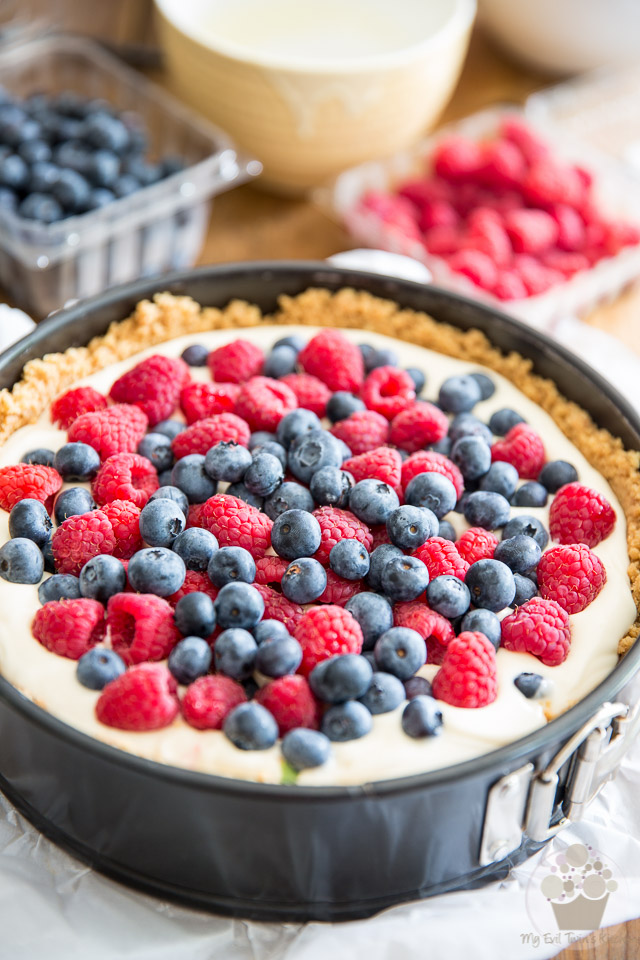
Top with half a pint of fresh raspberries and half a pint of fresh blueberries and press delicately on the fruits to make them sink into the batter just a little bit.
Put put the cake in the fridge to set for at least an hour. That’ll give us plenty of time to work on that delicious maple fudge topping.
TO MAKE THE MAPLE FUDGE TOPPING
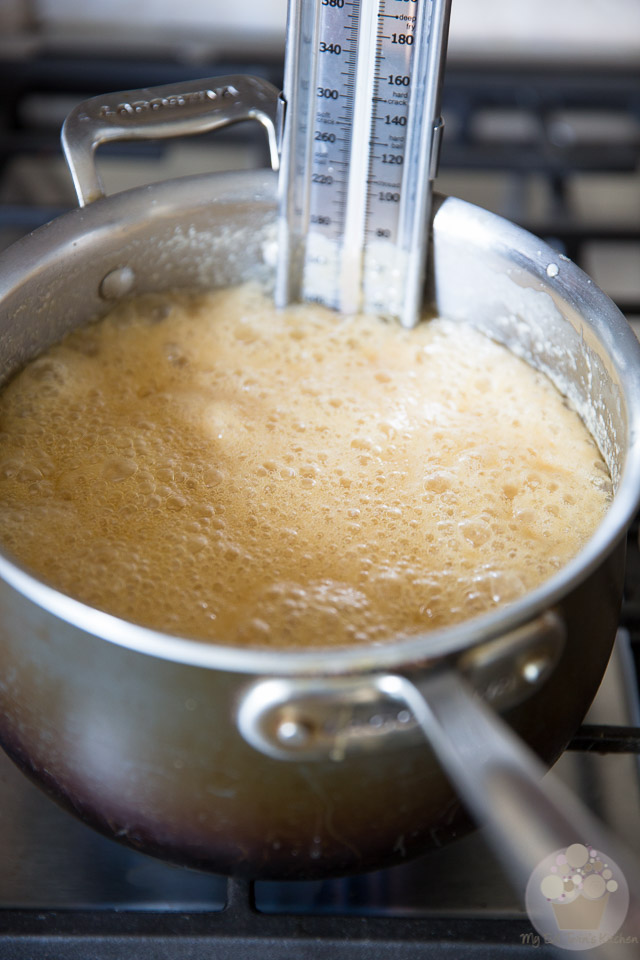
Place the heavy cream, maple syrup, brown sugar, sugar, corn syrup and salt in a large, heavy-bottomed saucepan and cook over medium heat, stirring from time to time, until the sugar dissolves.
Then, bring the mixture to a boil (be careful, it will rise quite dramatically so keep a close eye on things and be sure to use a large enough saucepan) and then let it simmer until it reaches 230°F (110°C) on a candy thermometer; this should take about 20 minutes.
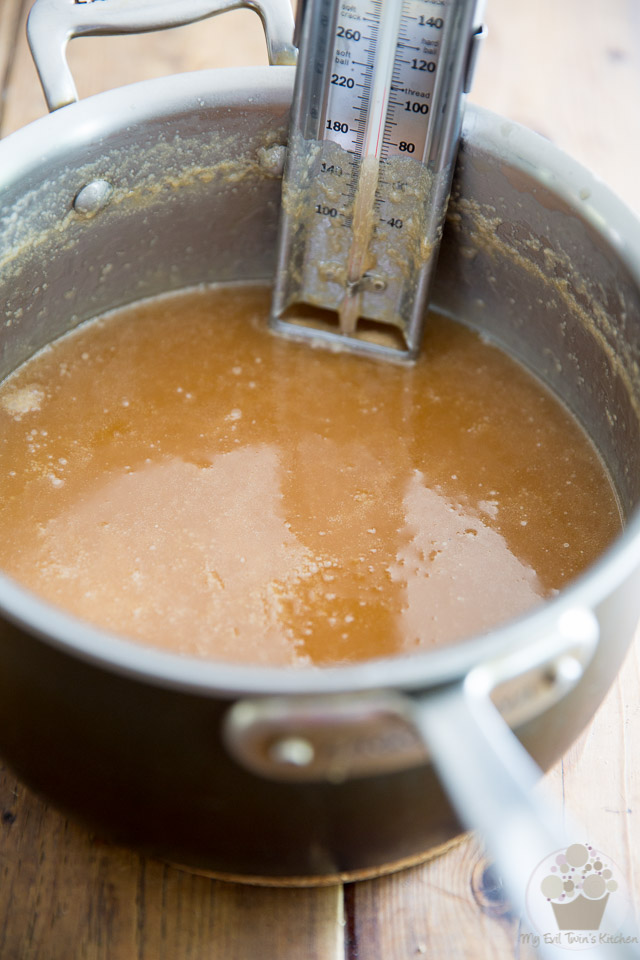
Remove from heat and let the mixture settle for a few moments…
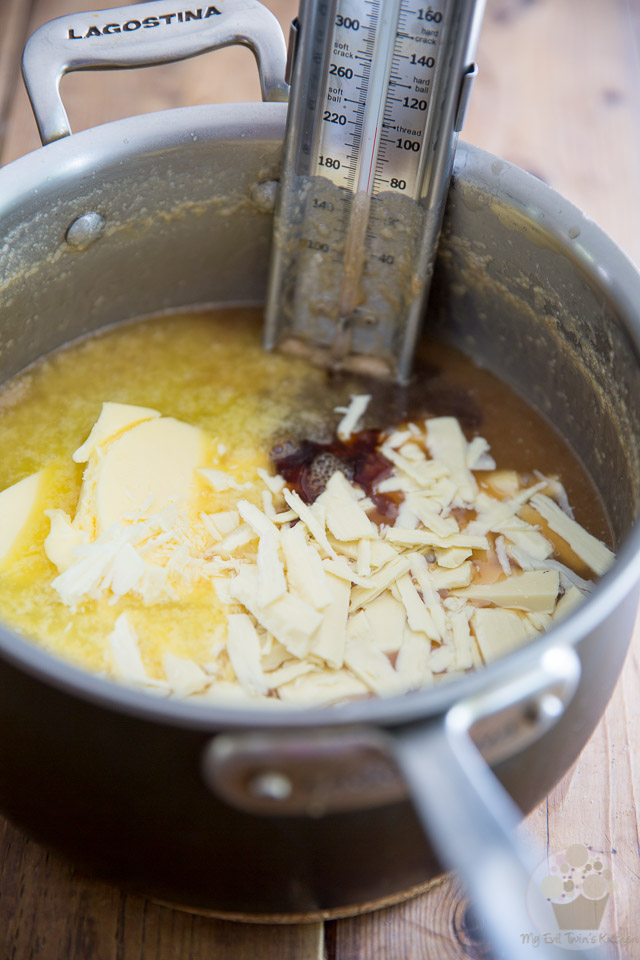
Then add the chopped white chocolate, butter and vanilla and set aside to cool without stirring until the thermometer reads 115°F (45°C), about 25 minutes.
To speed things up a little bit, you can place the saucepan in a cold water bath.
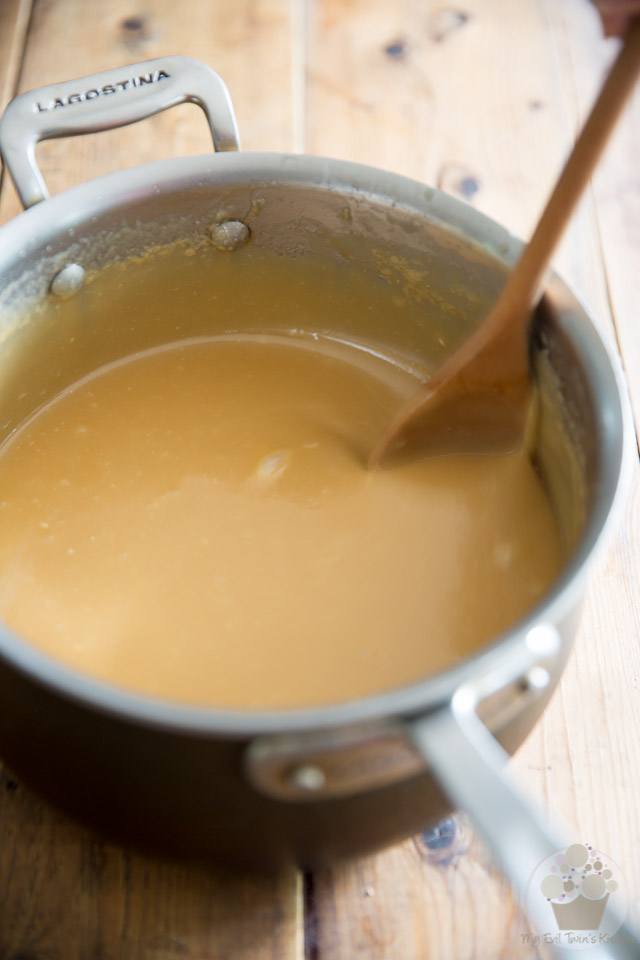
Once the syrup has reached the right temperature, stir delicately with a wooden spoon until smooth and well combined.
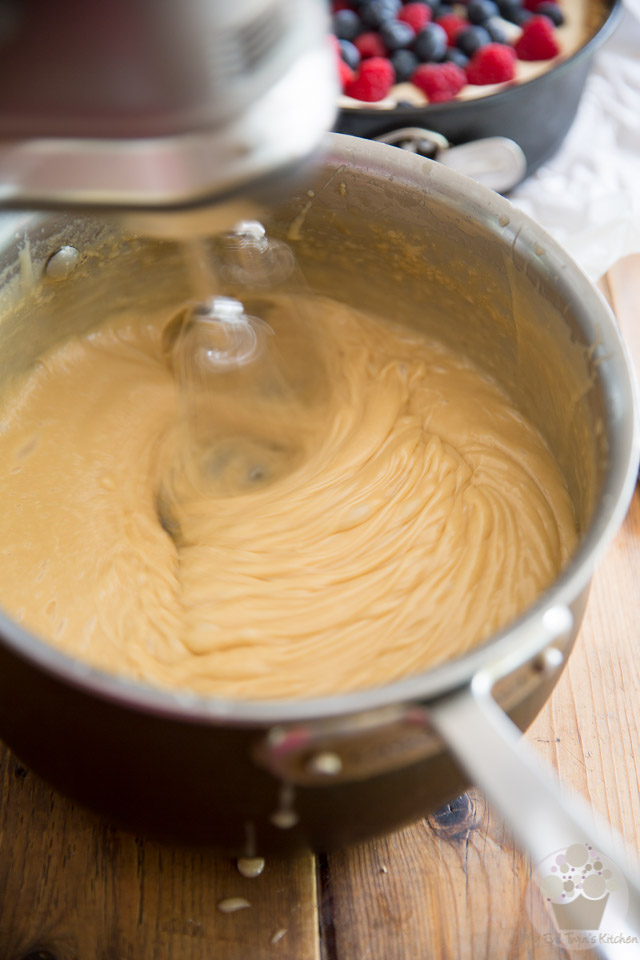
Then, using an electric mixer, beat on high speed until the mixture becomes thicker and paler, about 5 minutes.
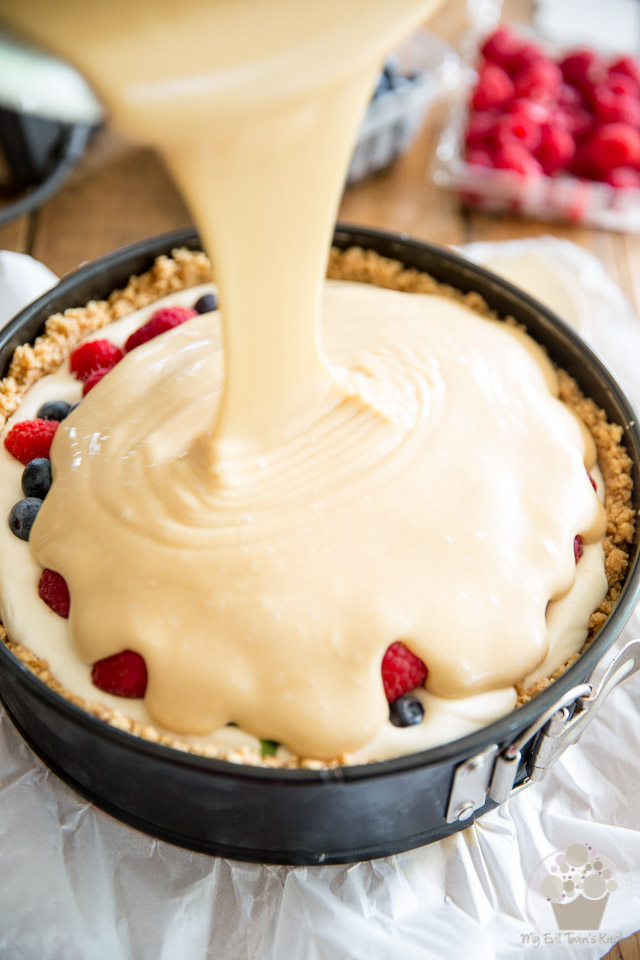
Promptly pour this delicious soft maple fudge over your chilled cheesecake, making sure to reserve about half a cup in the pan.
Technically, you should have a little more than that leftover anyway, but I’m sure you won’t mind… besides, you can use it to decorate your plates, if you manage not to eat the whole thing by the spoonful before your cake is ready.
Whatever you do, though, make sure to keep at least a few tablespoons of that fudge, as you’ll need it to garnish the cake later. And keep it at room temperature,too: you want it to remain soft and pliable.
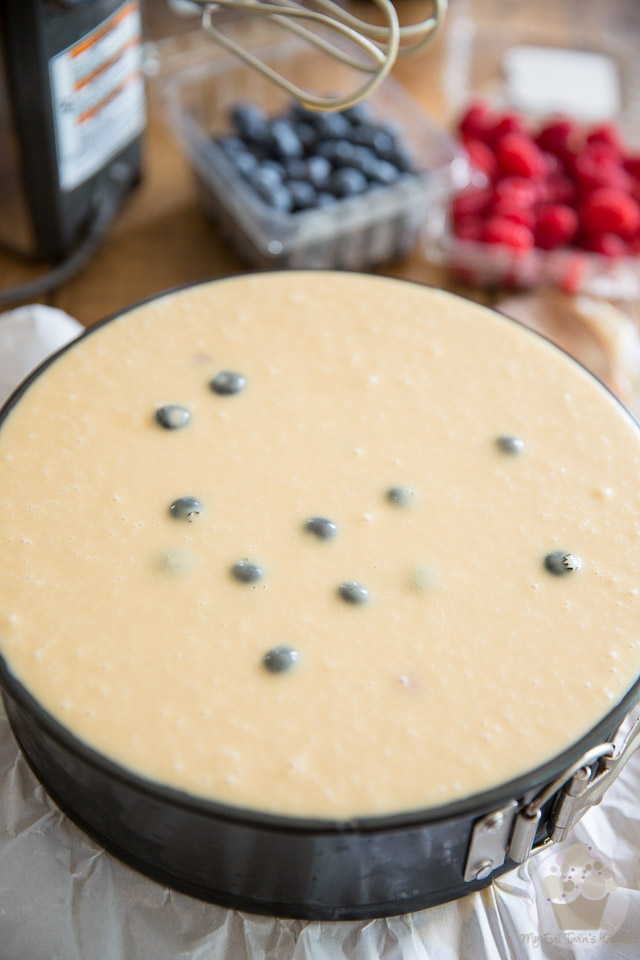
Spread the fudge evenly all the way to the edge and then gently tap the side of your pan and give it a little shake to get rid of any air bubbles and help the top settle and smooth out.
Place the cake back in the fridge to set completely this time, at least 6 hours but preferably overnight.
TO GARNISH
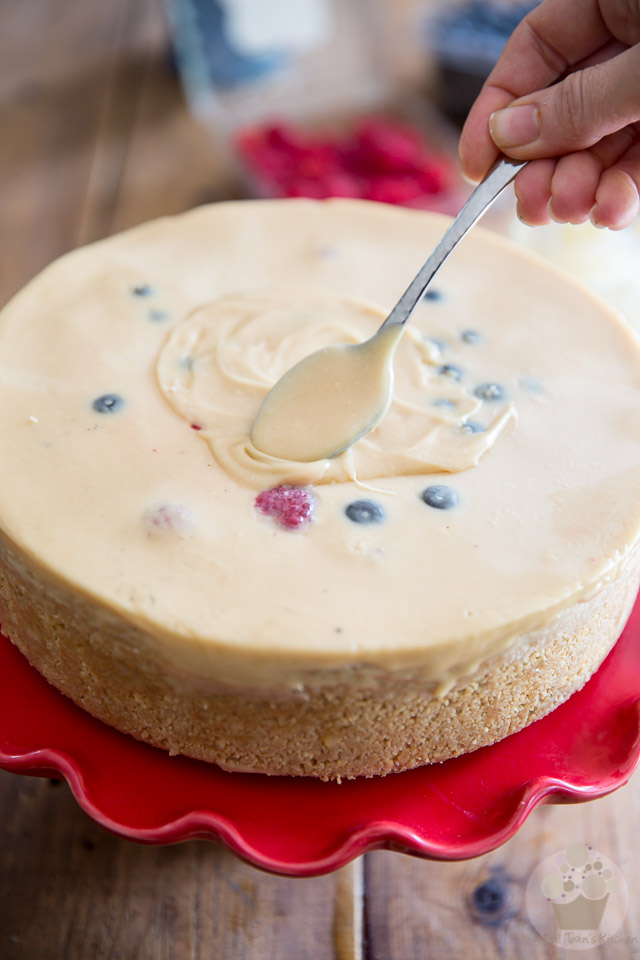
Take the cake out of the pan and place it on a cake plate or stand.
To help release the cake real cleanly, it helps to slightly warm up the side of the pan. I find the best way to do this is by delicately heating it with a propane torch or warm cloth. If you choose to use a propane torch, make sure that you maintain a good distance from that pan. You just want to warm it up some, not completely melt the cake!
Now time to use that leftover fudge! Spread a few tablespoons of it right in the center of the cake. This will help your fruits adhere to the surface.
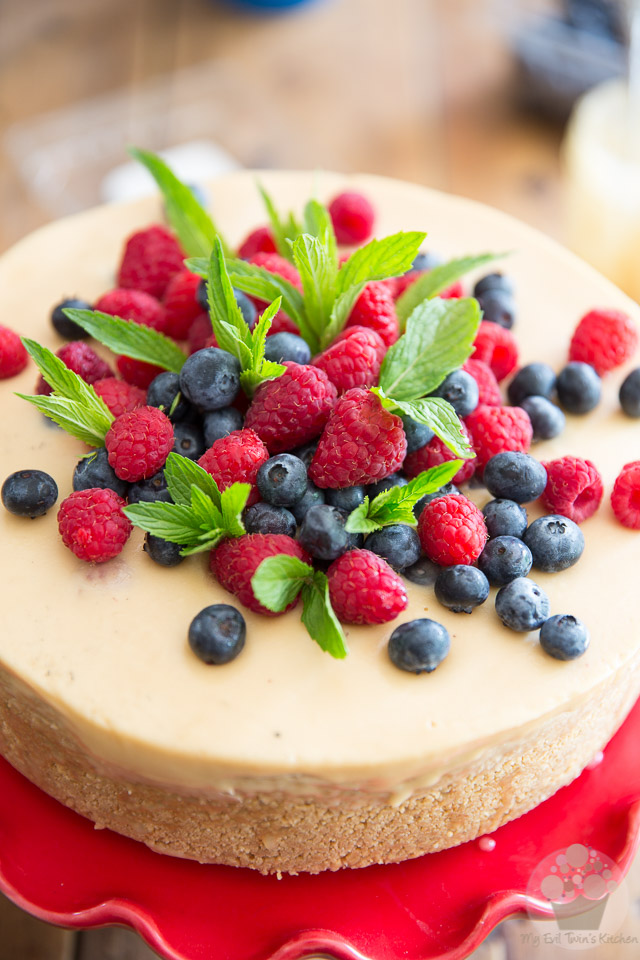
Top with a generous amount of fresh blueberries and raspberries then garnish with fresh mint leaves.
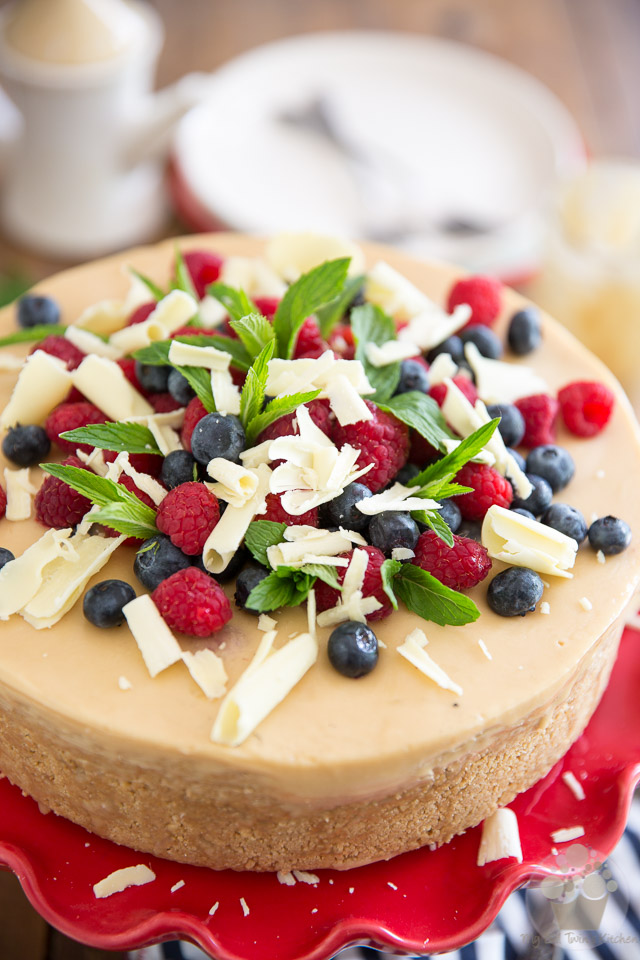
For a truly dramatic effect, top with a handful of white chocolate shavings and then promptly return your cake to the refrigerator.
This cake is fairly delicate and it definitely is in its best interest (and yours) to keep it refrigerated until ready to serve.
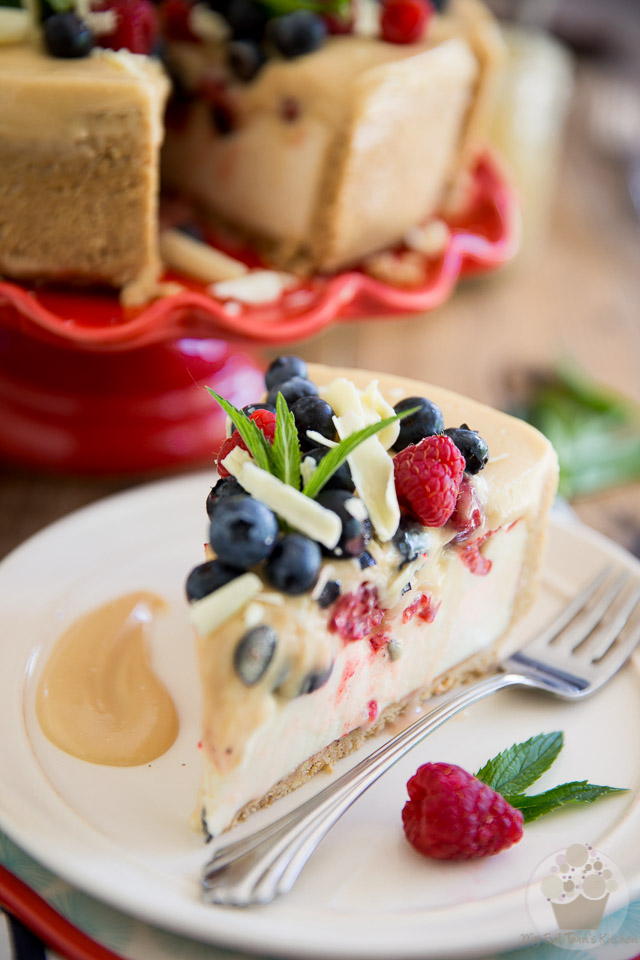
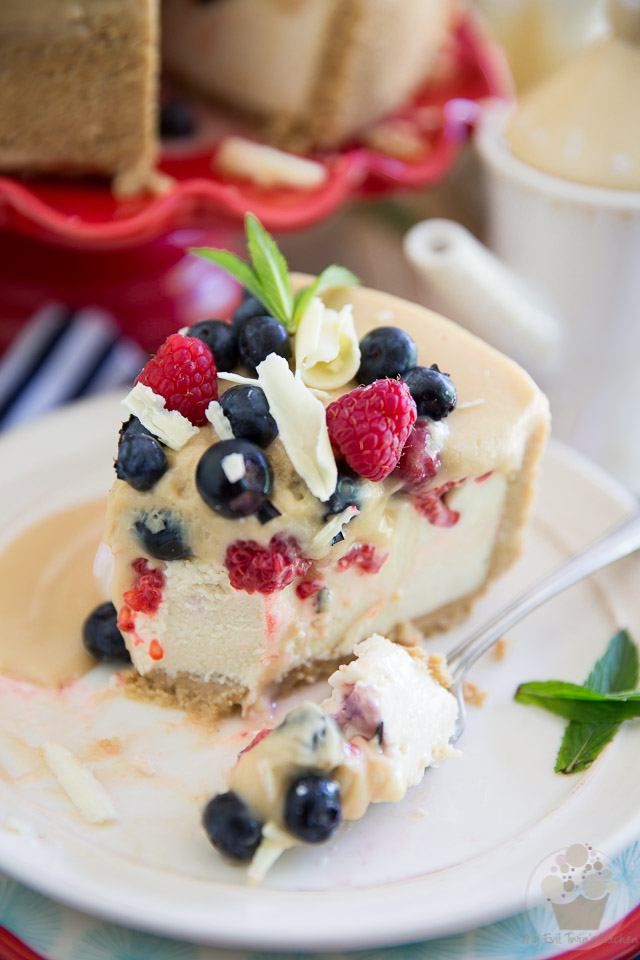
Now if you were good and didn’t eat all of that leftover soft fudge, use some of it to decorate your plates.
Ingredients
- 32 maple leaf cookies, broken into pieces
- 1/2 cup (120g | 4oz) butter, melted
- 2- (250g | 8oz) packages cream cheese
- 1/2 cup (125g | 4oz) sour cream
- 1/2 cup (100g | 3.5oz) light brown sugar
- 1 tbsp fresh lemon juice
- 1/4 tsp salt (I use Himalayan salt)
- 1 cup (150g | 5.25oz) white chocolate, melted
- 1/2 cup (120ml) pure maple syrup
- 6 sheets gelatin (or 2 tbsp (11g) powdered gelatin)
- 1/2 cup (120ml) whipping cream, whipped
- 1 half-pint container (170g | 6oz) fresh raspberries
- 1 half-pint container (170g | 6oz) fresh blueberries
- 1-1/2 cups (360ml) whipping cream
- 1 cup (240ml) pure maple syrup
- 1 cup (200g | 7.1oz) granulated sugar
- 1 cup (200g | 7.1oz) light brown sugar
- 1/2 cup (60ml) corn syrup
- 3/4 tsp salt
- 1 cup (150g | 5.25oz) white chocolate, finely chopped
- 1/2 cup (120g | 4oz) butter
- 1 tbsp vanilla extract (store-bought or homemade)
- Fresh raspberries, blueberries and mint leaves
- White chocolate shavings
Instructions
- Line the bottom of a 9” springform pan with parchment paper. To do that, remove the ring and cover the bottom with parchment paper. Fold the excess paper back under the plate and, while holding it in place with one hand, put the ring back in its position with the other hand. Bring the excess paper back from under the pan but do not cut it off.
- Place the maple leaf cookies and melted butter in the bowl of your food processor; process until reduced to fine crumbs. Press the mixture firmly at the bottom and about 3/4 of the way up the side of the prepared pan. Set aside.
- Place the sheet gelatin to soak in a large bowl filled with icy cold water. (if using powdered gelatin, sprinkle it over the maple syrup so it has a chance to bloom)
- In a large mixing bowl, combine the cream cheese, sour cream, brown sugar, lemon juice and salt and mix on high speed with an electric mixer for about 2 minutes, until light and fluffy.
- Add the melted white chocolate and quickly mix it in with the electric mixer.
- Warm the maple syrup in the microwave until barely just warm to the touch (and until gelatin is completely melted, if using powdered gelatin). Remove the sheet gelatin from the cold water and squeeze it well between your hands to remove as much water as possible. Add the gelatin to the warm maple syrup and stir until fully dissolved. If the gelatin won't completely dissolve, warm it in the microwave for just a few seconds and stir well between each session until it's completely dissolved. It's extremely important that you never let the maple syrup become hot.
- Pour the warm syrup into the cream cheese mixture and resume mixing until it's well incorporated, then delicately fold in the whipped cream. Pour the cheese filling onto reserved crust and spread evenly all the way to the edge.
- Top with fresh raspberries and blueberries, press delicately to make them sink in the batter just a little bit and then put the cake in the fridge for at least an hour to set.
- Place the cream, maple syrup, brown sugar, sugar, corn syrup and salt in a large, heavy-bottomed saucepan and cook over medium heat, stirring from time to time, until the sugar dissolves. Bring the mixture to a boil (be careful, it will rise quite dramatically) and then let it simmer until it reaches 230°F (110°C) on a candy thermometer; This should take about 20 minutes.
- Remove from heat and let the mixture settle for a few seconds. Then add the white chocolate, butter and vanilla and set aside to cool without stirring until the thermometer reads 115°F (45°C), about 25 minutes. To speed things up a little bit, you can place the saucepan in a cold water bath.
- Once the syrup has reached the right temperature, stir delicately with a wooden spoon until smooth. Then, using an electric mixer, beat on high speed until the mixture becomes thicker and paler, about 5 minutes.
- Promptly pour over your chilled cheesecake, but make sure to reserve about half a cup in the pan. Spread evenly to the edge and then gently tap the side of your pan and give it a little shake to get rid of any air bubbles and help the top settle and smooth out.
- Place the cake back in the fridge to set completely, at least 6 hours but preferably overnight.
- Keep the leftover maple fudge in a covered container, at room temperature.
- Take the cake out of the pan* and place it on a cake plate or stand.
- Spread a few tablespoons of the reserved maple fudge (it should have remained soft and spreadable at room temperature) in the center of the cake and top with fresh blueberries and raspberries. The softer fudge will help the fruit adhere to the top of the cake better.
- Garnish with fresh mint leaves and white chocolate shavings and return to the refrigerator. Keep refrigerated until ready to serve.
- Use some of the leftover soft fudge to decorate your plates (if you didn't eat it all, that is...)
Notes
*To help release the cake real cleanly, it helps to slightly warm up the side of the pan. I find the best way to do this is by delicately heating it with a propane torch or warm cloth. If you choose to use a propane torch, make sure that you maintain a good distance from that pan. You just want to warm it up some, not completely melt the cake!
My hubby is just the same! Nowadays really high expectations.
This looks really great, I think I would only go for dark chocolate instead, I have never been into white chocolate. But everything else, yummy!
Oh, and did you really only make this once? If I invent a new cake, I usually have to do it several times before I get it right.
I’m not a fan of the union of dark chocolate and maple. I think that white chocolate is a much better partner for it. I used to not like white chocolate at all, but it’s really grown on me over the last decade, especially since I discovered how really well it goes with maple…
And yes, I only made this cake once. I must be blessed or something, I rarely ever need to do more than one try when coming up with a new creation. I will, however, have to retry this particular one when it’s not 2 million degrees out! 😉
Hi is there a gluten free alternative for the maple cookies? I live in the US and the only gluten-free version of them is Great Value Gluten Free Maple Cream Sandwich Cookies but they sadly are not sold ANYWHERE in the US, I’ve searched. What can I do to create the same maple cookie style crust thats gluten-free?
I’m sorry Lily, I have no idea… Perhaps try ordering the gluten free cookies online?
Hi they do not ship the cookies outside of canada and they are not on amazon or ebay so no I cannot get them anywhere
How about trying this: Google recipe for gluten free maple cookies & see what you come up with. If nothing maple comes up, use recipe for vanilla & add maple syrup or flavoring. Then make cookies & use them for crust.