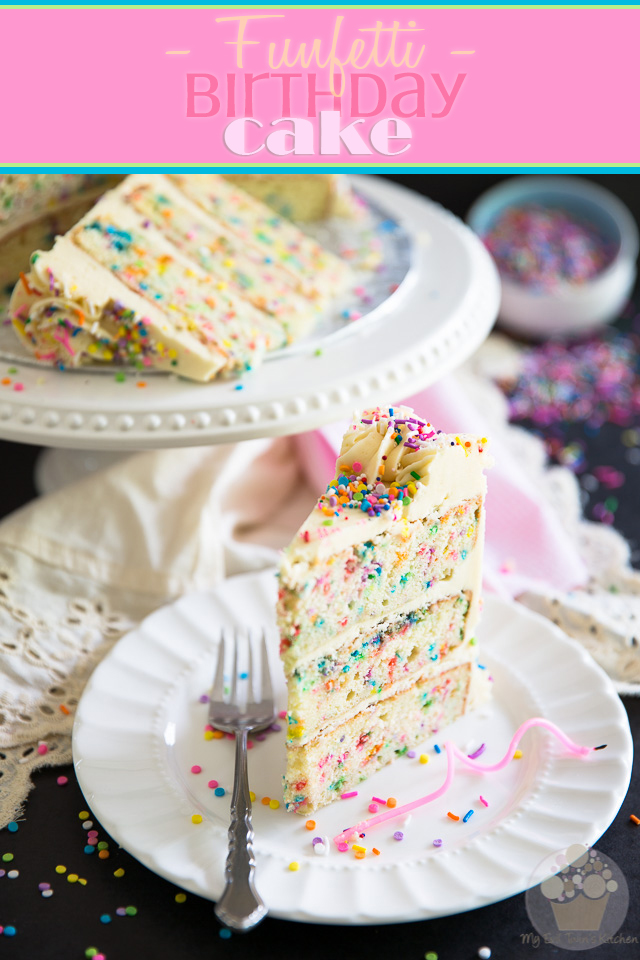
Can you think of a cake that says PARTY better than a funfetti birthday cake? I don’t think I can! Plus, it’s guaranteed to please the pickiest of eaters…
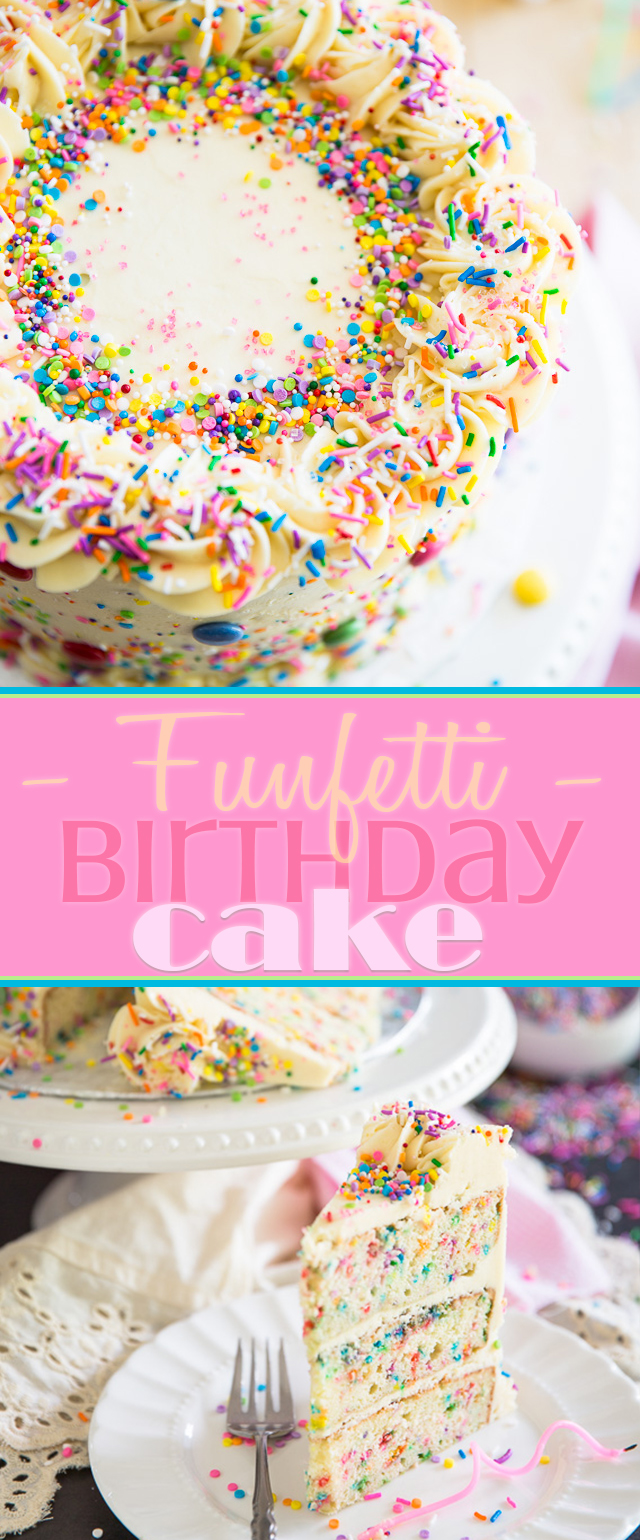
Can you think of any cake that says PARTY better, clearer and louder than a Funfetti Birthday Cake?
I don’t think I can… plus, this cake is so much fun to make, it almost makes you feel like the party has started before it’s even begun!!!
It’s fascinating really how a handful of rainbow sprinkles have that very special ability to turn an otherwise relatively boring treat into a total outburst of joy and pleasure. For really, take the sprinkles out of this cake and you’d be looking at a pretty ordinary vanilla cake…
Not that there’s anything wrong with vanilla cake, but I’m usually not a big fan… I much prefer chocolate cake, of even better yet, cheeeeeeesecake! But thanks to the added sprinkles, this Funfetti Cake I would’ve gladly eaten for breakfast, lunch AND dinner. It’s one of the few cakes that I made since I started this blog that I had a VERY hard time resisting. It sat in my fridge for a week, calling my name way too loud and way too often!
Thank goodness, it wasn’t really mine to eat…
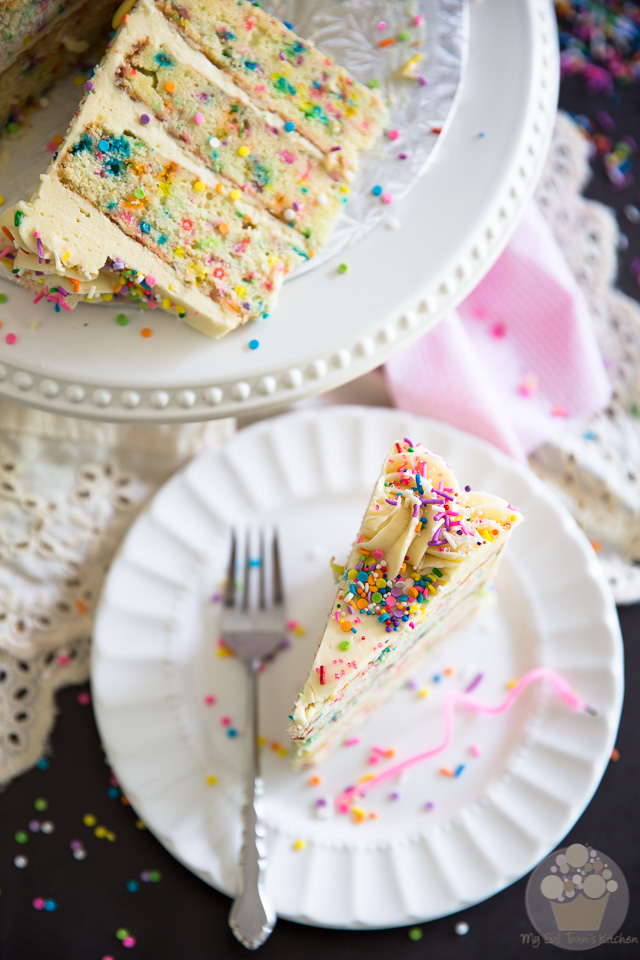
For you see, this Funfetti Cake I made for my daughter-in-law, when she recently turned 19.
Her being an especially picky eater, probably the pickiest eater I’ve ever met, I had a VERY hard time deciding what kind of cake I would make for her on her birthday. Typically, she doesn’t really care for any cakes that don’t come from a box.
And no, in case you’re wondering, despite her living under my roof, she does not eat most of the treats that I make. For starters, she hates cheese (I know, right?) and doesn’t care for dark chocolate… Needless to say, that rules out a lot of options!
So I spent weeks, if not months, racking my brains, trying the find the perfect cake for her. There was no way I was going to go for the boxed stuff!
And then I had this flash: she LOVES rainbow sprinkles, and she totally digs Tim Horton’s Birthday Cake Timbits. (in case you’re not familiar with them, Timbits are basically doughnut holes, and the Birthday Cake variety is pretty much like the Sour Cream Glazed, only they have rainbow sprinkles in them! Of course, they’re like a million times better, and more popular too, because of the added sprinkles!)
HA! I immediately KNEW that this would be the perfect choice of cake for her. And I was right: I totally hit bulls-eye!
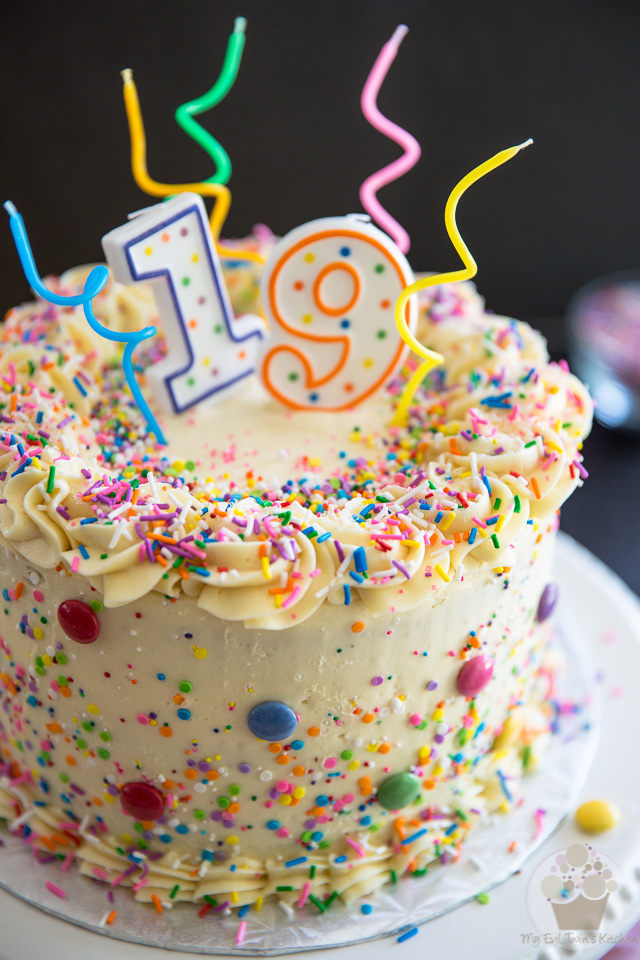
To say that she loved this cake would be an understatement! I’ve never seen her so excited about a cake before. She had a total of THREE slices, (not on the same night, but still!) and that really says a lot about how much she truly loved that cake.
And that also says a lot about how friggin’ amazingly delicious that cake really was.
Everyone who tasted that cake went totally NUTS for the frosting! Every single one of them asked what was in it and how I’d made it. And they all said that it was the best vanilla frosting that they’d ever eaten. Not to say that the cake itself wasn’t spectacular too, but I must admit that this frosting was especially exceptional. Plus, it’s just as good right out of the ice box as it is after it’s had a chance to sit at room temperature for a few hours. In fact, both versions are so good, I can’t decide which I liked best. Guess you’re gonna have to try it too and decide for yourself.
Same goes for the cake: chilled, it’s really firm and dense, but still feels very moist and tender as you bite into. At room temperature, it feels much softer, lighter, but still had a pleasant density to it, reminiscent of doughnut holes.
If you have a birthday coming up, make this cake. I can guarantee you, it’ll be remembered for years and years to come!
STEP-BY-STEP INSTRUCTIONS & PICTURES
FOR THE FUNFETTI CAKE
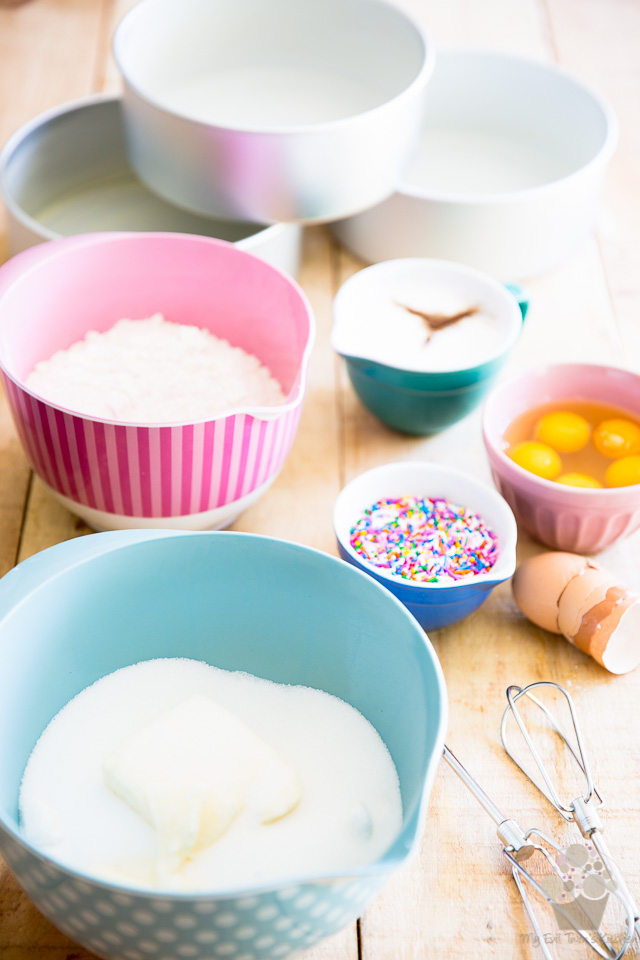
As always, before you start, you should measure and weigh all your ingredients so you’ve got everything ready when you need to use it.
First, grease and flour three 8″ round cake pans. Then, hold each pan upside down and knock it gently against the counter a few times to remove any excess flour.
Sift the flour, baking powder and salt together into a large bowl. Mix well with a whisk to make sure all the ingredients are well distributed and set aside.
In another bowl, combine the softened butter and sugar. Crack your eggs into third bowl, then measure your buttermilk and add the vanilla extract to it.
Finally, measure your rainbow sprinkles. Oh, and preheat your oven to 350°F and get your electric mixer ready.
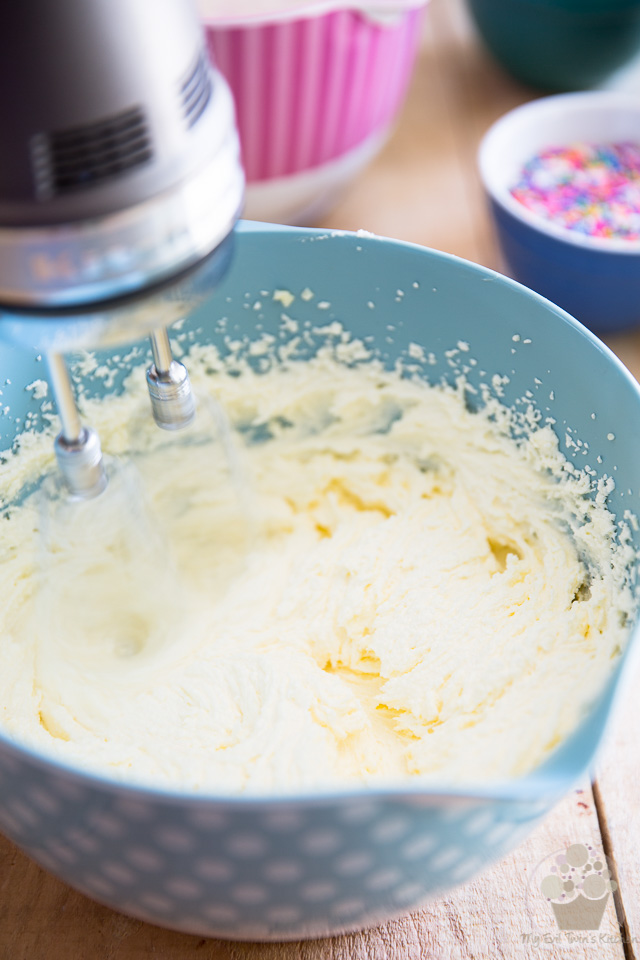
Grab the bowl with the softened butter and sugar and beat on high speed until combined and creamed well, about 5 minutes.
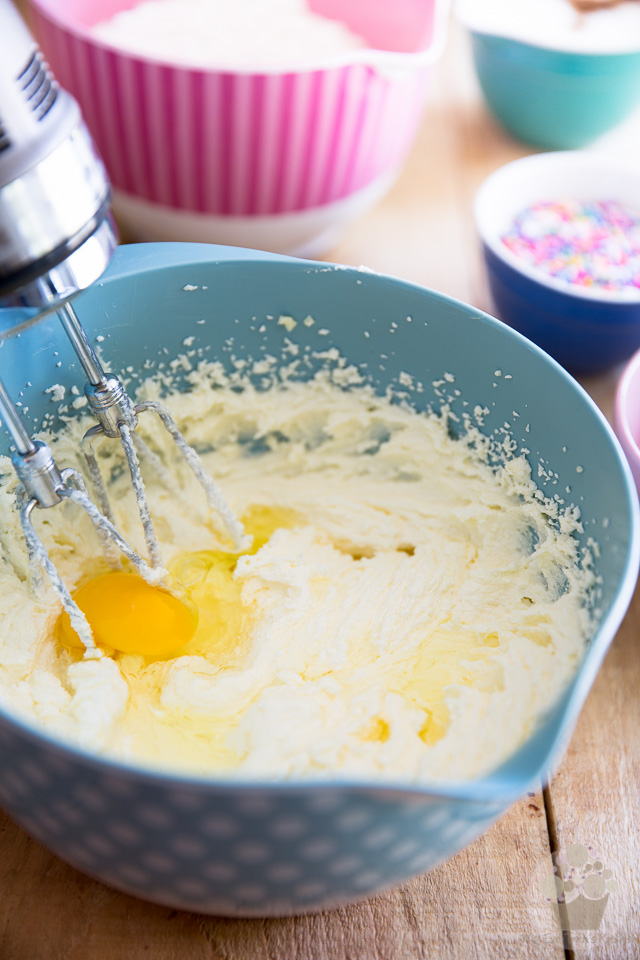
Add the eggs, one at a time…
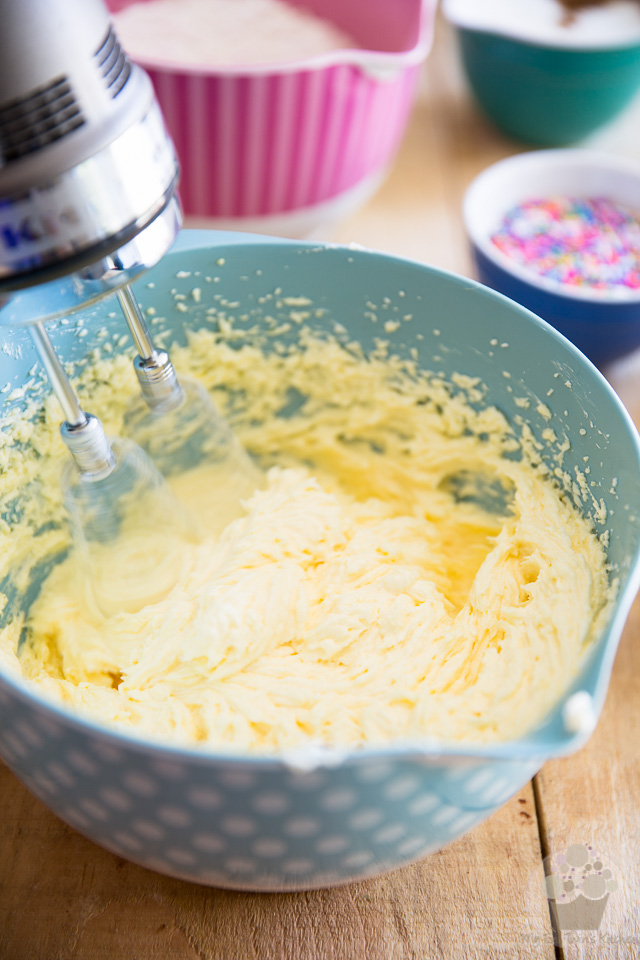
…beating well between each addition and scraping the sides as needed.
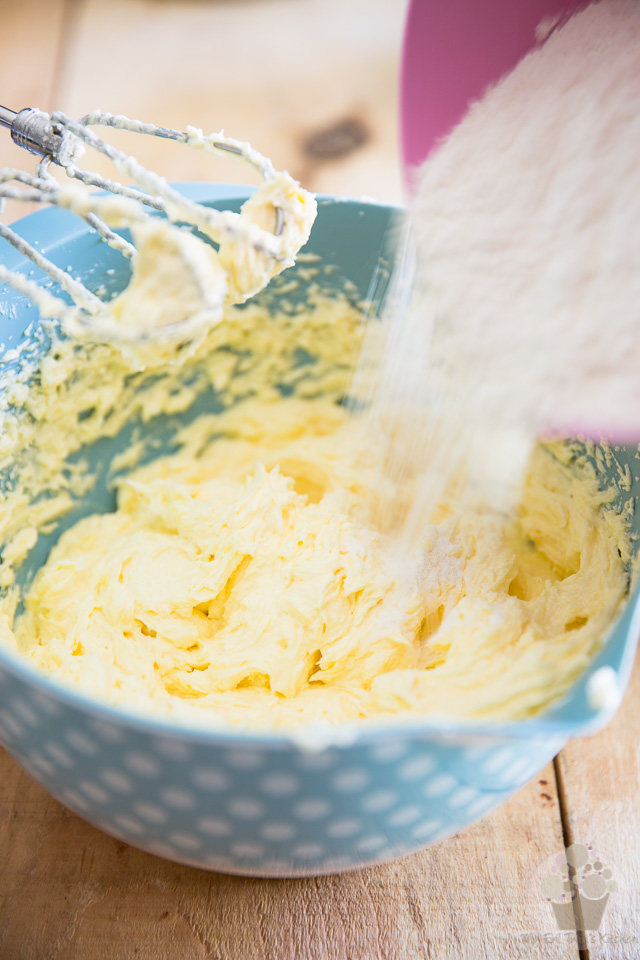
Add about 1/3 of the flour mixture…
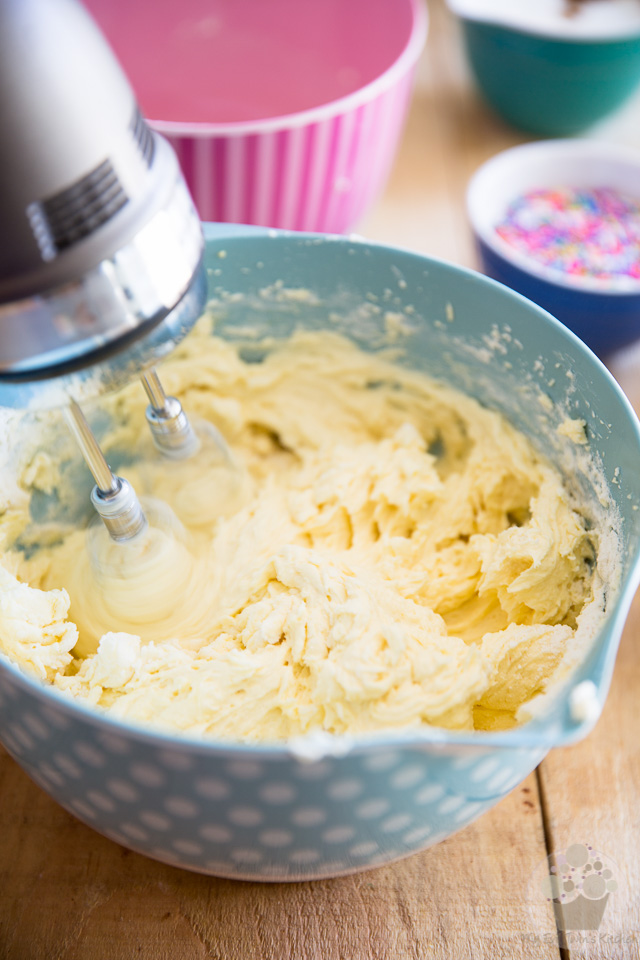
… and beat it in on low speed until just barely incorporated.
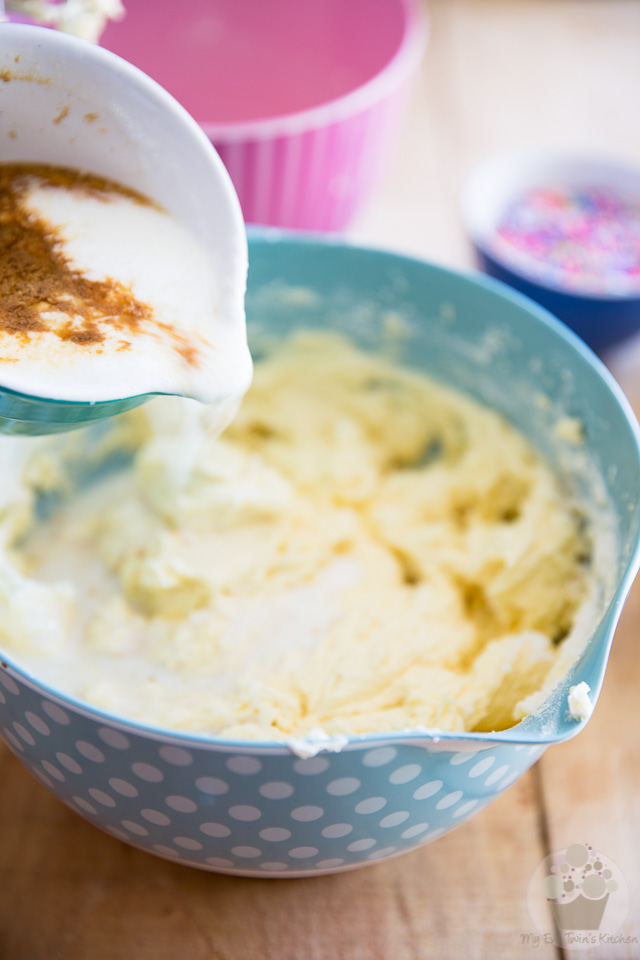
Then, pour in half the buttermilk (to which you should’ve already added your vanilla extract…)
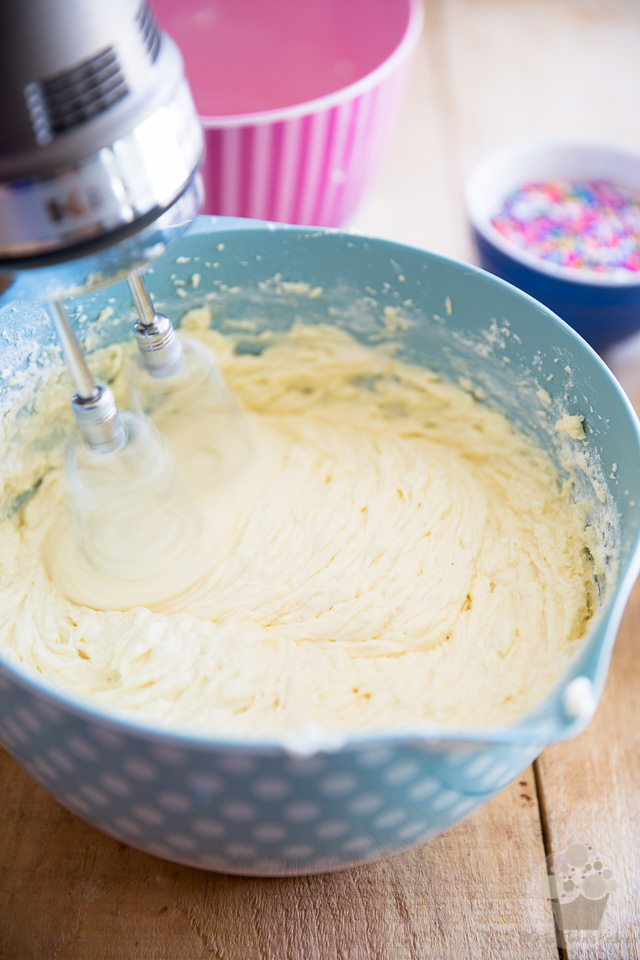
…and beat on low again until just incorporated.
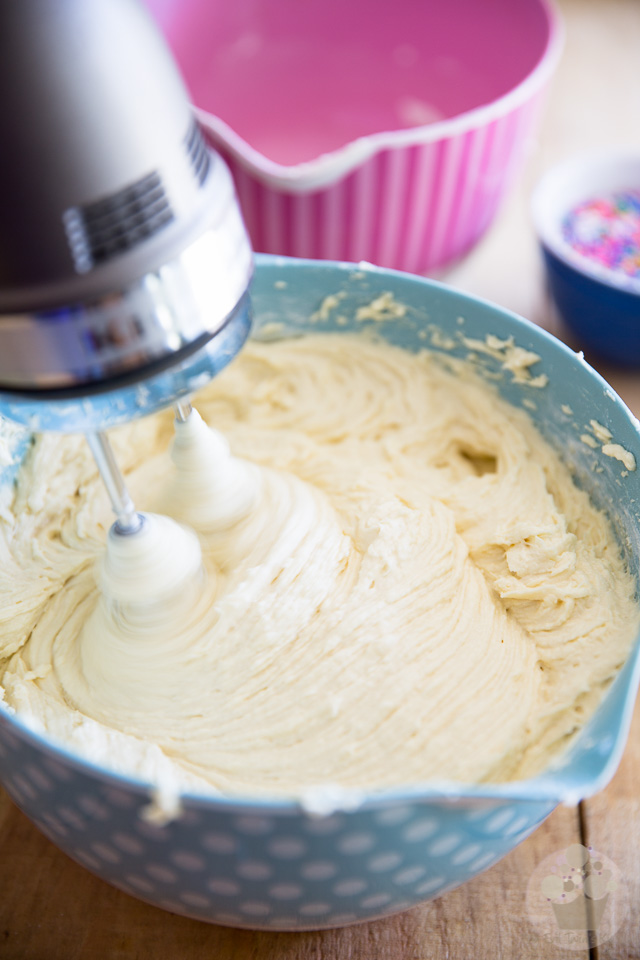
Repeat with 1/3 of the flour, followed with the rest of the buttermilk, and finally the last of the flour, beating until barely just combined.
It’s important that you do not overmix the batter!
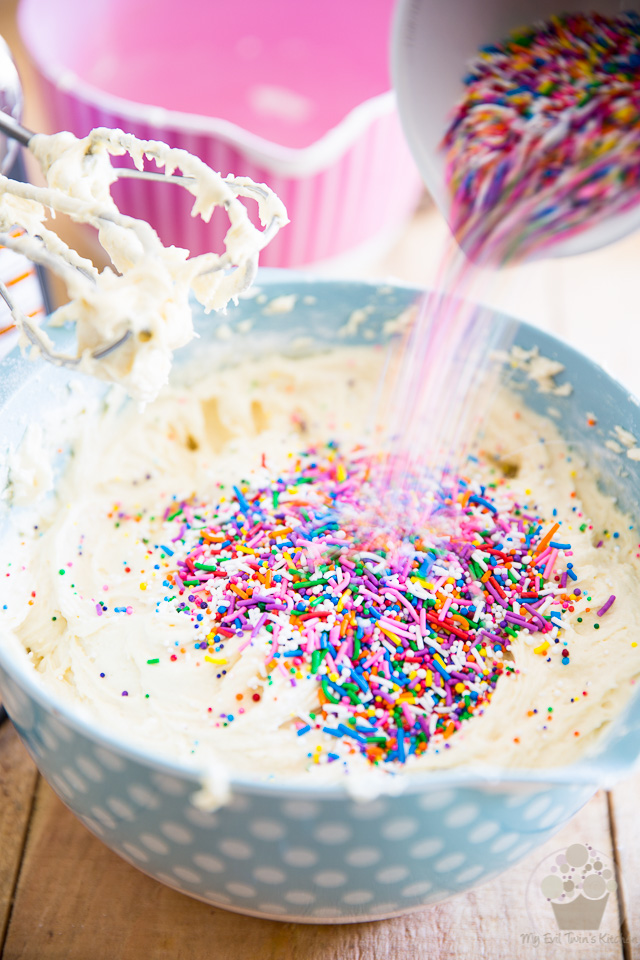
And now, let it rain SPRINKLES!!!
Oooooh yeah! This plain old boring vanilla cake suddenly is getting exciting!
I chose to use a combination of jimmies and non-pareils, just because I felt like mixing things up a bit, but you could very well use just one or the other…
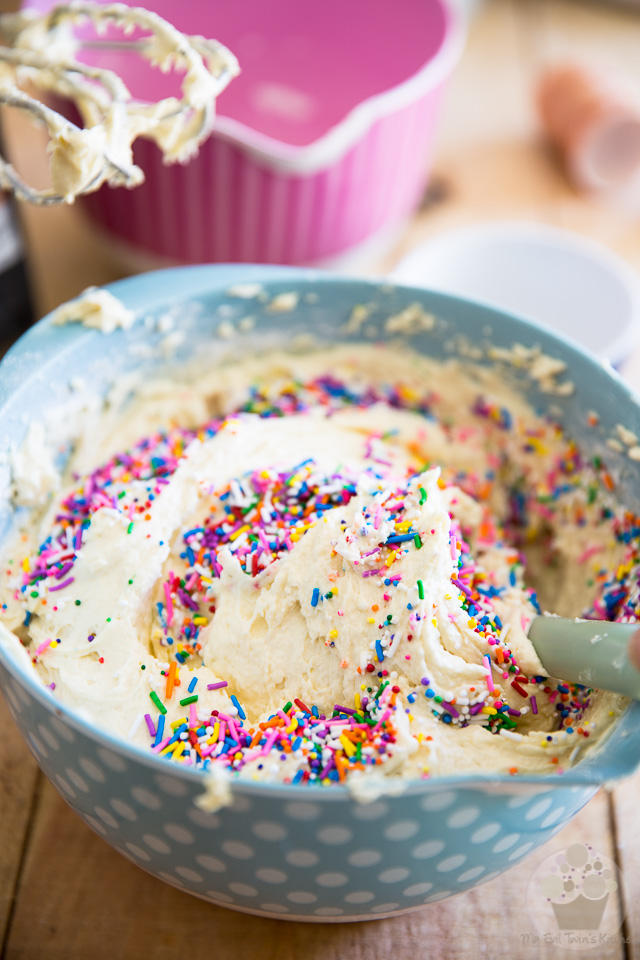
Delicately fold the rainbow sprinkles into the cake batter with the help of a rubber spatula.
Again, don’t overwork the batter…
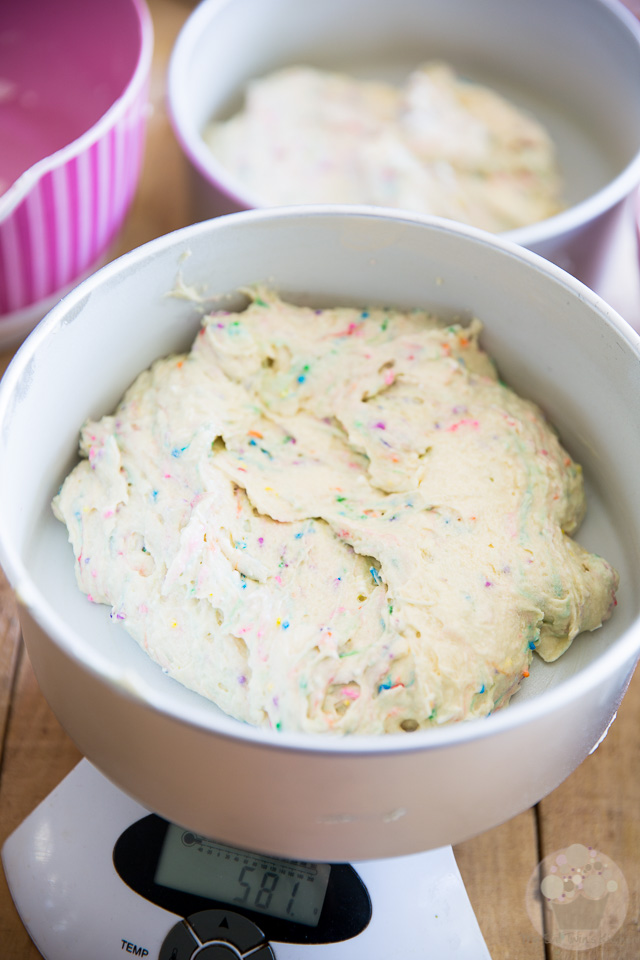
Divide the batter between the prepared pans.
Technically, you should have about 580g (20.4oz) of batter per pan.
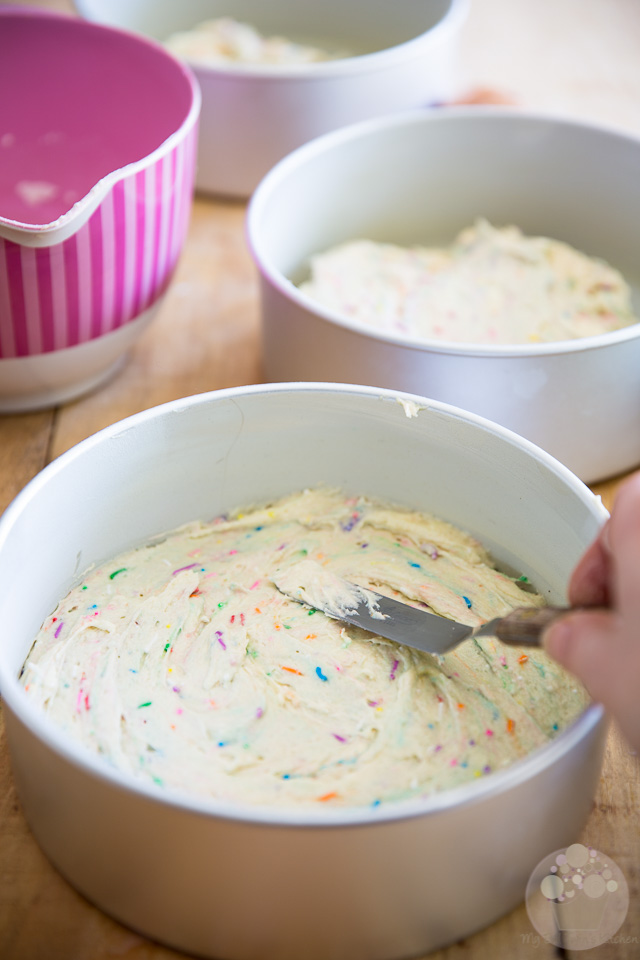
Spread the batter delicately and evenly all the way to the edge.
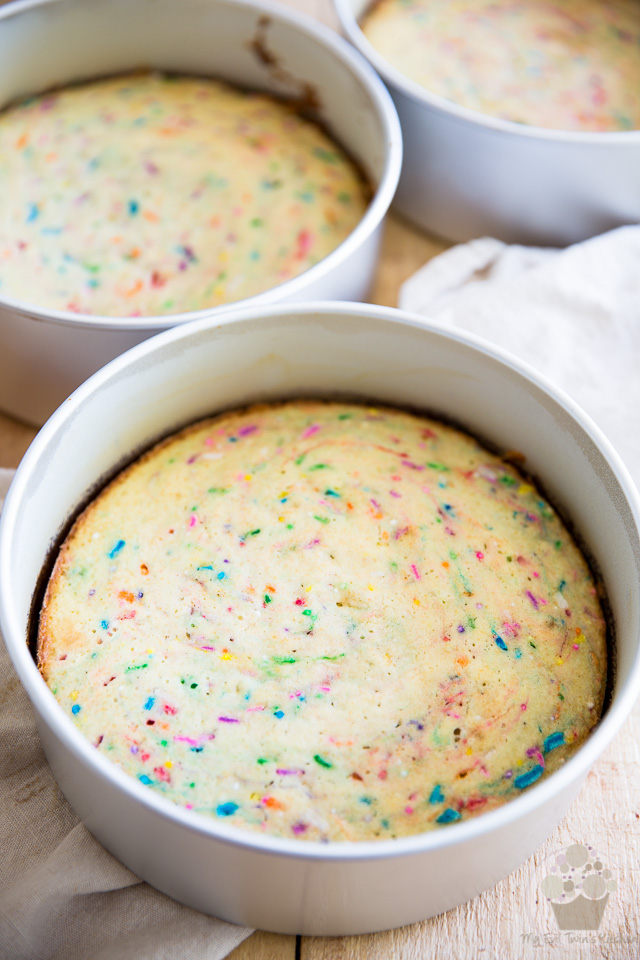
Bake the cakes for 32 to 35 minutes, until a toothpick inserted in the center comes out clean.
Cool the cakes in the pans for about 5 minutes…
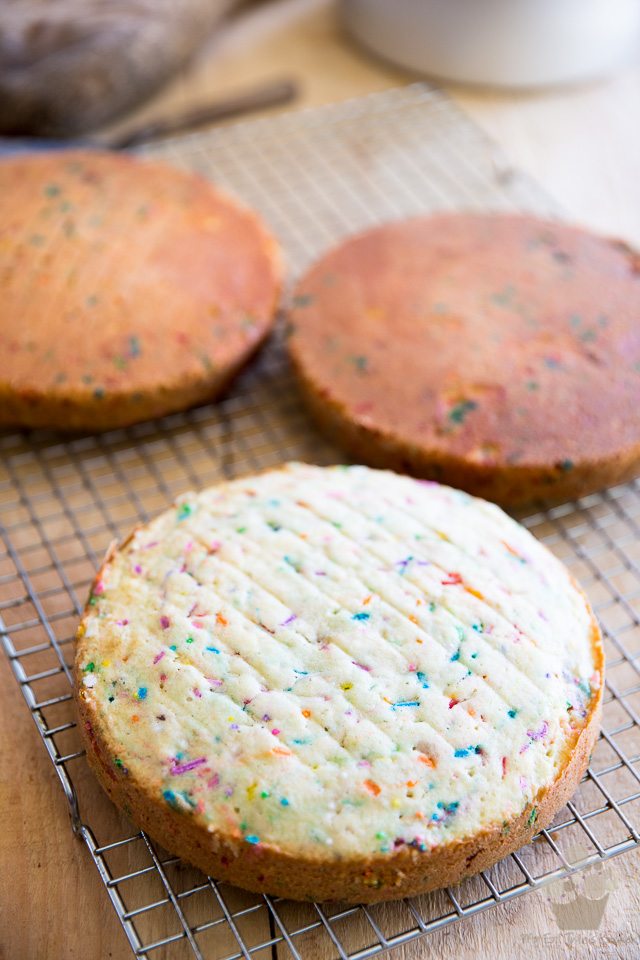
…then delicately turn them onto a cooling rack and place in the refrigerator to cool completely. It’s IMPERATIVE that the cakes be completely chilled before you frost them.
While the cake are cooling, let’s keep busy and make some yummy frosting!
FOR THE VANILLA FROSTING
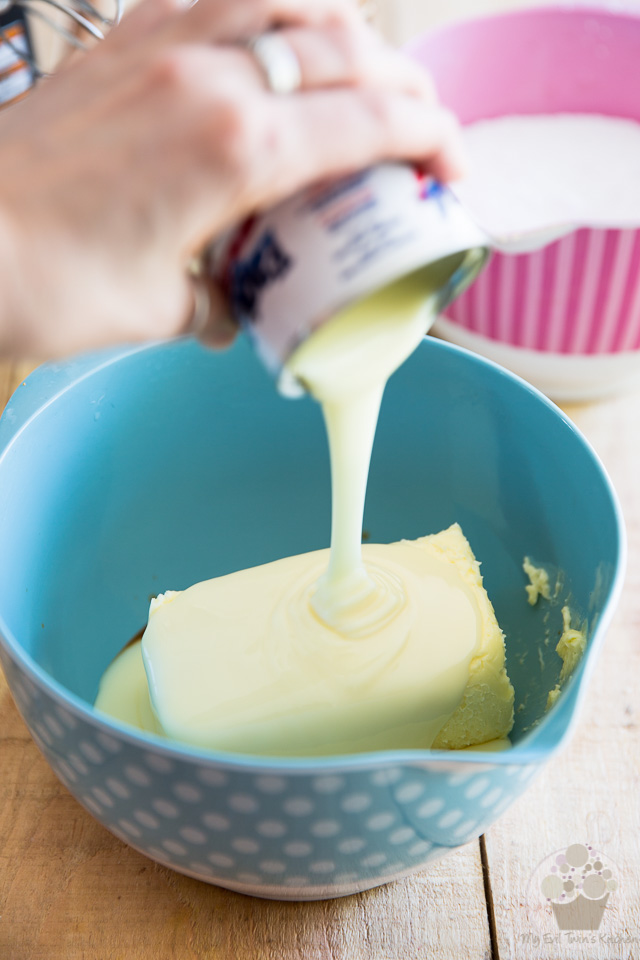
Combine the the butter, sweetened condensed milk, heavy cream and vanilla extract in a large mixing bowl…
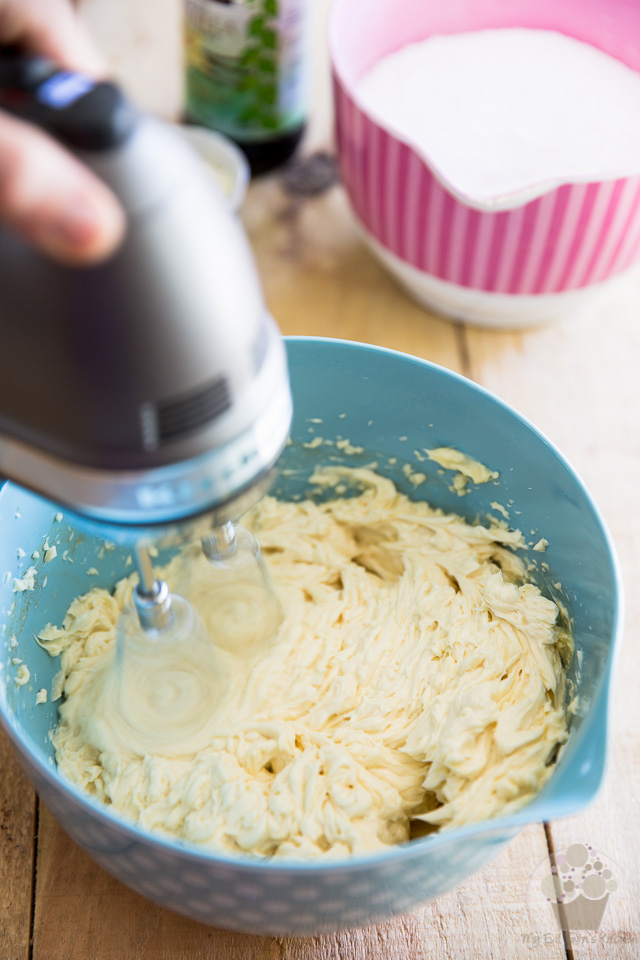
…and beat with an electric mixer on high speed until light and fluffy, about 5 minutes.
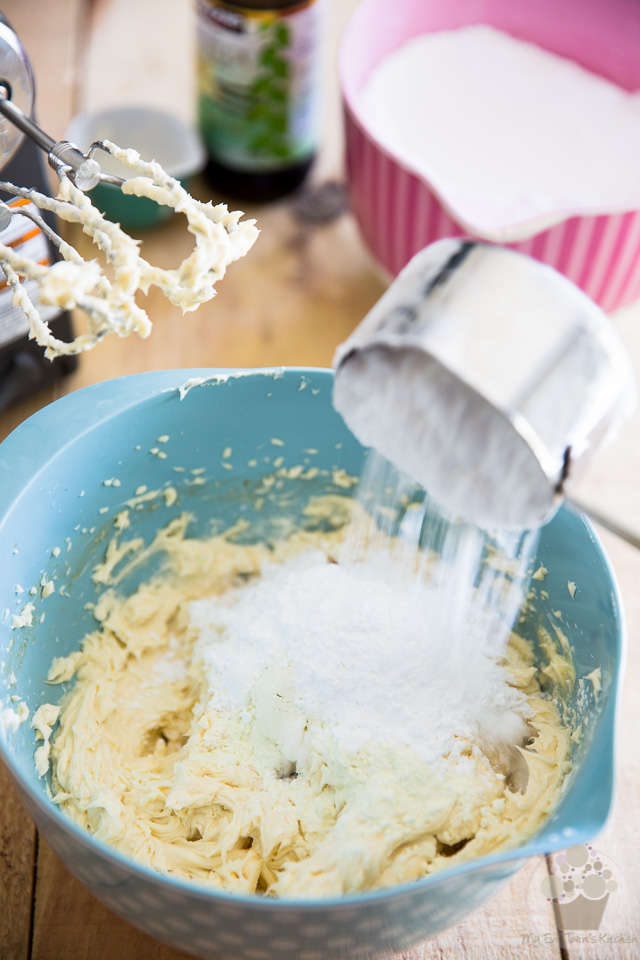
Add the dry buttermilk as well as one cup of powdered sugar and beat on low speed until well incorporated.
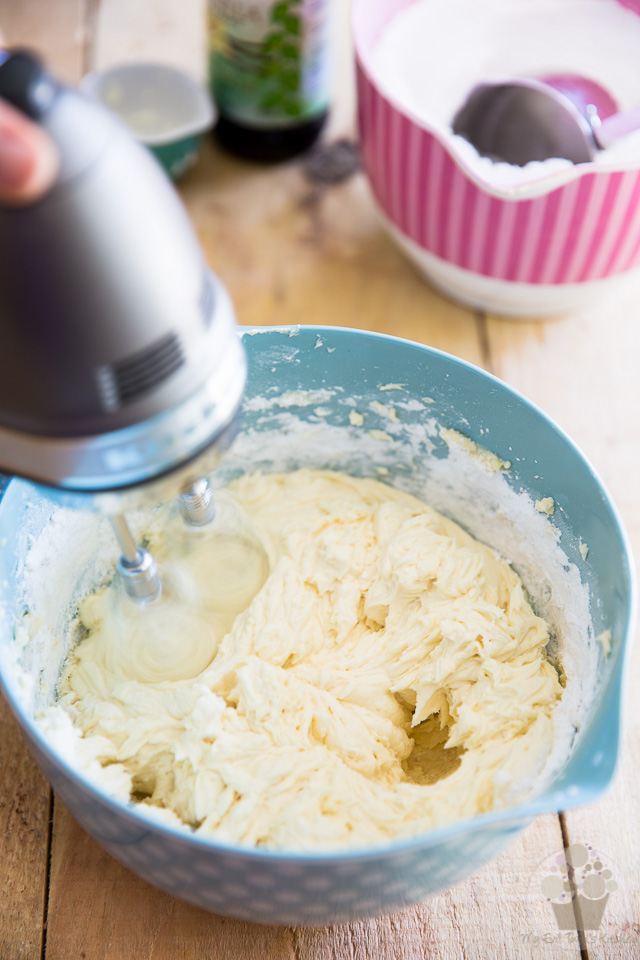
Keep adding the sugar, one cup at a time, beating well between each addition.
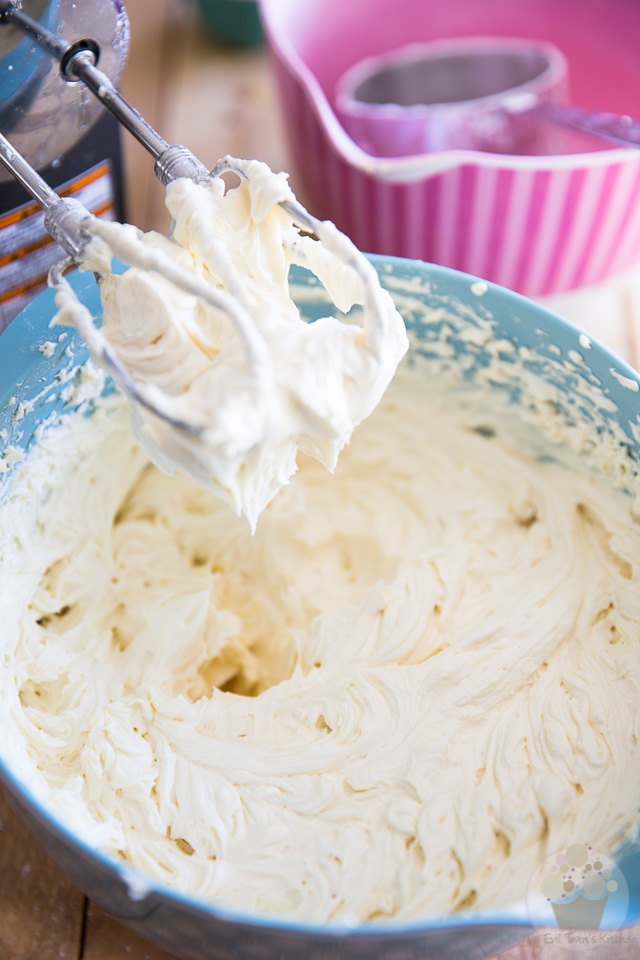
Once all the sugar has been added, increase the speed to high and beat for 2 to 3 minutes, until really smooth.
If you find that your frosting is too soft to be used right away, refrigerate it for about 10 minutes and then beat it again before you use it.
ASSEMBLY
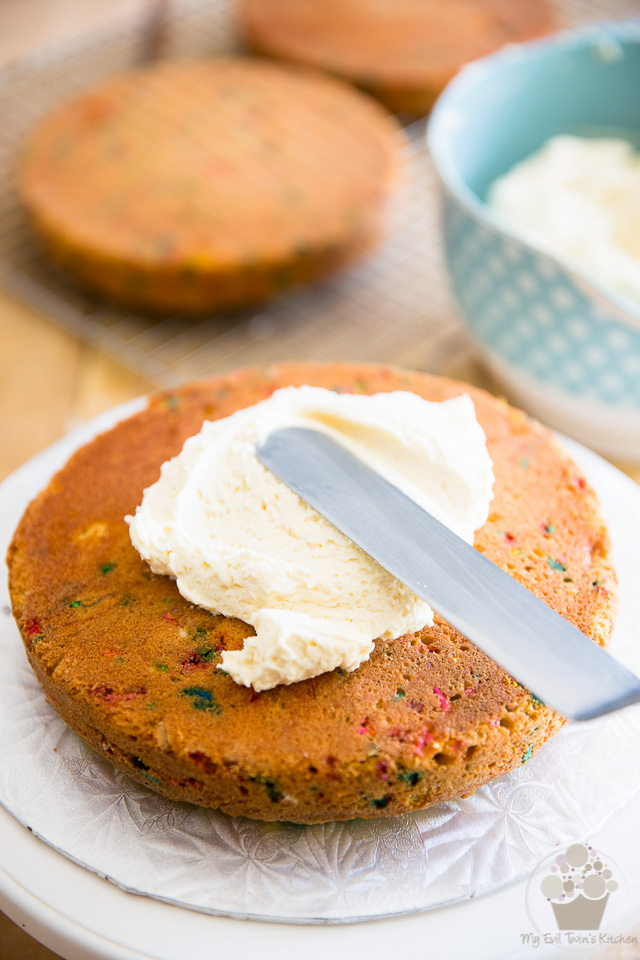
Place one of the cakes, flat side up, on a cake board or plate and, using an offset spatula cover it with a thin layer of frosting.
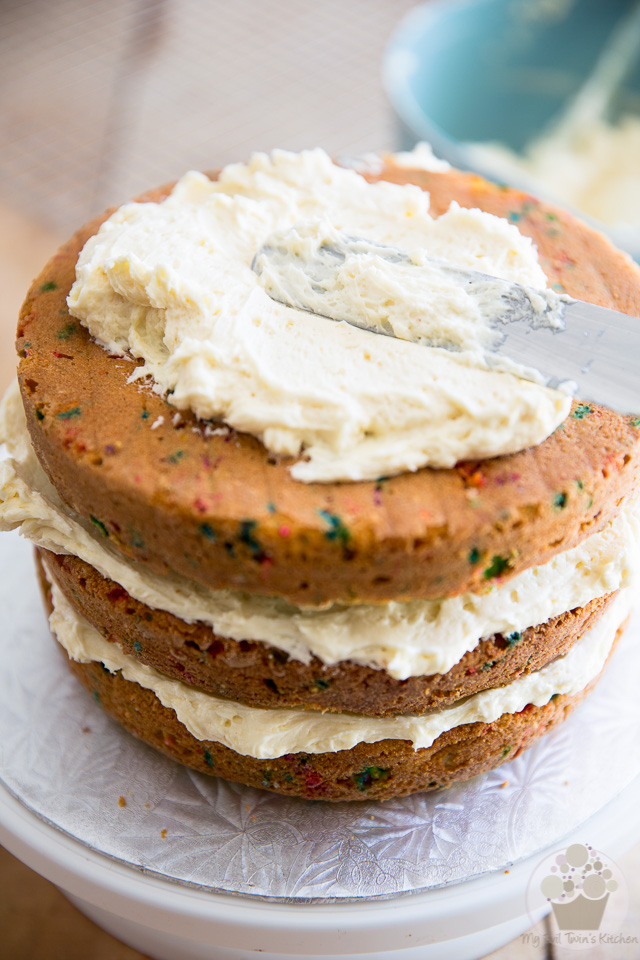
Repeat this same process with the other 2 layers…
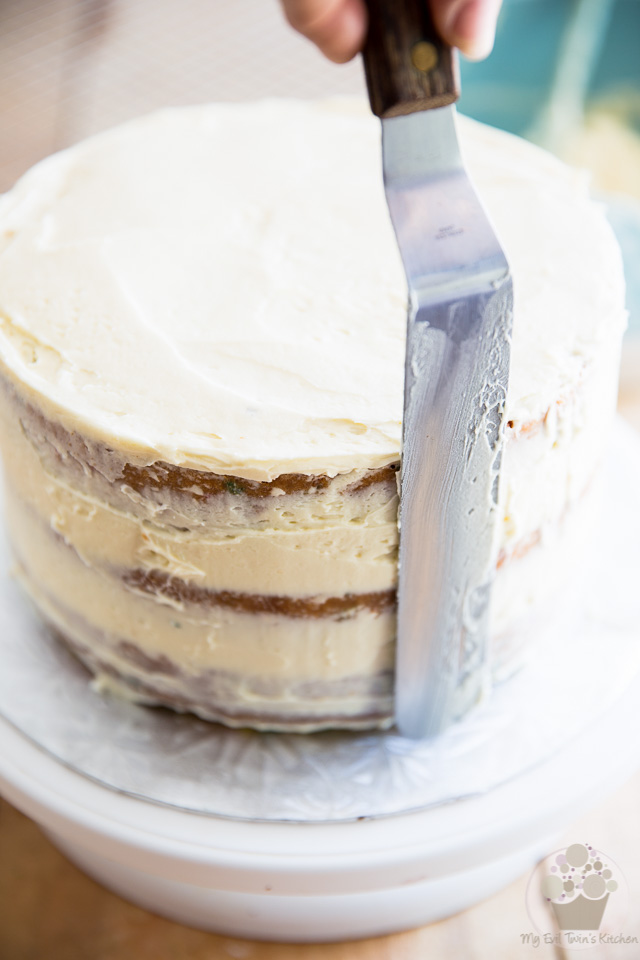
and then crumb coat the entire cake with a very thin layer of icing, making certain that you fill the cracks between the layers as you go.
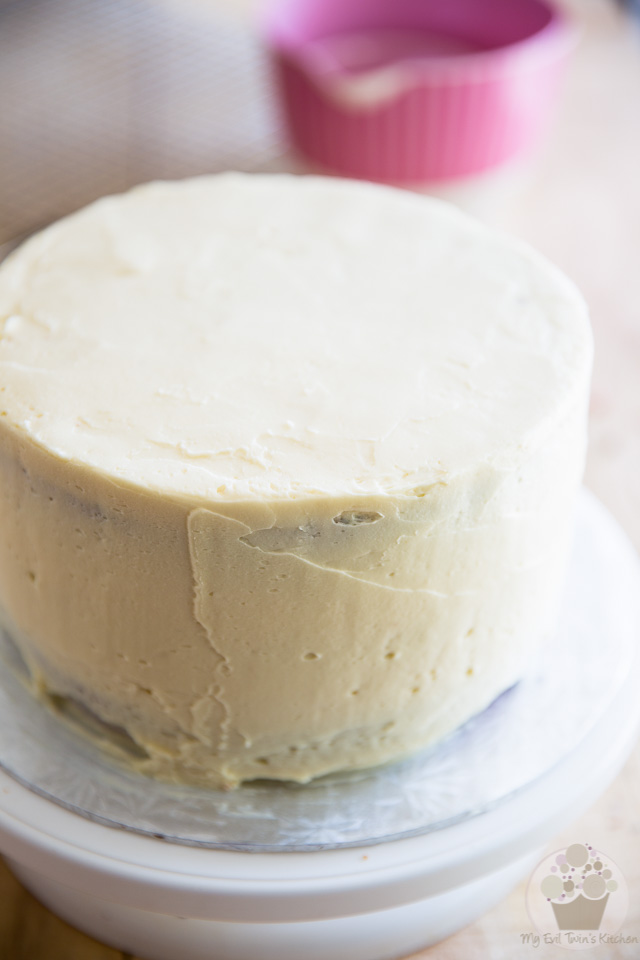
Once your cake has been completely crumb coated, go back and cover it entirely with frosting, applying just enough so you can’t see the cake anymore.
It’s important that you do not go overboard with that frosting, otherwise you may not have enough to decorate your cake!
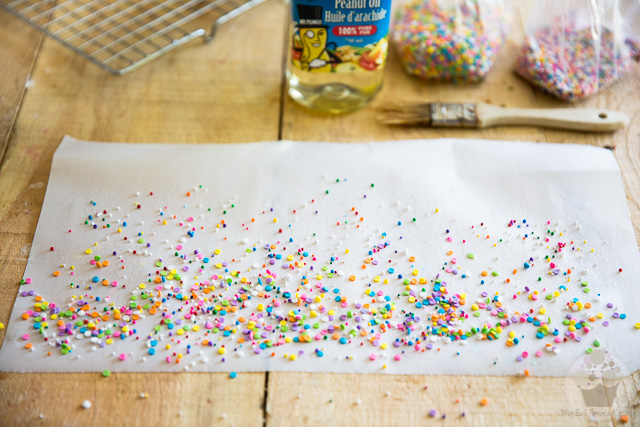
To apply the sprinkles and sugar confettis to the side of your cake, grab a piece of parchment paper that’s long enough to cover a little over half the circumference of your cake (that’s about 14″) and brush it with a little bit of oil (make sure you use a variety that’s tasteless). Sprinkle the confettis over the paper, pretty much like you want them to be on your cake,
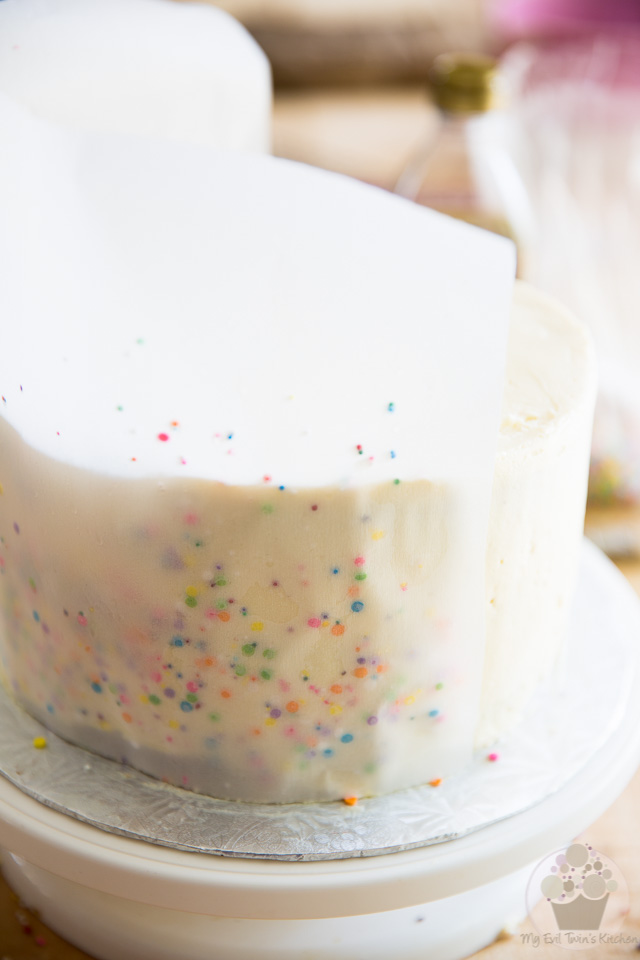
Lift the paper and delicately apply it to the side of your cake. Apply just a little bit of pressure with your hand so the sprinkles stick to the cake and then
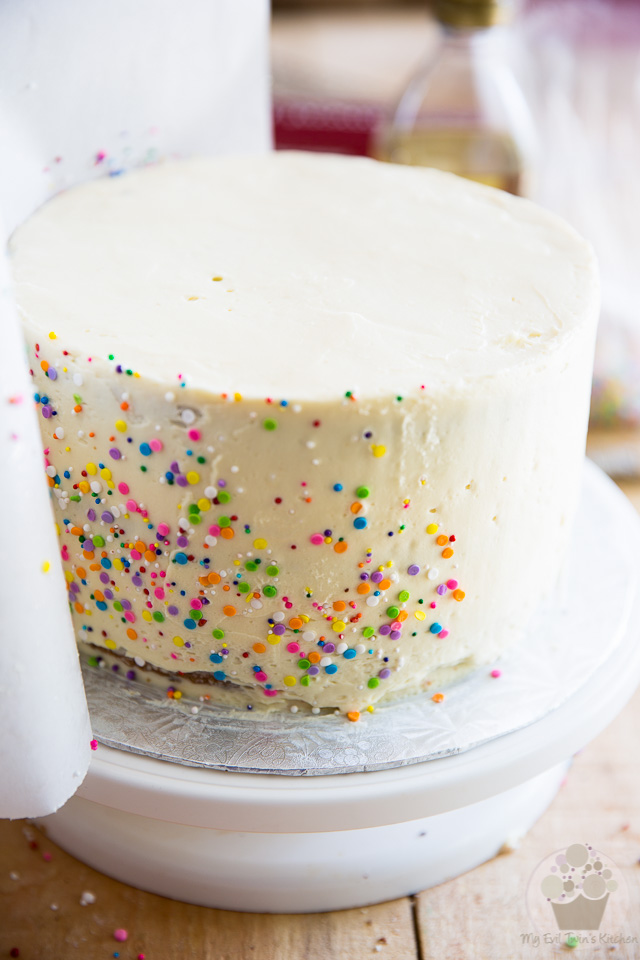
carefully peel off the paper.
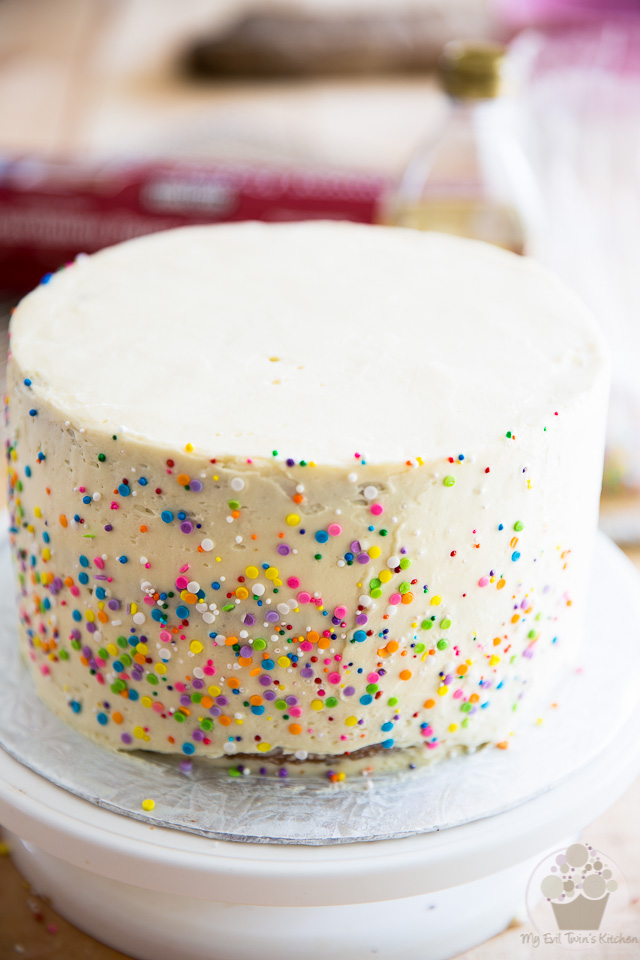
Repeat that same process to cover the other half.
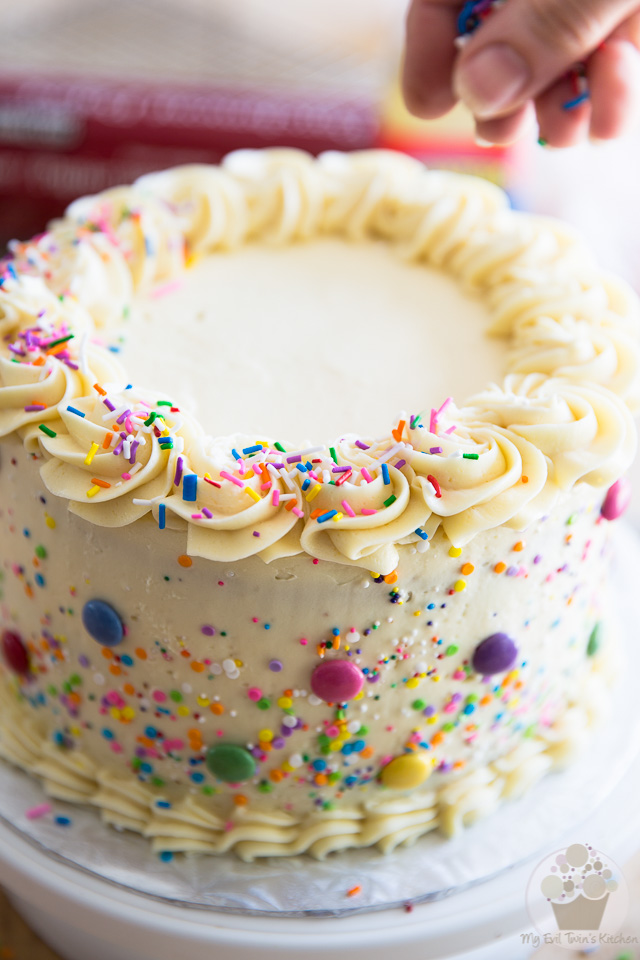
Pipe big swirls of icing around the top of the cake (I used a Ateco #6 and smaller shells around the base (I used a Ateco #2), and then decorate liberally with the sugar sprinkles of your choice. Press a few smarties on the side of the cake, too, if desired.
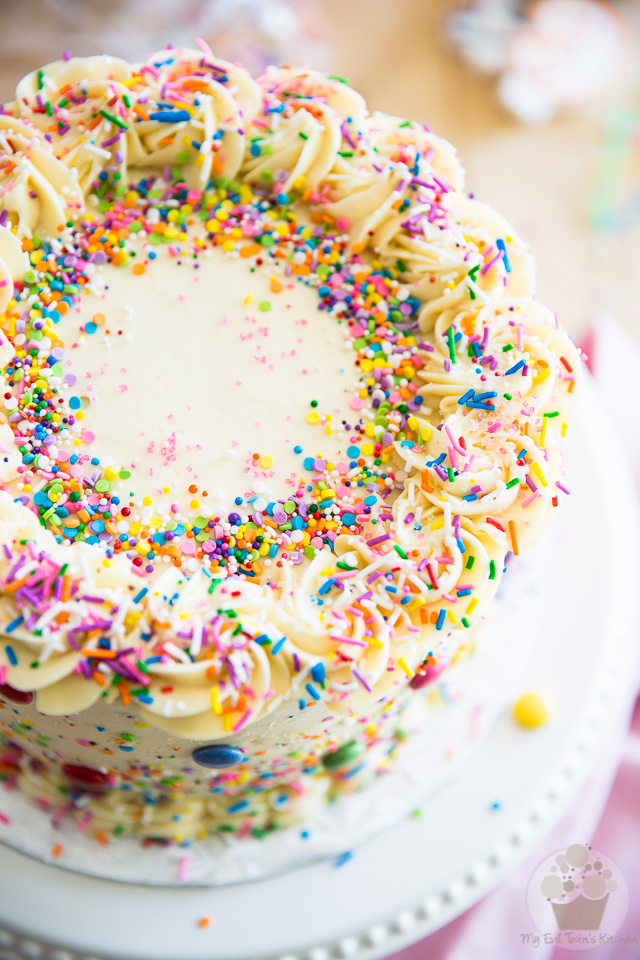
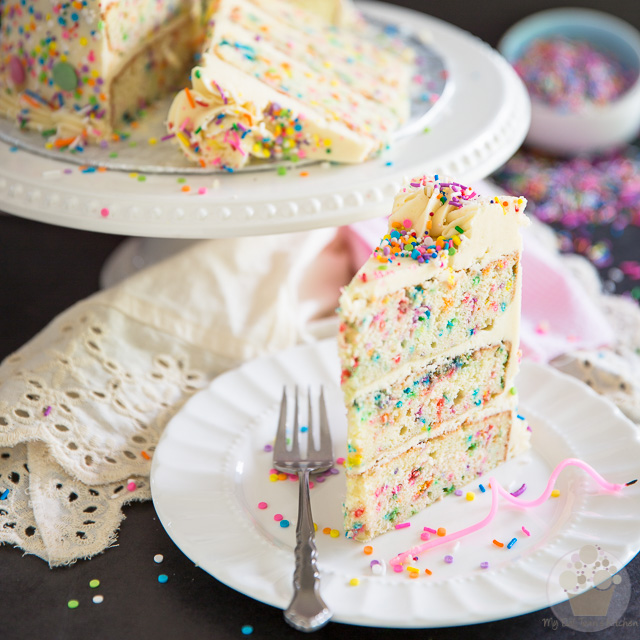
Is that pretty or what?
I think I could stare at that cake all day…
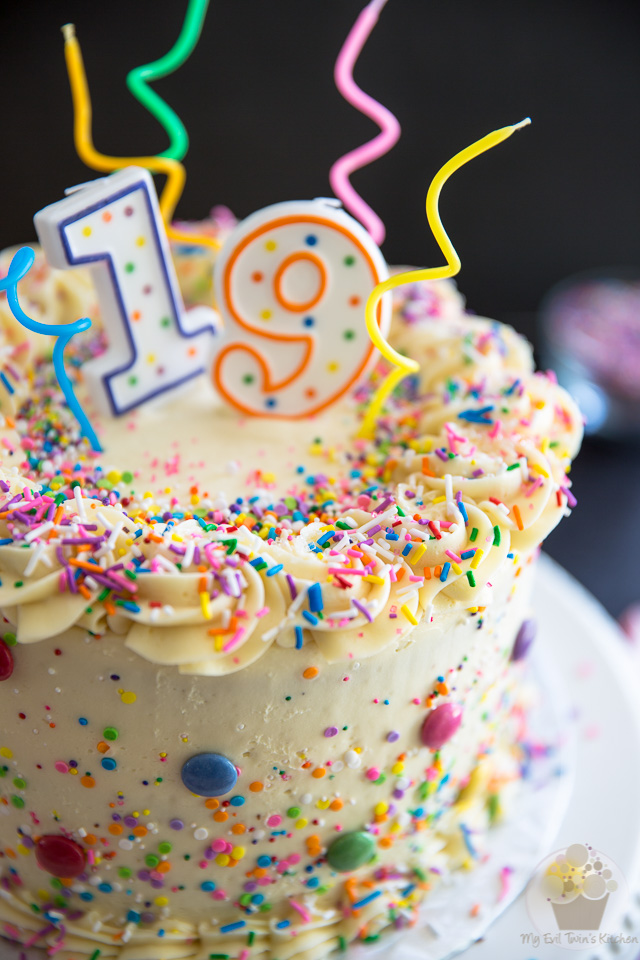
If the occasion calls for it, which I’m guessing it probably does, top your cake with a few candles of your choice, and serve whenever you’re ready, chilled or at room temperature.
Keep leftovers airtight in the fridge for up to a week.
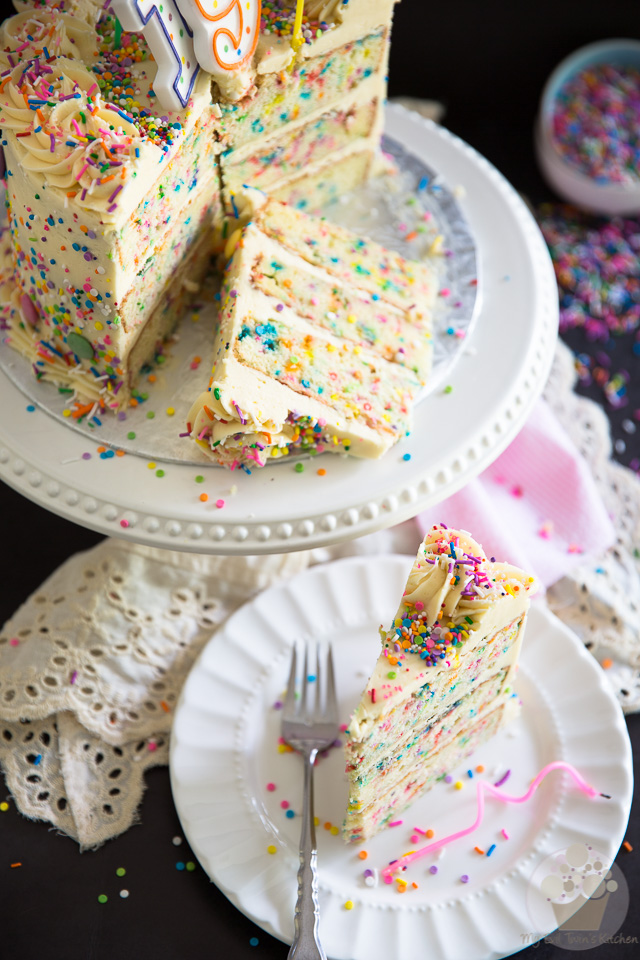
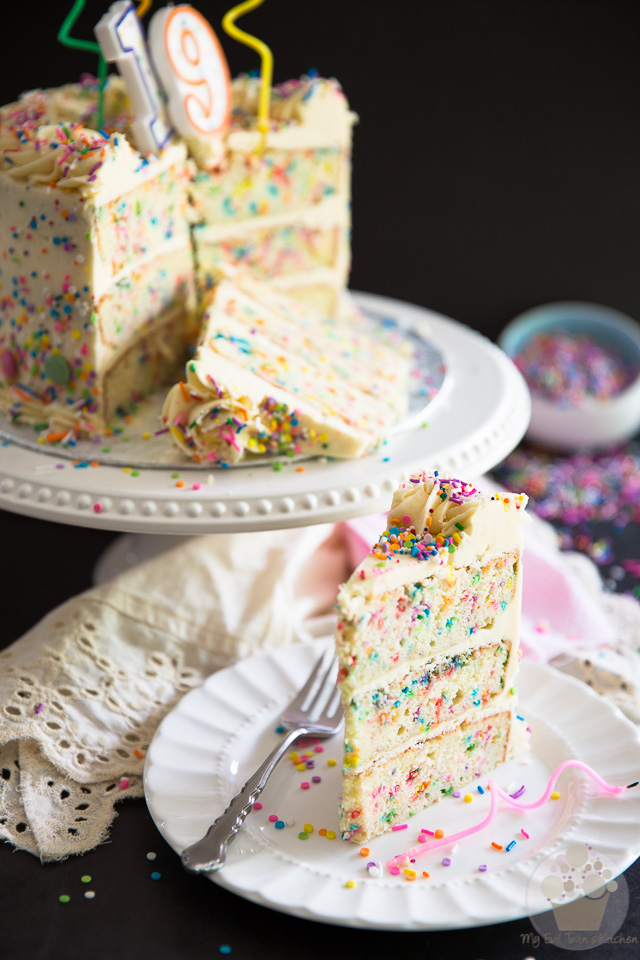
Ingredients
- 3 cups (450g | 15.9oz) unbleached all-purpose flour
- 1 tbsp baking powder
- 1/2 tsp salt (I use Himalayan salt)
- 1-1/2 cup (360g | 12.7oz) butter, softened
- 2 cups (400g | 14.1oz) granulated sugar
- 5 large eggs, at room temperature
- 1-1/4 cups (300ml) buttermilk, at room temperature
- 1 tbsp pure vanilla extract, (store-bought or homemade)
- ¾ cup (125g | 4.5oz) rainbow sprinkles (I used a combination of jimmies and nonpareils)
- 1-7/8 cup (454g | 16oz) butter, at room temperature
- 1 can (300ml | 14oz) sweetened condensed milk
- 3 tbsp heavy cream
- 1 tsp pure vanilla extract, (store-bought or homemade)
- 4 cups (480g | 16.9oz) powdered sugar
- 2 tbsp dry buttermilk
- 1- 38g (1.4oz) box Nestle's Smarties
- 2-3 tbsp pastel confetti sprinkles
- 1-2 tbsp rainbow jimmies
- 1-2 tbsp rainbow nonpareils
- pinch sparkling decorating sugar
Instructions
- Preheat the oven to 350°F; grease and flour three 8" round cake pans. Hold each pan upside down and knock it gently against the counter a few times to remove any excess flour. Set aside.
- Sift the flour, baking powder and salt together into a large bowl. Mix well with a whisk to make sure all the ingredients are well distributed and set aside.
- In a separate bowl, combine the softened butter and sugar and beat with an electric mixer on high speed until combined and creamed well, about 5 minutes.
- Add the eggs, one at a time, beating well between each addition and scraping the sides as needed.
- Add about 1/3 of the flour and beat it in on low speed until just barely incorporated, then pour in half the buttermilk (mix your vanilla extract with your buttermilk) and beat on low again until just incorporated. Repeat with 1/3 of the flour, followed with the rest of the buttermilk, and finally the last of the flour, beating until barely just combined. Do not overmix the batter.
- Delicately fold the rainbow sprinkles into the cake batter with the help of a rubber spatula.
- Divide the batter between the prepared pans (you should have about 580g (20.4oz) of batter per pan) and spread it delicately and evenly all the way to the edge. Bake for 32 to 35 minutes, until a toothpick inserted in the center comes out clean.
- Cool the cakes in the pans for about 5 minutes, then delicately turn them onto a cooling rack and place in the refrigerator to cool completely. It's imperative that the cakes be completely chilled before you frost them.
- Combine the the butter, sweetened condensed milk, heavy cream and vanilla extract in a large mixing bowl and beat with an electric mixer on high speed until light and fluffy, about 5 minutes.
- Add the dry buttermilk as well as one cup of powdered sugar and beat on low speed until well incorporated. Keep adding the sugar, one cup at a time, beating well between each addition. Once all the sugar has been added, increase the speed to high and beat for 2 to 3 minutes, until really smooth.
- If you find that your frosting is too soft to be used right away, refrigerate it for about 10 minutes and then beat it again before you use it.
- Place one of the cakes, flat side up, on a cake board or plate and, using an offset spatula cover it with a thin layer of frosting. Repeat this same process with the other 2 layers and then crumb coat the entire cake with a very thin layer of icing, making certain that you fill the cracks between the layers as you go.
- Once your cake has been completely crumb coated, go back and cover it entirely with frosting, applying just enough so you can't see the cake anymore. It's important that you do not go overboard with that frosting, otherwise you may not have enough to decorate your cake!
- To apply the sprinkles and sugar confettis to the side of your cake, grab a piece of parchment paper that's long enough to cover a little over half the circumference of your cake (that's about 14") and brush it with a little bit of oil (make sure you use a variety that's tasteless). Sprinkle the confettis over the paper, pretty much like you want them to be on your cake, and then lift the paper and delicately apply it to the side of your cake. Apply just a little bit of pressure with your hand so the sprinkles stick to the cake and then carefully peel off the paper. Repeat that same process to cover the other half.
- Pipe big swirls of icing around the top of the cake (I used a Ateco #6 and smaller shells around the base (I used a Ateco #2), and then decorate liberally with the sugar sprinkles of your choice. Press a few smarties on the side of the cake, too, if desired.
- Serve whenever you're ready, chilled or at room temperature, and keep leftovers airtight in the fridge for up to a week.
that looks like SO. MUCH. FUN!!! and i love the parchment trick for getting the sprinkles on the side of the cake. GENIUS!
Thank you Dani! I hope you soon get to try it! 🙂
Holy cow. I think you’d be hard pressed to find someone who wouldn’t like this gorgeous cake! It looks INCREDIBLE!
Haha! Thank you much, Karly! That’s very kind of you to say!
It’s my birthday next week and this looks like the perfect cake to make but I cannot buy dry buttermilk where I live – can I substitute with something else or leave it out?
You may leave it out, Jelena, although you probably will have to use more powdered sugar to compensate.
I made this cake just recently and it turned out wonderful! It was made for an 11 yr. old’s birthday and both her and her friends loved it. Definitely a keeper.
Real happy to hear, Adelle! Thanks for taking the time to let me know, too! I greatly appreciate that! 🙂