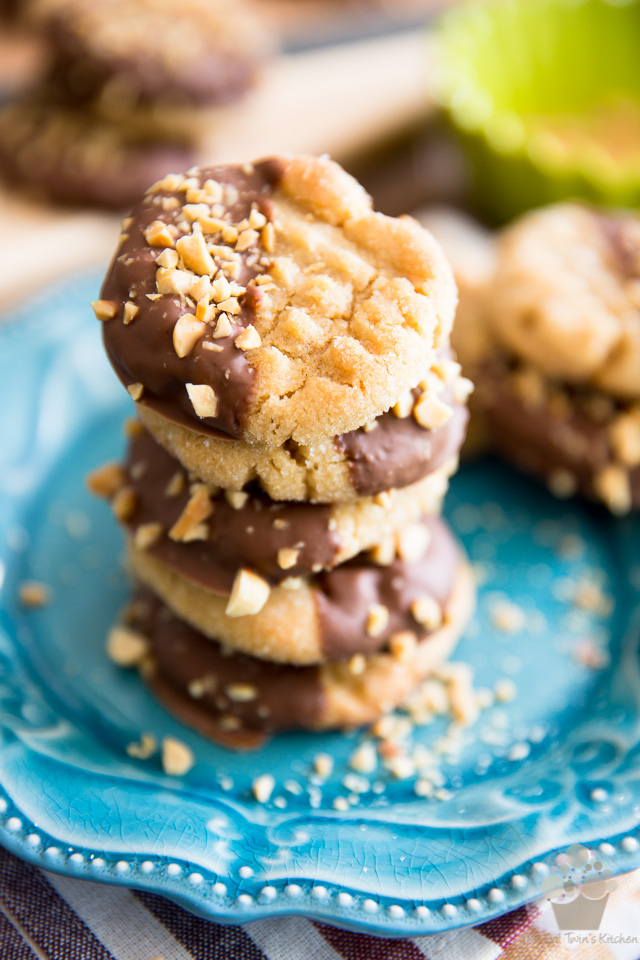
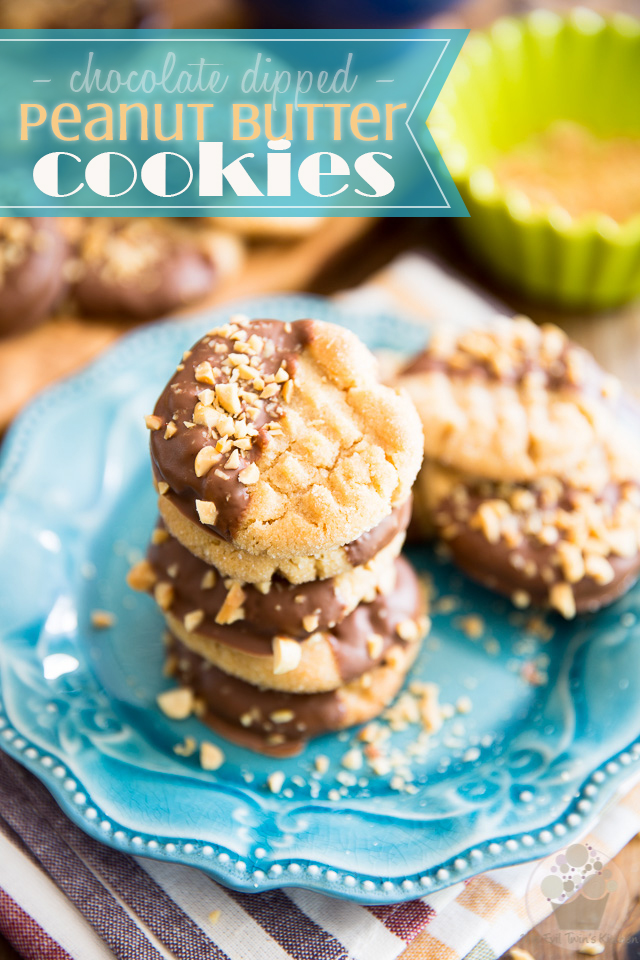
Dangerously chewy and peanut-buttery, these Chocolate Dipped Peanut Butter Cookies are what serious peanut butter lovers’ dreams are made of!

Ooops. I just realized that I’m sharing yet ANOTHER peanut butter recipe… I’m so sorry about that! I know, it really wasn’t that long ago that I promised to try and stay away from the stuff for a while, and yet here I am, sharing a recipe for Peanut Butter Cookies.
I get the feeling that you will forgive me this little gaucherie, though. In fact, I’d even go as far as to say you’ll be glad I did.
You know what’s funny? Back when I was a kid, I didn’t care for Peanut Butter Cookies. AT ALL. Mind you, the reality is that, back then, I had no idea what a true, honestly good peanut butter cookie really was. All I’d ever eat were those commercial pre-packaged, dry and crumbly excuses for a cookie. You know, the type of cookie that, unless one had a great big glass of milk to dunk them in, pretty much felt like you were munching on a mouthful of coarse sand.
And since I was never one to enjoy drinking milk, well… (true fact. You’ll only VERY rarely catch me drinking milk. I hate the stuff)
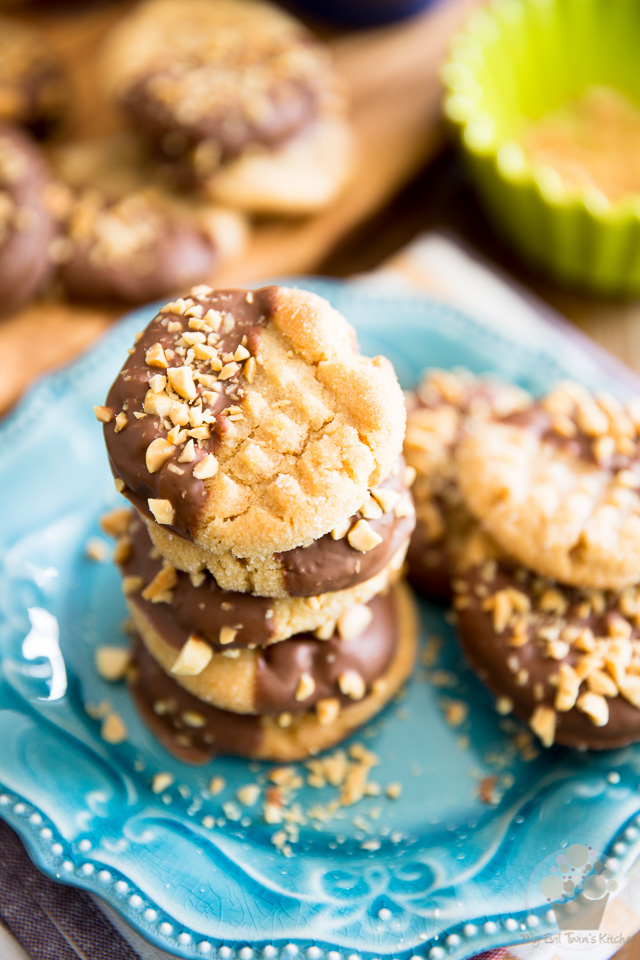
But these guys… OMG! They are a completely different animal. Trust me, you will not be requiring a glass of milk when feasting on these puppies. Well, maybe just to sort of cleanse your palate, if you’re a fan of the practice, but definitely NOT to help wash them down.
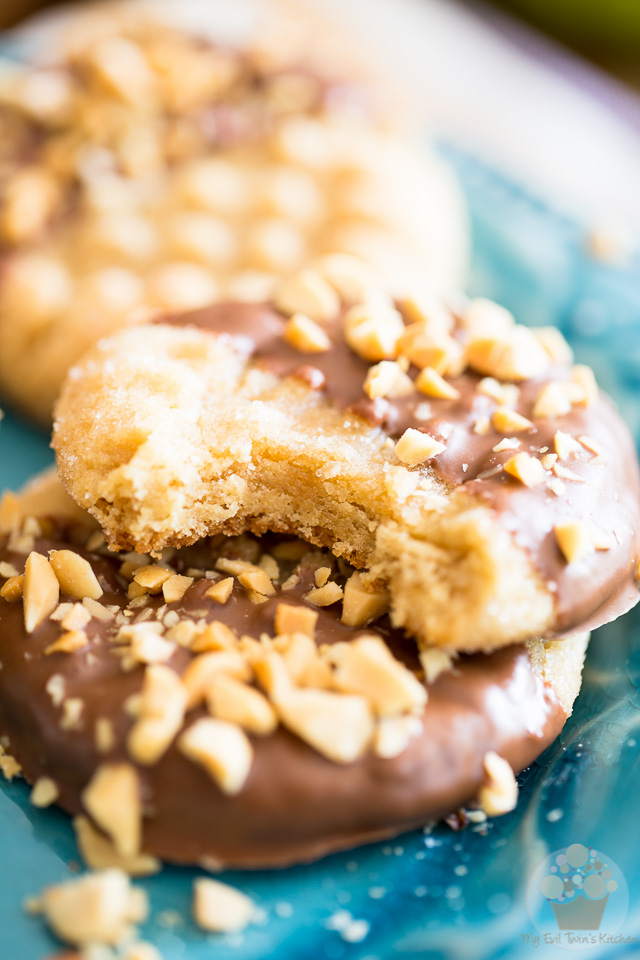
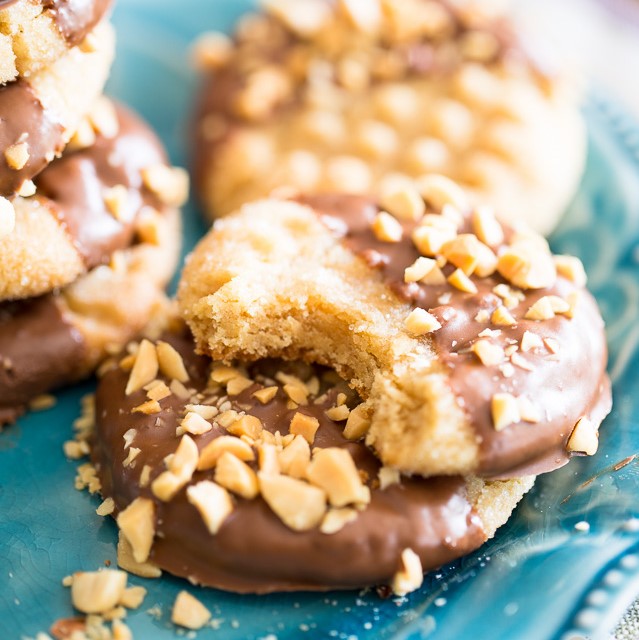
These cookies, they’re melt-in-your-mouth soft, chewy and moist in their center, with a slightly firmer, crispier edge, just the way I like ’em. And the fact that they’re rolled in sugar before hitting the oven gives them that extra little crunch, you know, sending your mouth in total sensory nirvana.
But texture isn’t all… is it?
Well, fear not. These beauties have you totally covered in the flavor department too. They have such a profound and intense peanut buttery flavor, I can guarantee you that your taste buds will not feel left behind.
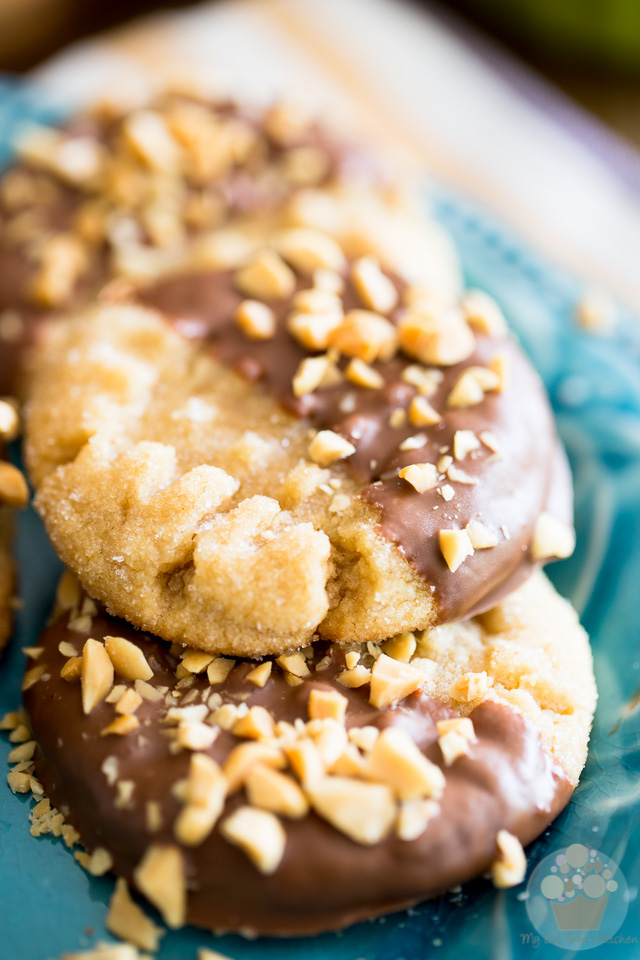
And just because I always love to kick things up a notch, you know, and also too because you eat with your eyes first, well, I decided to give my cookies a quick little dunk in melted milk chocolate. HA! Dunking cookies in milk chocolate is much tastier than dunking in plain milk, if you ask me!
Plus, you know what they say, right? Chocolate makes everything better. Not only taste better, but also look better.
Of course, that part is entirely optional; you could very well make the cookies and leave the chocolate dunking out of the equation. You have to admit, though, that this little extra step really does make these cookies look extra scrumptious!
I think it’s entirely worth it. You should definitely consider it!
STEP-BY-STEP INSTRUCTIONS AND PICTURES
Make the Peanut Butter Cookie Dough

Combine the flour, baking soda baking, powder and salt together in a mixing bowl; mix well with a whisk until fully combined and set aside.
In a separate bowl, combine the brown sugar and granulated sugar and, in a third bowl, combine the peanut butter and butter.
I only ever work with all-natural or homemade peanut butter, so I can’t say for sure how these would turn out if you chose to make them with the “regular” stuff, but I’m fairly positive that it would work just fine.
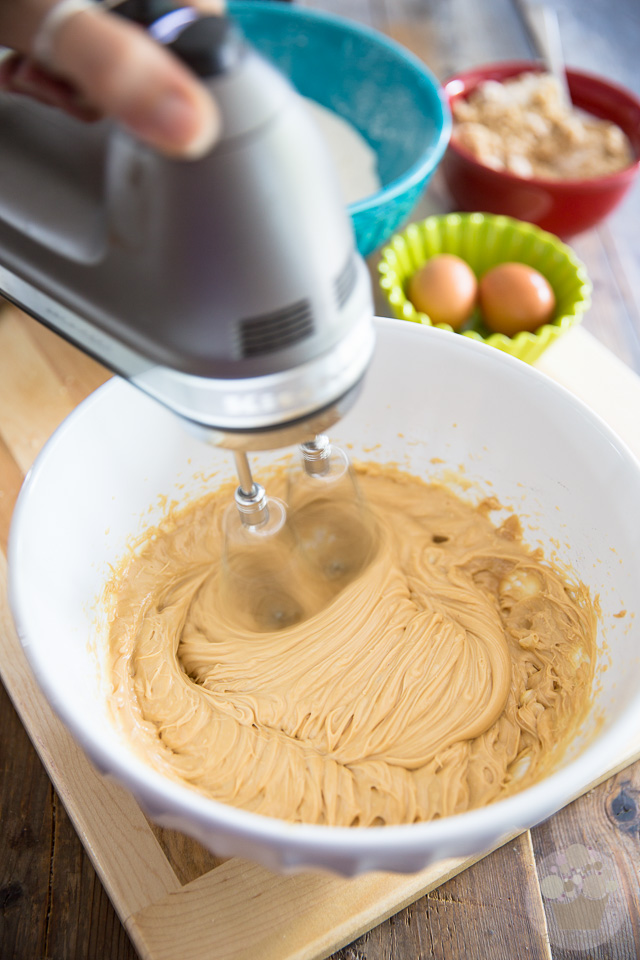
Beat the peanut butter and butter with an electric mixer on high speed until super smooth and creamy.
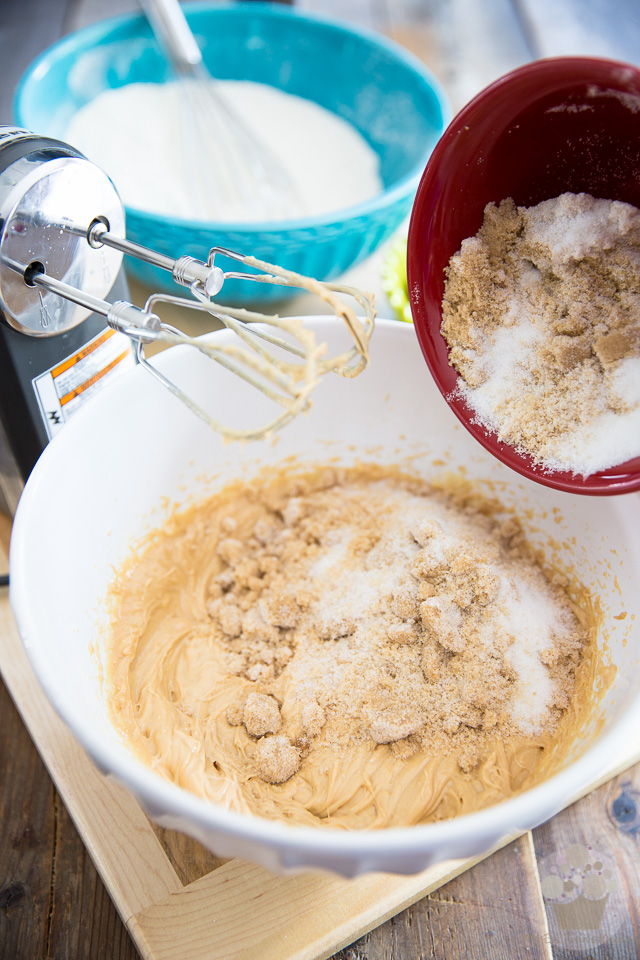
Next, throw in the brown sugar and granulated sugar…
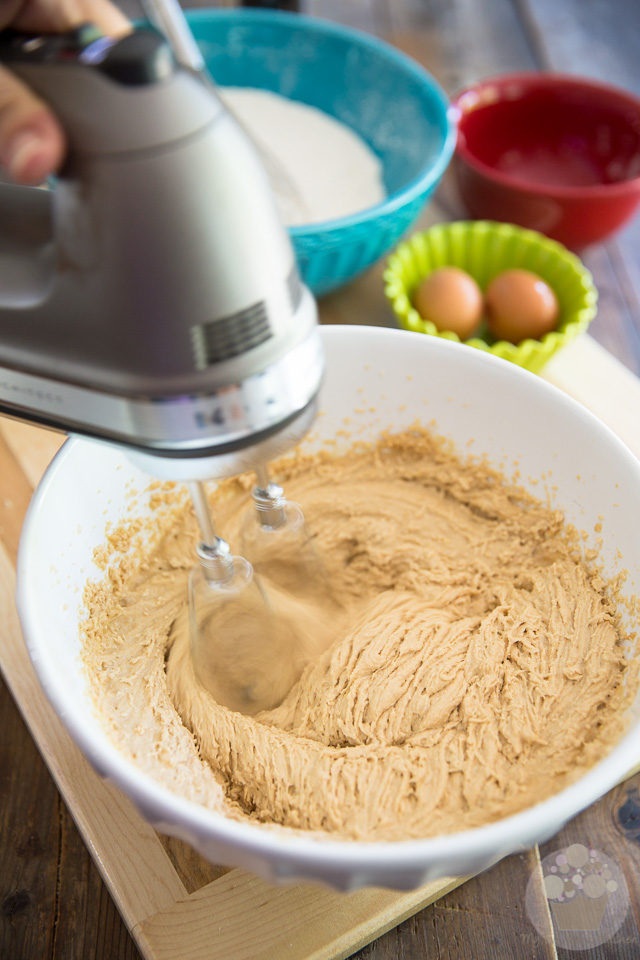
And resume beating until the sugars are completely incorporated.
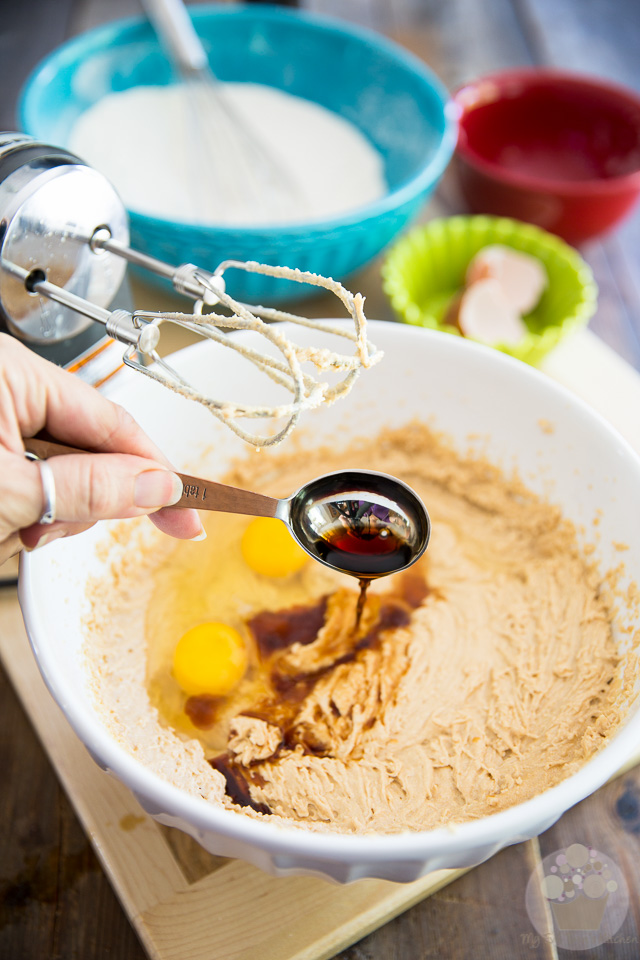
Add eggs and vanilla extract…
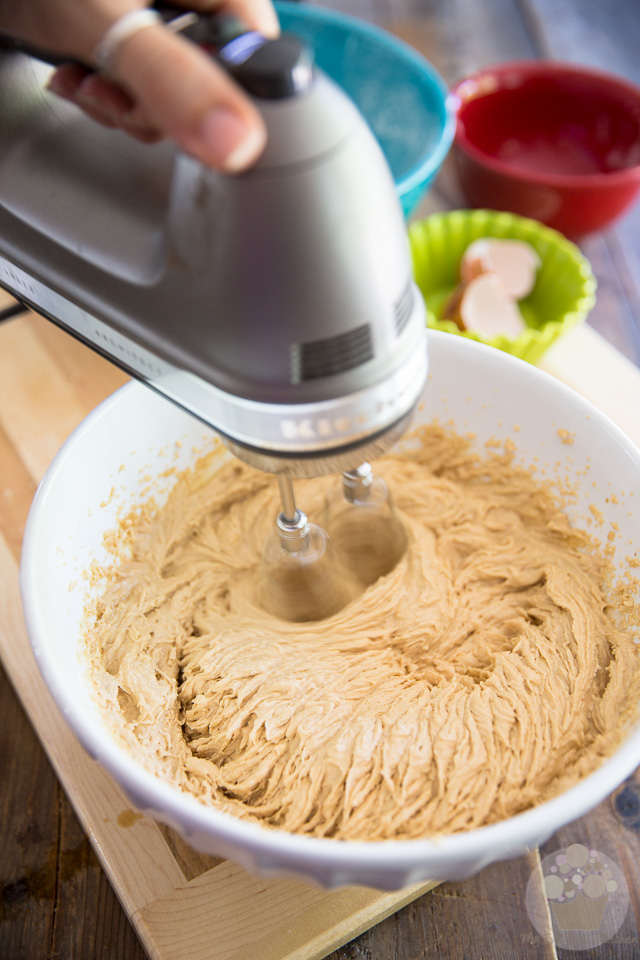
…and resume beating on high speed until the mixture gets light and fluffy, about 1 minute.
Scrape the sides and bottom of the bowl as needed.
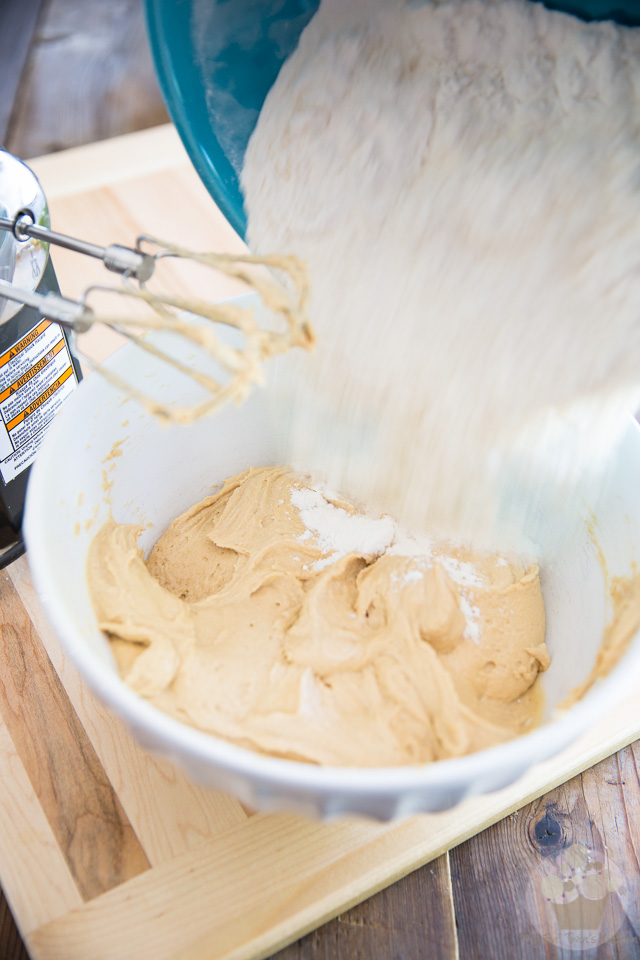
Add the dry ingredients, all at once…
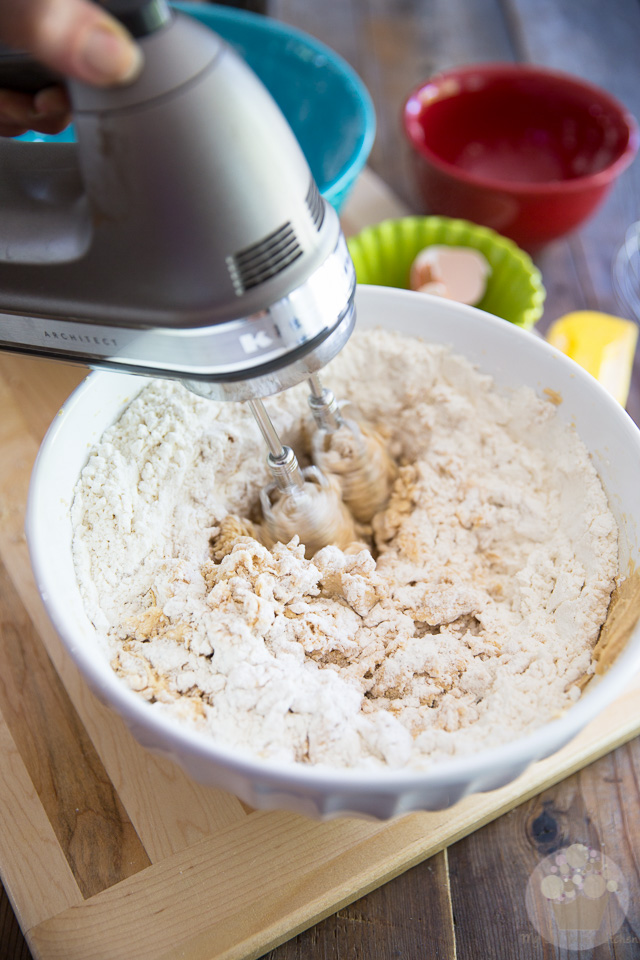
…and very carefully mix them in, ON LOW SPEED, until the dough comes together, no more.
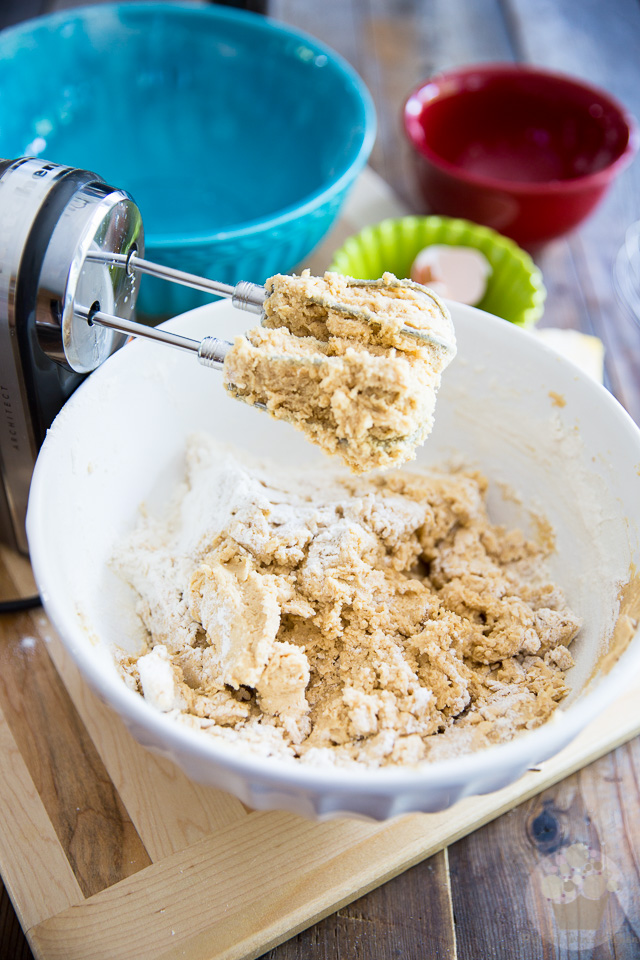
As you can see, this cookie dough is really dense and thick, so your beaters may get stuffed a lot. If that happens, simply clean them by pushing the dough out with your fingers (euhm, you might want to stop the motor first!) and resume beating.
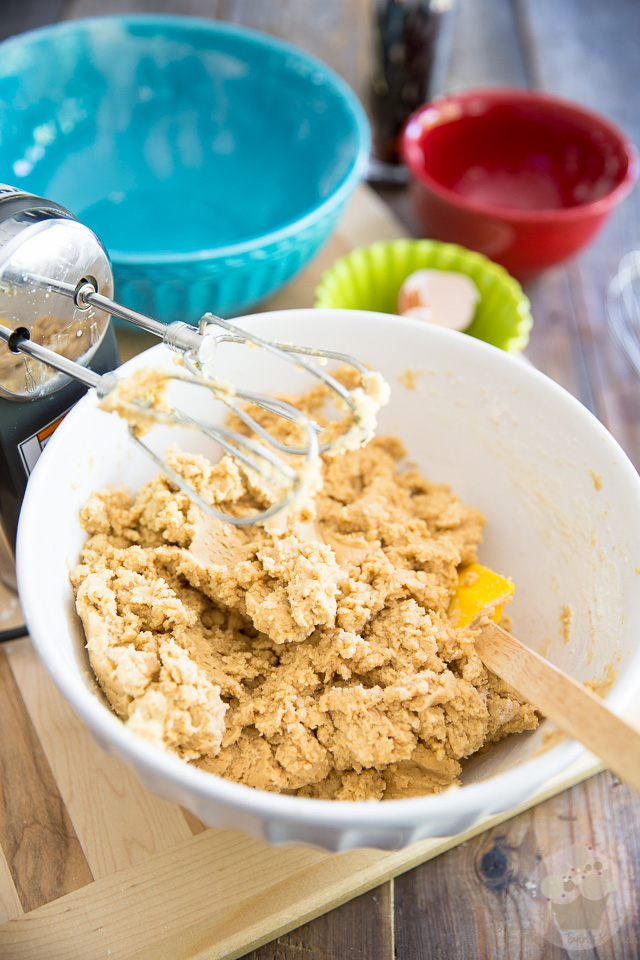
Once the dough has come together nicely, cover and refrigerate it for at least 4 hours, but preferably overnight and even up to a few days. To be honest, mine ended up spending FOUR days in the refrigerator. Yeah, that’s four days. What can I say? The sun went MIA for a few days, then life got in the way… How I managed to not eat the whole thing straight from the bowl over the course of those 4 days though, is totally beyond me!
Seriously, though. You don’t need to chill your dough for that long, but you do need to let it chill COMPLETELY before you bake your cookies. If you attempted to bake the dough while it was still soft, your cookies would spread in the oven like you wouldn’t believe, resulting in flat, dry and crumbly cookies.
And then you’d need the milk to dunk them in, you know. Sad.
Bake the Peanut Butter Cookies
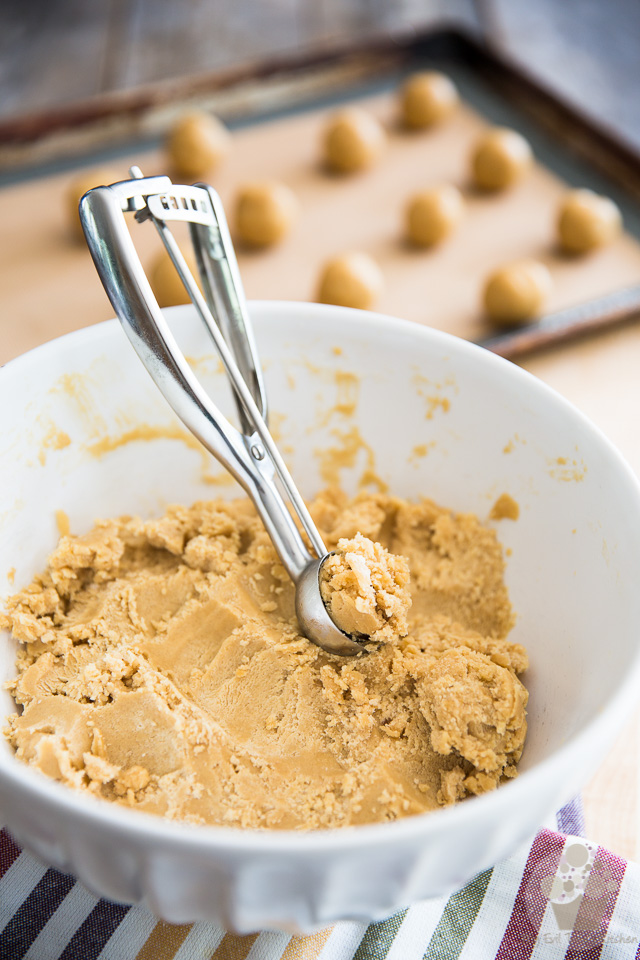
When you are ready to bake your cookies, (as in, once your dough has had AMPLE time to chill) preheat your oven to 375°F, then scoop the dough and roll it into 1-1/2” balls.
A medium-sized spring-loaded ice cream scoop works wonders for this: not only does it scoop equal amounts of dough, but it also sort of pre-shapes the balls for you.
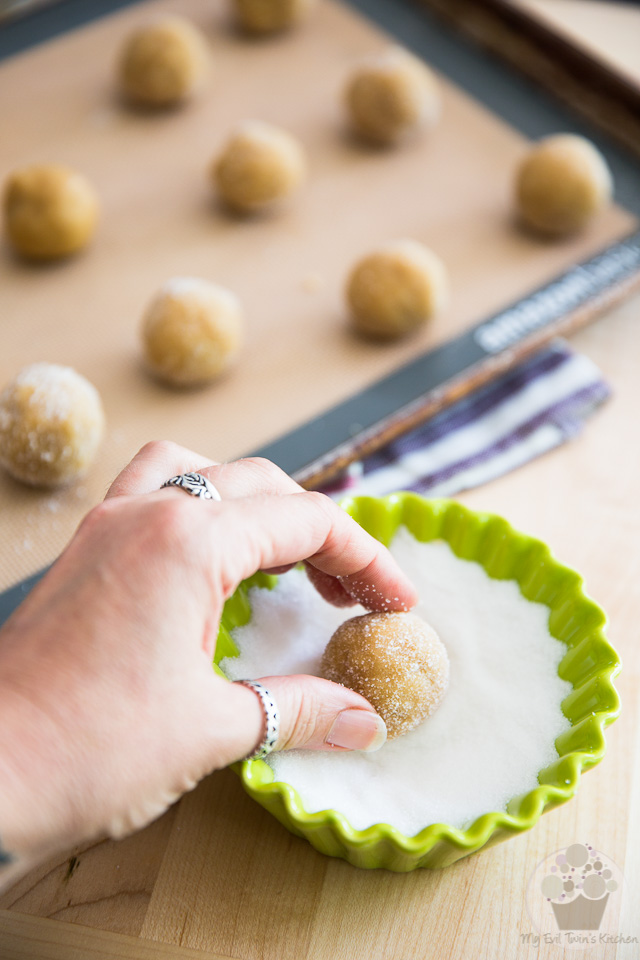
Roll the dough balls into the granulated sugar so they are completely covered. While this step isn’t absolutely mandatory, I strongly suggest that you do it: the sugar crystals add SO MUCH to the final texture of the cookies… plus, it will help the dough not stick to your fork in the next step.
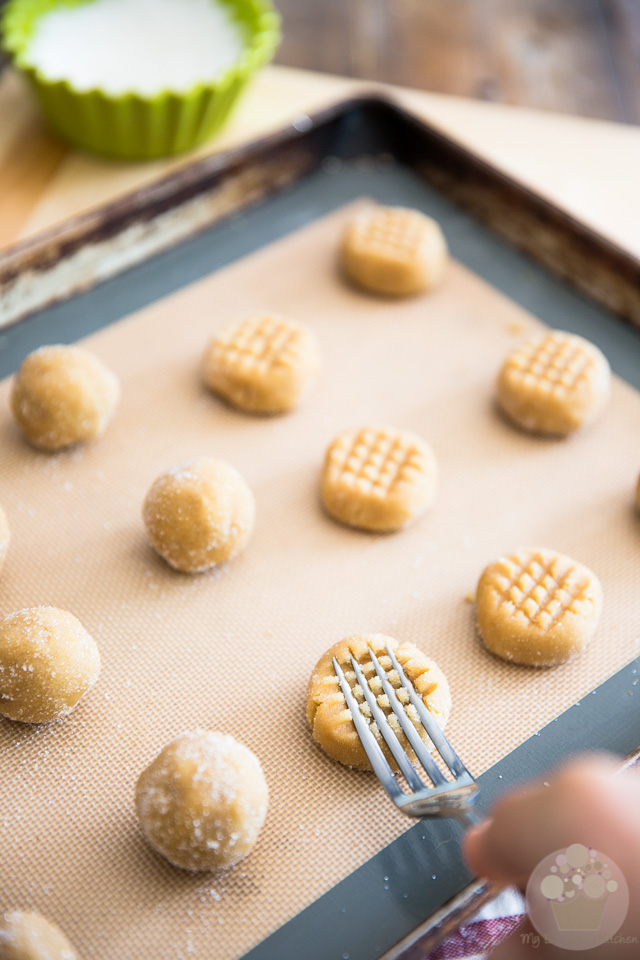
Place about 12 to 15 balls of dough onto a 13″ x 18″ cookie sheet that’s been lined with parchment paper or a silicon baking mat. It’s important that you leave ample space between the cookies to allow room for spreading.
Flatten the cookies by pressing them DELICATELY with the tines of a fork, imprinting them with the traditional criss-cross-pattern by the same token.

Don’t worry if your cookies crack a little as you push down on them with the fork; it only adds to their charm.
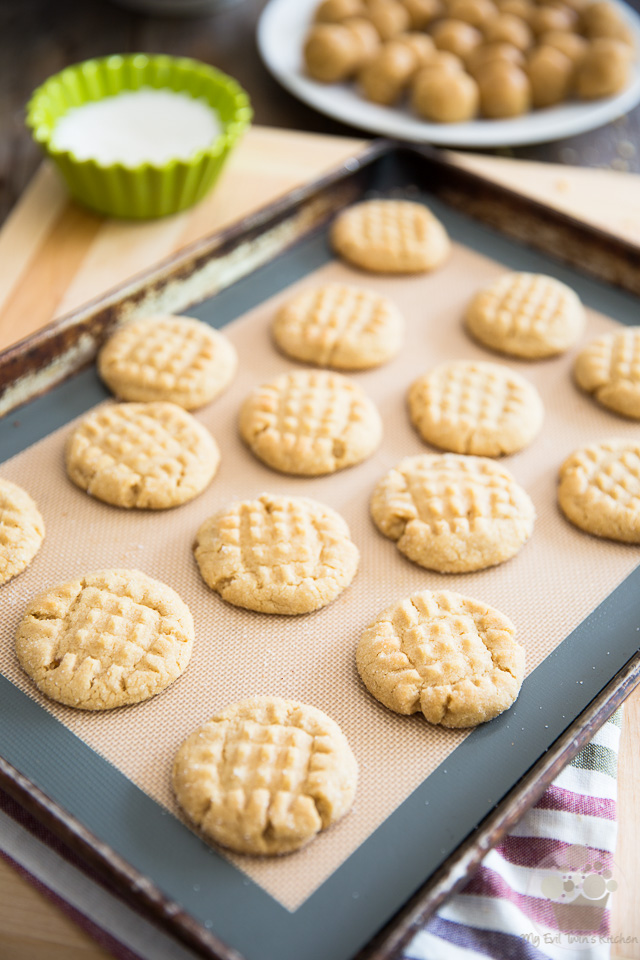
Bake the cookies for 9-10 minutes, or until they are JUST BARELY golden; do not overbake the cookies, else they will be dry.
And then you’ll have to reach for that glass of milk again…
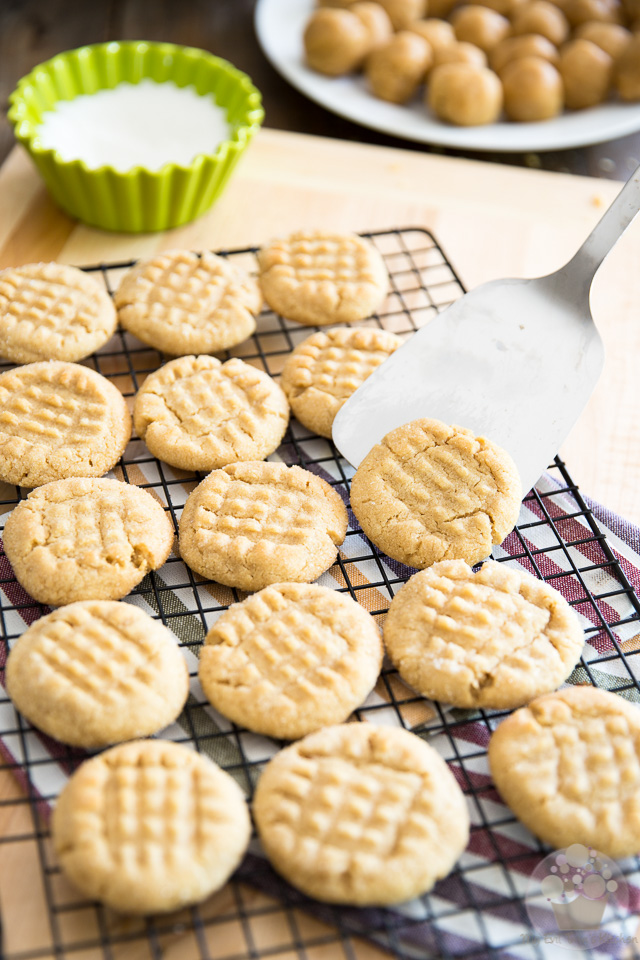
Let the cookies cool in the sheet for a minute or two and then delicately transfer them to a cooling rack to cool completely; the cookies will be VERY soft as you take them out of the oven, but don’t worry: they will firm up as they cool down.
And while that’s happening, you can keep busy by baking the rest of the cookies.
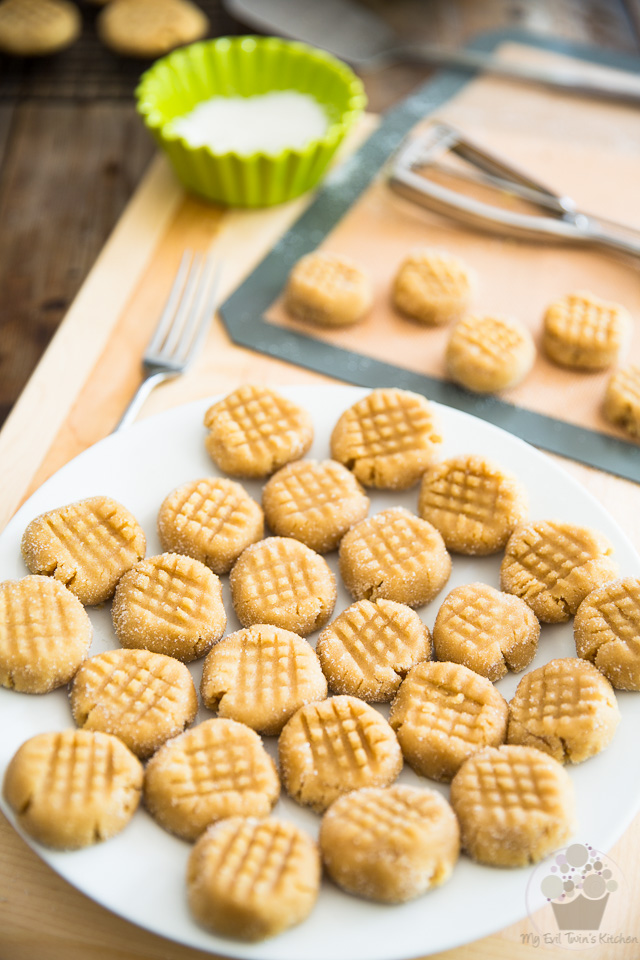
Or, if you preferred, you could simply “shape” the rest of your cookie dough and then refrigerate or even freeze your unbaked cookies. That way, you could bake a fresh batch whenever your heart desired, within seconds notice!
If baking from frozen, though, you may have to increase baking time by a minute or two
Coat your cookies in chocolate
So you’ve decided that you too, wanted to kick things up a notch and give your Peanut Butter Cookies a deliciously sexy milk chocolate coating? AH! Good on you!
Just make sure that your cookies are completely cooled before you do that, though, otherwise your chocolate will take forever to set (and your coating will be awful thin, too)
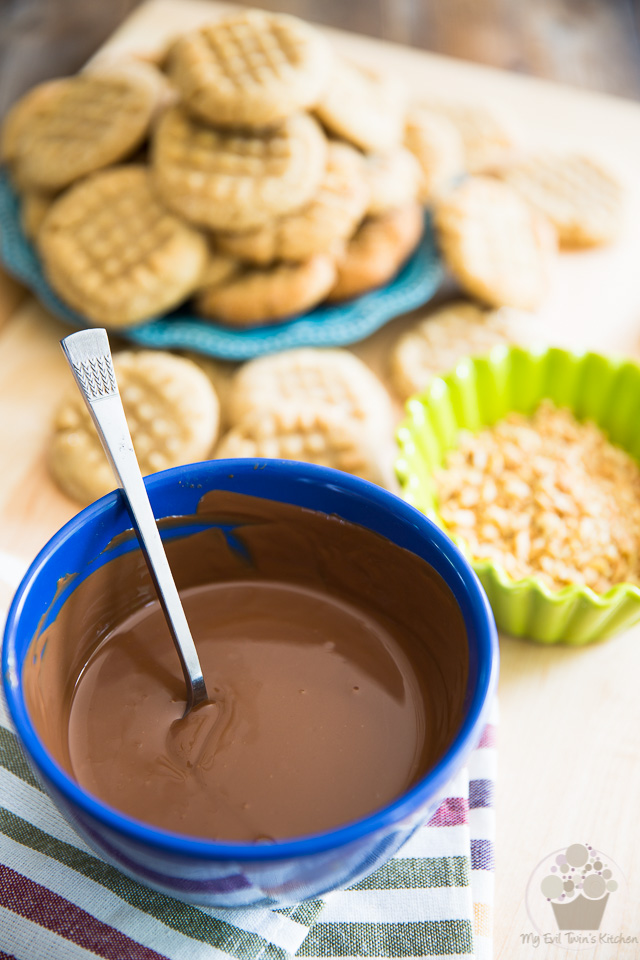
First, you’ll need to melt some chocolate. To do that, combine the finely chopped milk chocolate and oil in a microwave safe bowl and place them in the microwave for 30 seconds. Allow to rest for 30 seconds and then stir for 30 seconds.
Repeat the process if necessary, for no more than 20 seconds at a time, until the chocolate is completely melted but not hot.
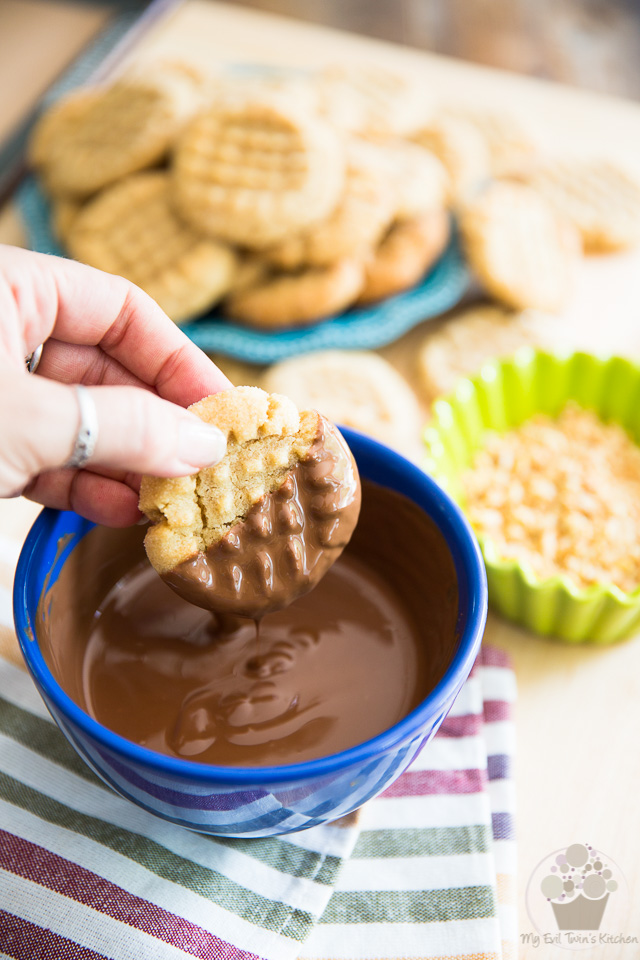
Dip half of each cookie in the melted chocolate, let the excess drip for a few seconds and then place the cookies onto a silicon mat or piece of parchment paper;
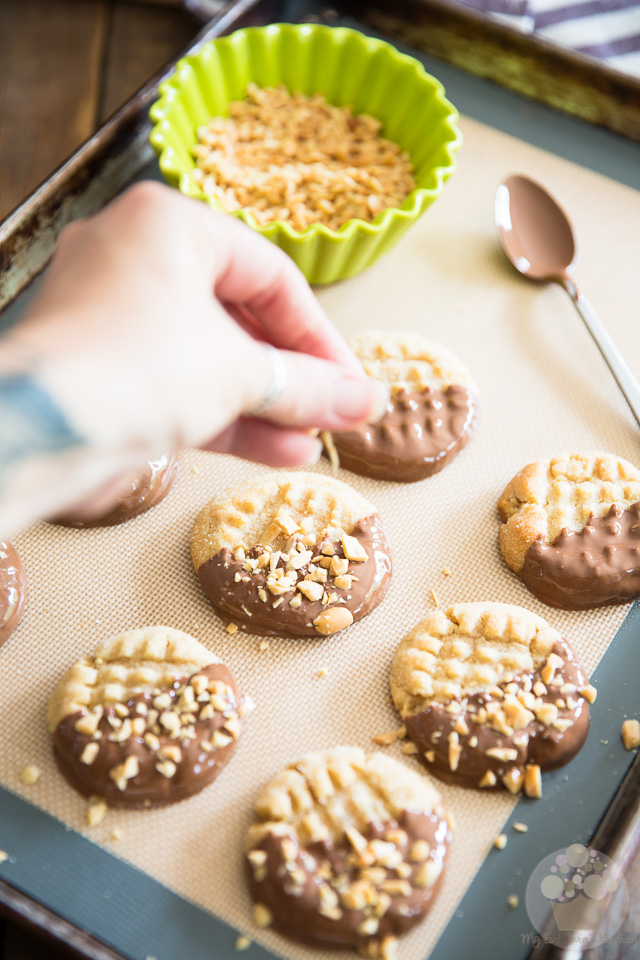
Sprinkle with chopped peanuts while the chocolate is still wet…
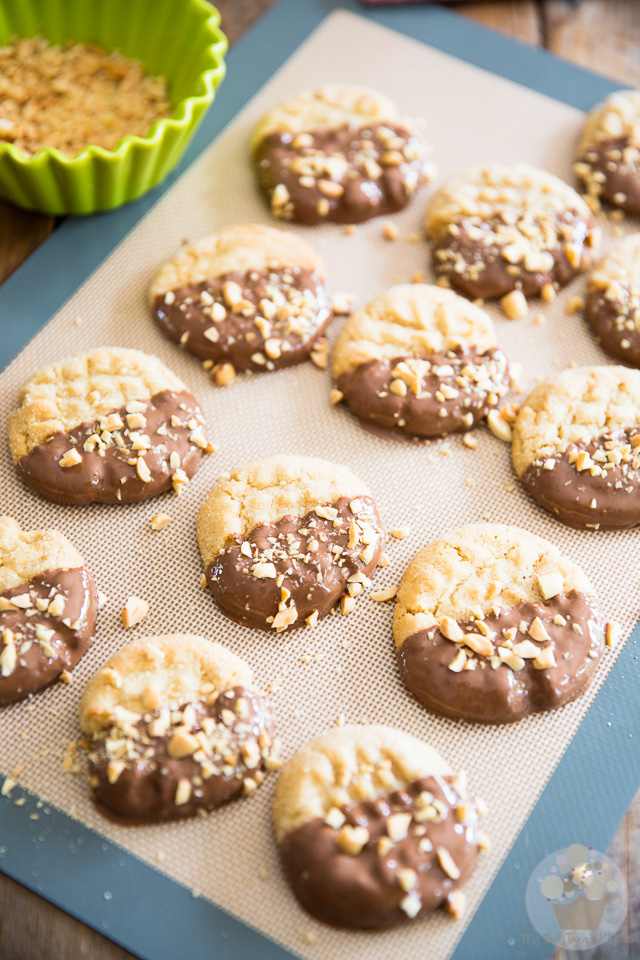
Now let the the cookies rest until that chocolate is completely set. I know, I know; easier said than done.
Well, you *could* transfer the cookies to the refrigerator to speed things up a bit, if you wanted to…
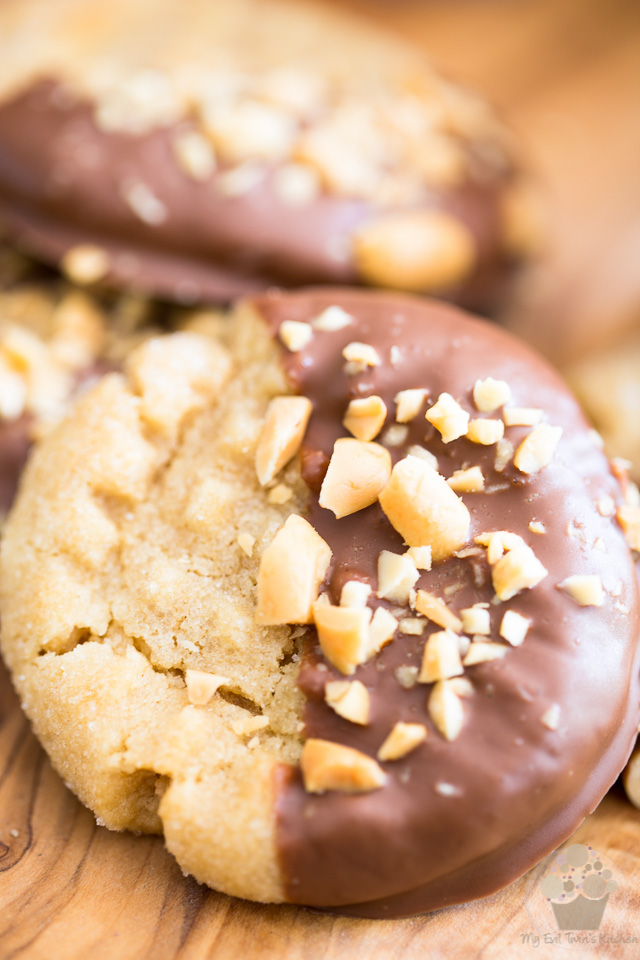
Store your finished cookies in an airtight container, in the refrigerator or the pantry, for up to a few weeks.
Cold, these cookies are real dense and deliciously chewy — my personal favorite! At room temperature, they become much softer and melt in your mouth practically on contact, without losing any of their delicious chewiness.
You know what? Maybe you should keep half in the fridge, half in the pantry!
Ingredients
- 3 cups (385g | 13.5oz) unbleached all-purpose flour
- 1 tsp baking soda
- 1 tsp baking powder
- 1/2 tsp salt (I use Himalayan salt)
- 1-1/2 cup (360g | 12.7oz) all-natural creamy peanut butter, (store bought or homemade)
- 3/4 cup (180g | 6.3oz) butter, softened
- 1-1/4 cup (250g | 8.8oz)light brown sugar, packed
- 3/4 cup (150g | 5.3oz) granulated sugar
- 2 large eggs, at room temperature
- 1 tbsp pure vanilla extract, (store-bought or homemade)
- 1/2 cup (100g | 3.5oz) granulated sugar, to roll the cookies in
- 2 cups (300g | 10.6oz) milk chocolate, finely chopped
- 1 tbsp peanut oil (or other neutral tasting oil of your choice)
- 1/2 cup (75g | 2.6oz) roasted peanuts, finely chopped
Instructions
- Combine the flour, baking soda, baking powder and salt together in a mixing bowl; mix well with a whisk until fully combined and set aside.
- In a separate bowl, combine the brown sugar and granulated sugar and, in a third bowl, combine the peanut butter and butter.
- Beat the peanut butter and butter with an electric mixer on high speed until super smooth and creamy.
- Add the brown sugar and granulated sugar and resume beating until the sugars are completely incorporated.
- Throw in the eggs and vanilla extract and beat on high speed until fluffy, about 1 minute, scraping the sides and bottom of the bowl as needed.
- Add the dry ingredients and mix on low speed until the dough comes together, no more.
- Cover and refrigerate for at least 4 hours, but preferably overnight (and even up to a few days).
- When ready to bake the cookies, preheat the oven to 375°F
- Scoop and roll the dough into 1-1/2” balls and then roll them into the granulated sugar so they are completely covered.
- Place 12 to 15 balls of dough onto a 13" x 18" cookie sheet that's been lined with parchment paper or a silicon baking mat; flatten the cookies by pressing them delicately with the tines of a fork, imprinting them with the traditional criss-cross-pattern by the same token.*
- Bake for 9-10 minutes, or until the cookies are just barely golden; do not overbake or the cookies will be dry.
- Let the cookies cool in the sheet for a minute or two and then delicately transfer them to a cooling rack to cool completely; bake the rest of the cookies.
- Once the cookies are completely cooled, combine the finely chopped milk chocolate and oil in a microwave safe bowl and place them in the microwave for 30 seconds. Allow to rest for 30 seconds and then stir for 30 seconds. Repeat the process if necessary, but for no more than 20 seconds at a time, until the chocolate is completely melted, but not hot.
- Dip half of each cookie in the melted chocolate, let the excess drip for a few seconds and then place the cookies onto a silicon mat or piece of parchment paper; sprinkle with chopped peanuts while the chocolate is still wet and then let the cookies rest until the chocolate is completely set. You can transfer the cookies to the refrigerator to speed things up a bit, if desired.
- Store the finished cookies in the refrigerator (for a really chewy cookie) or at room temperature (for a softer treat) for up to a few weeks.
Notes
*You could refrigerate or even freeze the cookies at this point, so you could bake a fresh batch within seconds notice. If baking from frozen, you may have to increase baking time by a minute or two.
As if you you didn’t already get me with the pb, you just had to go and smother it in chocolate? I’m completely obsessed. I could eat an entire dozen of these!
I was literally just sitting outside with my friends talking about how I can take spoonfuls of peanut butter straight up. So once again. Your in my brain hahah 🙂 wouldn’t have it any other way! My friend and I are gonna make these this week! Minus the chocolate dip for me of course 😉
Bah! Instead of dunking them in chocolate, you can smother them in peanut butter! DOUBLE DOSE!!! 😀
I like how you think Sonia! I forsee some homemade nutter butters in my future 😉
My cookies crumbled. They have good flavor but they definitely do not look pretty. I combined the ingrediently until just incorporated and let it chill for 2 days. The dough was quite crumbly and the fork imprint just demolished the cookies prebaked no matter how delicately I pressed. Any idea what I did wrong? Thank you.
Did you use the all natural peanut butter, Lindsay? That’s the only thing I could think of…
Yes all natural Just like your recipe calls for
Then I’m really not sure… was the dough dry and crumbly before you refrigerated it? Perhaps just bringing it back t=in temperature would’ve done the trick…