Once you’ve tried making pie crust in the food processor, you’ll never go back. Get the same delicious results in just minutes, completely mess-free!
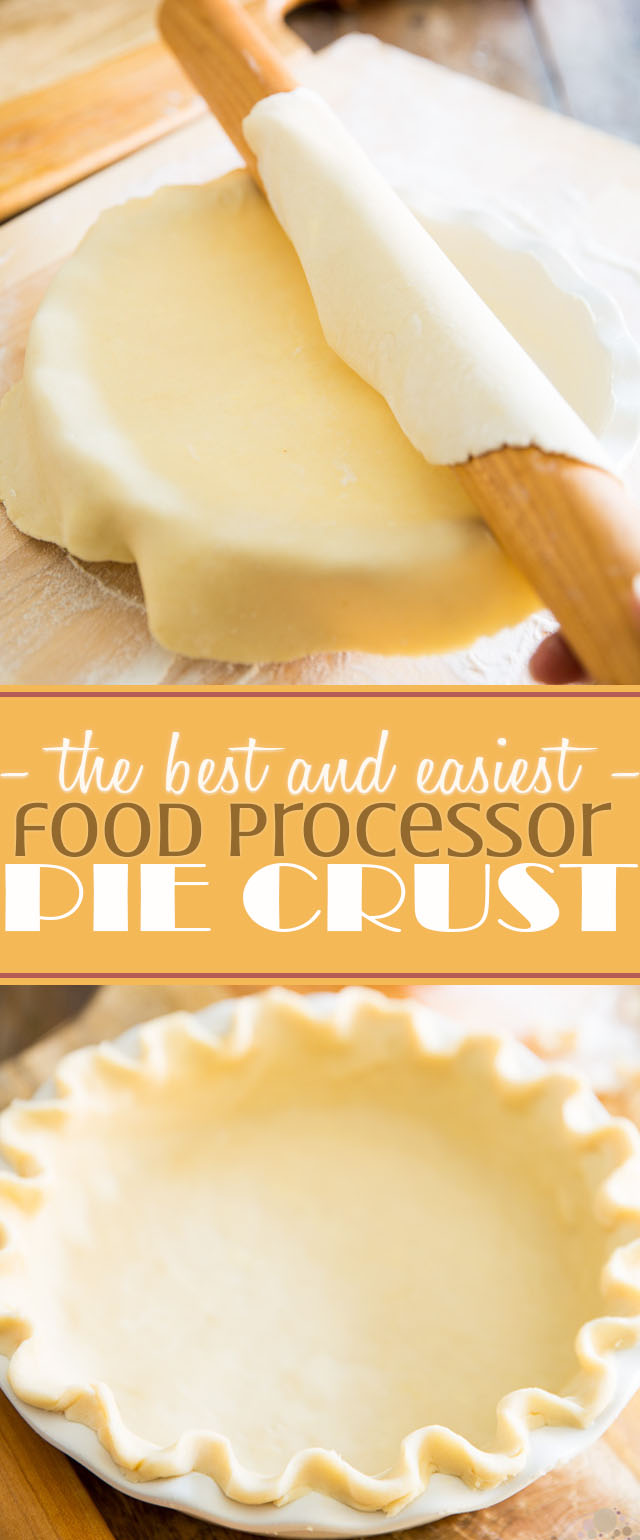
My whole life, I’ve always despised making pie dough and I really mean D.E.S.P.I.S.E, with a capital D! I’d have someone else do the deed for me or there would simply be no pie on the menu. Simple as that.
Have you ever had Christmas without pie? It’s a sad, sad thing let me tell you…
But then I learned that it was possible to make pie dough in the food processor. I was highly skeptical but still decided to give it a try using my usual recipe, the one I’ve been using ever since I was a kid. Only this time, I made it in the food processor instead of with my hands and fingers like I normally would.
WHOA! Now that was a total game changer. Like seriously, complete night and day!!!
The use of a food processor makes the whole process so easy, so quick and most of all, so completely mess-free! But what’s best is the resulting crust is amazingly light and flaky, because using the food processor helps in keeping the ingredients nice and cold, which is KEY to making good pie dough.
The only real important thing to keep in mind when using a food processor to make pie dough is that you ALWAYS want to pulse your ingredients, rather than process them continuously.
Pulsing is much gentler and also imitates the way you would cut the fat into the flour by hand. Plus, pulsing gives you much better control over things and greatly decreases the chances of over-mixing the dough, which is a SERIOUS no-no when making pie crust.
Other than that, the whole process is a total breeze from start to finish. I’m telling you, there’s absolutely nothing not to like about this magical technique. Once you’ve tried making pie crust in the food processor, you’ll never go back.
And you’ll probably be looking for reasons to whip up a batch of pie dough!
Shall we?
STEP-BY-STEP INSTRUCTIONS AND PICTURES
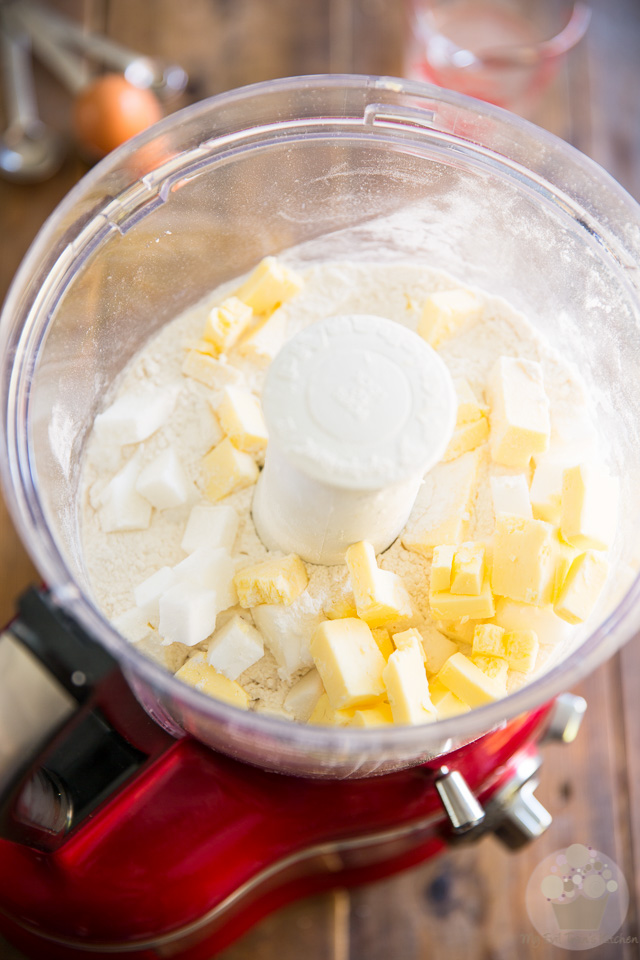
Like I said earlier, the most important rule to follow when making pie dough is to make sure that all your ingredients are as COLD as can be. Now I’m not saying that you need to stick your flour in the fridge the previous day, but definitely use cold lard, cold butter, ice cold water and a cold egg… I know that we generally get told that in baking, eggs do what they do best when at room temperature, but not this time. Keep everything in the fridge until the very last minute.
Now lard really is my fat of choice when making pie dough because it has a solid reputation for making pie crust especially flaky. However, I find that it lacks a little bit in the flavor department and doesn’t have the unique buttery richness that only butter can give me. That’s why I like to use both lard AND butter in my recipe.
However, if you couldn’t get your hands on lard, I suppose you could very replace it with shortening, or even use butter exclusively if you wanted to; whatever you do, though, just make sure that it’s cold!
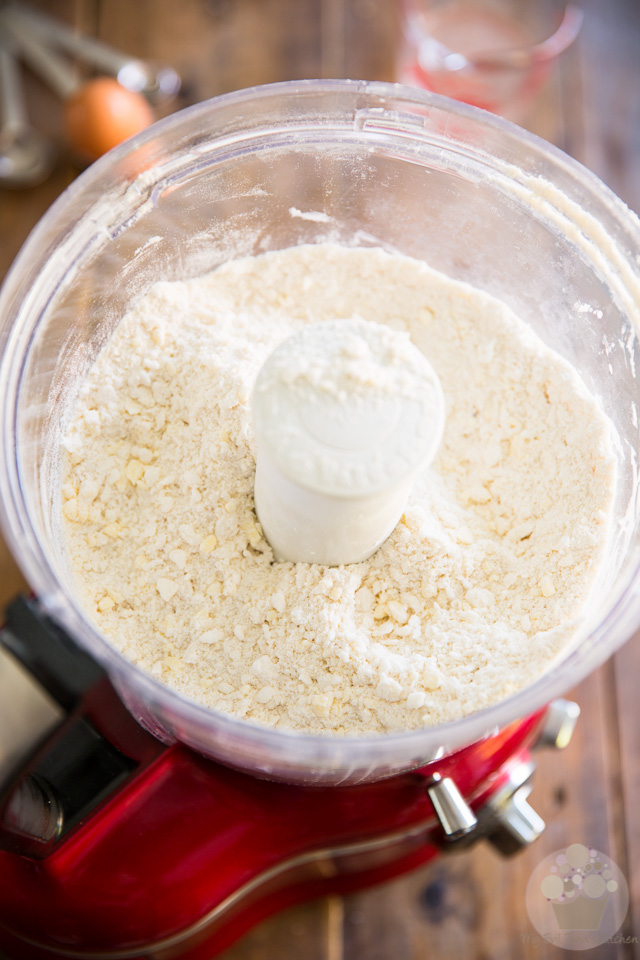
When you are ready, place the flour, diced COLD lard and butter into the bowl of your food processor fitted with the standard S blade and process on pulse until the mixture resembles fine crumbs with a few larger pieces.
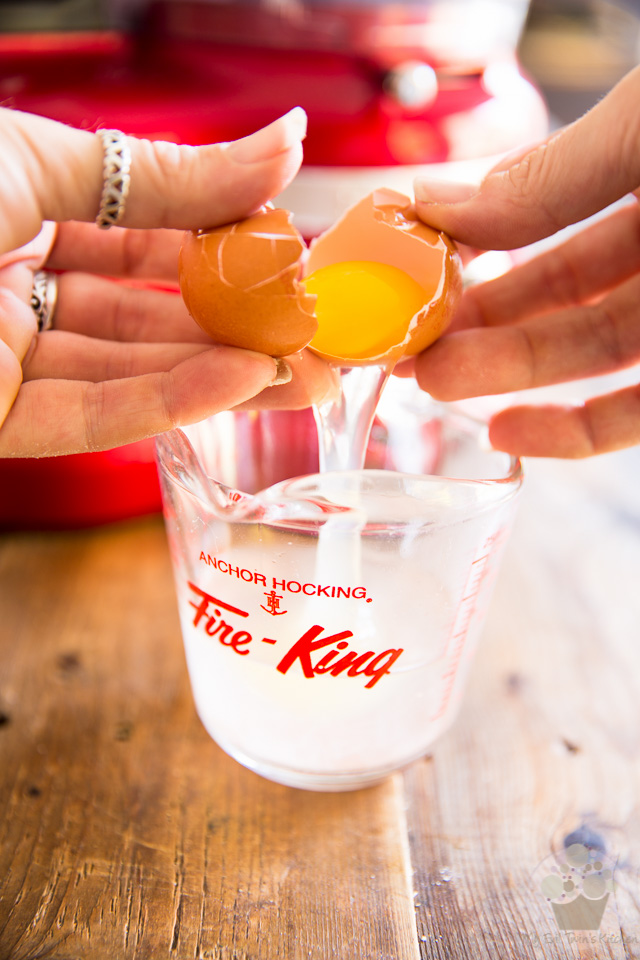
Next, in a small measuring cup, combine the ice cold water, vinegar (or lemon juice) and salt.
Adding vinegar or lemon juice to pie dough is said to help prevent the formation of gluten, which makes the crust more tender, lighter and flakier. While I can’t say for a fact that this is absolutely true, it’s always given me awesome results, so I just keep doing it.
Why fix it if it ain’t broke, right?
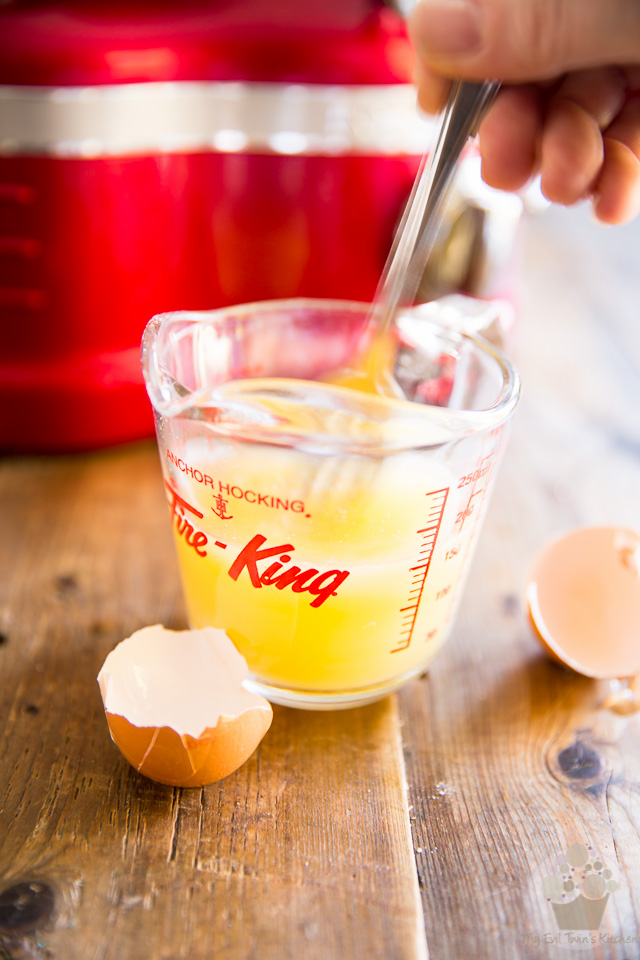
Whisk the ice water, vinegar and salt until the salt is completely dissolved and then beat in the COLD egg until it’s well combined and slightly foamy.
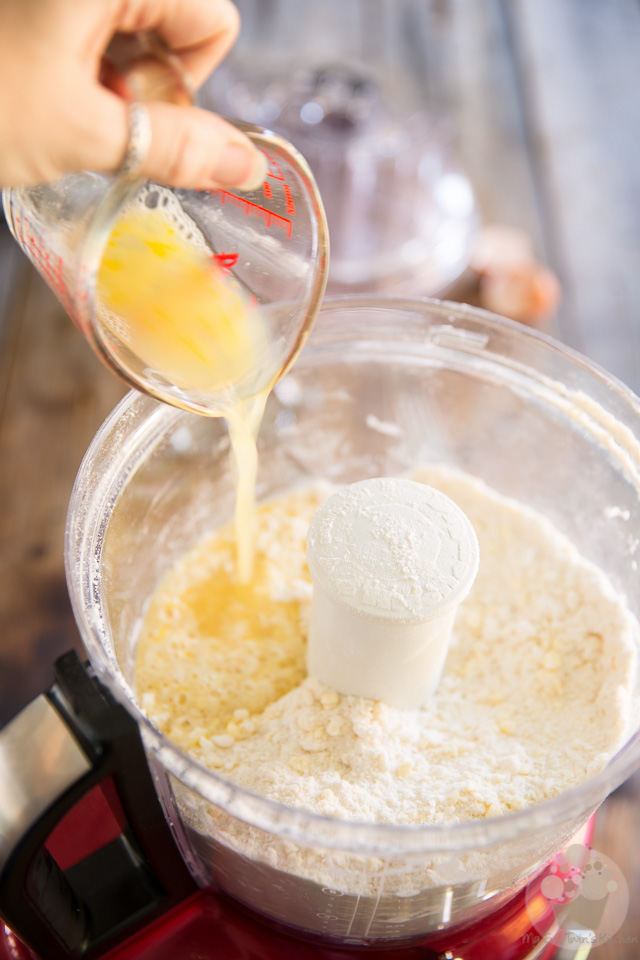
Add this to the flour mixture all at once and process ON PULSE until the dough just comes together. Do not over-process.
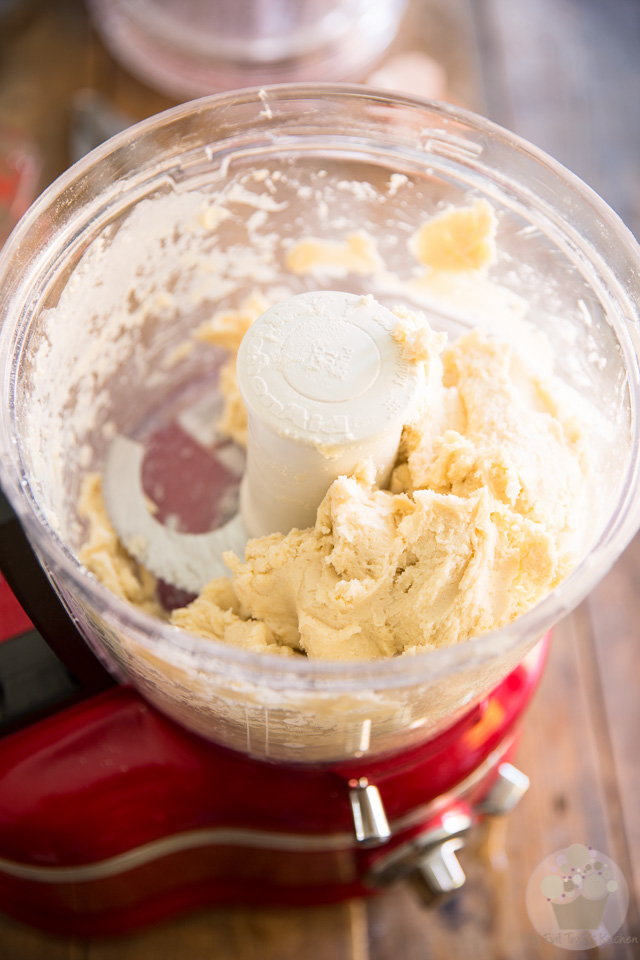
At this point, your dough will be fairly soft and unusable but that’s okay.
Keep in mind that as you roll the dough, you will be incorporating more flour into it… and that it will firm up as it rests in the fridge.
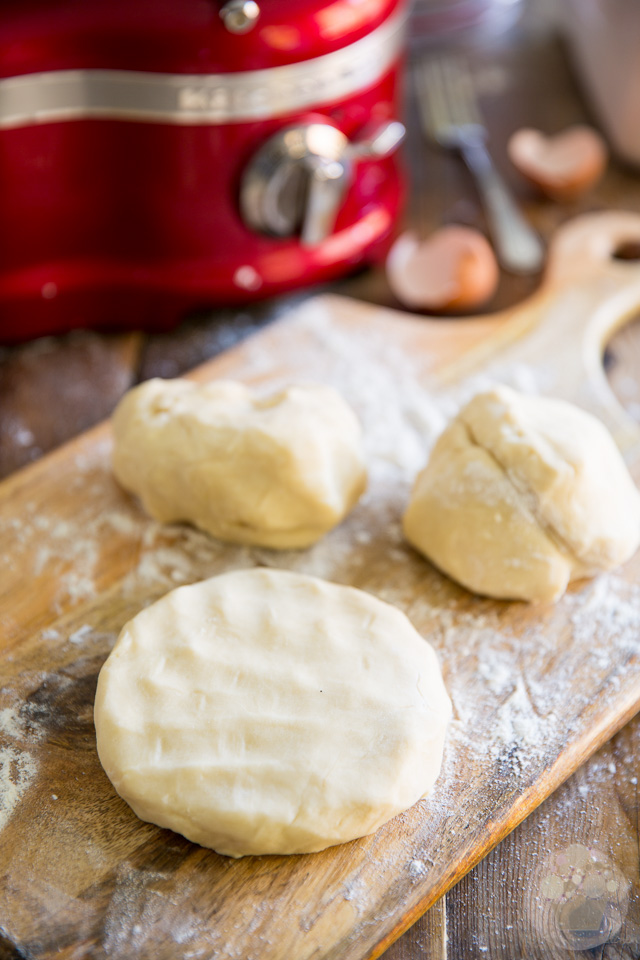
Once your dough is done mixing, turn it onto a floured work surface and divide it into 3 individual portions; you should be getting approximately 260g / 9.25oz per portion
Shape each portion into a flat disc, then, wrap each disc tightly in plastic wrap, and chill the wrapped dough for at least 30 minutes before rolling it out. Not only will this chilling time help firm up the dough and make it easier to work with, but it will also allow the gluten to relax, making the dough less elastic as you roll it out.
At this point, if you wanted to, you could refrigerate your pie dough for up to 3 days or even send it to the freezer for up to 3 months. Frozen dough should be thawed in the refrigerator and then allowed to stand at room temperature for about 15 minutes before rolling it out.
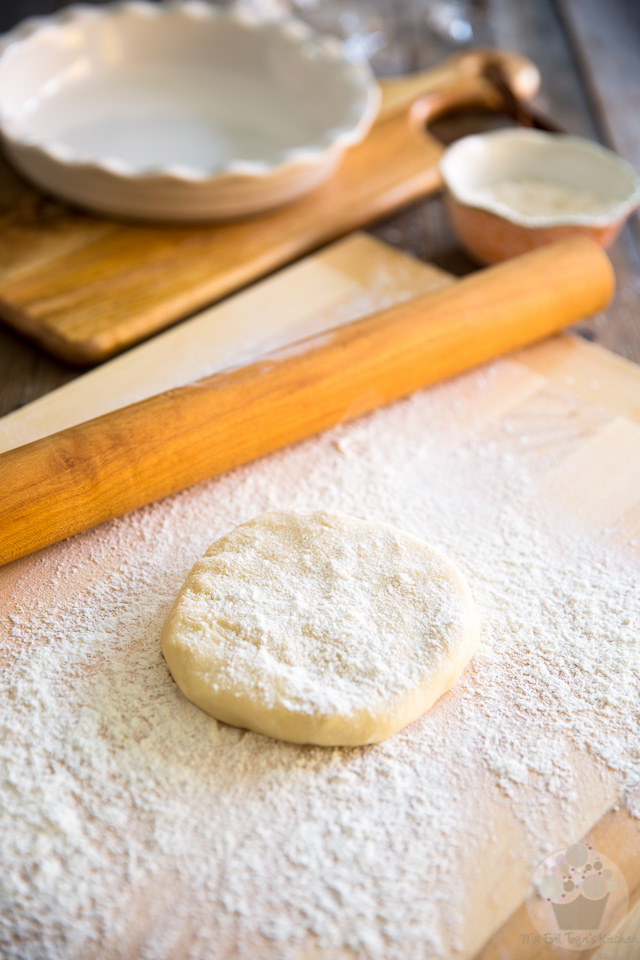
When you are ready to roll your dough, the first thing that you need to do is make sure that it’s at the right temperature.
If it’s too warm and soft, your dough will stick like crazy to the work surface as well as to your rolling pin, and you’ll have to use tons of flour to prevent it from sticking as you roll it (more flour equals more mess!)
On the flip side, if your dough is too cold, it’ll be very firm and will not spread well; it’ll only crack and break on you as you try to flatten it into a thin disk.
To test for readiness, simply press the dough lightly with your fingertips: they should be met with a little bit of resistance and leave a small indentation without completely sinking into the dough.
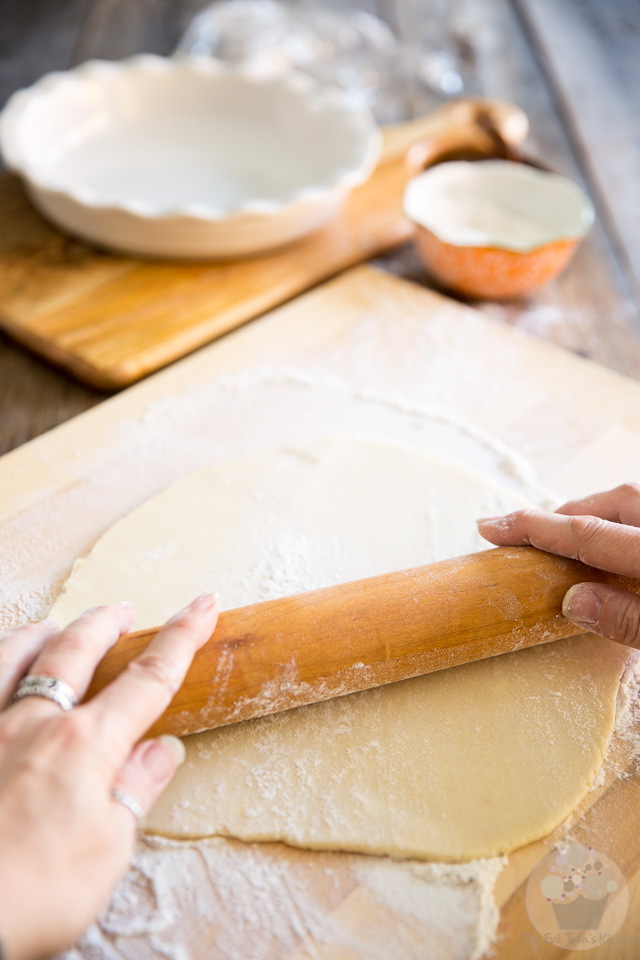
Place a disc of dough onto a well floured work surface and delicately flatten it into a thin disc that’s slightly bigger than the pie plate you’re planning on using; a 13″ circle is the perfect size for a standard 9″ pie plate.
Turn the dough about 1/4 turn with each stroke of the rolling pin and add more flour as necessary. Always keep in mind that you need to manipulate the dough as little as possible, though: overworked dough will invariably result in tough pie crust.
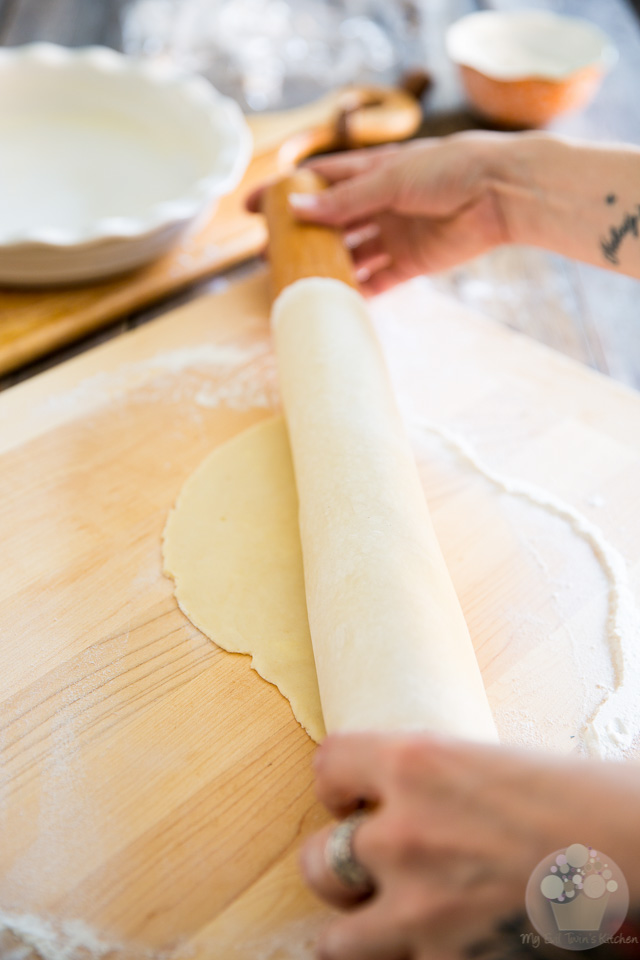
Once your disk has reached the correct size, wrap the dough around your rolling pin, brushing excess flour from the bottom if necessary, to transfer it to the pie plate.
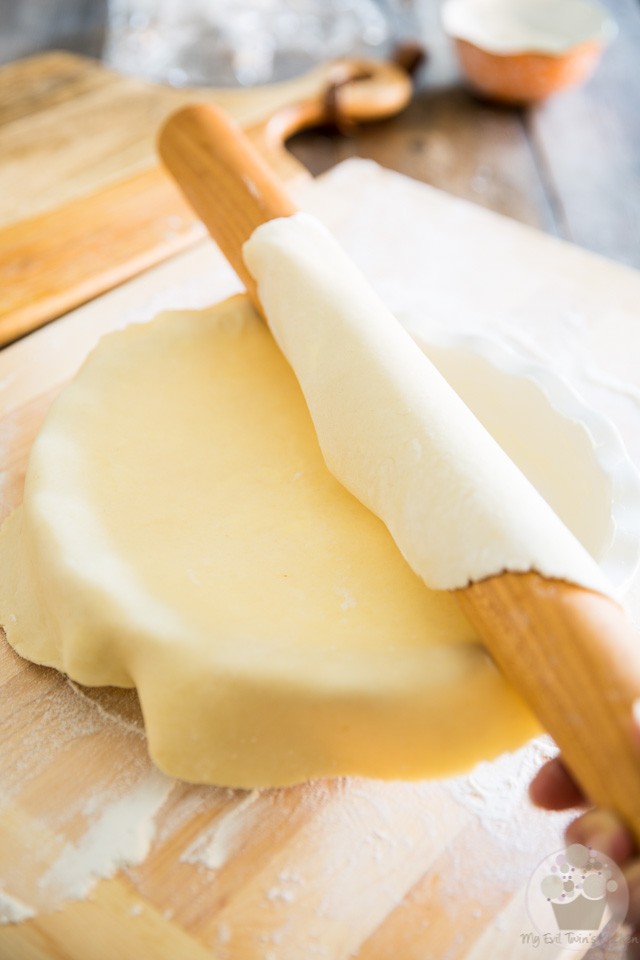
Starting at one end of the plate, delicately unroll the dough over the pie plate.
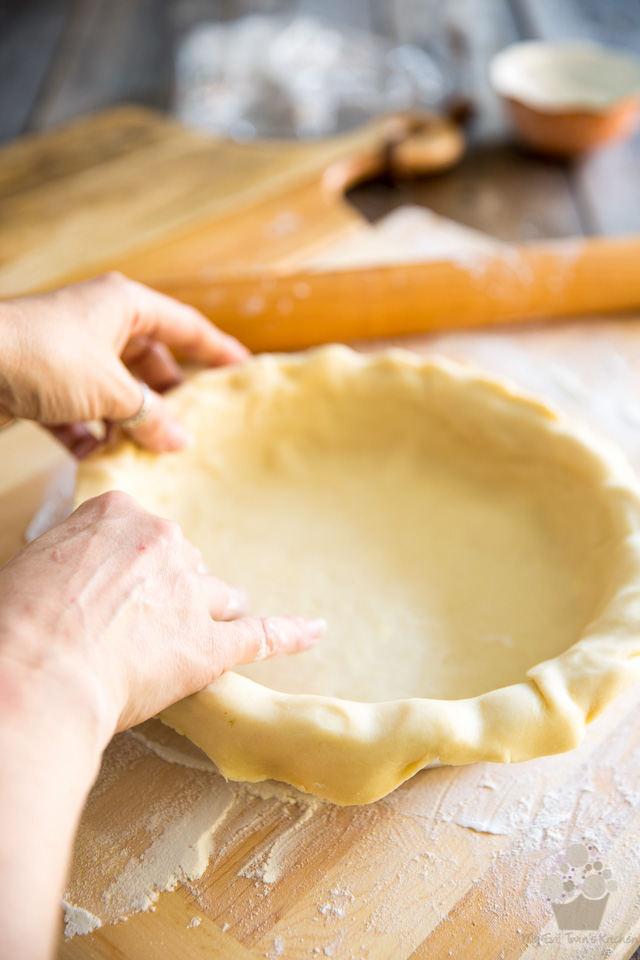
With your fingertips, gently push the pie dough into the bottom and sides of the plate.
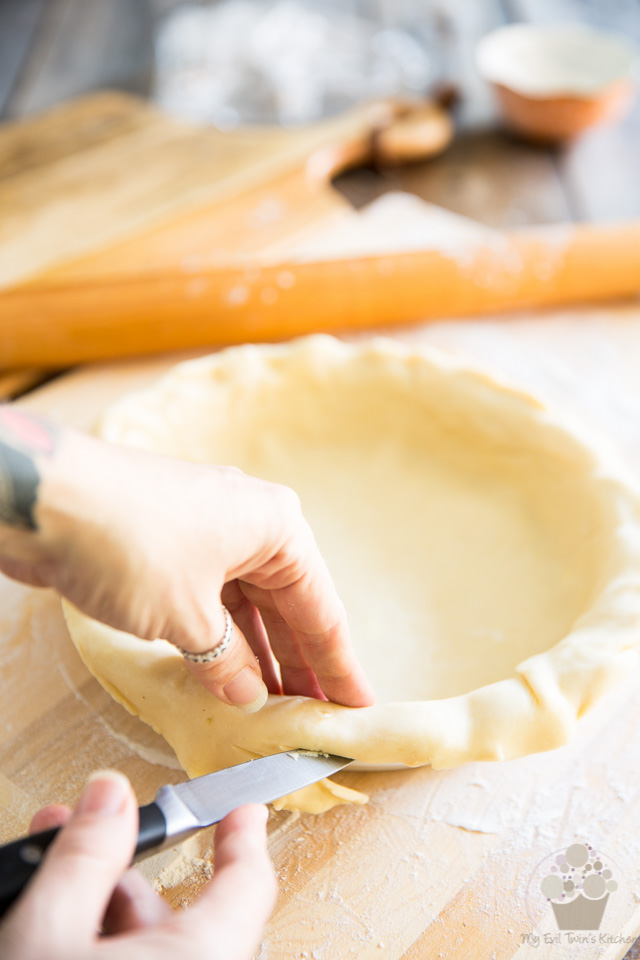
Then, with a sharp paring knife or kitchen scissors, cut any excess dough along the edge of the pan, leaving a little bit of an overhang.
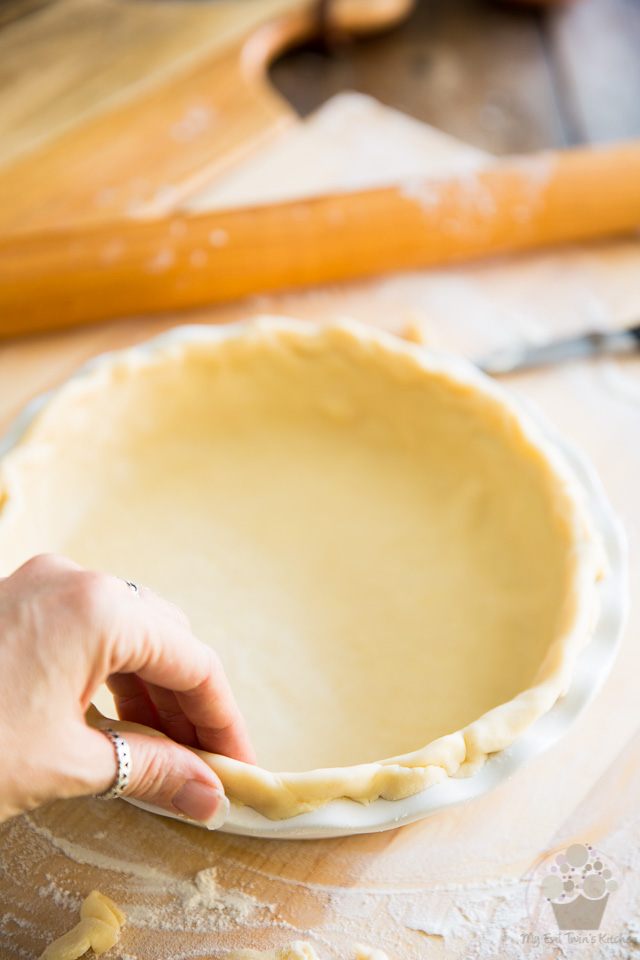
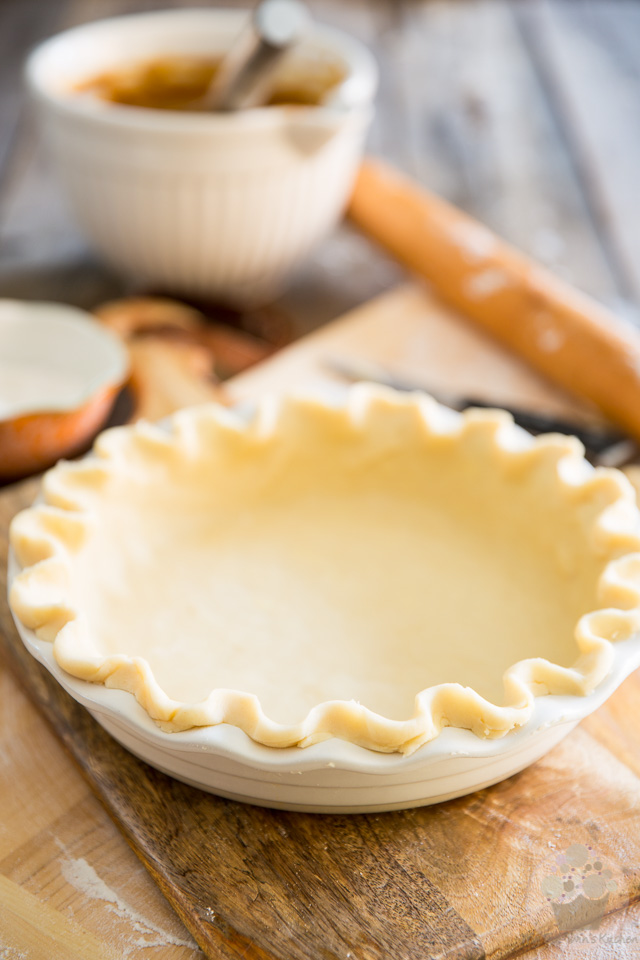
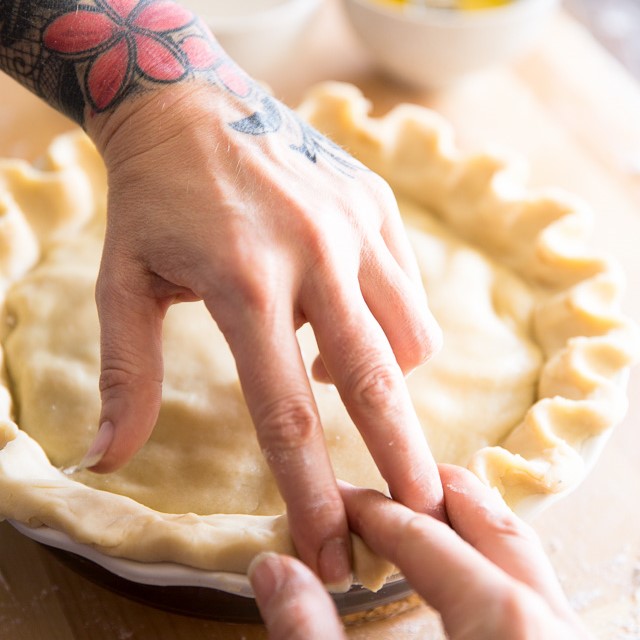
Fold the edge of the dough onto itself to create a thicker border that will rest on the lip of the pie dish.
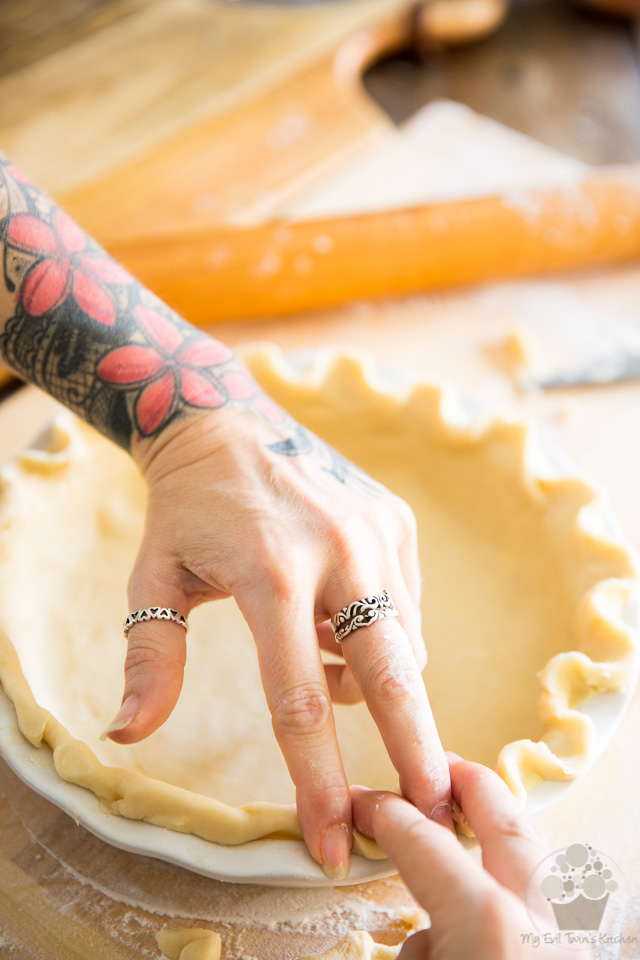
Now create a nice decorative edge by gently squeezing that border between the index and middle fingers of both your hands, as shown in the above picture.
Or use your own favorite technique, if you have one!
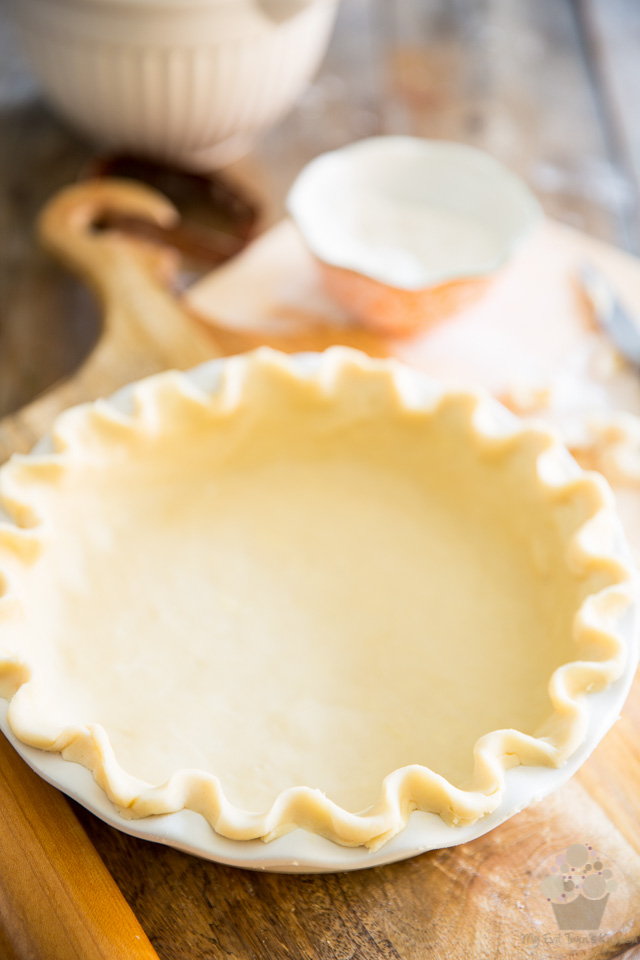
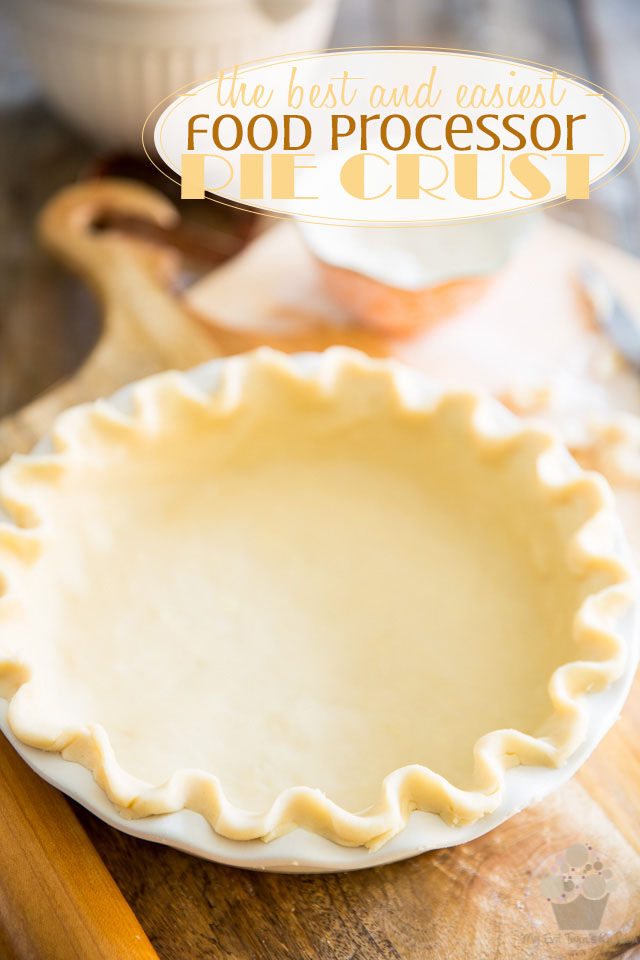
And there you have it! A beautiful pie shell, all good and ready to go. All that’s left to do now if stuff this pie shell with your favorite pie filling and send it to the oven.
Although if you can, I would strongly recommend that you let your pie shell rest in the fridge for about 30 minutes before you use it; this will allow the gluten to relax again, after all the stress we just put it under, and will prevent the dough from shrinking excessively as it bakes.
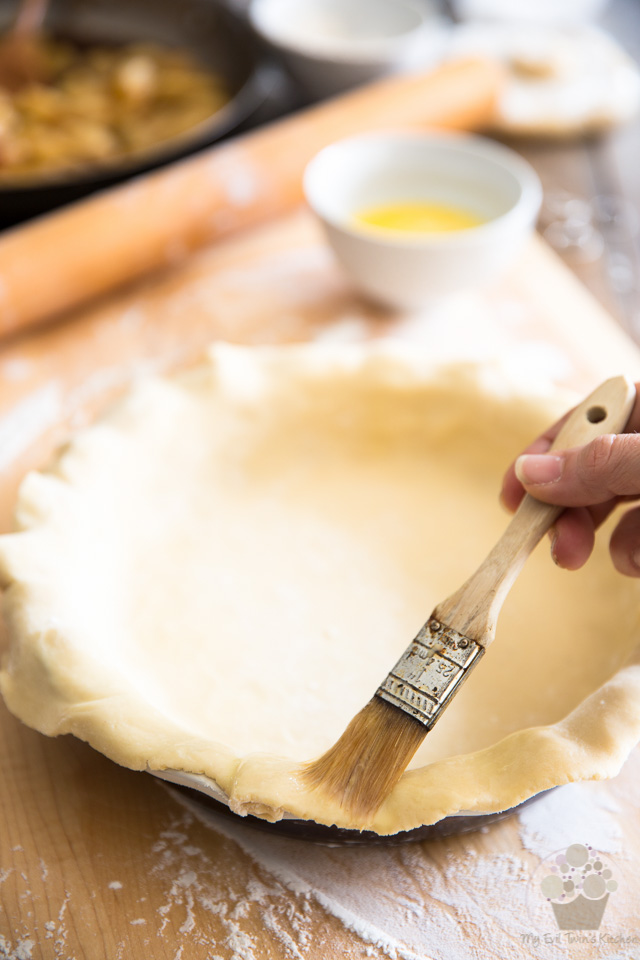
To make a double crust pie, you’ll first need to roll out your bottom crust using the exact same instructions as above, except this time, you won’t be folding and crimping the edge right away.
Rather, once the bottom crust has been well positioned into the plate, you’ll want to brush its edge with a little bit of egg wash (that’s a fancy term used to designate an egg mixed with a tablespoon or two of milk) before adding your filling and laying the top crust in place.
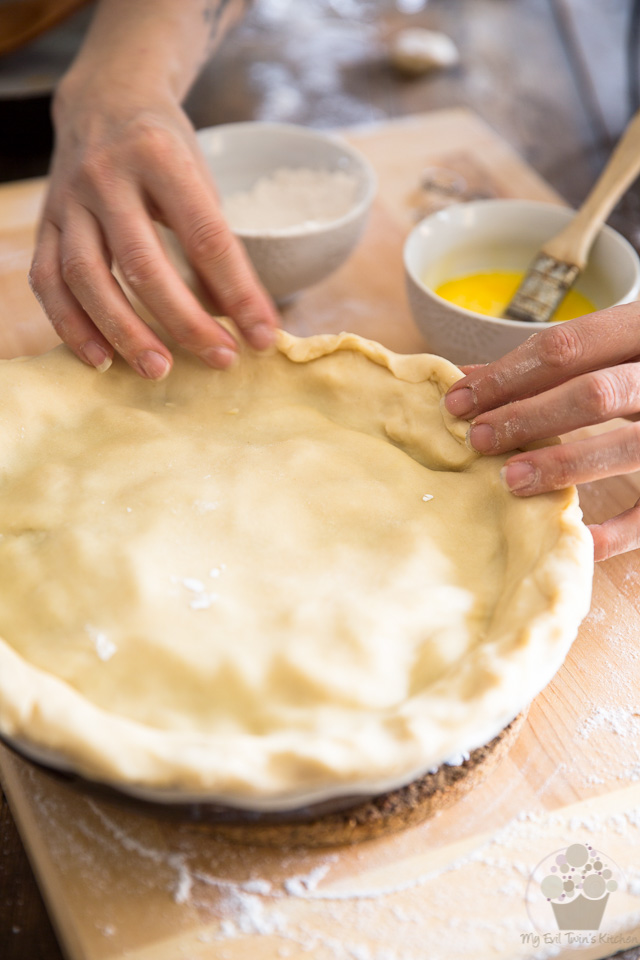
Once you’ve got that top crust is in place, you’ll want to fold both layers of dough together to help fuse them and also give your pie a nice, thick edge.
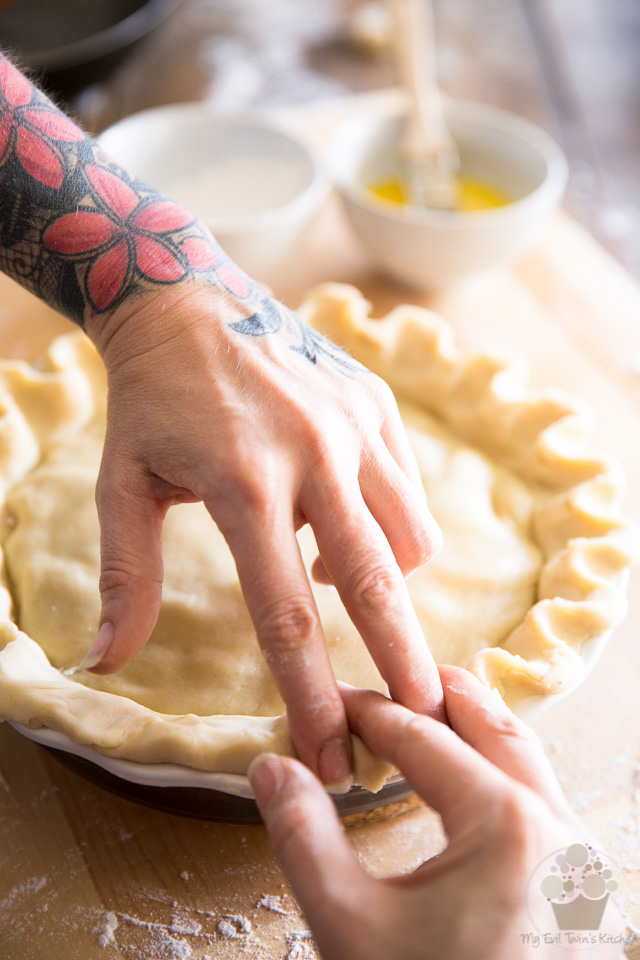
Just like with the single-crust pie, you’ll want to crimp the edges by gently squeezing the dough between your fingers.
The only difference is this time, not only will this step make your crust look pretty but it will also tighten the seal between both crusts, which will greatly help prevent any eventual leakage.
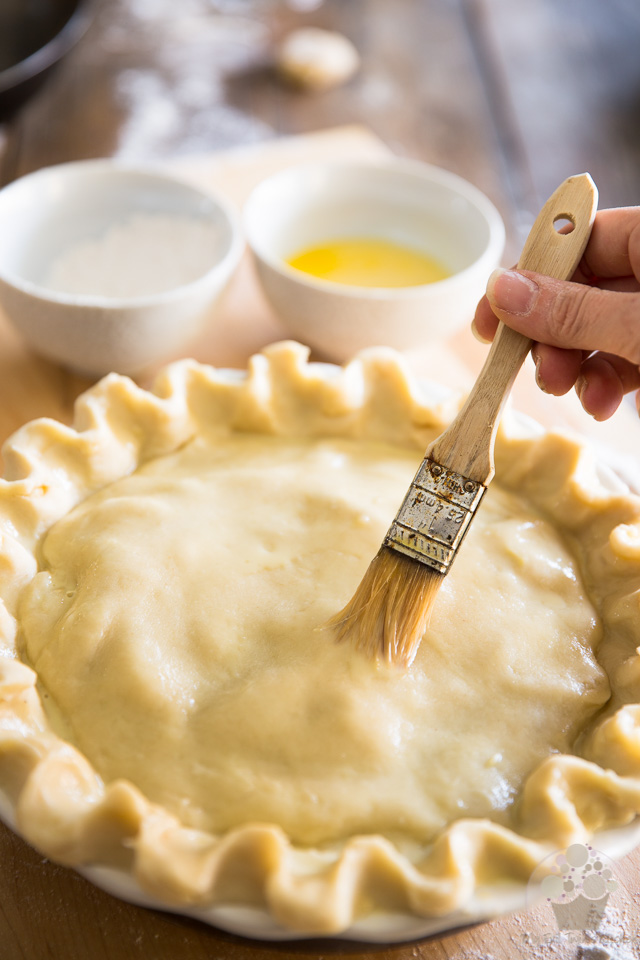
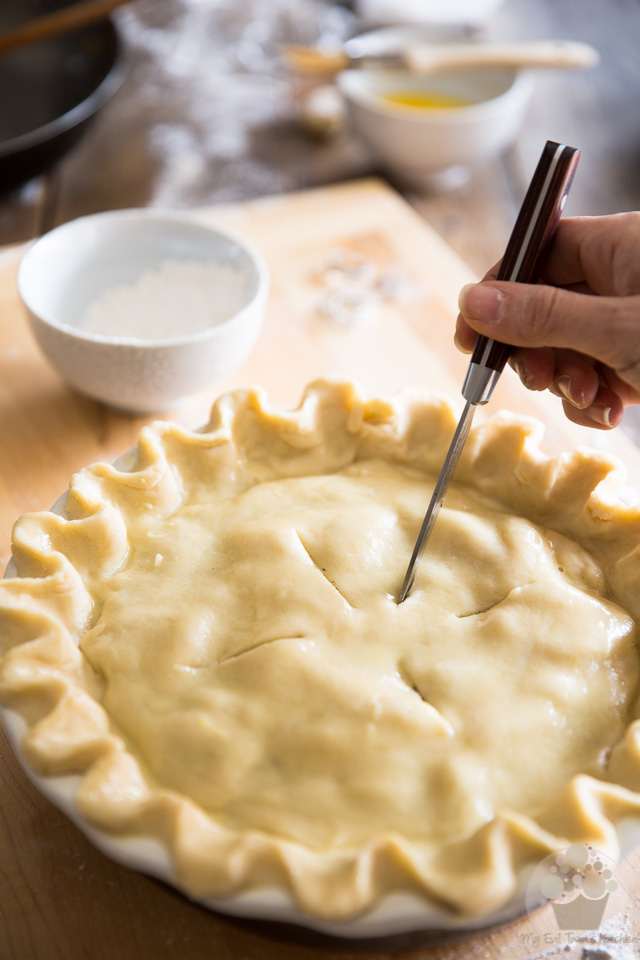
Now brush the entire surface of the crust with a light coat of the egg wash and finally, cut a few small slits in the top crust with a sharp pairing knife. These vents aren’t only there to make your pie look good: they serve a very important purpose, which is to release steam and prevent the crust from getting soggy. And along with crimping the edges, it helps in keeping the filling sealed inside your pie.
Finally, if you can, chill your pie for at least 30 minutes before baking. This, again, to give that gluten a chance to relax.
Ha! Gluten… what a stressed-out little thing!
Ingredients
- 3/4 cup (180g | 6.3oz) cold lard, cubed
- 1/2 cup (120g | 4.2oz) cold butter, cubed
- 3 cups (385g | 13.5oz) unbleached all-purpose flour
- 1 large egg, cold
- 1/4 cup (60ml) icy cold water
- 1 tbsp white vinegar or lemon juice
- 1 tsp salt
Instructions
- Place the flour, cold diced lard and butter into the bowl of your food processor fitted with the standard S blade and process on pulse until the mixture resembles fine crumbs with a few larger pieces.
- In a small measuring cup, combine the ice cold water, vinegar or lemon juice and salt. Whisk to dissolve the salt and then beat in the egg until it's well combined and slightly foamy.
- Add this to the flour mixture all at once and process on pulse until the dough just comes together. Do not over-process.
- Turn the dough onto a floured work surface and divide it into 3 equal portions (you should get approximately 260g / 9.25ozper portion).
- Shape each portion into a flat disc, wrap each disc tightly in plastic wrap and refrigerate for 30 minutes before using.
- The pie dough can be refrigerated for up to 3 days or sent to the freezer for up to 3 months. Thaw frozen dough in the refrigerator and let the cold pastry stand at room temperature for about 15 minutes before rolling it out.
- Refer to post for rolling instructions and tips.
What a great tutorial..I will have to check it with mine..funnily enough it was this year that I found my 2 keepers..for sweet pies and savory.
I will compare them and will probably try yours too..I find the processor..excellent for crusts too..BTW love your original tattoo!
Bon dimanche
!
Haha! Thanks Monique. I hope you like the crust… Let me know what you think if you end up trying it! 🙂
Made this passtry today for an Apple Pie, delicious. I used butter and Trex (5oz), fabulous and so easy. Will def be using this from now on, thankyou.
Real happy to hear, Bev! Glad you like it! 🙂
I avoid making pastry like the plague as I’ve never made a good pastry yet even though I would say I’m a pretty good baker! So when my son requested lemon meringue pie and I just bought an AMAZING and dare I say expensive food precession the search was on.
So I tried your recipe…OMG it was perfect ! I can’t believe I actually made a good pastry after all these years. I think the recommendation of pulsing is a good one and a mix of fats maybe is also a good combination. I added lemon juice to mine. So thank you,it’s going to my go too pastry recipe from now on haha!
Haha! So very happy to hear, Angela! I used to DESPISE making pie crust, but this recipe makes it so easy, and good, that I don’t mind it at all anymore! Glad to hear you’re pretty much feeling the same! 🙂
I was looking for easy to make delicious recipe using food processor.It was a delight to go through this post.i would be making this on weekend for my 7 year old daughter.Thanks Sonia for sharing this.
First time tried cooking something like this, didn’t succeed fully but it feels good making such innovative recipes. Perhaps I didn’t get the complete looks like shown in the image but still, it tastes yummy.
Thank you so much, Sonia, for sharing.
It’s a very delicious recipe. I will surely make it on this Sunday. Thanks for sharing this recipe!!
Nisha Batel Blogger at bestcrossbowguide
nice post. I really appreciate your efforts for creating such amazing informational content. Keep up the good work.
I made the dough easily enough. But rolling it out, it stuck to my rolling pin and broke all to pieces when I tried to transfer it to my pie plate. This is why I buy frozen crusts. 🙁
Need a baking time and temp. for this pie crust.
Nice article.
Great! It was something new for me. Thanks for sharing it. I must try it.
Have been using the recipe on the Tender flake lard package for years which is very similar to yours. Recently purchased my first food processor so am going to try it next time I make pies.
This looks yummy. Thanks for sharing
Very informative article thanks for sharing
Looks Delicious…… I am definitely going to try this Thanks for sharing this delicious information with us
I texted my husband and said, “I was today years old when I made the perfect pie crust”. I was soooo worried when it was so loosey goosey, but man, baked up like a charm <3
Hi Sonia – after decades of making lard pastry by hand I am about to try your wonderful food processor method!
For the butter component, do you use salted or unsalted butter? Thanks so much!
I use salted but unsalted would also do the trick
Gotta love the internet! This original post is so old, but has not lost value. I have used this multiple times now and it has become my preferred pie crust recipe – replacing one that had been used in my family for decades. Our original recipe was based on Crisco as the fat. The current Crisco product is, to me, unusable. No, I am not going to “figure out” how to adapt my recipe to fit with using Crisco. I just don’t use Crisco any longer – for anything. THIS pie crust recipe is fabulous! I dare say it is even better that my original in that is easier to prep, rolls out SO beautifully and has excellent flavor. Thank you, Sonia!
Hi Sonia … what a great recipe! I don’t have a food processor, but do have a Kitchen Aid stand mixer. If I use the pastry paddle, do you think I could get as good, or at least a close copy of this pie crust? Thanks so much.
Unfortunately, the paddle wouldn’t be able to break the fat into tiny little pieces, and that step is imperative to getting good pie crust.