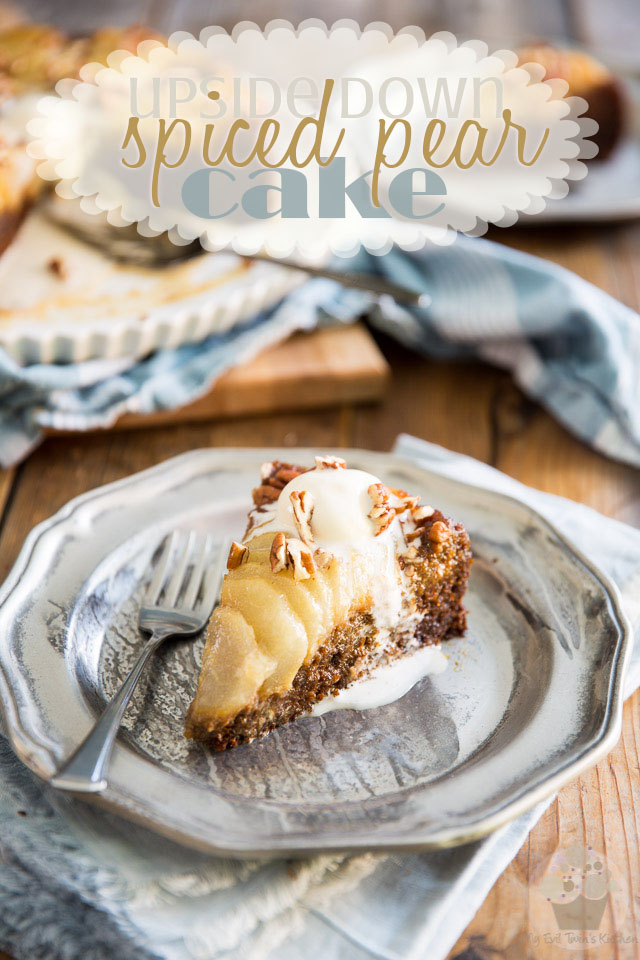
This Upside Down Spiced Pear Cake is the perfect dessert for Fall! It’s sticky and sweet with an honest touch of molasses, cinnamon and spice!
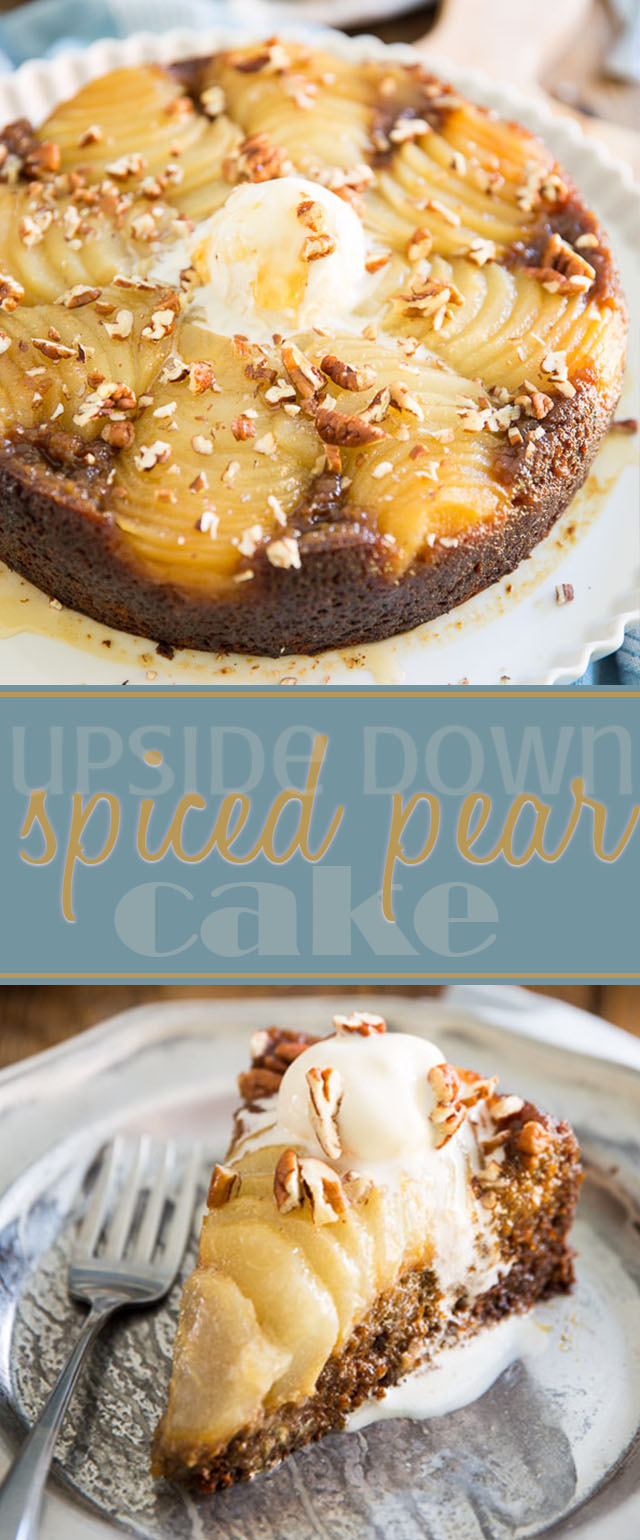
I came *this* close to not sharing this Upside Down Spiced Pear Cake recipe with you… I wasn’t super happy with my pictures, you see?
But then, the cake turned out so friggin’ amazing, I just couldn’t keep the recipe to myself.
This is the perfect dessert for Fall, and quite a nice change from the sempiternal pumpkin-everything and apple-all-the-way recipes that invade the world as soon as the leaves start to change colors. (which in no way implies that I’m not about to serve you pumpkin or apple desserts, by the way. I’m only human after all! So yeah, you can totally expect to see some of that on here soon…)
But let’s focus on this Spiced Pear Cake for now, shall we?

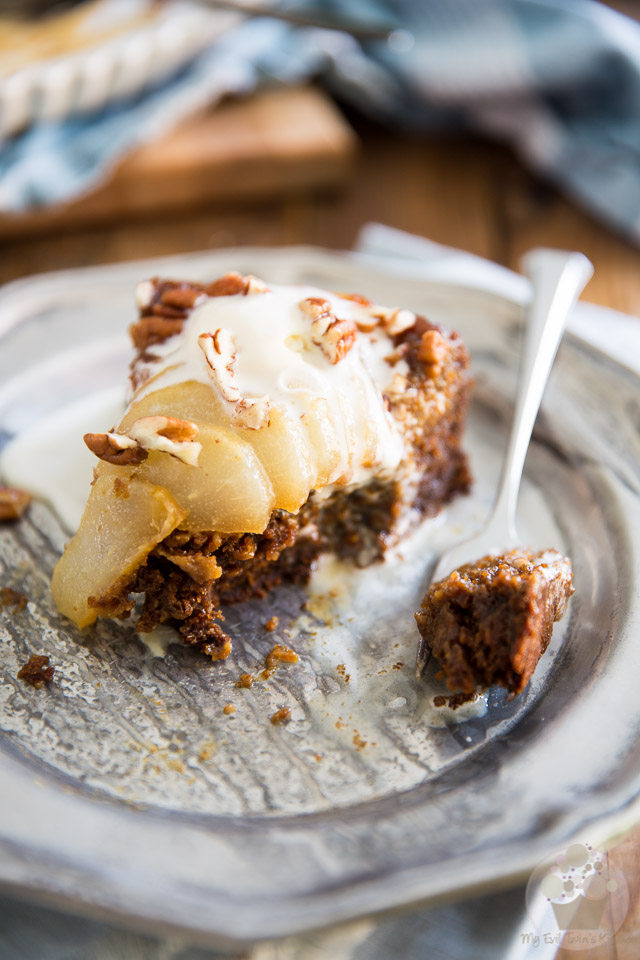
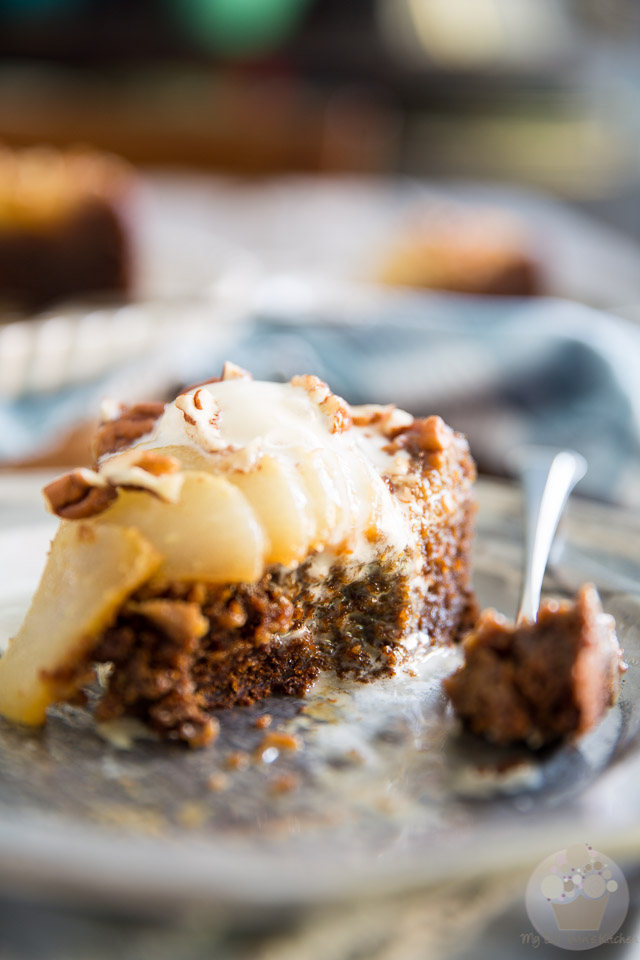
Served warm, it’s super ooey and gooey, soft and creamy, almost like a Christmas pudding.
Cold, this cake reminded me of one of my favorite cookies when I was a kid: Bear Paws. It’s sticky and sweet with a very honest – in your face – molasses flavor, accompanied by all kinds of notes of cinnamon, spices and everything nice!
The pears, for their part, offer your taste buds a nice refreshing break from the overall sweetness of the cake, not to mention a fantastic contrast in texture.
All in all, this is a very unpretentious dessert, fit for any occasion, that you’ll want to make over and over again. It’s particularly brilliant on a cold and rainy Autumn day — it’ll bring a little sunshine in your day, guaranteed!
STEP-BY-STEP INSTRUCTIONS AND PICTURES
First and foremost, before you do anything, make sure that all your ingredients are at room temperature. Trust me on that one: if there is one rule that you absolutely MUST follow with this recipe, that would be it.
Preheat the oven to 350°F and grease the bottom and sides of a 9″ springform pan.
While it’s not absolutely mandatory that you use a springform pan, because you’re never actually going to remove the ring at any point, you want to make sure that you use a cake pan that’s at least 2½ inches deep.
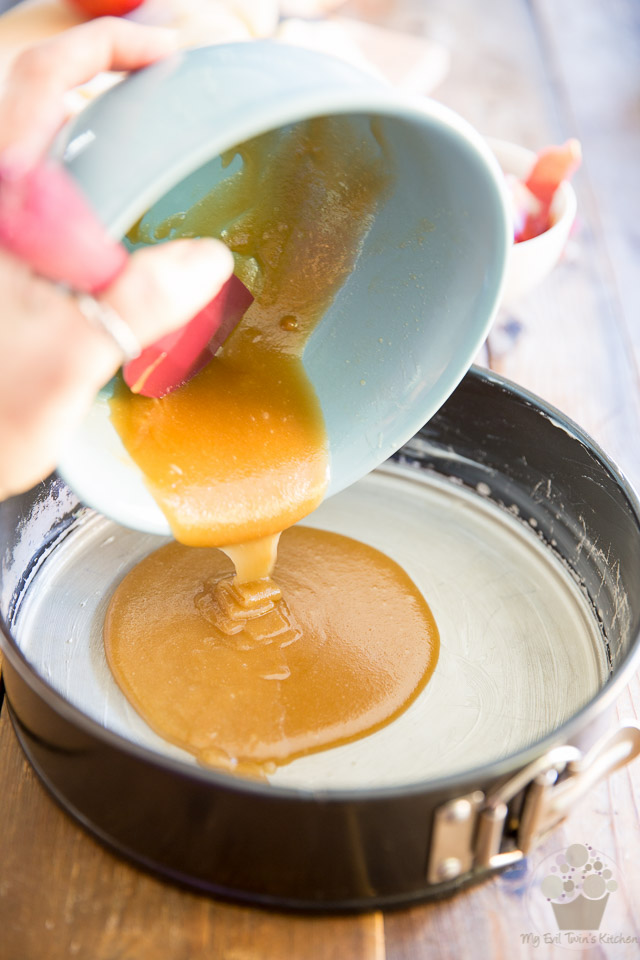
In a small mixing bowl, combine the melted butter and brown sugar; mix well and pour the mixture into the prepared pan.
You’ll then want to tilt the pan a little from side to side to help the mixture spread all the way to the edge.
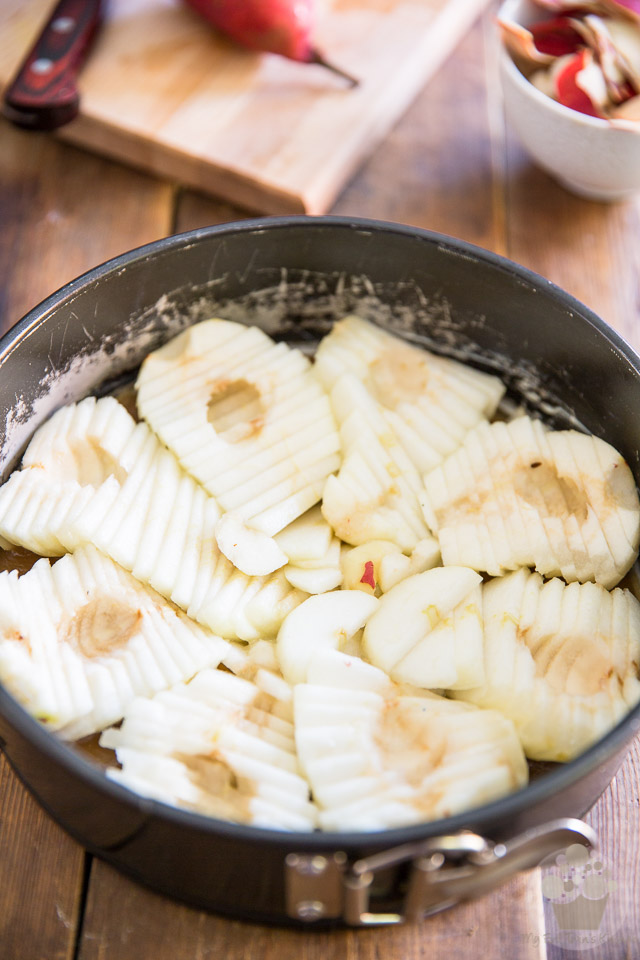
Next, arrange your sliced pears side-by-side over this brown sugar mixture, making sure that they cover the entire bottom of the pan.
It doesn’t matter how you choose to arrange the pears, really. I sliced mine crosswise and positioned them so their pointy ends all faced towards the center, but you could very well slice them lengthwise instead and place them in a circular fashion, or create a spiral of some sort.
Just keep in mind that you will be flipping your cake over after it’s done baking, so make sure to arrange your pears in such a way that their best looking side is facing down.
Set that aside for now, while we work on the cake batter…
Start by combining all the dry ingredients in a large mixing bowl and mix them well with a whisk until they are airy and fully combined. Set aside.
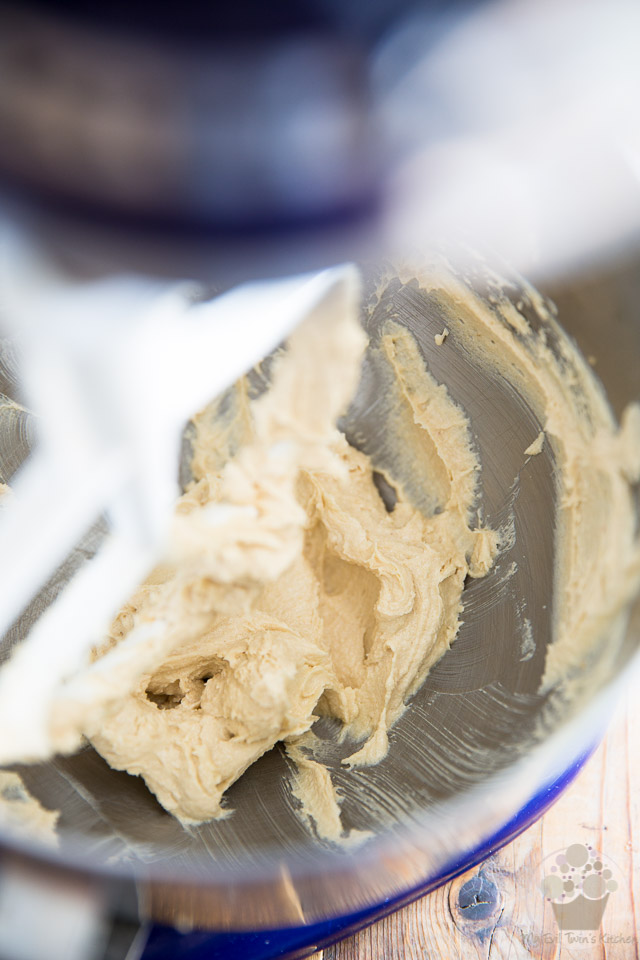
Then, in the bowl of your stand mixer equipped with the paddle attachment, beat the the butter and brown sugar on medium-high speed until light and fluffy, about 3 minutes.
Stop the motor to scrape the sides as necessary.
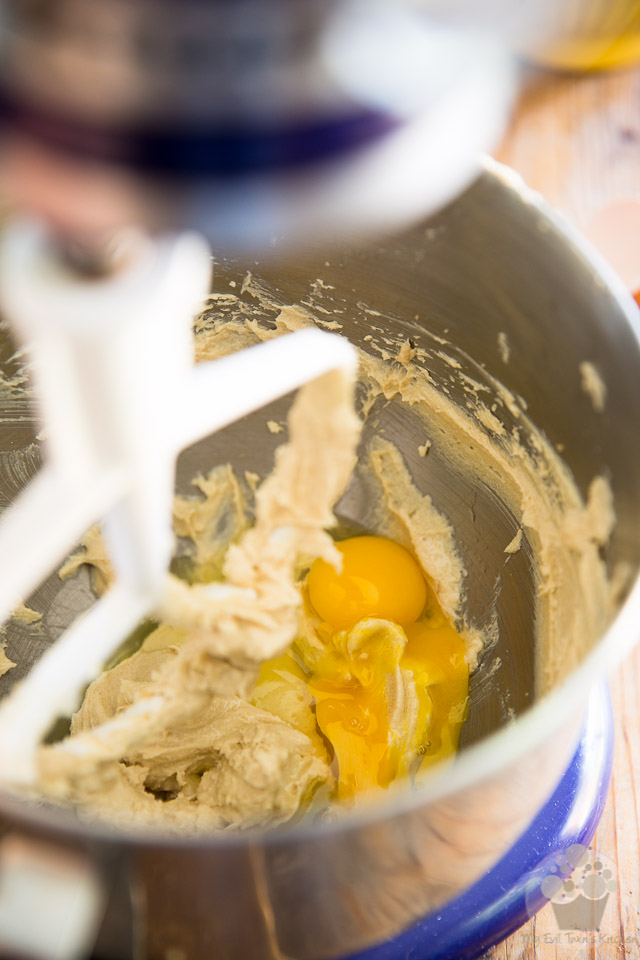
Add both eggs and beat again until pale and airy.
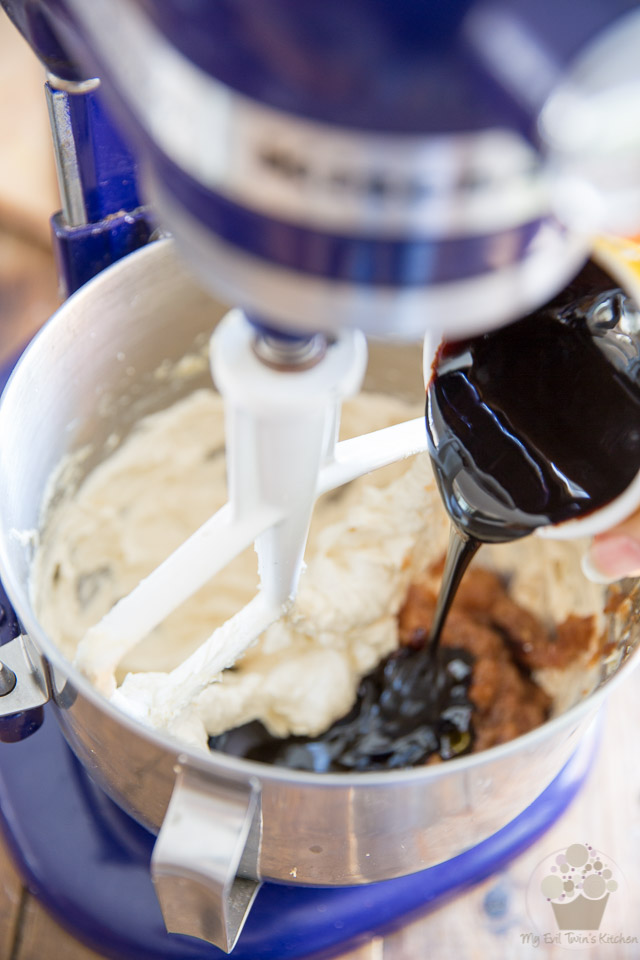
Now incorporate the apple sauce and molasses and mix until well combined.
If you’re wondering about the brown stuff that you see at the bottom of my bowl, that’s the applesauce that I used. While it wasn’t that exact same brand, it was very similar. The pink coloration comes from the peel which was left on the apples when they got cooked. Yummy stuff!
But you could very well use the standard yellowish/white variety that we’re more accustomed to. It would work just as well!
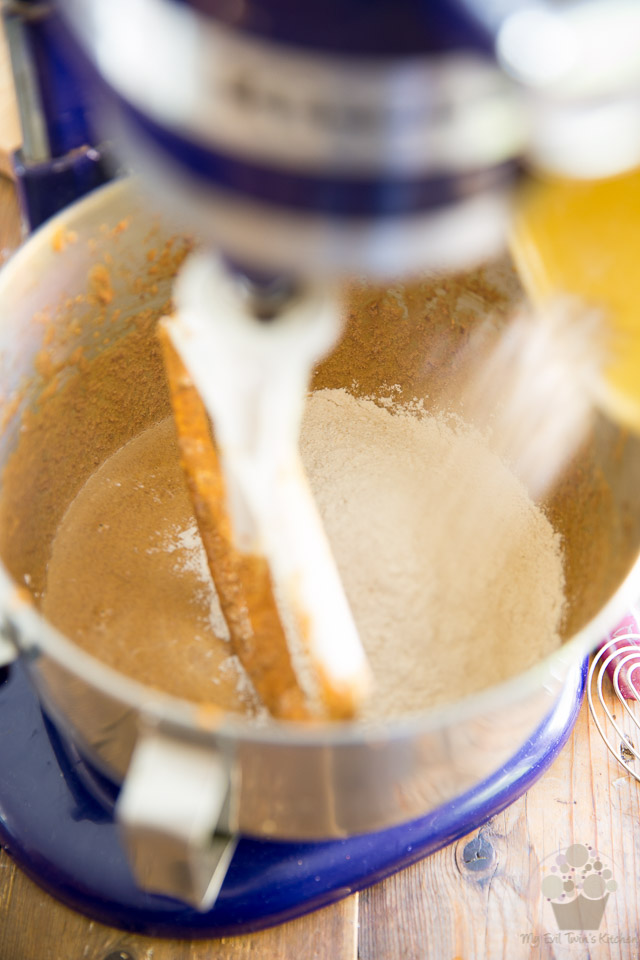
Once the molasses and applesauce have been integrated, add the dry ingredients and mix on low speed until just incorporated, no more.
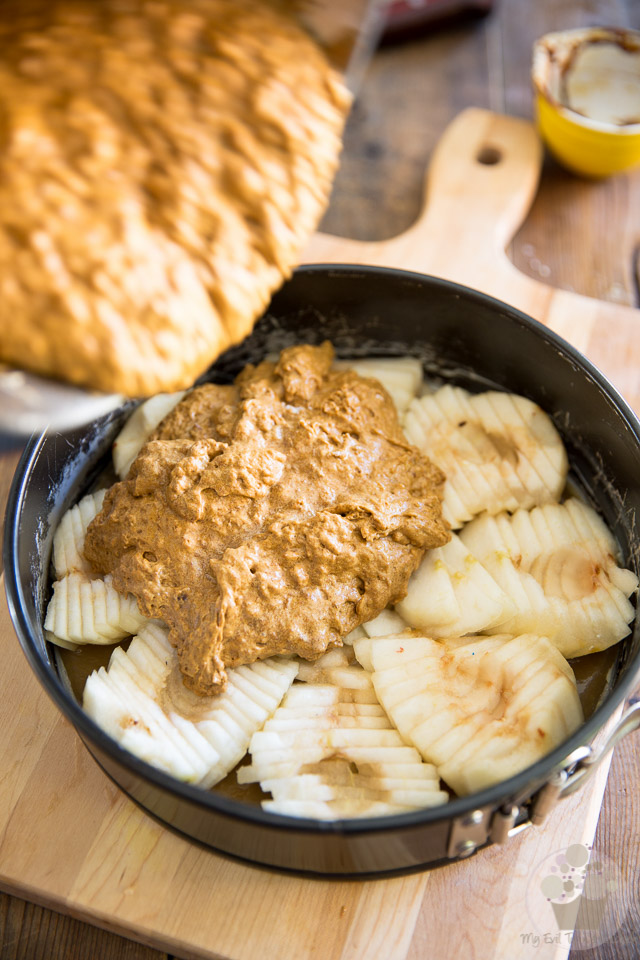
Pour the cake batter over the pears…
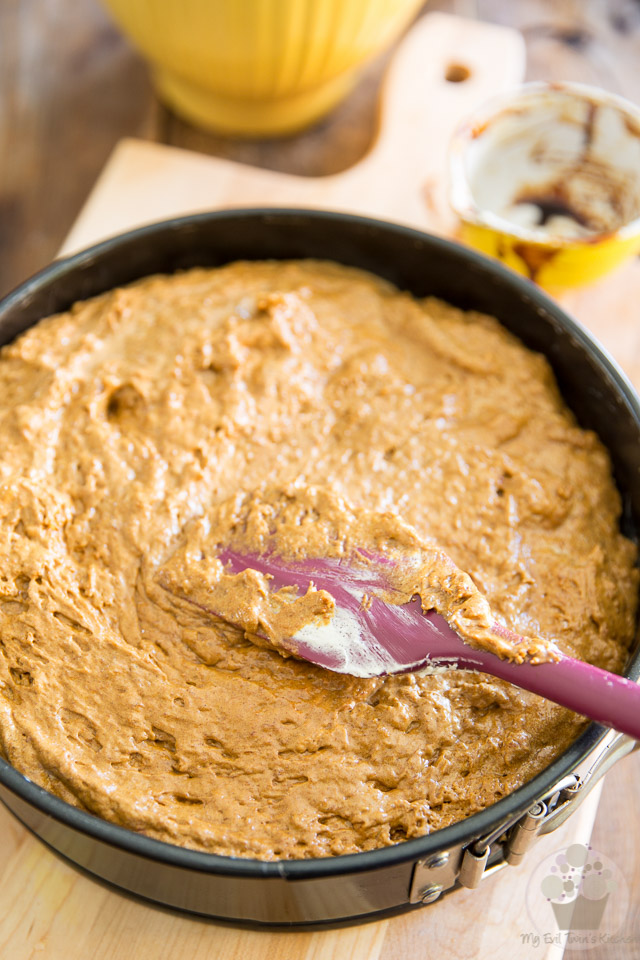
…and then delicately spread it all the way to the edge of the pan.
Bake the cake for 60 minutes or until a toothpick inserted in the center comes out clean.
Note that if you’re using a springform pan, you might want to place a piece of aluminium foil under or around it to catch any eventual leakage…
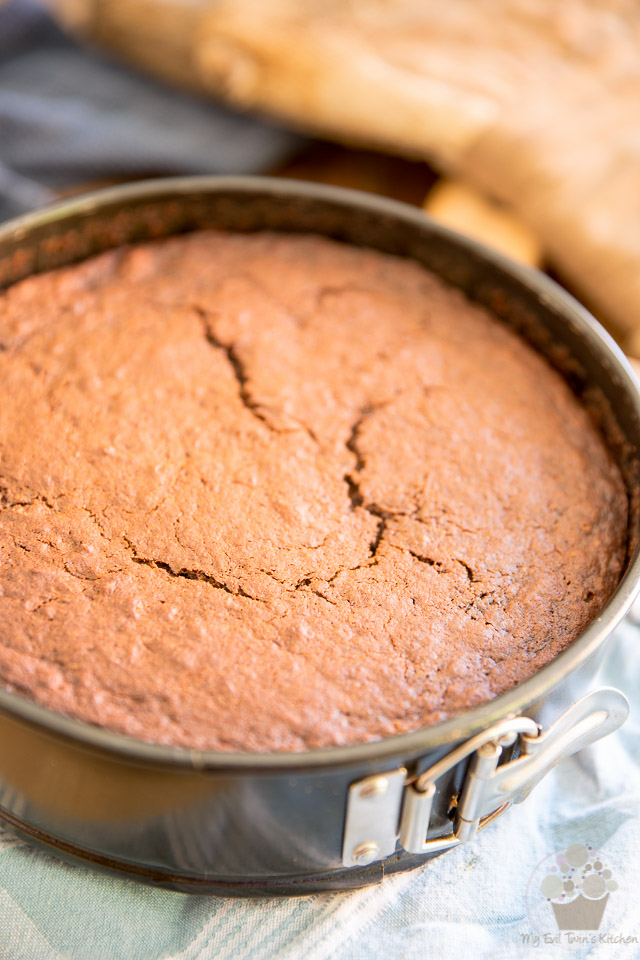
When the cake is fully baked, let it cool for 10 to 15 minutes, or until it’s cool enough to be handled safely…
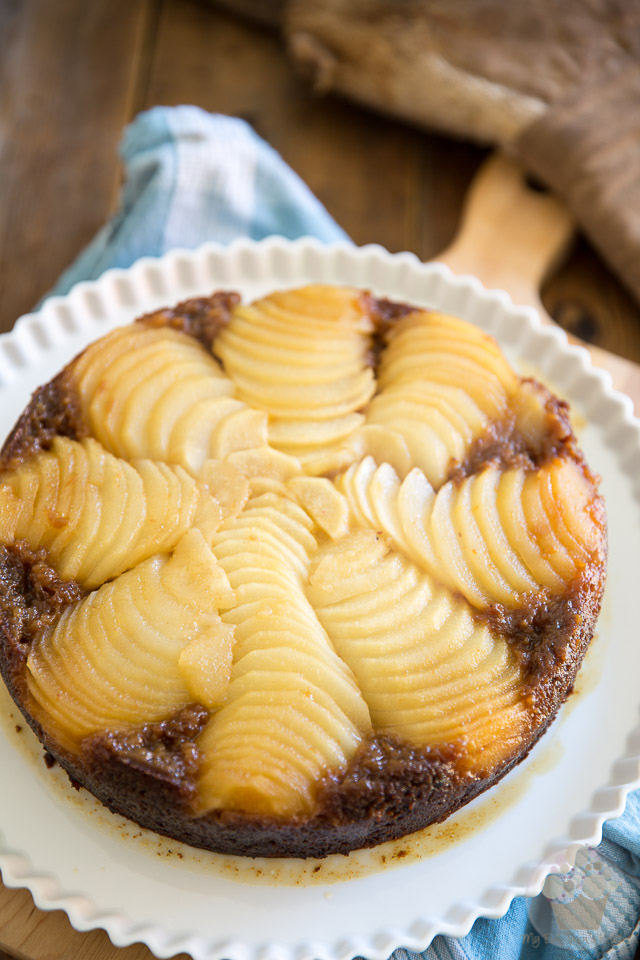
… and flip it over onto a rimmed cake plate.
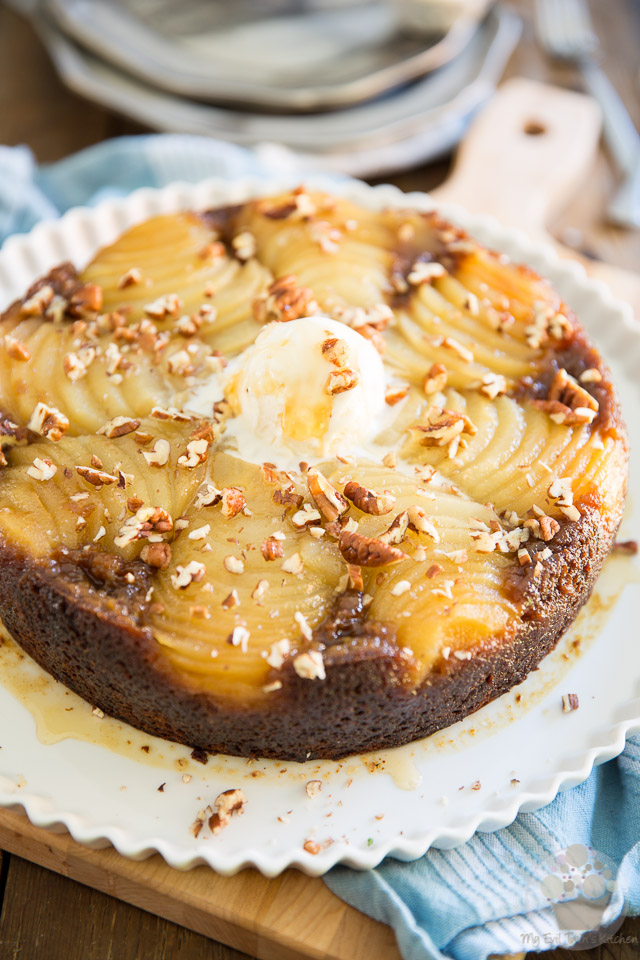
Serve warm, garnished with vanilla ice cream, chopped nuts and a drizzle of liquid honey, if desired.
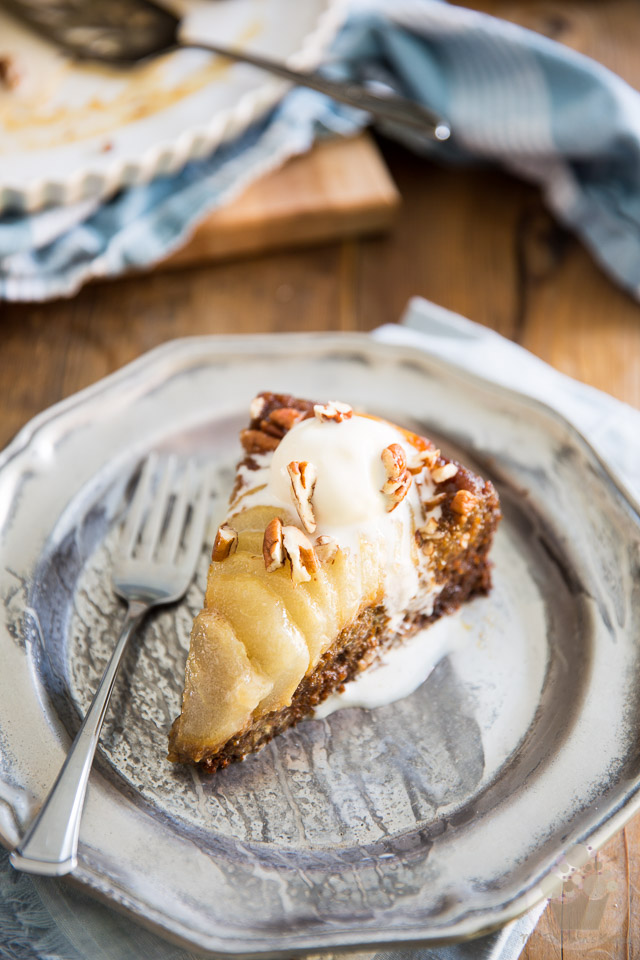
This cake is also delicious cold and leftovers will keep for several days in the refrigerator.
Ingredients
- 1/4 cup (60g | 2.1oz) butter, melted
- 1/2 cup (100g | 3.5oz) light brown sugar, packed
- 4 ripe pears of your choice, peeled, cored and sliced thinly
- 1-1/2 cups (190g | 6.8oz) unbleached all-purpose flour
- 1 tsp baking soda
- 1 tsp baking powder
- 1 tbsp ground ginger
- 1 tsp ground cinnamon
- 1/2 tsp ground nutmeg
- 1/2 tsp salt (I use Himalayan salt)
- 1/4 tsp ground clove
- 1/2 cup (120g | 4.2oz) butter, softened
- 1/2 cup (100g | 3.5oz) light brown sugar, packed
- 2 large eggs, at room temperature
- 1 cup (245g | 8.6oz) unsweetened applesauce
- 1/2 cup (170g | 6oz) blackstrap molasses
- Vanilla ice cream
- Chopped nuts
- Liquid Honey
Instructions
- Before you do anything, make sure that all your ingredients are at room temperature. If there is one rule that you absolutely MUST follow with this recipe, that would be it.
- Preheat the oven to 350°F and grease a 9" springform pan.*
- In a small mixing bowl, combine the melted butter and brown sugar; mix well and pour the mixture into the prepared pan. Tilt the pan a little from side to side to help the mixture spread all the way to the edge.
- Arrange the sliced pears side-by-side over this brown sugar mixture, making sure that they cover the entire bottom of the pan. Set aside.
- In a large mixing bowl, combine the dry ingredients and mix well with a whisk until airy and fully combined. Set aside.
- In the bowl of your stand mixer equipped with the paddle attachment, beat the the butter and brown sugar on medium-high speed until light and fluffy, about 3 minutes. Add the eggs and beat again until pale and airy. Incorporate the apple sauce and molasses, mix until well combined, and then add the dry ingredients and mix on low speed until just incorporated, no more.
- Pour over the pears and spread all the way to the edge.
- Place a piece of aluminium foil under or around your pan to catch any eventual leakage and bake for 60 minutes or until a toothpick inserted in the center comes out clean.
- Let the cake cool for 10 to 15 minutes or until it's cool enough to be handled safely then flip it onto a rimmed cake plate.
- Serve warm, garnished with vanilla ice cream, chopped nuts and a drizzle of honey or caramel sauce, if desired.
Notes
*It's not absolutely mandatory that you use a springform pan because you're never actually going to remove the ring. However, make sure that you use a cake pan that's at least 2½ inches deep.
I think it turned out great!
The light has been less than stellar inside the last few days..I know what you mean..don’t you find sometimes you make something delicious..like a mushroom soup;) And brown/ beige does not photo well..
then you have a really cute dessert that is so sweet..you can’t eat it? But it’s photogenic?
Looks delicious.I love when the fruit decorate the top so beautifully.
Hahaha, too true Monique. And I’m so with you about the light, it’s been hard to get any work done in the kitchen these past few weeks. Well, cooking isn’t really a problem, but taking pictures sure isn’t easy. It’s been so dark we’ve had to have the lights on even in the middle of the day!
Thanks for your kind words, by the way. Coming from a photographer who’s as talented as you are, that comes as one huge compliment!
You are the only person I know who would deem these photos unblog worthy… they are gorgeous, as always! I said it once and I’ll say it again, you’ve got the best photography of any blog I’ve ever seen. And THANK YOU for being the only non pumpkin recipe in my inbox. Don’t get me wrong.. I looovee me some pumpkin but when I get ten pumpkin bread recipes a day in my inbox I can only handle so much. And plus I’ve always had a deep love for pears. They’ve always been one of my favorite fruits. 😉
As always, Jordan, you’re such an angel. Thank you so much for your support and kindness, you’ve once again made my day! That said, please allow me to apologize in advance for the pumpkin pie recipe that you will be getting from me in a couple of weeks. Hopefully by then, the pumpkin craze will have slowed down some and you’ll only be receiving five pumpkin bread recipes per day… 😉
This recipe is in Costco’s Connection magazine this month, your photo as well. I was looking through the magazine, and yum…the recipe looked delicious, thought I’d search Pinterest for similar recipe, and came across your website with the same photo as in the magazine. I hope they have your permission.
Yes, absolutely Tammy, but thanks a lot for checking 🙂
Just made it. I’m gluten free so I used a mix of gluten free flours. I decreased amount of sugar and used honey instead of molasses. And guess what. It turned out great. Absolutely love the combination of pears and spaces. Eating the second piece. Thank you so much for this recipe. I’ve seen it in Costco magazine but lost it and found at Google at your website.