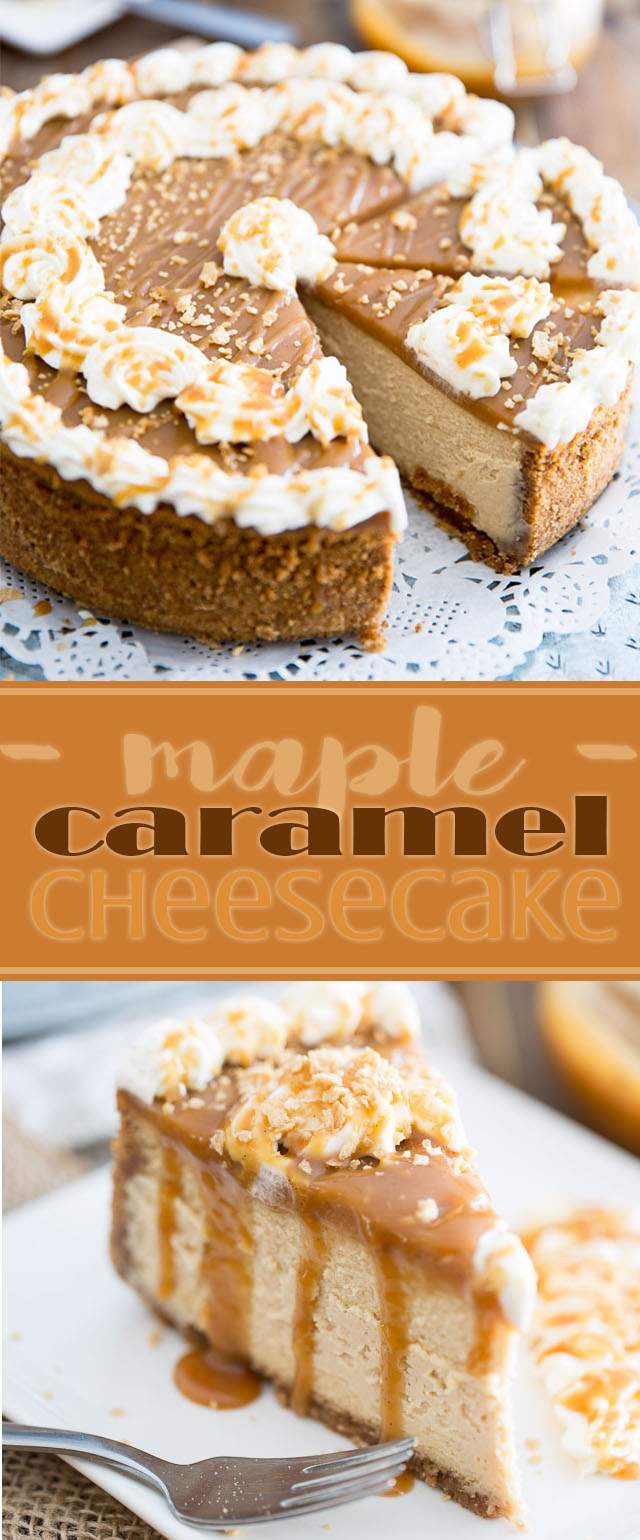
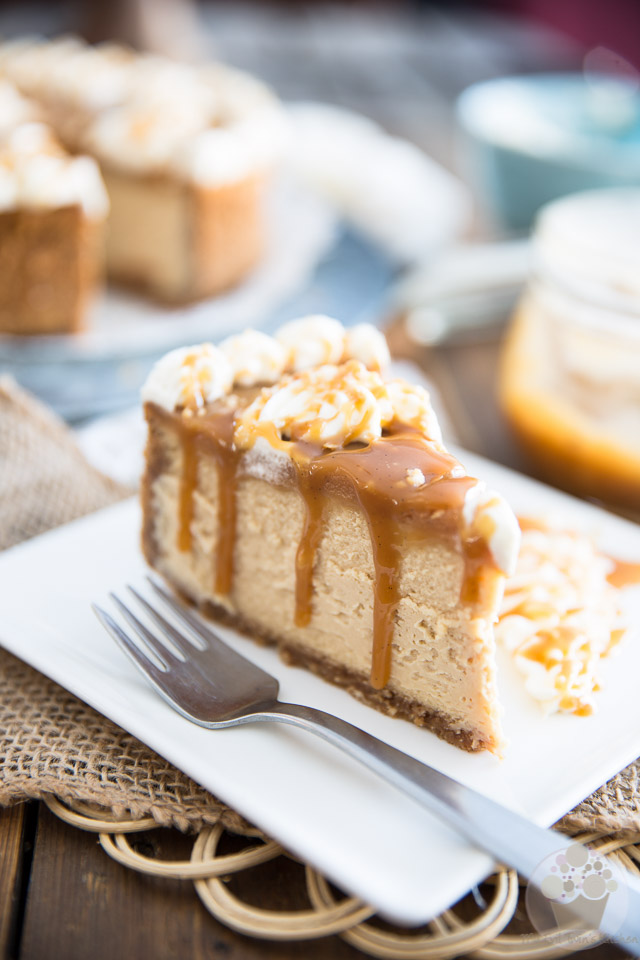
The ultimate treat for the cheesecake fan who also happens to be a lover of all things maple, this Maple Caramel Cheesecake tastes like pure heaven!
Remember how, in my last post, I told you that you’d probably want to get a head start and make a batch of salted maple caramel as the odds were pretty good you’d want to whip up the decadent dessert that I’d used it for?
Well, here it is, and as you can see, I wasn’t lying!
If like me you happen to be a true lover of all things maple AND a serious fan of cheesecakes, then this Maple Caramel Cheesecake will totally wipe you off your feet! In fact, I say you utterly OWE it to yourself to make one right now.
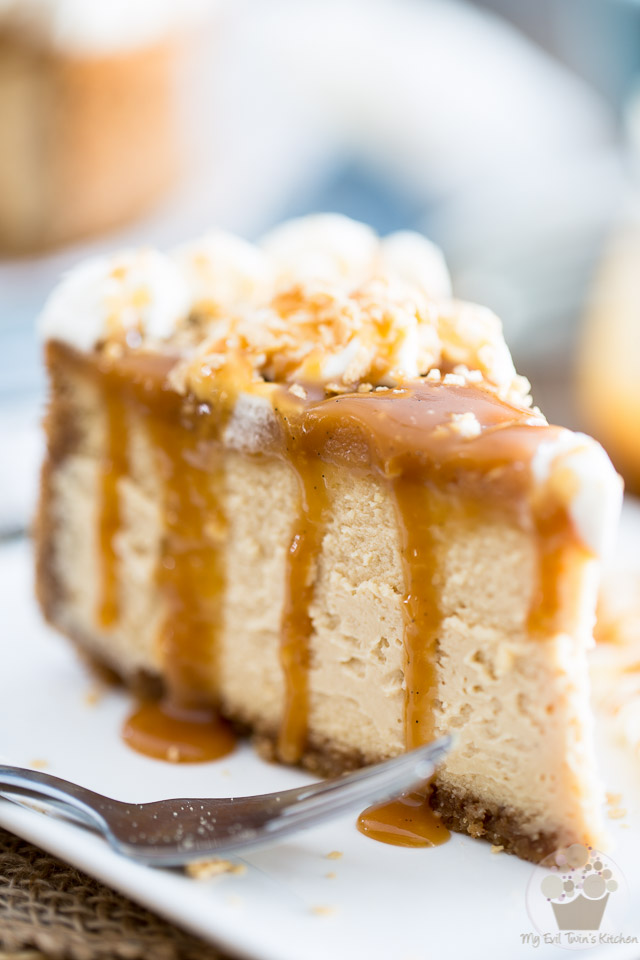
You won’t believe how wickedly heavenly this cheesecake is… Simply put, this cake tastes like the sky and the clouds and the sun on a beautiful spring morning. It has to be one of the insanest, creamiest and tastiest cheesecakes I’ve eaten in my entire life.
With every bite, your taste buds they get hit with a seriously intense symphony of sweet and savory and tangy flavors. The sweetness of the maple and the tanginess of the cheese, along with the hint of saltiness, they intertwine into a crazy harmony of flavors that you, or any of those who will be lucky enough to get a taste of this, will not soon forget.
Without even the shadow of the tiniest little doubt, this is the ultimate treat for all genuine cheesecake and maple lovers out there…
STEP-BY-STEP INSTRUCTIONS & PICTURES
SALTED CARAMEL
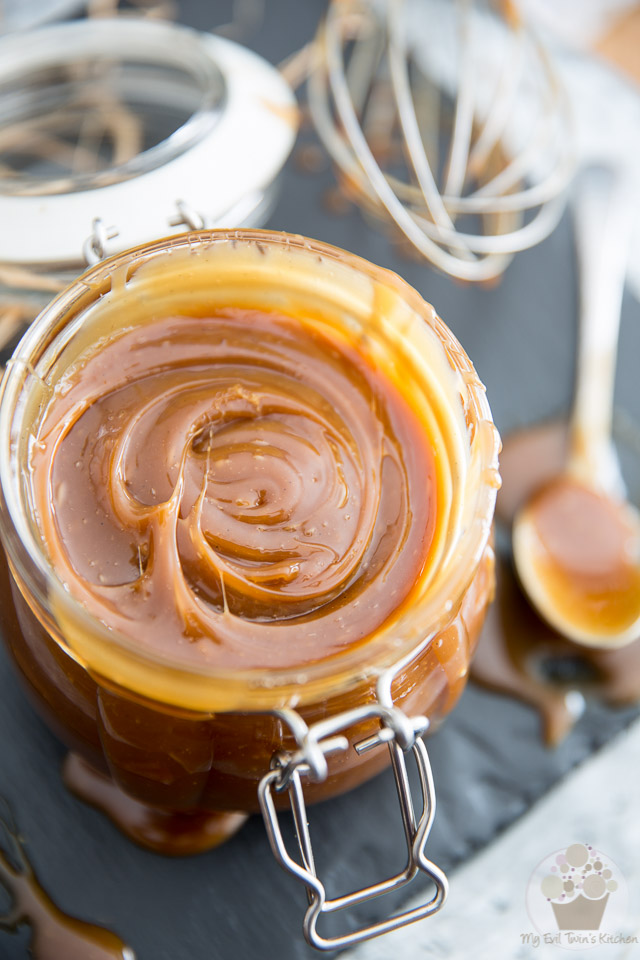
It might be a good idea to start by making a batch of Salted Maple Caramel so it has plenty of time to cool.
I strongly suggest that you keep it well out of sight while it’s cooling though, to make sure you have enough left when comes time to make the cake…
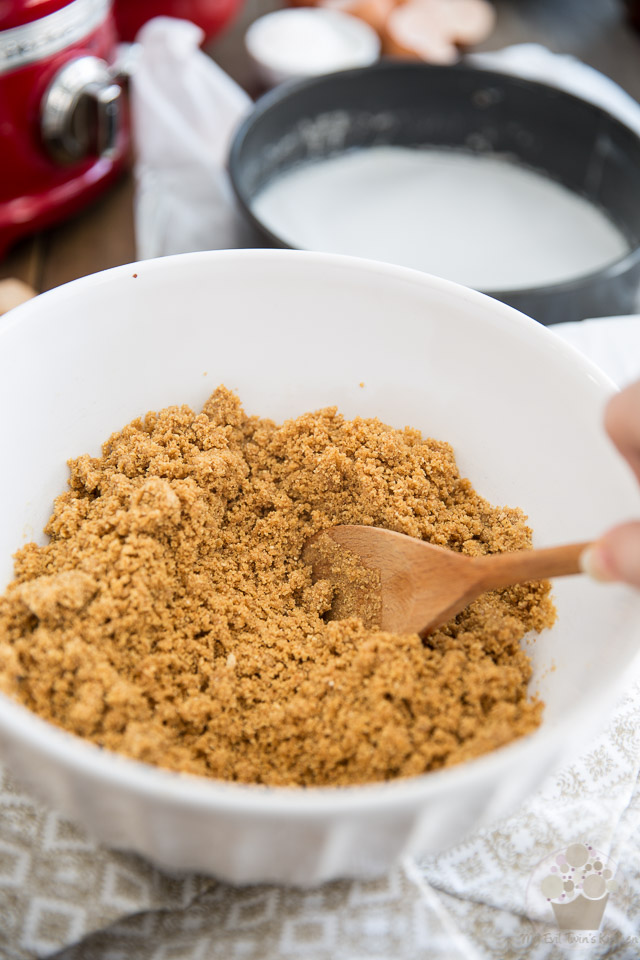
TO MAKE THE CRUST
Line the bottom of a 9” springform pan with parchment paper. To do that, remove the ring and cover the bottom with parchment paper. Fold the excess paper back under the plate and, while holding it in place with one hand, put the ring back in its position with the other hand. Bring the excess paper back from under the pan but do not cut it off.
Combine the graham cracker crumbs, maple sugar and melted butter in a large mixing bowl. Mix until well combined…
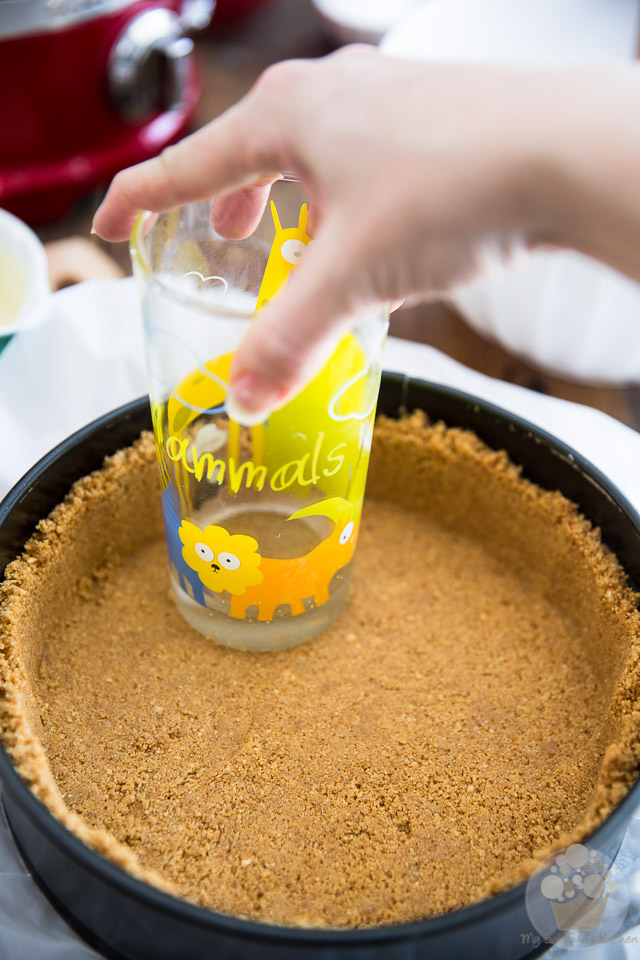
Press the mixture firmly at the bottom and about 3/4 of the way up the side of the prepared pan.
I find that using a flat bottomed glass really helps in getting that crust perfectly straight and evenly distributed.
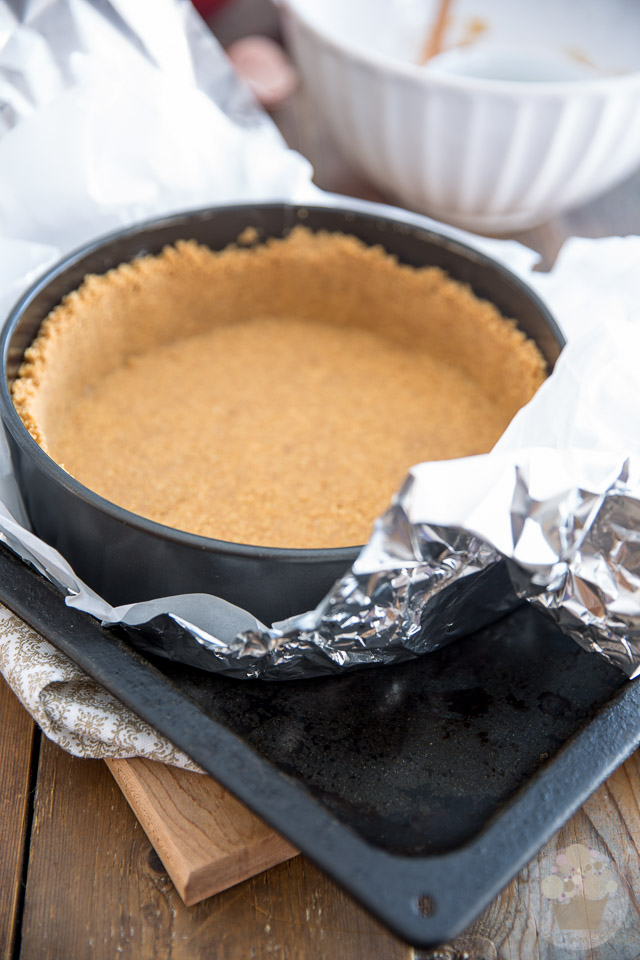
Place the pan with the crust in it over a piece of aluminum foil and fold the foil over the pan so its exterior is completely covered; this will prevent water from getting into the pan later.
Now place this rig into a roasting pan and set the whole thing aside.
TO MAKE THE CHEESECAKE FILLING
Preheat your oven to 350°F and bring about 4 cups of water to the boil; you’ll be needing that water later to make a bain-marie for your cake.
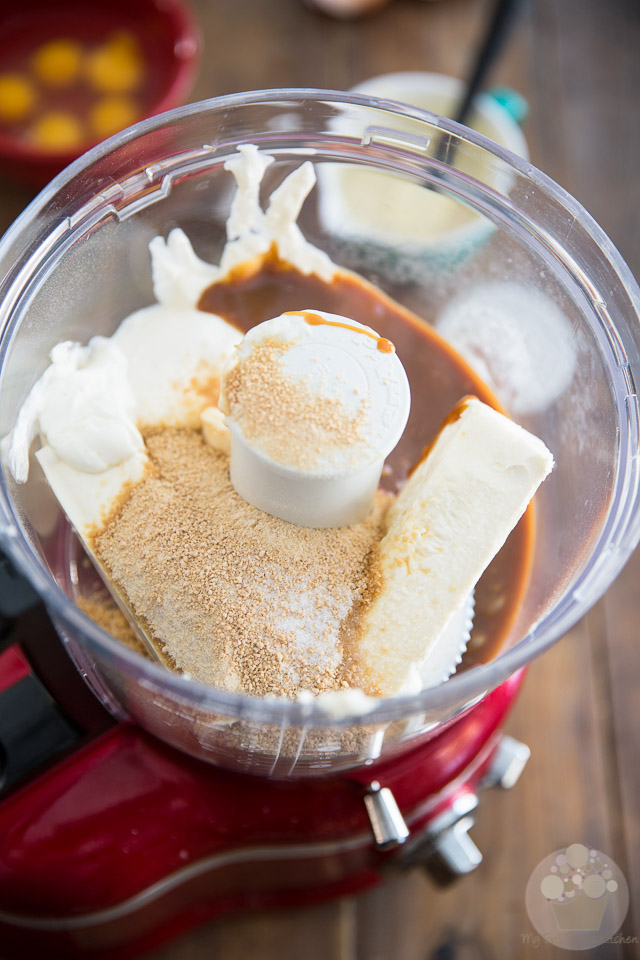
Then, combine the cream cheese, sour cream, maple sugar, half a cup of the salted maple caramel you made before, lemon juice, vanilla extract and salt in the bowl of your food processor.
Oh, and by the way, there’s no need to have the cream cheese or sour cream at room temperature — you can use them straight out of the icebox!
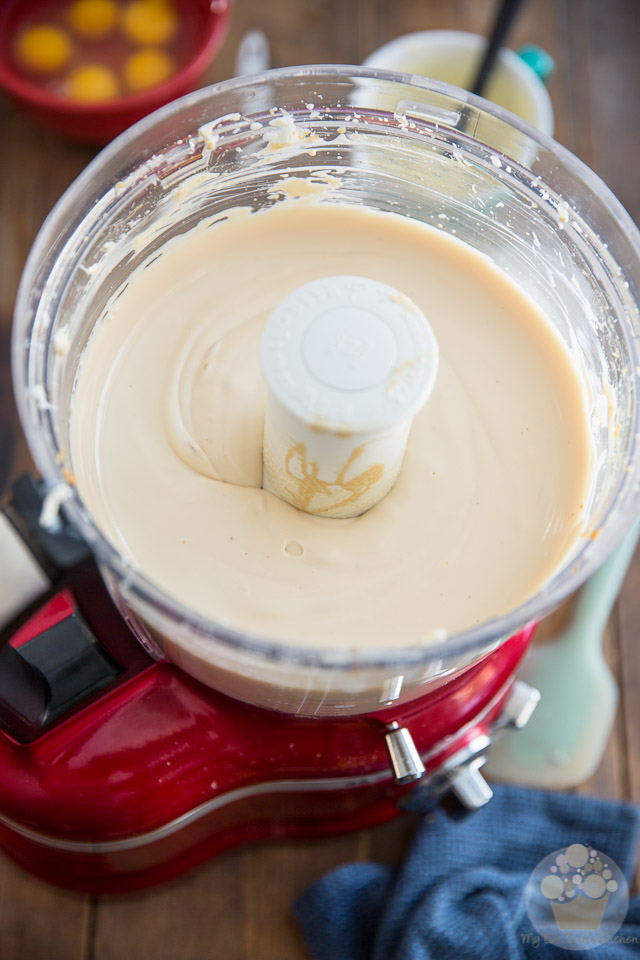
Process these ingredients until the cheese mixture becomes super smooth and creamy and is completely lump free, about 3 minutes.
You might want to stop the motor to scrape the sides once or twice during the process, to make sure that every last bit gets incorporated. Especially if you’re using cold ingredients!
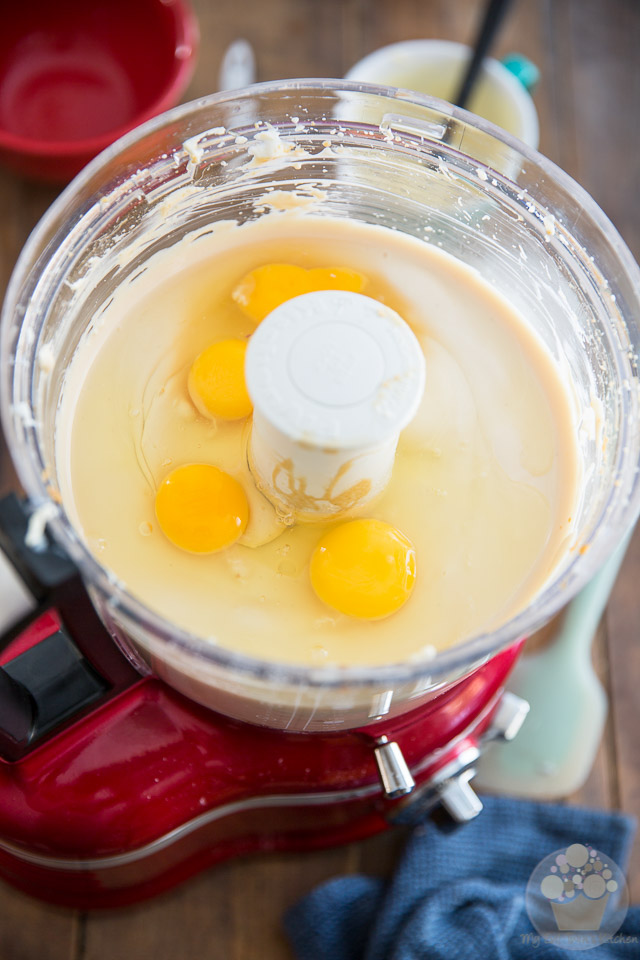
Now add the eggs all at once and resume processing until they are well combined, about 1 minute.
Yes, they too can be used straight from the fridge. Don’t bother taking them out ahead of time.
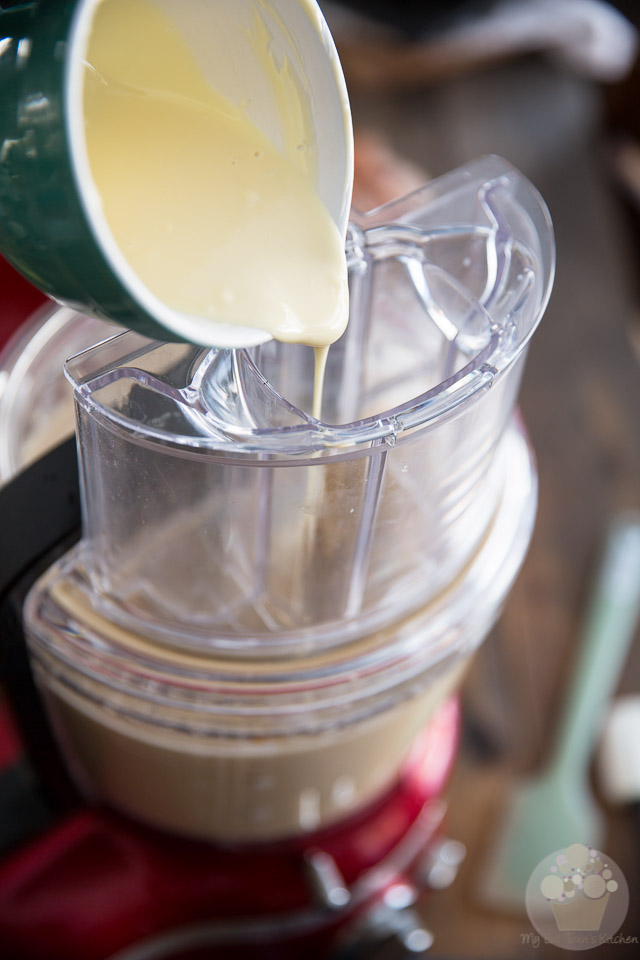
Next, pour the melted white chocolate through the feeding tube while the motor is running; process for about 30 seconds, until well incorporated.
It’s very important that you add the chocolate through the feeding tube, for if you were to add it any other way, you’d run the chance of it seizing up on you, thus creating all kinds of lumps in the batter. By adding it like this, it’ll get mixed in “on contact” so it won’t have time to even *think* about forming lumps.
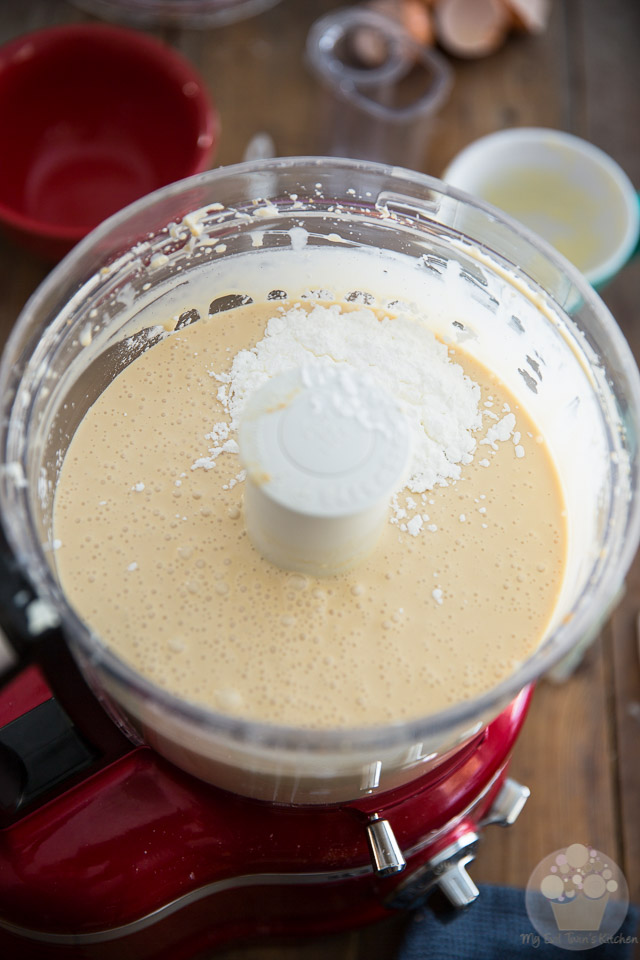
Finally, stop the motor, scrape the sides really well for one last time, then add the corn starch and resume beating until it’s well incorporated, about 30 seconds.
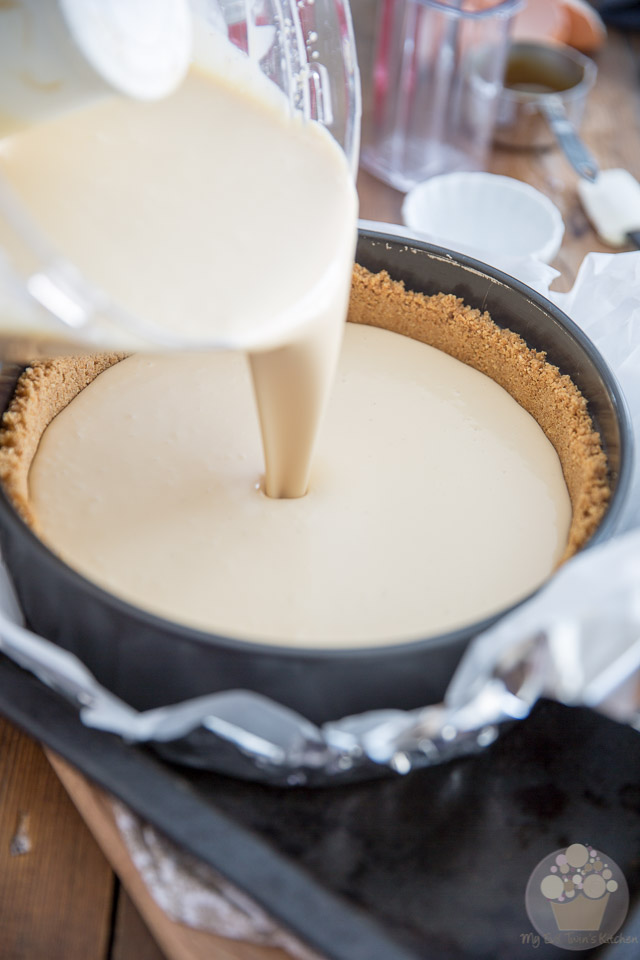
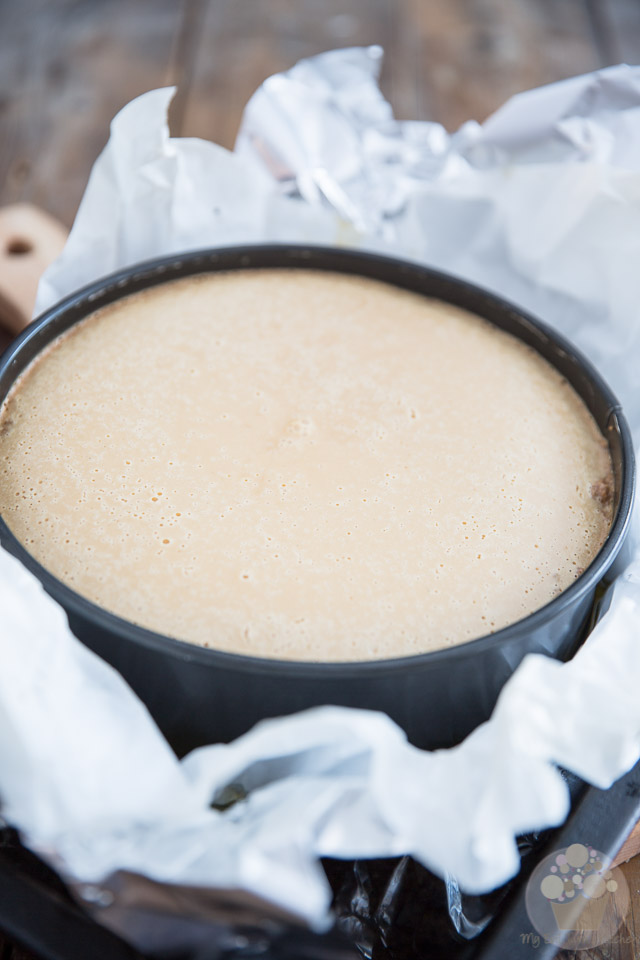
Carefully pour the cheesecake batter into the reserved crust…
As you can see, it has a fairly thin consistency. Fear not, it’ll set into the insanest, creamiest cheesecake you’ve ever eaten!
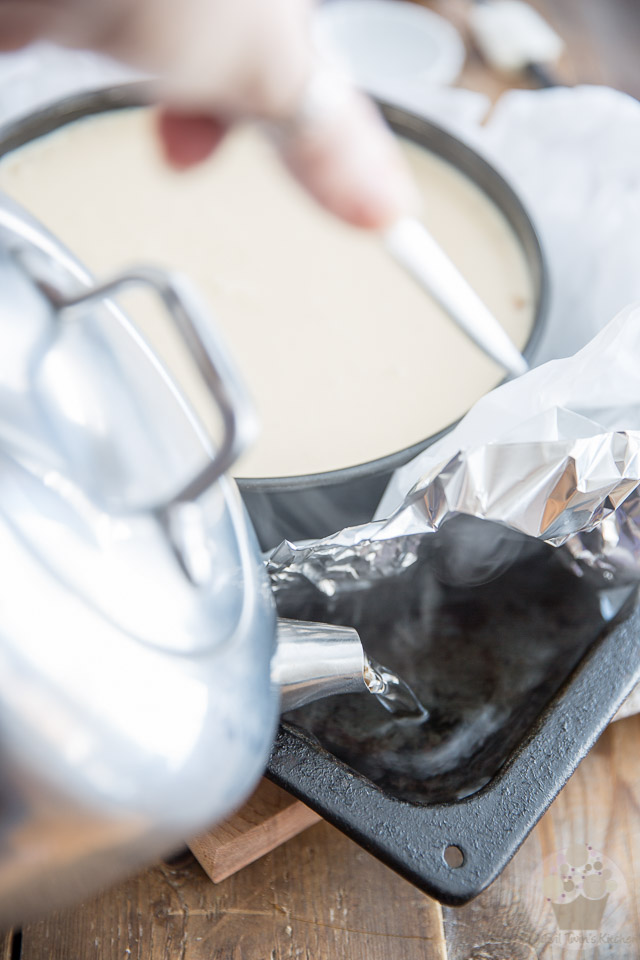
Delicately pour enough boiling water into the roasting pan so it goes up about 3/4 of the way up the side of said roasting pan.
Place that rig onto the middle rack of your oven and bake your cake for 25 minutes at 350°F.
Then, decrease the temperature to 250°F and continue baking your cake for another 75 minutes.
When the cheesecake is done baking, don’t go taking it out of the oven right away. Moving it at this point and suddenly changing the temperature around it may make it angry, causing it to develop cracks throughout its surface.
Rather, turn off the oven and crack the door open. Leave the cake in the oven, undisturbed, for about 1 hour, or until it’s cool enough to be handled with your bare hands. Then, and only then should you slide it out of the oven and leave it on the counter until it’s pretty much down to room temperature. .
At that point, run a thin spatula or knife around the rim and refrigerate the cake, uncovered, for at least 6 hours but preferably overnight.
TOP LAYER / GARNISH
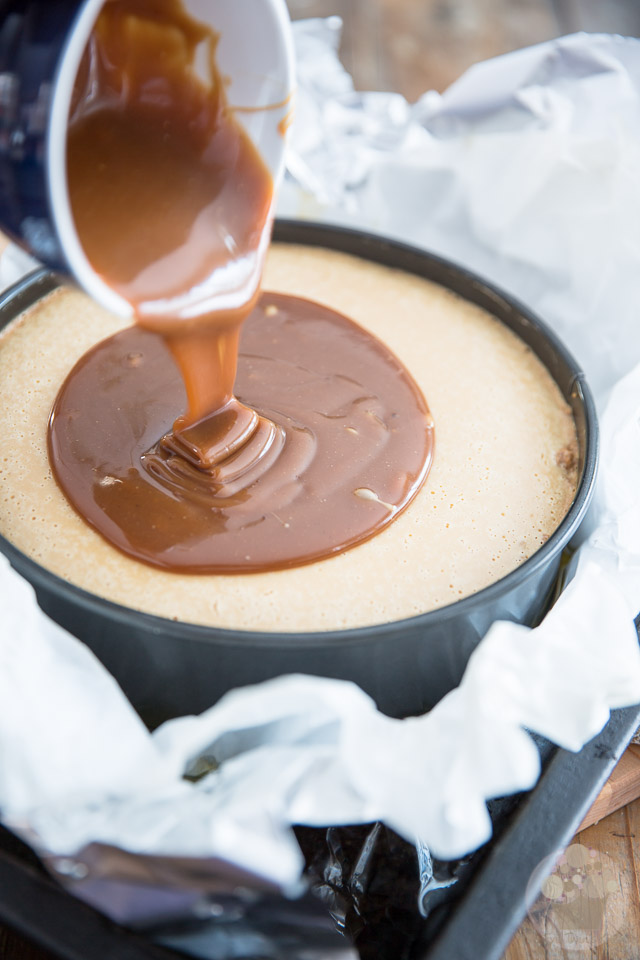
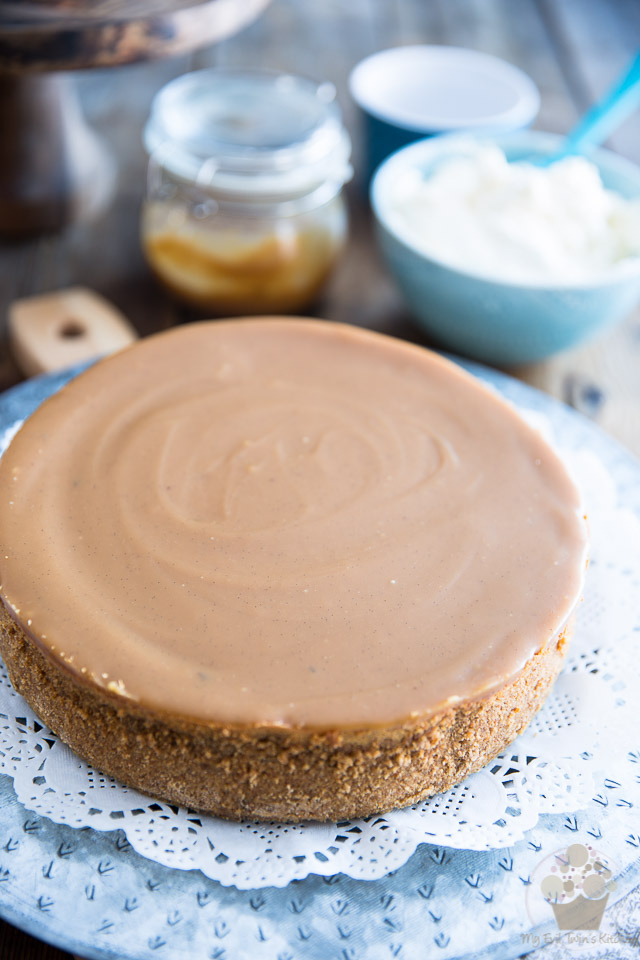
Once the cake is completely cooled, pour about a cup and a half of the salted maple caramel over the top of the chilled, unmolded cheesecake. Make sure you save a little bit to drizzle over the cake later!
If you find that the caramel has gotten a tad too firm to be poured efficiently, simply reheat it for 5 to 10 seconds in the microwave. I really don’t suggest that you do more than 5 seconds at a time, as the caramel will loosen up pretty quickly!
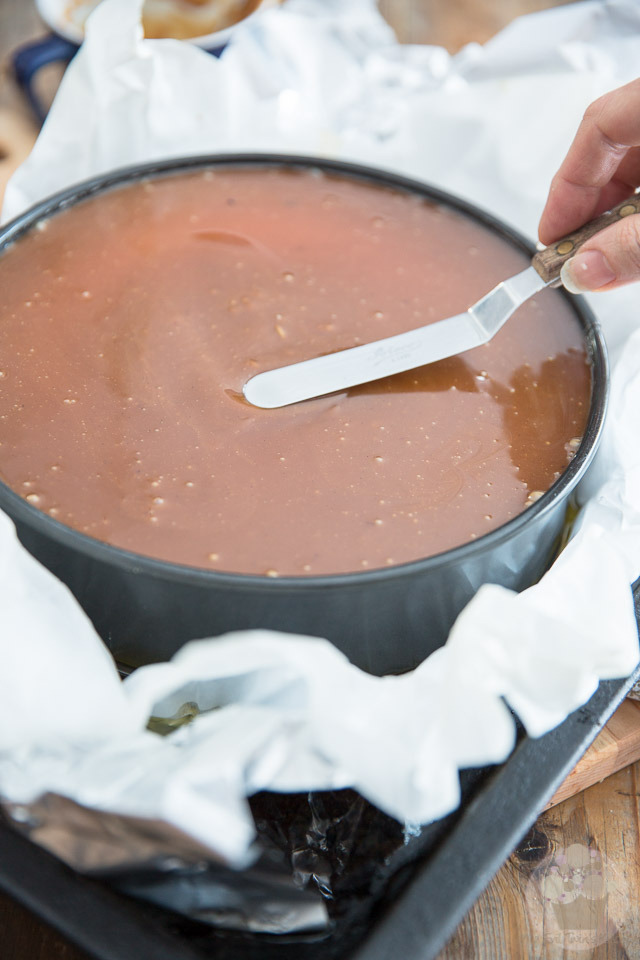
Spread the caramel delicately with a spatula, all the way to the edge and then return the cake to the fridge until the caramel has set, about one hour.
While you’re waiting, you could take this opportunity to whip some cream, if you’re planning on garnishing your cake with swirls of whipped cream.
Simply beat a cup of whipping cream with an electric mixer on medium-high speed until stiff peaks form. For a sweeter whipped cream, add a few tablespoons of powdered sugar to your cream before you start whipping it.
When the caramel layer has fully set, it’s time to remove the ring from around your cake and reveal all its beauty!
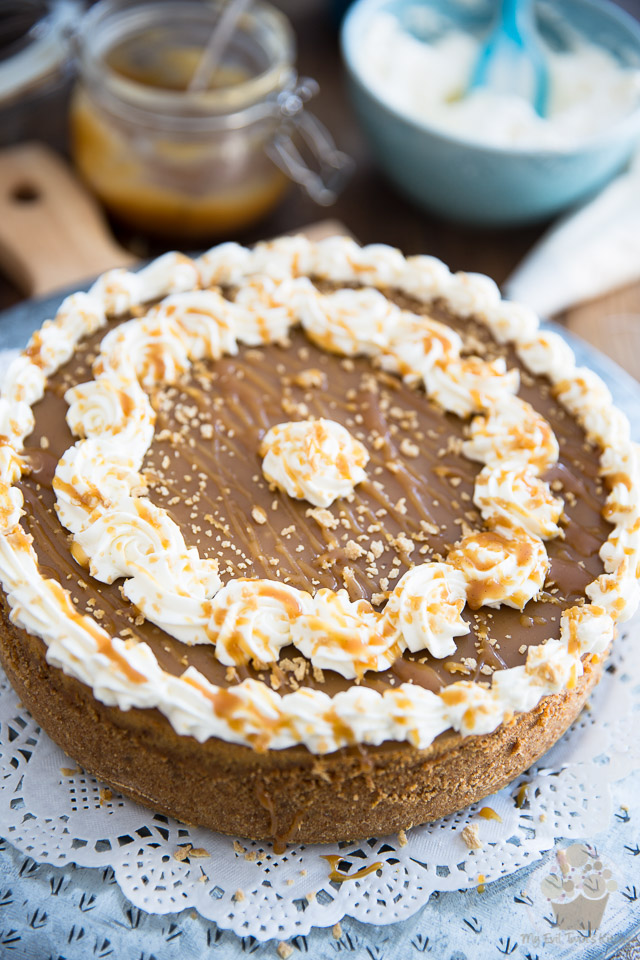
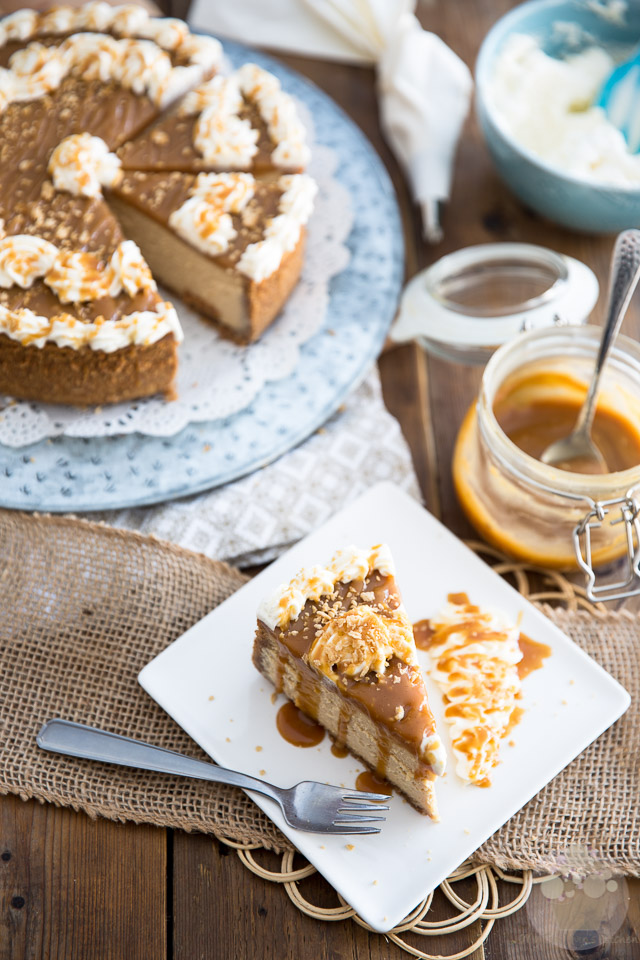
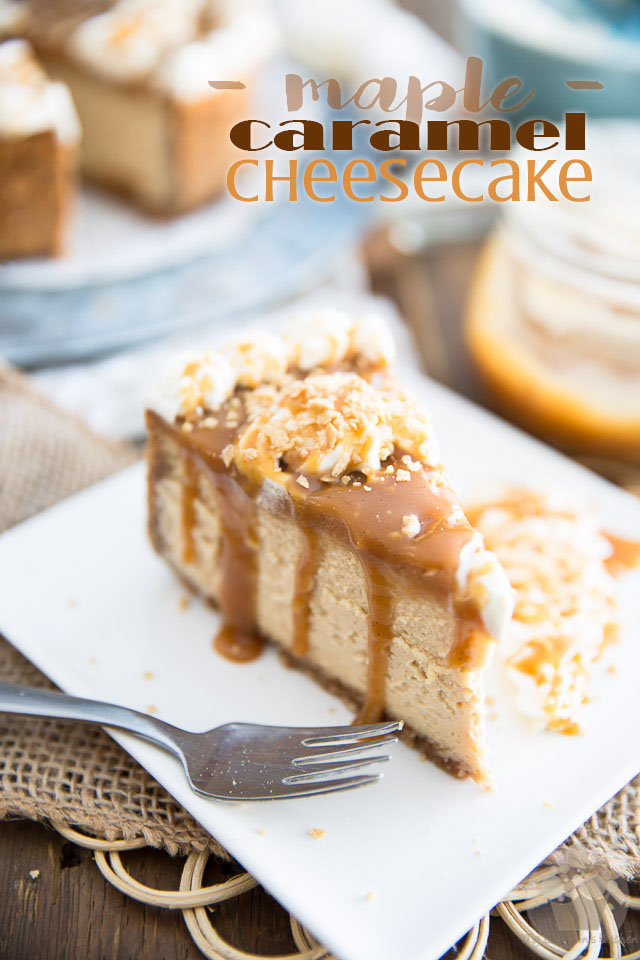
Garnish your cake with swirls of whipped cream, then drizzle a little bit more of the caramel all over the top and sprinkle with maple sugar or maple sugar flakes, if desired.
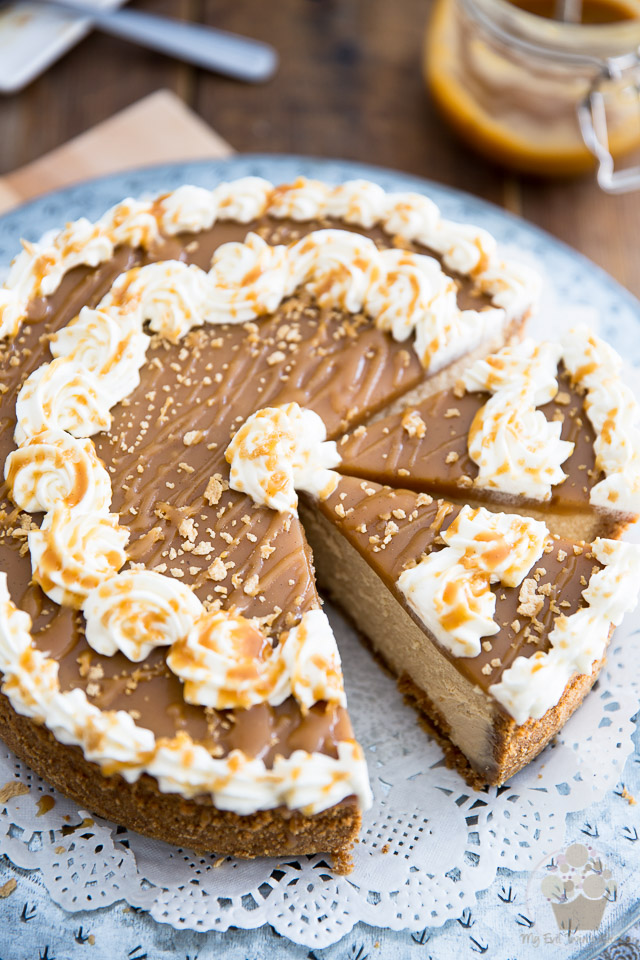
Only one thing left to do now… and I bet you just can’t wait!
Slice this baby up and INDULGE!!!
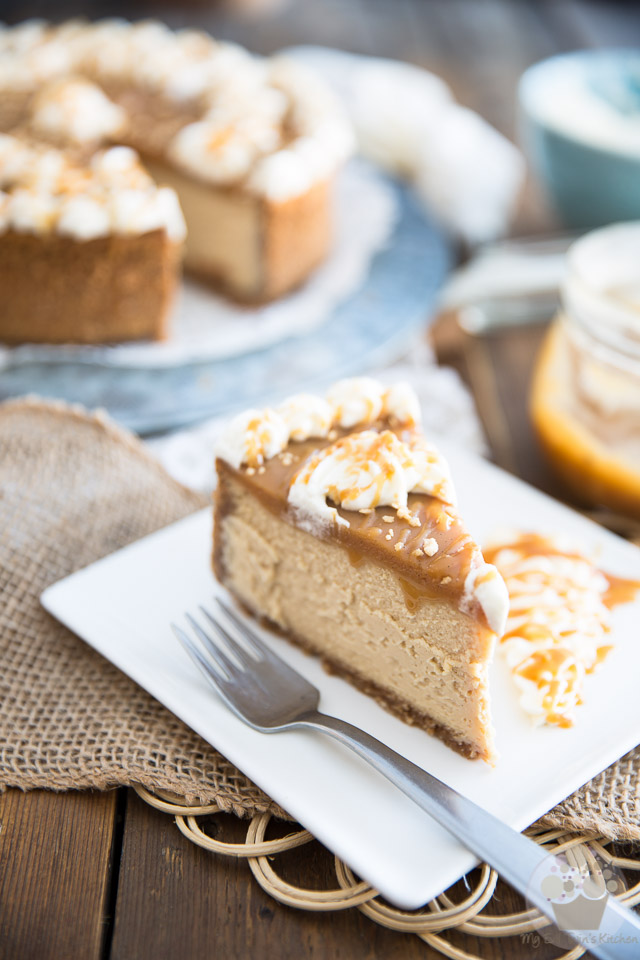
Oh, and if you still have a little bit leftover whipped cream and salted caramel left, use it to decorate the plates.
Or, spoon even more caramel over each individual slice, for a dramatic caramel cascade rippling effect!
Stored in the refrigerator in an airtight container, this cake will keep for up to a week.
Like all cheesecakes, this cake is at its best served chilled, right out of the icebox!
Ingredients
- To make this cake, you will need one full batch of this salted maple caramel
- 2½ cups (290g | 10.1oz) graham cracker crumbs
- 1/2 cup (80g |2.8oz) pure maple sugar
- 1/2 cup (120g | 4oz) butter, melted
- 2- (227g | 8oz) packages full fat cream cheese
- 1- (500ml) container full fat sour cream
- 1 cup (160g | 5.6oz) pure maple sugar
- 1/2 cup (160g | 5.6oz) salted maple caramel
- 1 tbsp fresh lemon juice
- 1 tbsp pure vanilla extract (store-bought or homemade)
- 1/2 tsp salt
- 5 large eggs
- 1 cup (150g | 5.25oz) white chocolate, melted
- 3 tbsp corn starch)
- 1-1/2 cups (480g | 17oz) salted maple caramel
- 1 cup whipped cream
- 2-3 tbsp Pure maple sugar flakes
Instructions
- Start by making the salted maple caramel so it has plenty of time to cool.
- Line the bottom of a 9” springform pan with parchment paper. To do that, remove the ring and cover the bottom with parchment paper. Fold the excess paper back under the plate and, while holding it in place with one hand, put the ring back in its position with the other hand. Bring the excess paper back from under the pan but do not cut it off.
- Combine the graham cracker crumbs, maple sugar and melted butter in a large mixing bowl. Mix until well combined and press firmly at the bottom and about 3/4 of the way up the side of the prepared pan.
- Place the pan over a piece of aluminum foil and fold the foil over the pan so the exterior is completely covered; this will prevent water from getting into the pan later. Now place this rig into a roasting pan and set aside.
- Preheat your oven to 350°F and bring about 4 cups of water to the boil; you'll be using it later to make a bain-marie for your cake.
- Combine the cream cheese, sour cream, maple sugar, salted maple caramel, lemon juice, vanilla extract and salt in the bowl of your food processor. Process until the mixture is super smooth and creamy and completely lump free, about 3 minutes. Stop the motor to scrape the sides once or twice to make sure every last bit gets incorporated.
- Add the eggs all at once and resume processing until they are well combined, about 1 minute.
- Pour the melted white chocolate through the feeding tube while the motor is running; process for about 30 seconds, until well incorporated.
- Stop the motor, scrape the sides well, add the corn starch and resume beating until well incorporated, about 30 seconds.
- Pour the cheesecake batter into the reserved crust, then delicately pour enough boiling water into the roasting pan so it goes up about 3/4 of the way up the side of said roasting pan. Place that rig onto the middle rack of your oven and bake your cake for 25 minutes at 350°F. Then, decrease the temperature to 250°F and continue baking your cake for another 75 minutes.
- Turn off the oven and crack the door open. Leave the cake in the oven, undisturbed, for about 1 hour, or until it's cool enough to be handled with your bare hands, and then slide it out of the oven.
- When the cheesecake is completely cooled, run a thin spatula or knife around the rim and refrigerate uncovered for at least 6 hours, preferably overnight.
- Pour a cup and a half of salted caramel over the chilled, unmolded cheesecake and spread it delicately with a spatula, all the way to the edge. If you find that the caramel has gotten too stiff to be poured, you can reheat it for 5 to 10 seconds in the microwave.
- Return the cake to the fridge until the caramel has set, about one hour.
- Once the caramel has set, garnish the top of the cake with swirls of whipped cream, then drizzle a little bit more of the caramel all over the cake and sprinkle with maple sugar or maple sugar flakes, if desired.
- If you still have a little bit leftover whipped cream and salted caramel left, use it to decorate the plates.
- Stored in the refrigerator in an airtight container, this cake will keep for up to a week.
- Serve chilled.
This looks incredible! I can’t wait to try it. Your creativity in the kitchen always blows my mind, and the recipes I have tried have always been outstanding. Thank you so much!
Haha, thank YOU so much for your kind words, Rachel! This is music to my ears! 🙂
Hi there! I came across this cheesecake and it looks divine! I was hoping to make it for National Cheesecake Day. The only problem I have is that two family members have issues with chocolate/white chocolate. Could I substitute that for candy melts? I worry that the consistency might not be the same.
Thank you!
I wouldn’t be able to tell for certain without trying it myself first, so I’m afraid I can’t really advise you on this one, Juliana. But don’t candy melts also contain chocolate?
Thank you for replying so quickly. They don’t actually! They’re primarily made with a combination of sugar and vegetable fats – not cocoa butter.
I may just have to try it and let you know the results. I gave the family a handful of options for what cheesecake they’d like me to make and they all chose this one. It really does look and sound delicious so I don’t blame them.
Thanks much for the kind words and the clarifications about the candy melts! Be sure to let me know how the cake turned out if you end up giving it a try!
Wow this looks amazing but have you ever figured out the total coat to make it? Worth every penny im sure.
Oops cost not coat
This looks absolutely divine!! I’m planning to make for a dinner party I’m attending this weekend. Once of the guests has an allergy to sour cream ~ do you think I could use full fat plain Greek yogurt instead?
Not sure, Jan… I’ve never tried it, so I can’t really tell. I don’t see why it wouldn’t work, though. If you wanted to play it safe, you could use more cream cheese instead.
I need to make a 10 inch cheesecake. Would increasing ingredients by a third work for this? Also, I’ve never seen a cheesecake recipe with only 16 oz of cream cheese. Is that correct? Thanks, I can’t wait to try it.
A third seems like a big increase for one inch pan size difference. Not sure I would even bother, honestly… I would simply adjust baking time and expect your cake to stand a bit less tall, with a bit of a thinner crust (but I’m known for making super thick crusts so you should be fine!)… And yes, the list of ingredients is correct!
This looks delicious!
I don’t have a springform pan.
Do you think I can bake it in a 9in pie plate?
Unfortunately, this wouldn’t cut it…
Can I say total orgasmic culinary experience! Being french canadian maple syrup runs through my veins and this cake is like a life saving transfusion. And that salted maple caramel sauce is sooo delicious and compliments the cake to perfection.