A guaranteed crowd pleaser, this easy 3 Ingredient Chocolate Fudge only takes minutes and is so easy to make, even a child could do it…
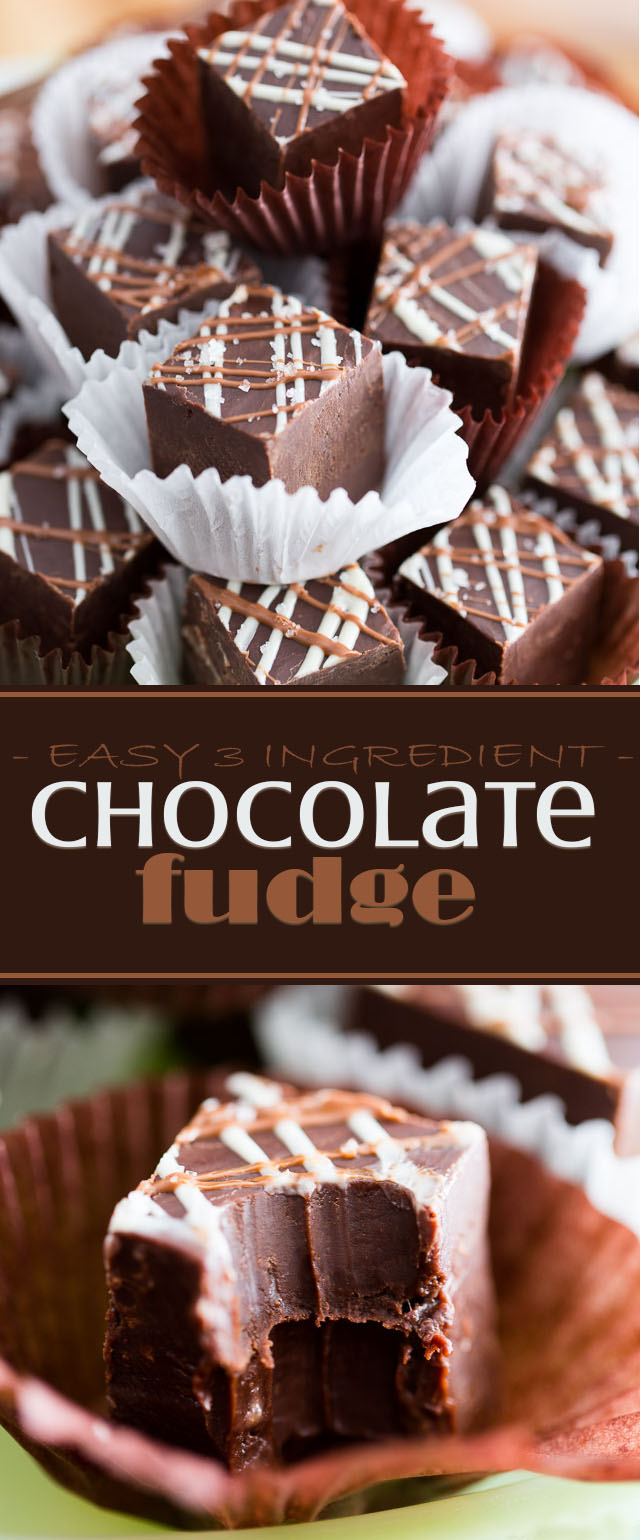
This is probably the easiest chocolate fudge recipe, ever. All you need to do is chop up some of your favorite semi-sweet chocolate, throw that in a bowl along with a few tablespoons of butter and a pinch of salt, melt that in the microwave, mix in a can of sweetened condensed milk, pour that into a pan, place it in the fridge to set and then (this is actually the hardest part) patiently wait until that fudge is firm enough to cut into squares and eat.
Oh, and if you wanted to be all fancy shmancy and make your fudge extra pretty, and if you had the patience to wait an additional 10 to 15 minutes, you could go the extra mile and drizzle your fudge with a little bit more melted chocolate and hit it with a pinch of Fleur de sel, for a bit of a contrast with all that intense sweetness!
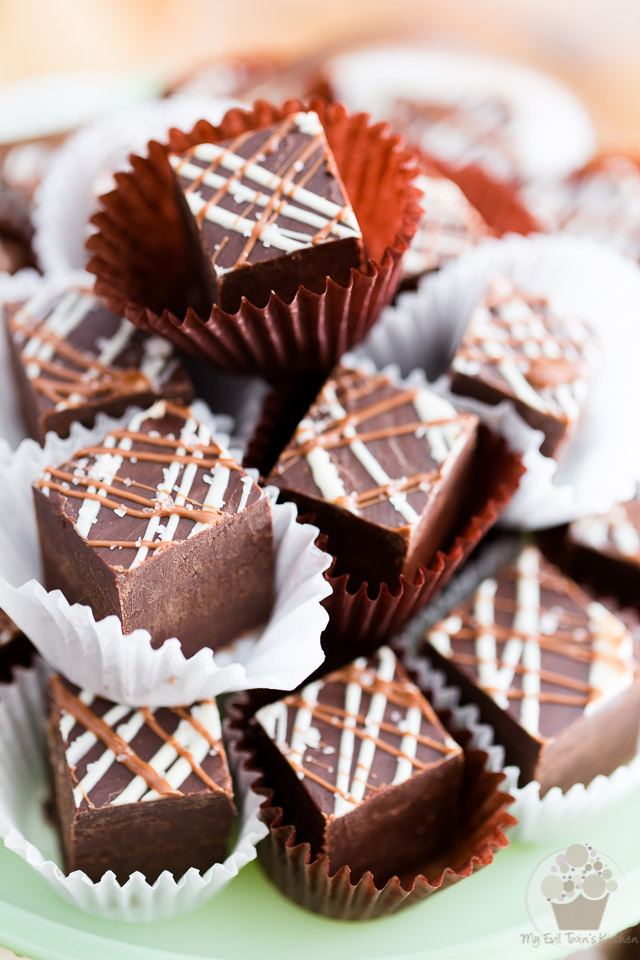
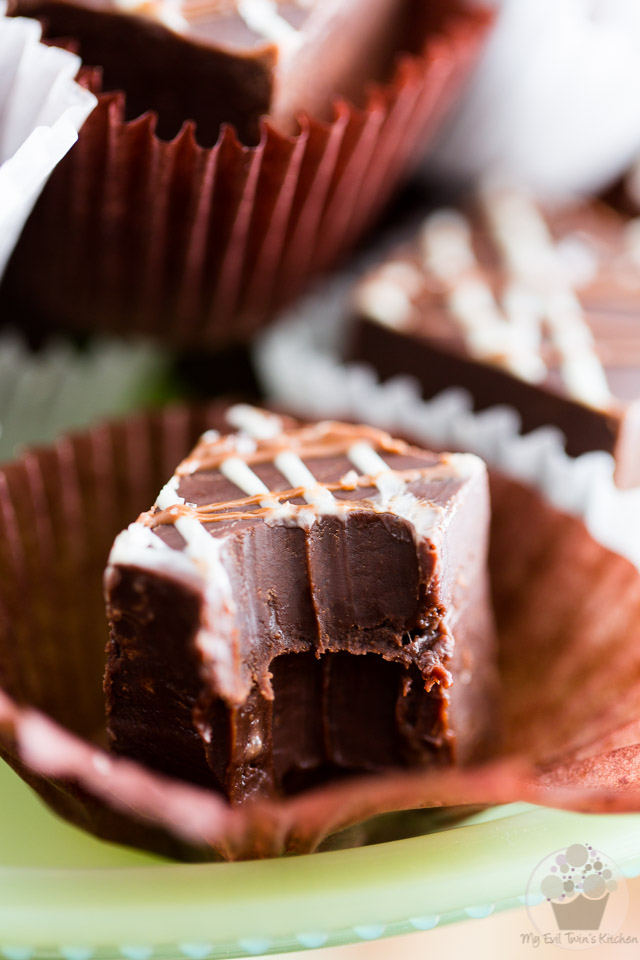
Your very few minutes of super easy work will be rewarded with the richest, creamiest and most elegant chocolate fudge you’ve ever eaten. Guaranteed to please every and all chocolate lover!
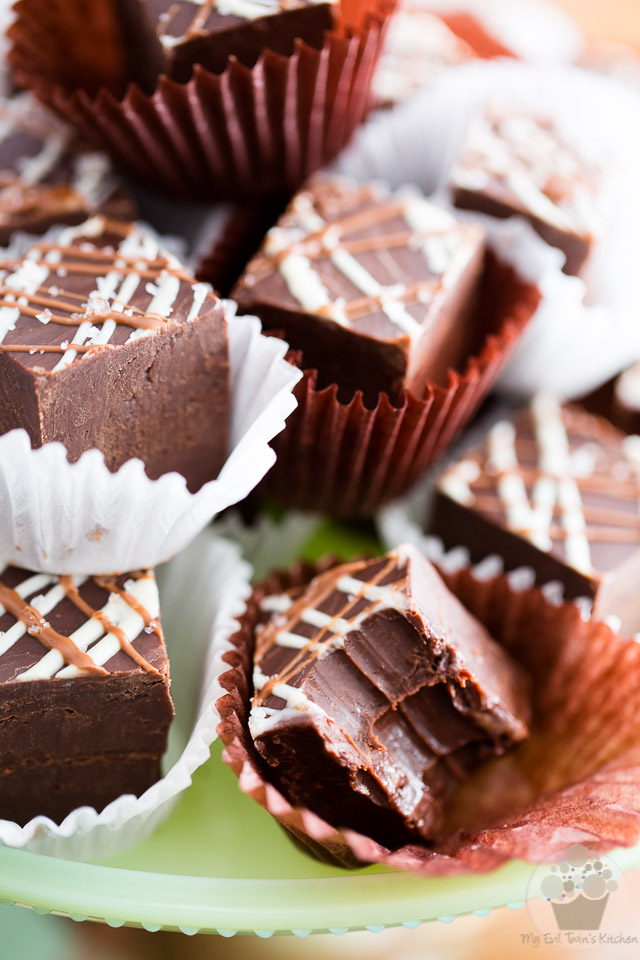
A few tips before you begin:
Be sure to use some good quality chocolate for this. The kind that you would break up from a bar and eat as is. Melting or baking chocolates would also work, but don’t go using chocolate chips, as these guys were formulated to withstand a lot of heat and retain their shape in the oven, so you really wouldn’t be getting optimal results from them.
Also, this fudge really is crazy sweet and for that reason, I strongly recommend that you stick with dark or semi-sweet chocolate. But if you have bulletproof taste buds and are dead set on using milk chocolate, you could still technically do it… just don’t say I haven’t warned you!
Lastly, don’t go using evaporated milk thinking it’ll work just the same; you really want to use sweetened condensed milk for this recipe to work.
STEP-BY-STEP INSTRUCTIONS & PICTURES
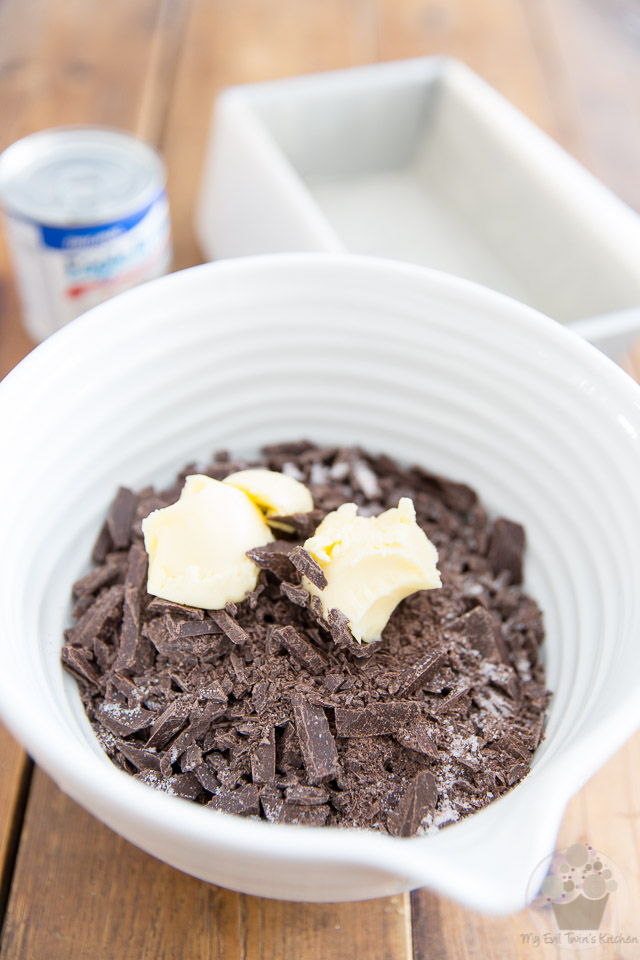
You ready? Let’s go: start by greasing the bottom and sides of a loaf pan with butter, then line the pan with parchment paper, leaving a bit of an overhang on both long sides. Note that I like really tall pieces of fudge, that’s why I always use a loaf pan, but if you prefer your squares to a bit on the thinner side, you could very well use a 8 or 9 inch square pan instead. That choice is entirely up to you.
Then, combine the finely chopped chocolate, softened butter and salt in a microwave safe bowl.
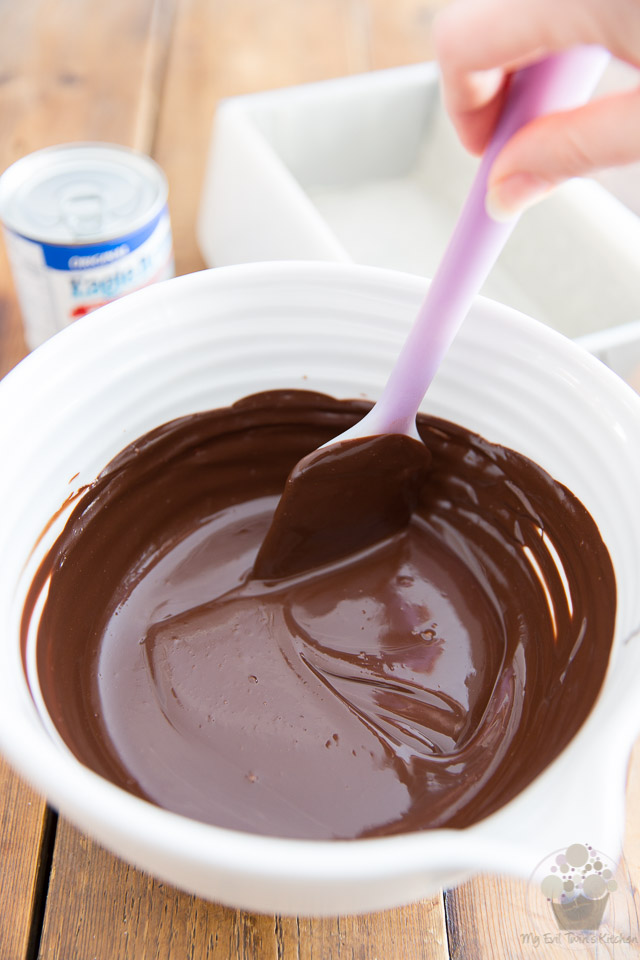
Place that in the microwave and melt at high temperature for one minute, then allow the chocolate to rest for one minute, and then stir for one full minute. Repeat, in increments of 20 to 30 seconds, stirring really well for 20 to 30 seconds between each session, until the chocolate is completely melted, lump free and slightly warm to the touch.
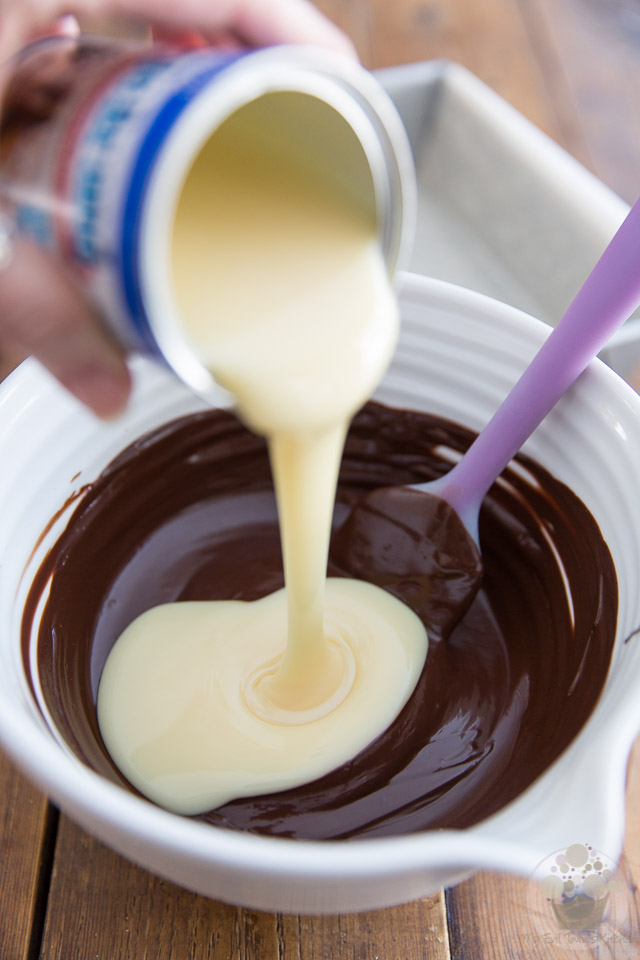
Now pour in the sweetened condensed milk and stir delicately with a rubber spatula until it’s just incorporated and you notice that the texture of the chocolate starts to change and thicken considerably.
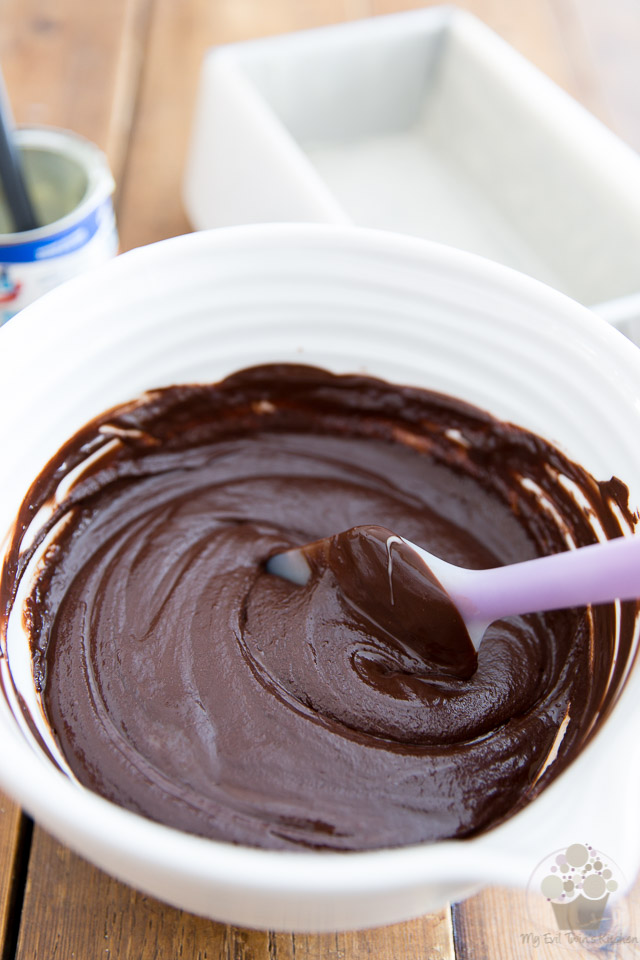
If you look closely, you’ll see that the chocolate is not quite as smooth as it was before; it almost feels as though the chocolate is wanting to seize or separate. That’s perfectly fine, and the last thing you want to do now is keep stirring in an effort to get the mixture to become super smooth and completely homogeneous again. My personal experience taught me that the more you stir, the more the mixture is wanting to split.
So really; just as soon as you see this “change” happening, stop stirring.
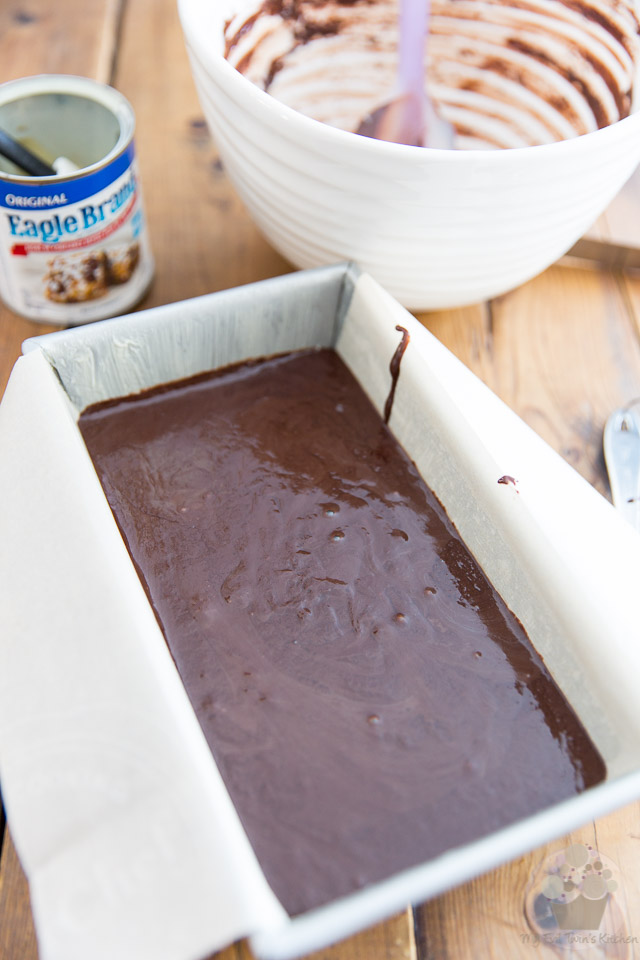
Transfer the chocolate mixture to the prepared pan and tap the pan on the counter a few times to even out the top and remove any potential air bubbles.
And now for the hard part: refrigerate until the fudge is completely set, at least 2 to 3 hours. Then, lift the fudge from the pan by delicately pulling on the parchment paper.
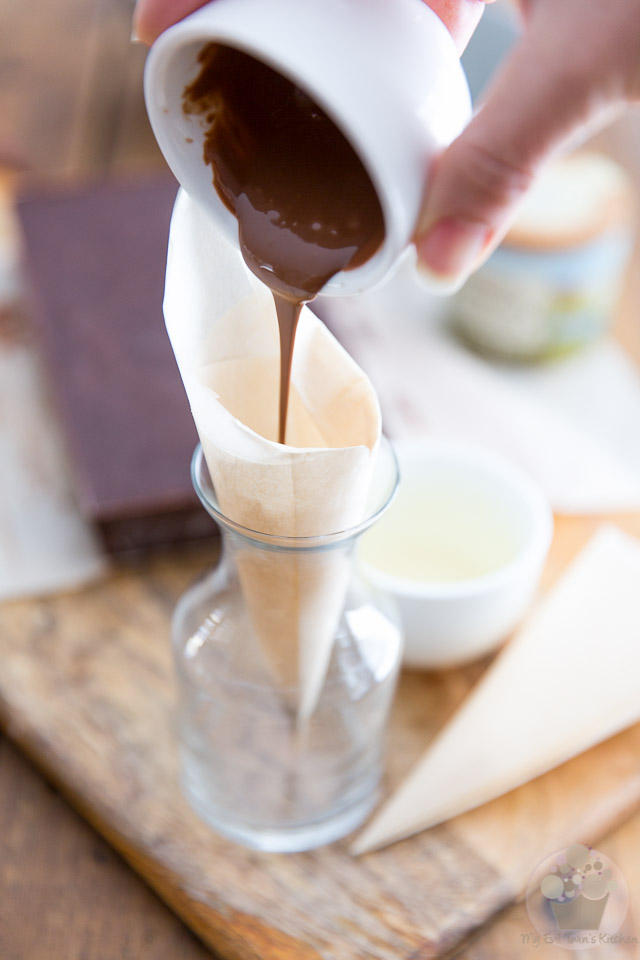
If you have it in you to wait a little longer and feel like making your fudge extra pretty, prepare two piping cones out of parchment paper (you could also use squeeze bottles but they don’t work quite as well with such small quantities) and fill them with the melted chocolates.
I like to use milk chocolate and white chocolate in this case, for a nice color contrast!
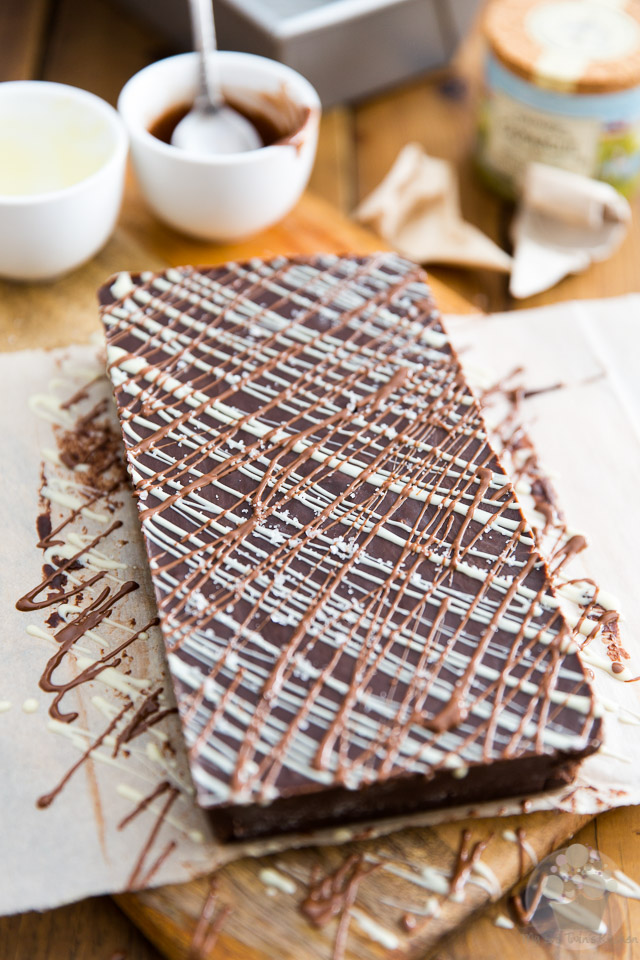
Squeeze the chocolate diagonally across the top of the fudge, going in opposite directions with each color. Then, sprinkle with a little bit of Fleur de sel, if desired.
Return your chocolate fudge to the fridge to set, about 10 minutes, this time.
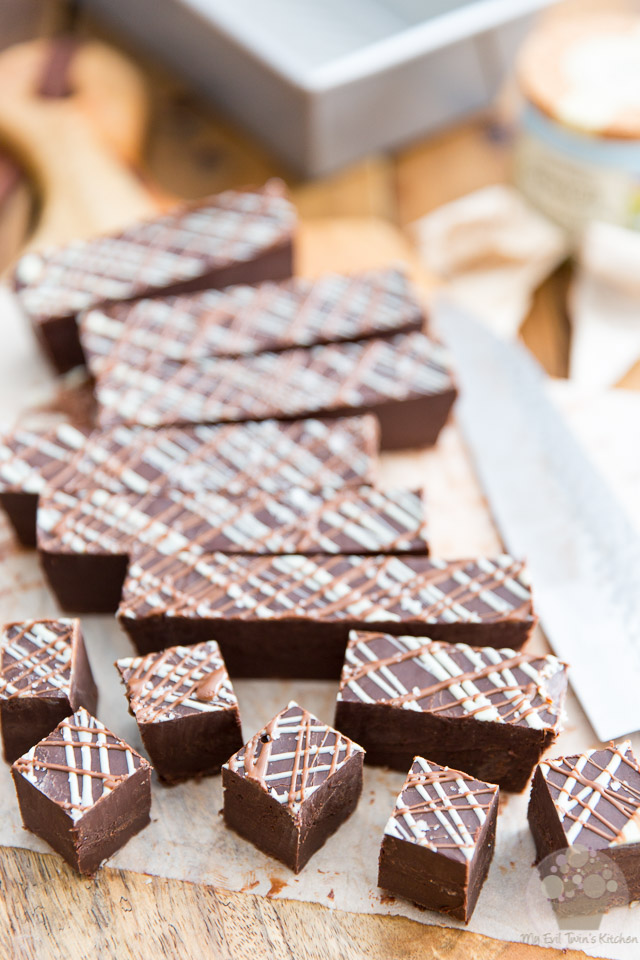
Cut the fudge into 36 squares with a sharp knife; for cleaner cuts, warm your blade slightly by dipping it in hot water and then wiping it clean between each cuts.

Keep the fudge in a cool dry place in an airtight container for up to several hours… erm, sorry, I mean weeks!
Ingredients
- 525g (18.5oz) semi-sweet chocolate, finely chopped
- 2 tbsp butter, softened
- 1/4 tsp salt
- 1 can (300ml | 14oz) sweetened condensed milk
- 2 tbsp melted milk chocolate
- 2 tbsp melted white chocolate
- Pinch Fleur de sel
Instructions
- Grease the bottom and sides of a loaf pan with butter, then line the pan with parchment paper, leaving a bit of an overhang on both long sides.
- Combine the finely chopped chocolate, butter and salt in a microwave safe bowl and melt at maximum temperature for one minute, then allow it to rest for one minute and stir for one full minute. Repeat, in increments of 20 to 30 seconds, stirring really well for 20 to 30 seconds between each session, until the chocolate is completely melted, lump free and slightly warm to the touch.
- Add the sweetened condensed milk and stir delicately with a rubber spatula, until it's just incorporated and the texture of the chocolate starts to change and thicken considerably.
- Immediately stop stirring and transfer the mixure to the prepared pan; tap the pan on the counter a few times to even out the top and remove any potential air bubbles. Refrigerate until completely set, at least 2 to 3 hours.
- Once set, lift the fudge from the pan by delicately pulling on the parchment paper.
- If you want to make your fudge extra pretty, prepare two piping cones out of parchment paper (you could also use squeeze bottles but they don't work quite as well with such small quantities) and fill them with the melted chocolates, then squeeze the chocolate diagonally across the top of the fudge, going in opposite directions with each color. Sprinkle with a little bit of Fleur de sel, if desired. Return to the fridge to set, about 10 minutes.
- Cut the fudge into 36 squares with a sharp knife; for cleaner cuts, slightly warm your blade by dipping it in hot water and then wiping it clean between each cut.
- Keep the fudge in a cool dry place in an airtight container for up to several weeks.
Leave a Reply