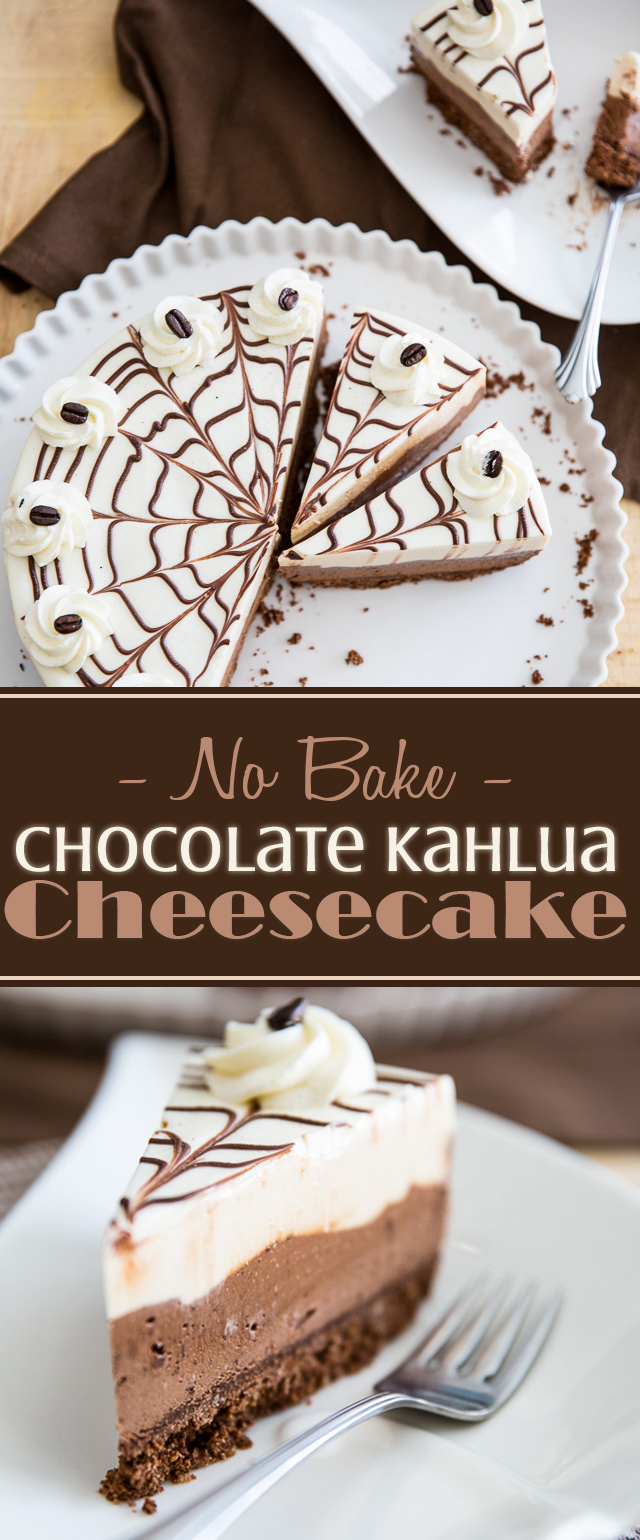
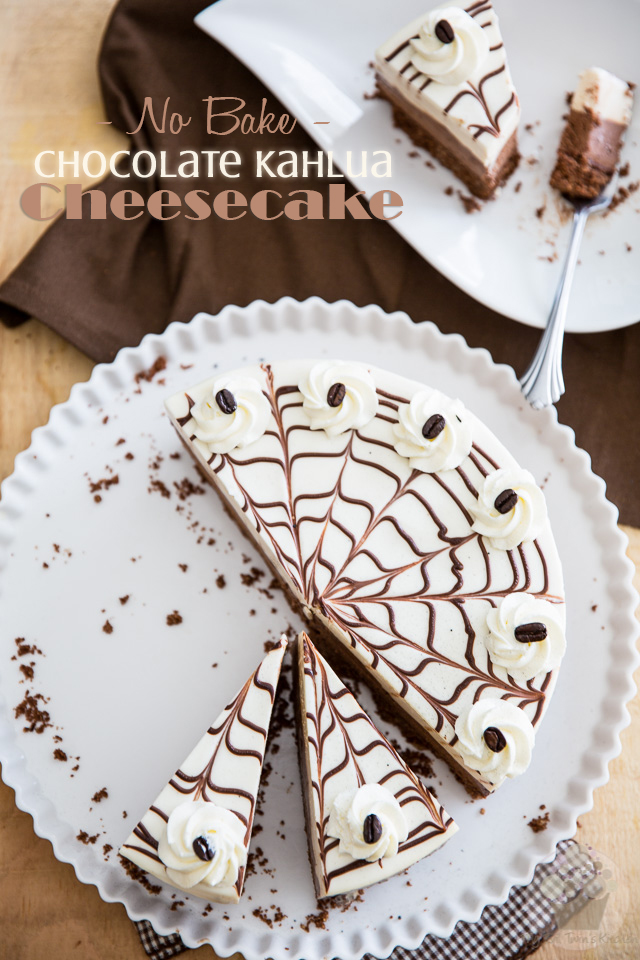
A no-bake chocolate kahlua cheesecake that’s as easy to make as it is to eat. You’ll want to make it time and time again. A recipe you won’t want to lose!
When I was young, well, much younger than I am today anyway, I used to have a favorite no-bake cheesecake recipe that I would make all the time. And I do mean, all the time. Coming from someone who rarely makes the same recipe twice, that says a lot about that cake!
One of the reasons why I loved that no-bake moka sour cream cheesecake so much is that it was real easy to make, but even easier to eat, if you get my drift. This thing was absolutely decadent: it was fresh, creamy and velvety. Its smooth, unctuous texture felt like a soft caress inside your mouth. As for its flavor, it really kept you coming back for more: it had a very pleasant tang to it, thanks to the presence of sour cream, and a very intense but not overwhelmingly sweet chocolate flavor.
And every single time I made it, it was a total hit.
Then one day, disaster struck! Looking through my recipe box, I realized that I’d somehow managed to misplace the little booklet in which my precious recipe was printed.
I was crushed!
For something like 20 years now, I’ve been desperately searching for it. I interrogated Google on countless occasions and looked like a million times through all my recipe boxes, books and booklets, to no avail. I was never able to retrace it.
Finally, I decided that I would simply have to recreate it…
And so I have, and to be honest, I think that this new version is even better than the original I remembered: hey, this one’s got booze in it, and that can never be a bad thing!
This time, I made sure that I kept the recipe somewhere I would never lose it again! And if I were you, I think I’d bookmark this page right this minute, just in case, you know.
I get the feeling you’ll want to get back to it, someday…
Step-by-step instructions & pictures
Line the bottom of a 9” springform pan with parchment paper.
To do that, remove the ring and cover the bottom with parchment paper. Fold the excess paper back under the plate and, while holding it in place with one hand, put the ring back in its position with the other hand. Bring the excess paper back from under the pan but do not cut it off.
Now let’s make the crust
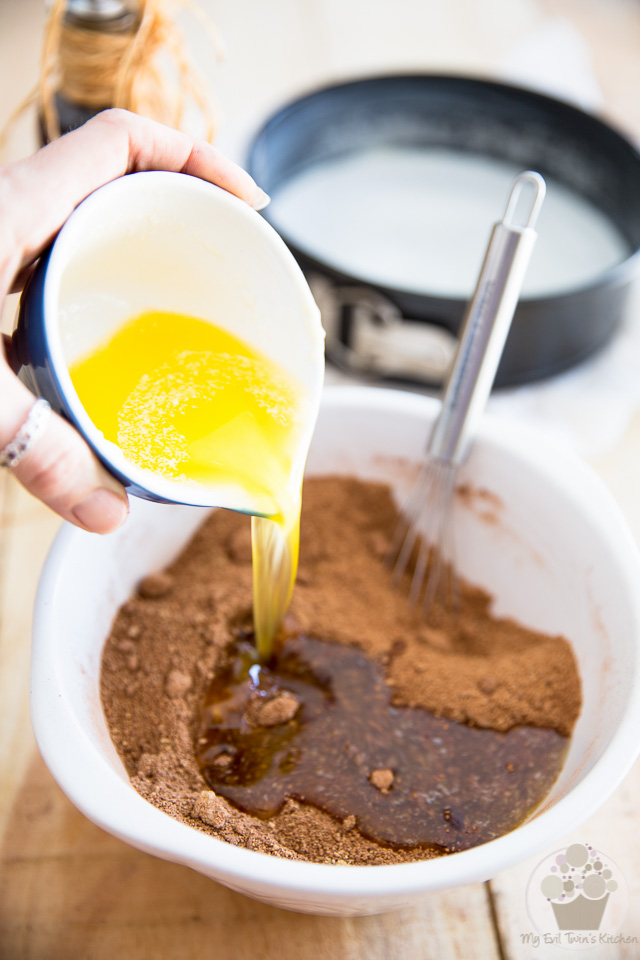
Combine the graham cracker crumbs, brown sugar, cocoa powder, vanilla extract, instant coffee powder and melted butter in a large mixing bowl.

Mix until well combined and transfer to your prepared pan.
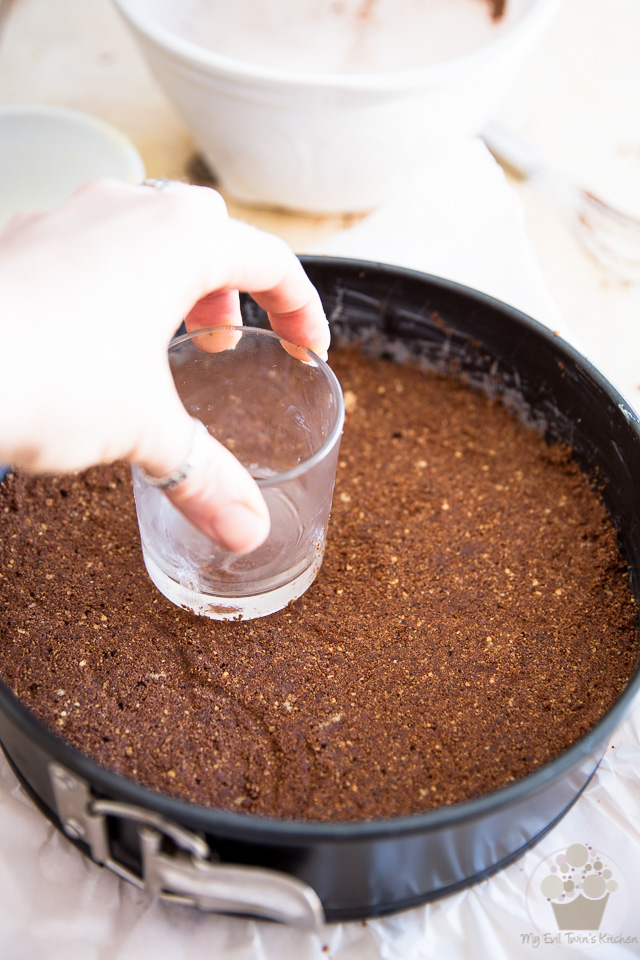
Press firmly at the bottom and slightly up the side of the pan.
I find that using a flat bottomed object, such as a glass or measuring cup works best for this, but you could also use your fingers if you wanted to. I guess I’m just one of those girls who hate having their hands dirty…
Now for the yummy Kahlua cheesecake filling
The first thing you need to do is place your sheet gelatin to soak in a large bowl filled with icy cold water.
If you didn’t have sheet gelatin, you could use powdered gelatin instead, but that you would have to sprinkle over the Kahlua liquor so it has a chance to bloom. (you might as well put the whole thing directly into a small saucepan, since you’ll need to warm up that liquor in a few minutes…)
Also, if you’re not too familiar with gelatin and how to use it, David Lebovitz wrote the most fantastic and informational article on how to use gelatin; I strongly suggest that you take a few minutes to read it.
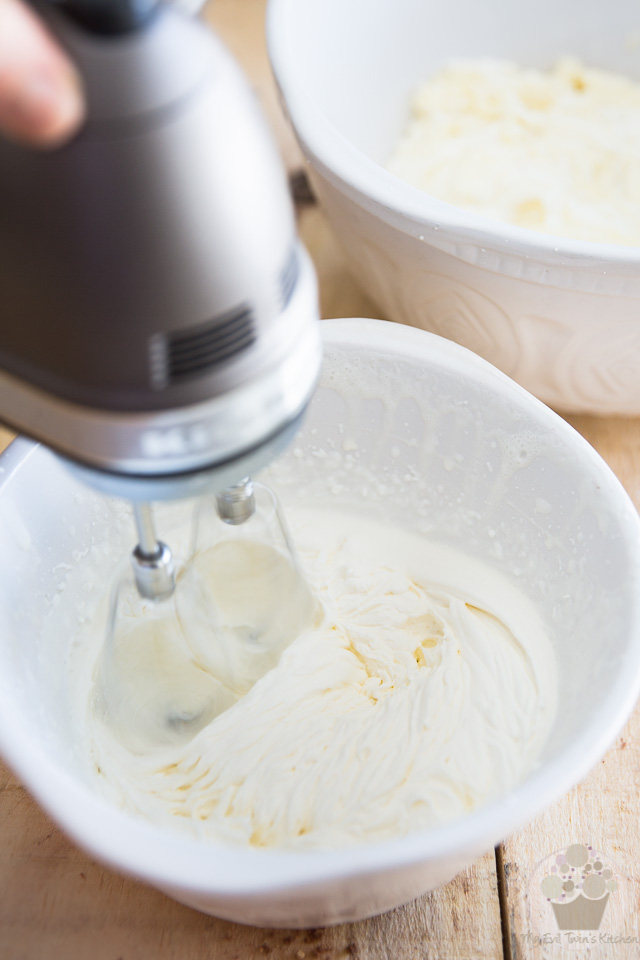
When you’re done dealing with the gelatin, whip the heavy cream until it gets fairly firm and reserve; melt the unsweetened chocolate in a large mixing bowl and set aside.
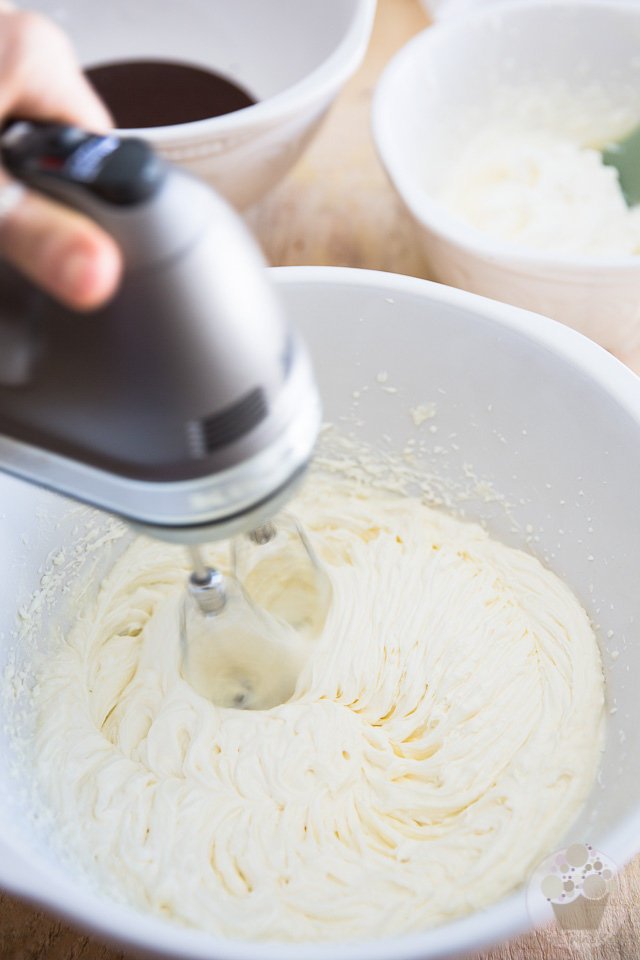
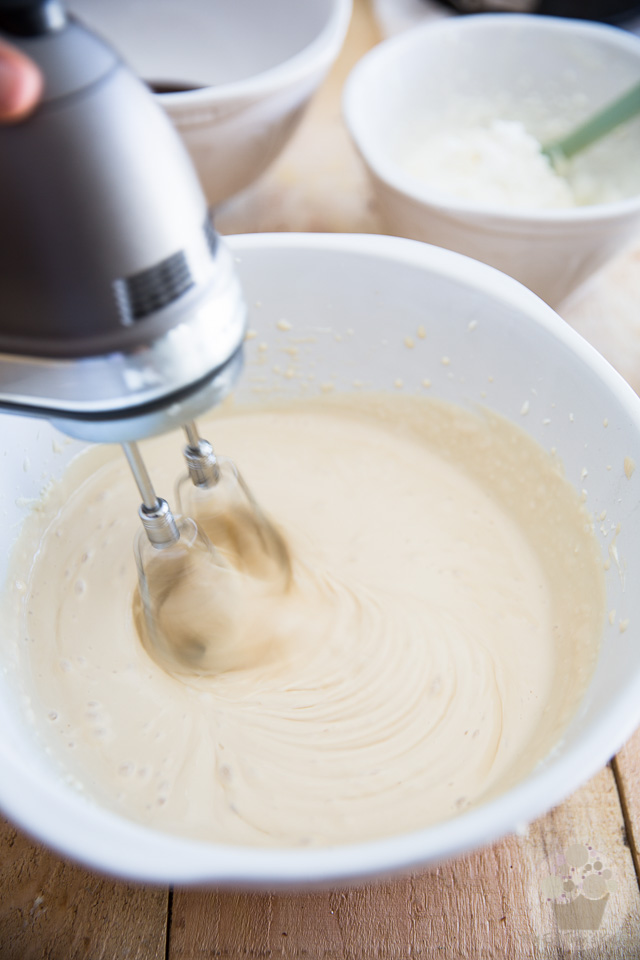
In another large mixing bowl, combine the cream cheese, sour cream and sugar and mix on high speed with an electric mixer for about 2 minutes, until light and fluffy.
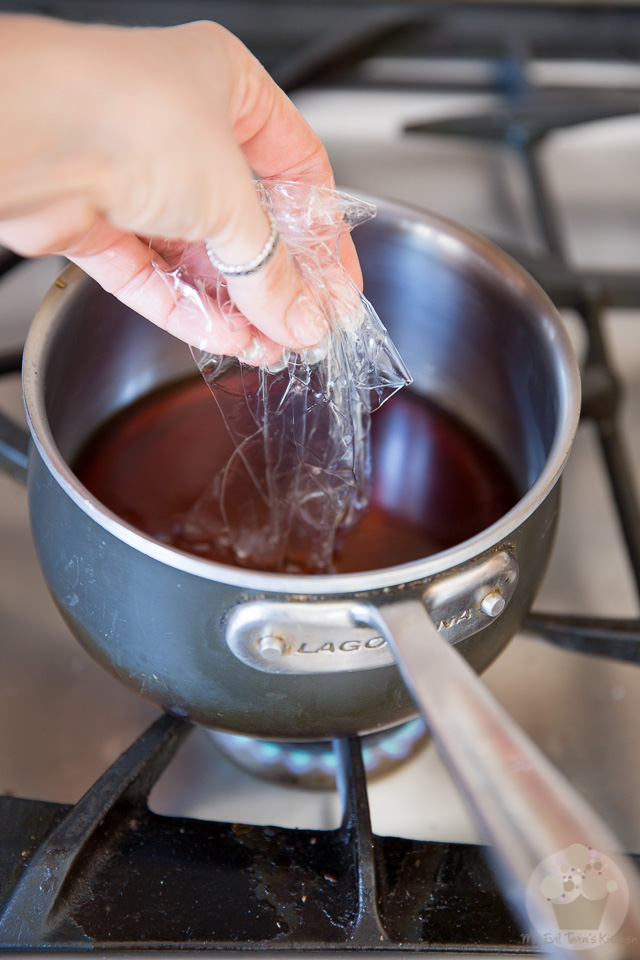
Warm the Kahlua liquor over very low heat until it gets just barely warm to the touch (and until the gelatin is completely melted, if you’re using powdered gelatin).
Remove the sheet gelatin from its water bath and squeeze it between your hands to remove as much water as possible. Then, add the gelatin to the warm Kahlua liquor and stir until fully dissolved.
It’s important that you don’t let the Kahlua become hot, as it would harm the gelatin and most likely “melt” your cheese filling. Lukewarm is what you’re after, here.
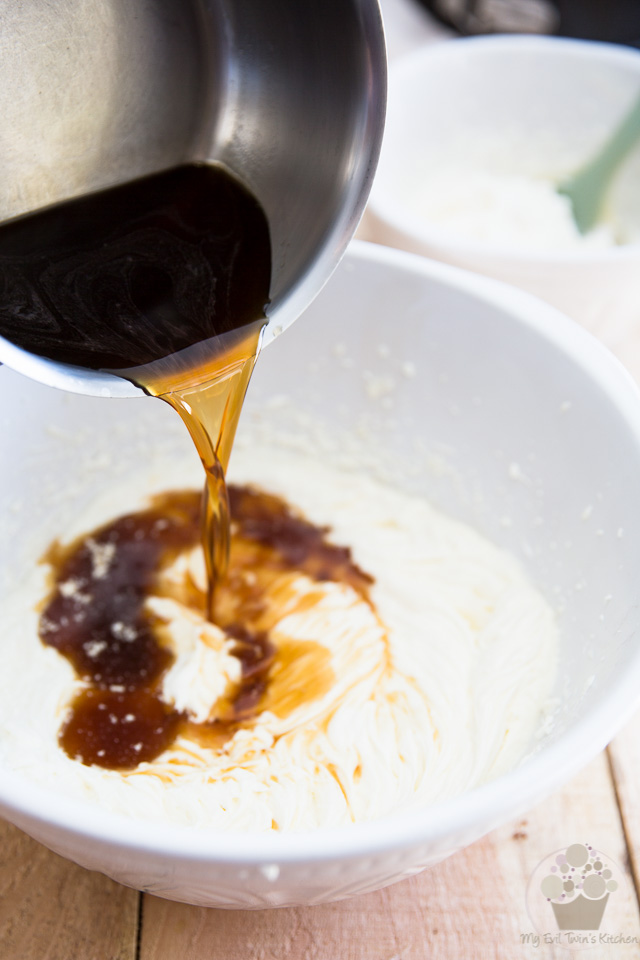
Now pour the warm liquor right into the cream cheese mixture…
…and resume mixing until it’s well incorporated.
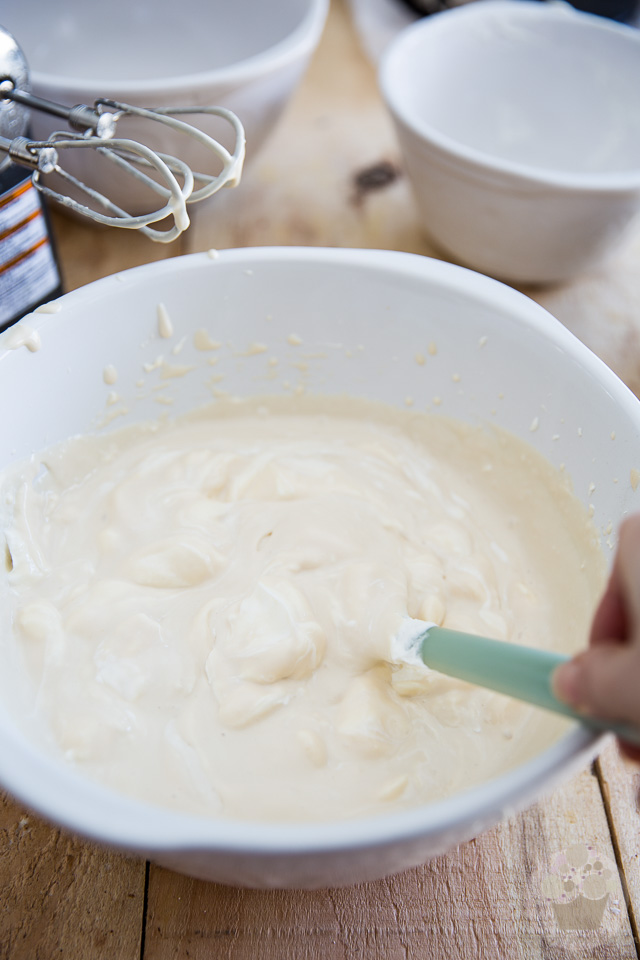
Then, delicately fold in the whipped cream with a rubber spatula, and keep mixing until it’s completely incorporated.
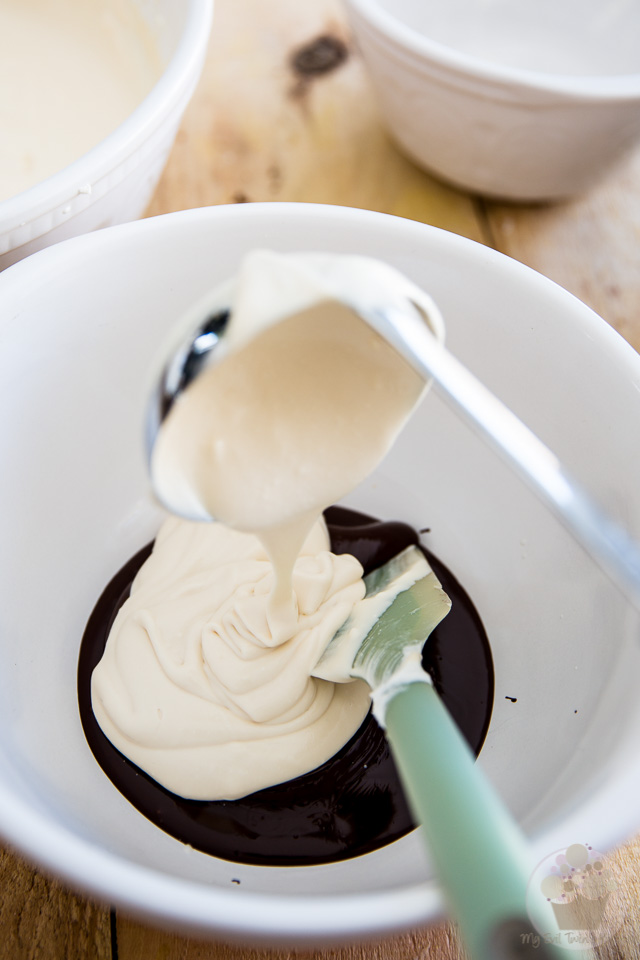
Working quickly so the chocolate doesn’t have a chance to set, ladle (or pour) about half of the cream cheese batter onto the melted chocolate…
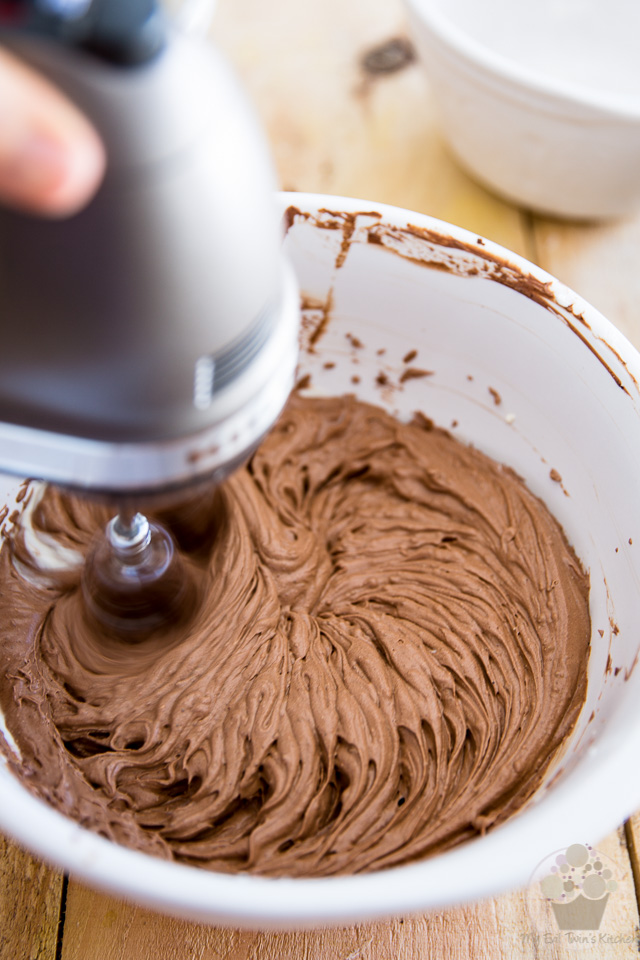
…and mix with the electric mixer on high speed until well incorporated.
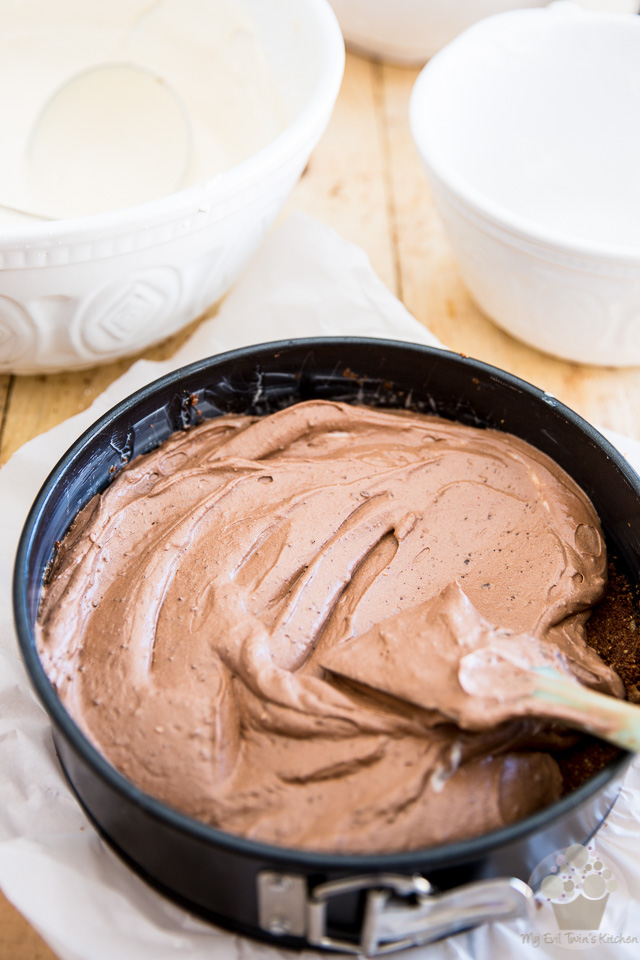
Pour onto the reserved crust spread evenly all the way to the edge of the pan.
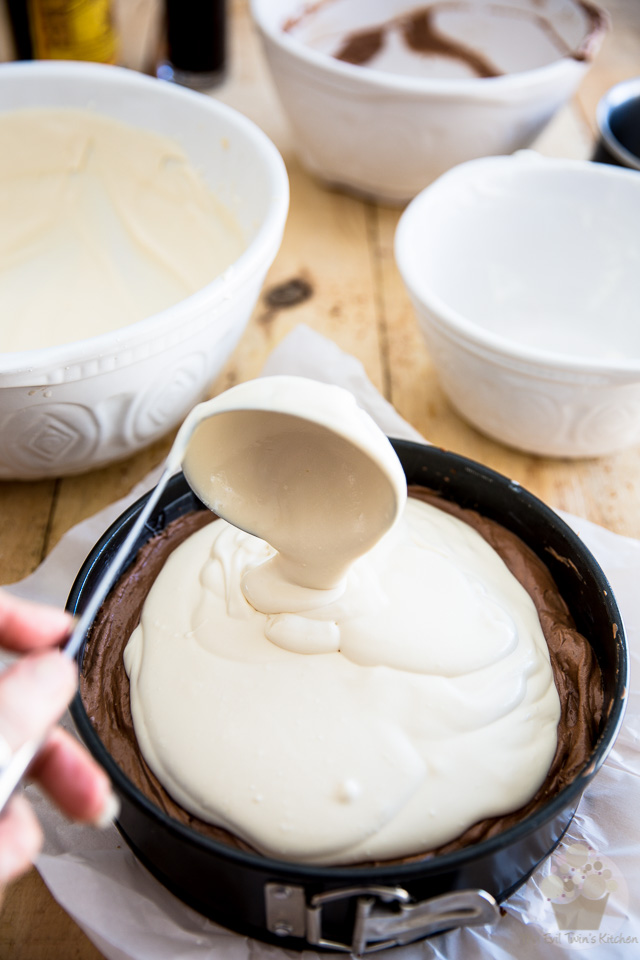
Top with the remaining batter and once again, spread all the way to the edge.
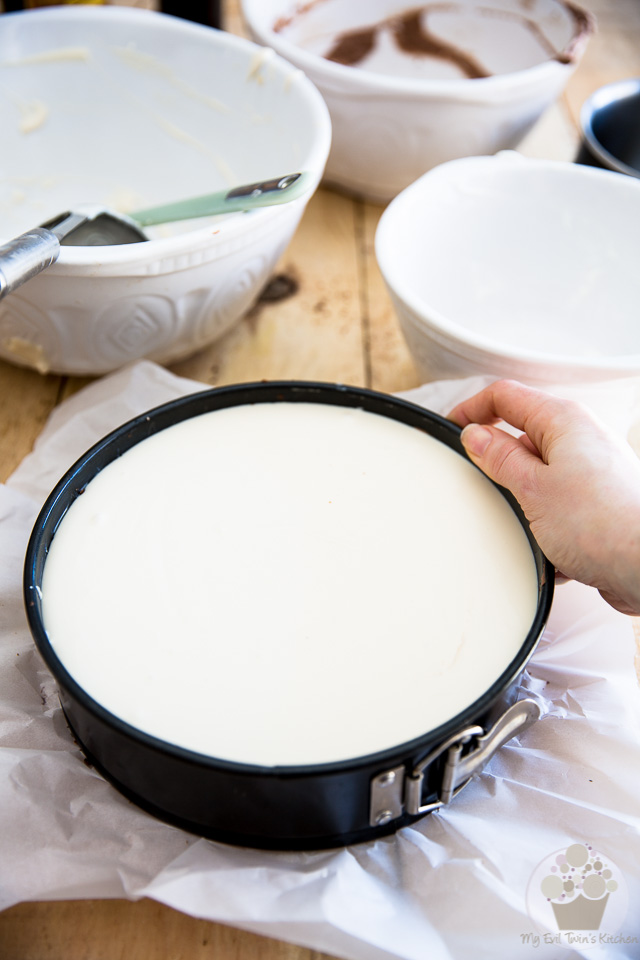
Gently tap the side of your pan and give it a little shake to help the top settle and get really super smooth.
Now place your cake in the fridge for about an hour to set.
And now for the final touch…
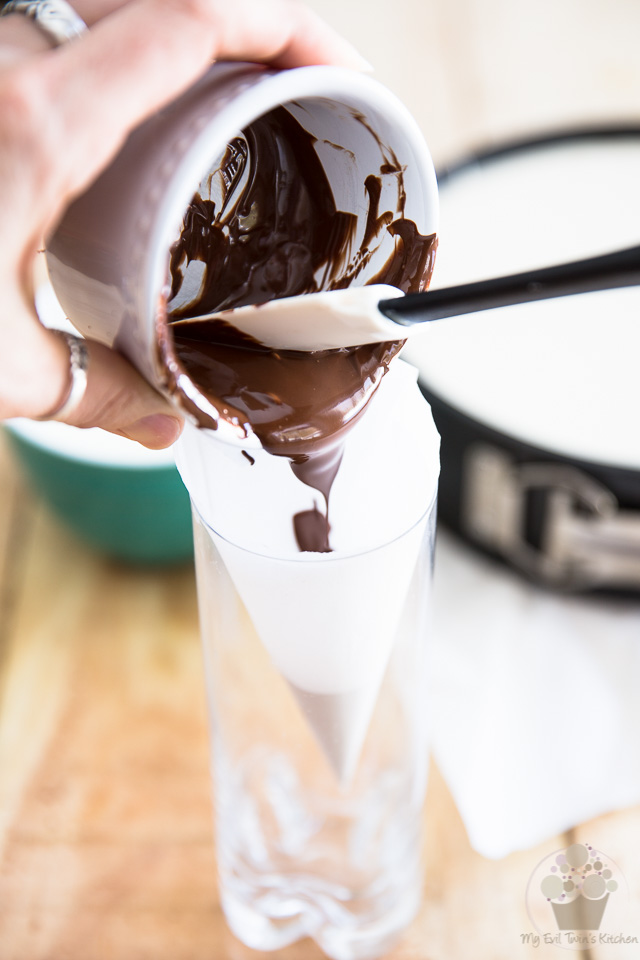
Prepare a piping cone out of parchment paper (or, you could also use a squeeze bottle but that doesn’t work quite as well)
Melt the semi-sweet chocolate and pour it into your parchment paper cone or squeeze bottle; set that aside for now.
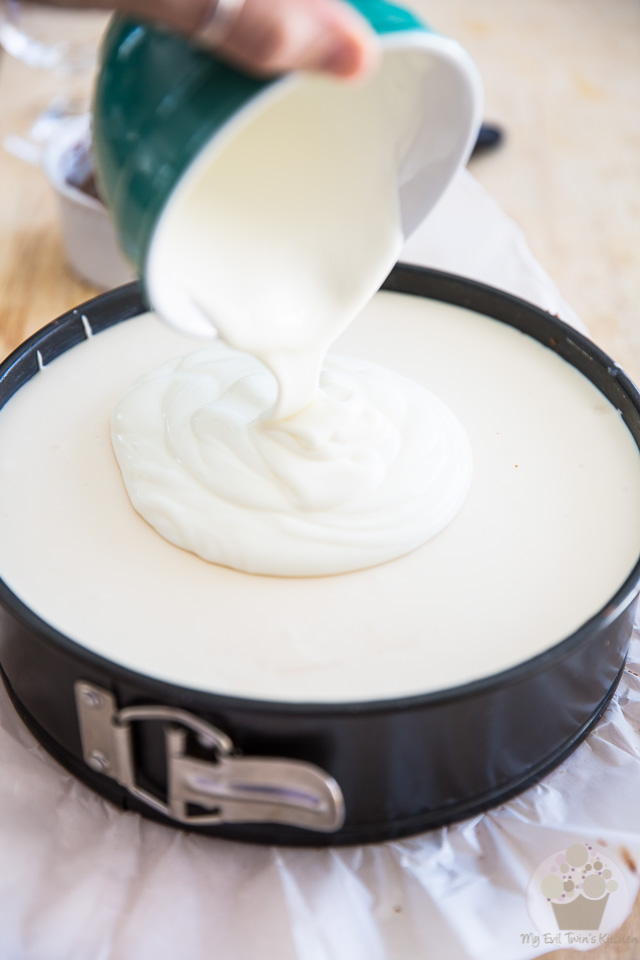
Combine the powdered sugar and sour cream and then pour that delicious mixture right over the cheesecake.
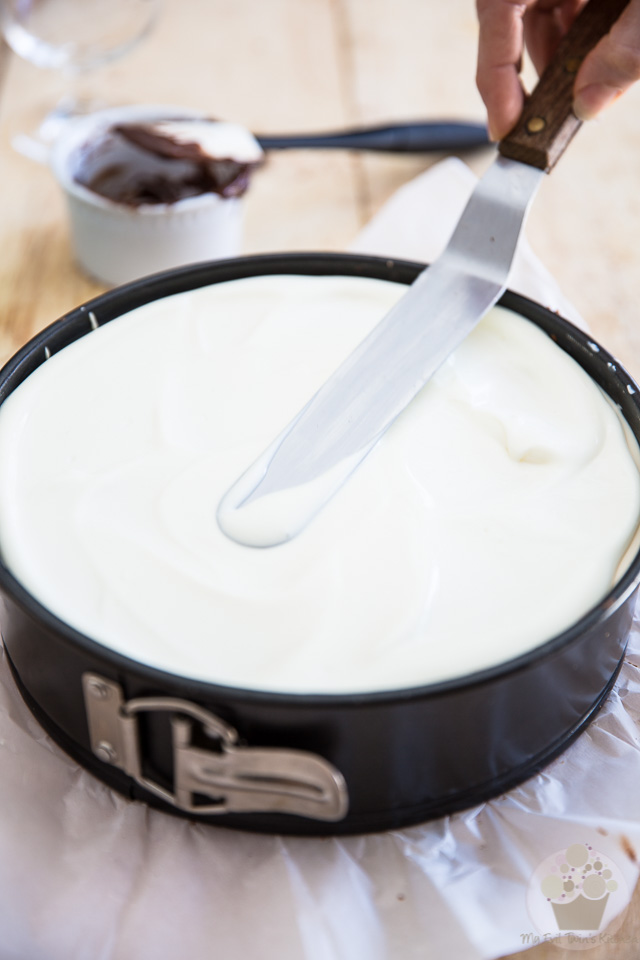
Delicately spread it all the way to the edge, as evenly as you can, then tap the sides and give the pan a little shake like you did before to help make that top really flat.
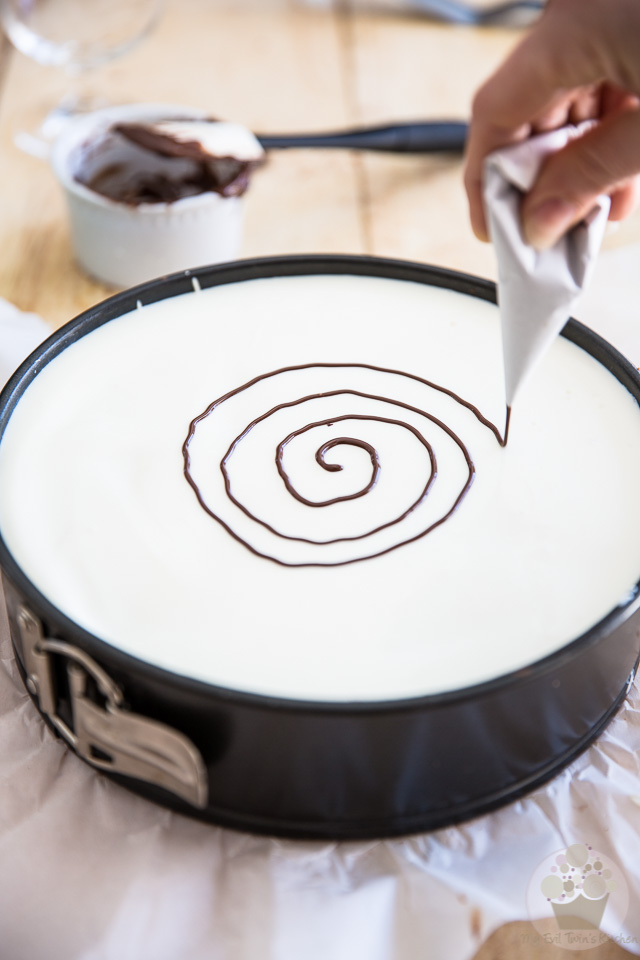
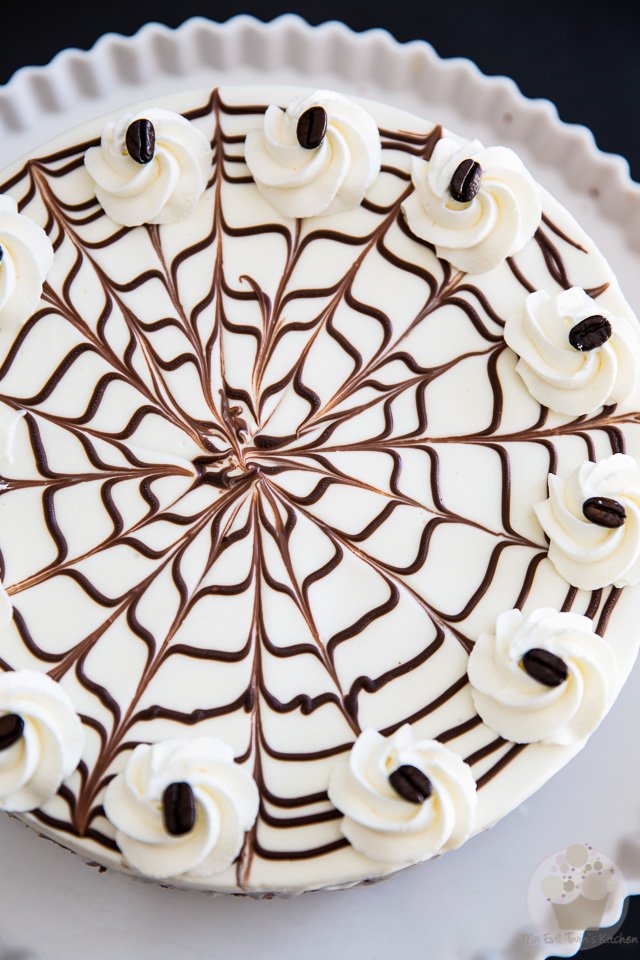
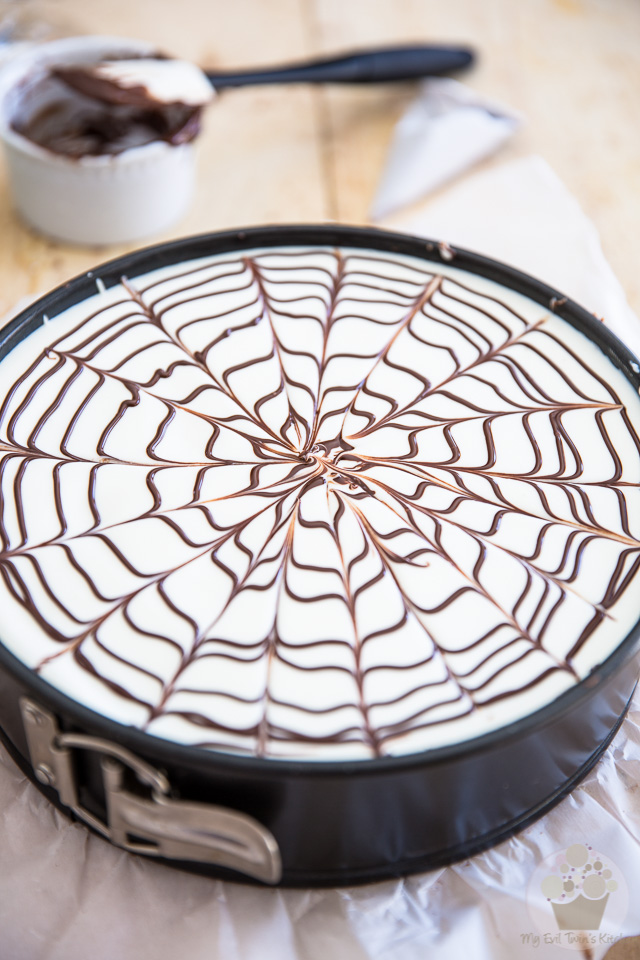
Now squeeze the chocolate in a spiral motion, starting at the center and moving toward the exterior.
Don’t worry if your circles aren’t absolutely perfect and evenly spaced, this is not an exact science…
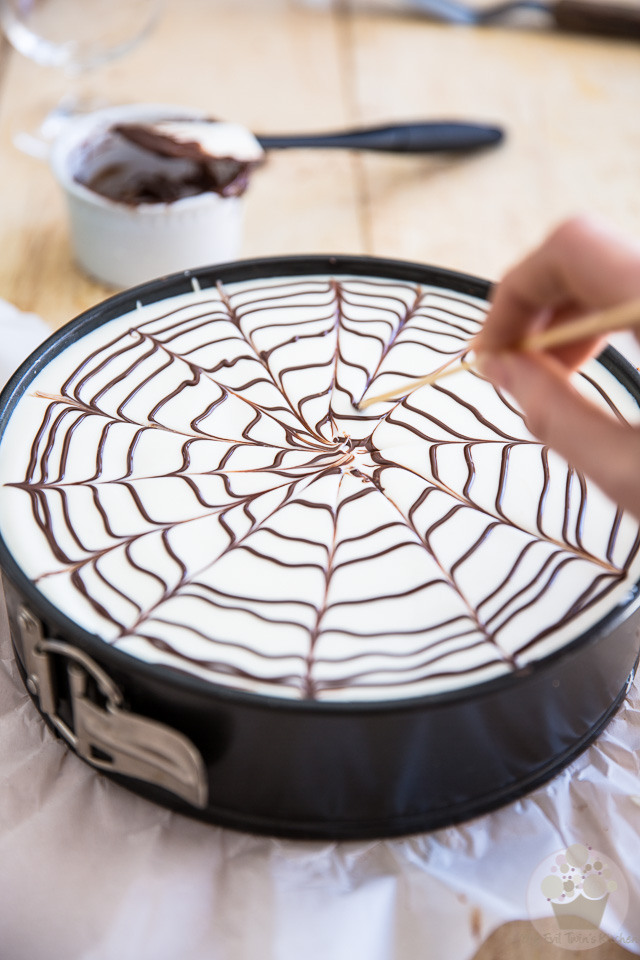
To make the lovely spider web pattern, grab a long wooden skewer and, working fairly quickly so the chocolate doesn’t have time to set, carefully drag it to across the lines from center to edge, as if “slicing” the cake, then drag the skewer in the opposite direction between each line or “slice” you just created.
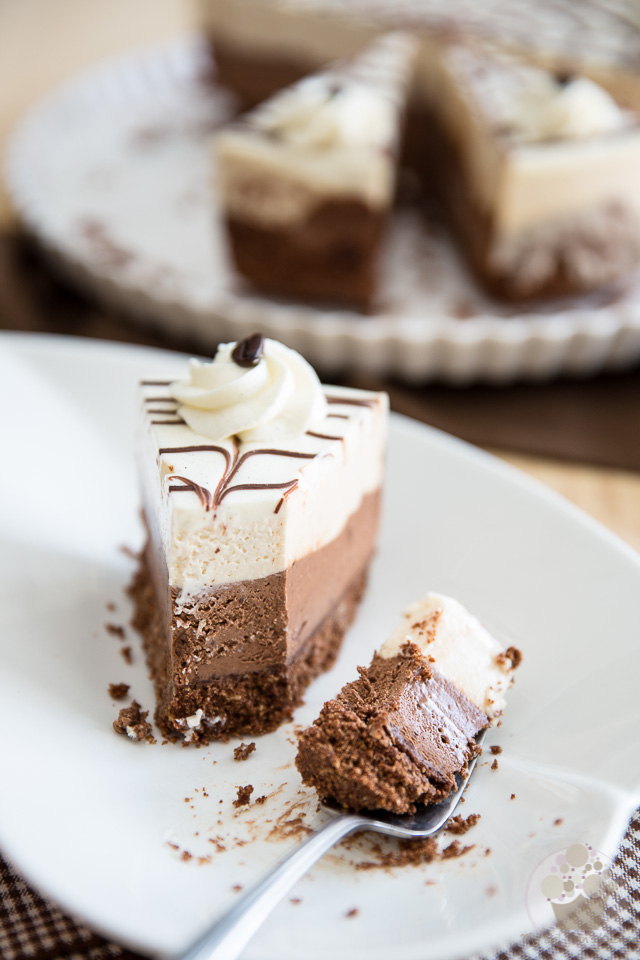
Is that pretty or what? Makes you want to dig right in, don’t it? Well, I’m afraid we can’t do this just yet…
This cake needs to go back in the refrigerator until it’s completely set, which means AT LEAST 4 hours but preferably overnight.
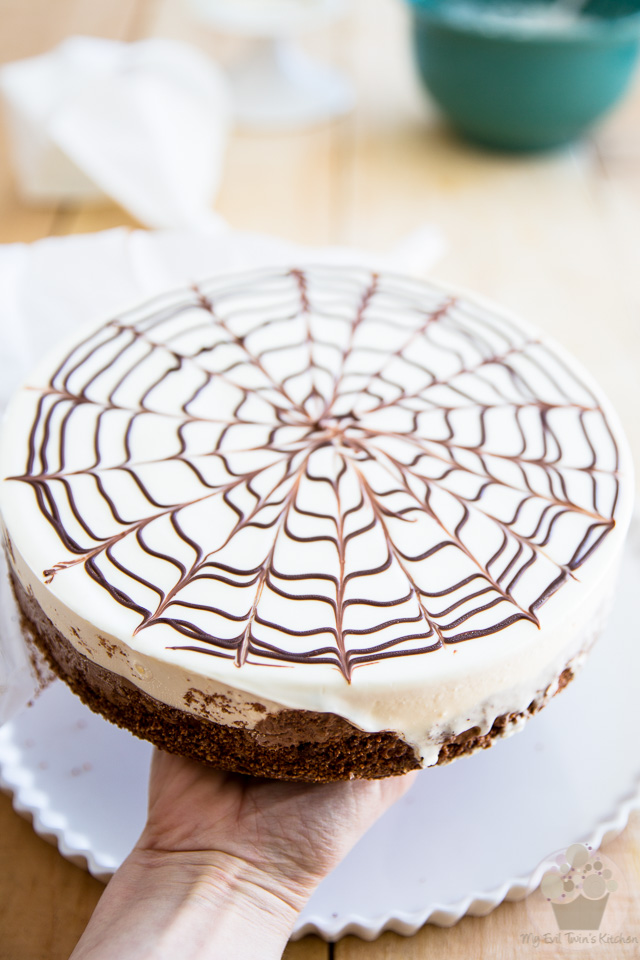
When you are ready to serve your cake, carefully remove it from the pan, peel the parchment paper from underneath it and then place it on a cake plate or pedestal.
To help release the cake real cleanly, it helps to slightly warm up the side of the pan. I find the best way to do this is by delicately heating it with a propane torch or warm cloth. If you choose to use a propane torch, make sure that you maintain a good distance from that pan. You just want to warm it up some, not completely melt the cake! (see this post and scroll down for a mile or two to get a visual)
You *could* also run a knife or spatula around the ring, but that would likely leave its mark… I’m not a fan, but if you don’t mind slight imperfections, go right ahead!
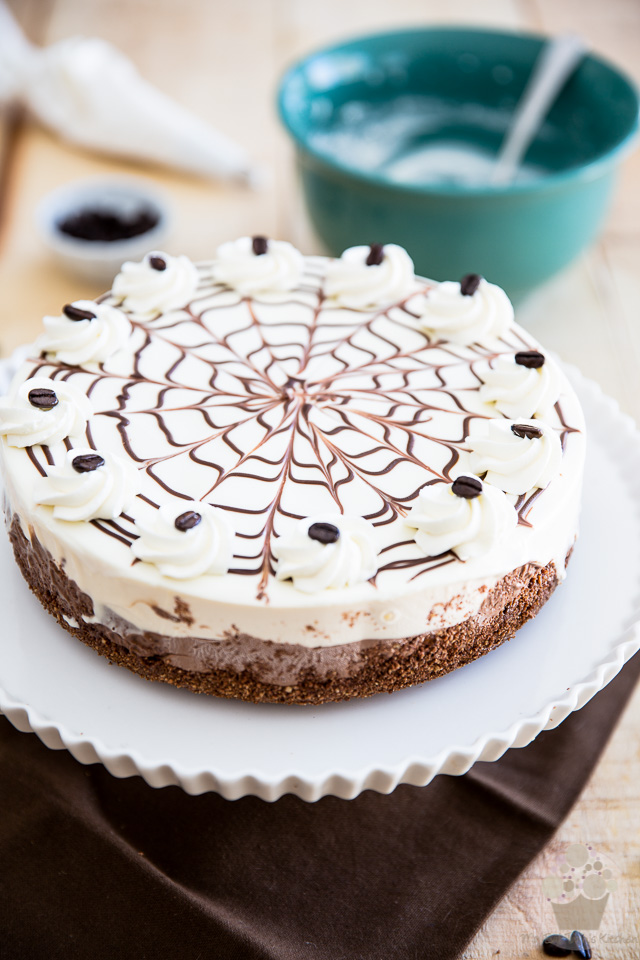
This cake is already pretty stunning as it stands if you ask me, but you could also garnish it with a few swirls of whipped cream topped with whole coffee beans, if you wanted to dress it up a little more…
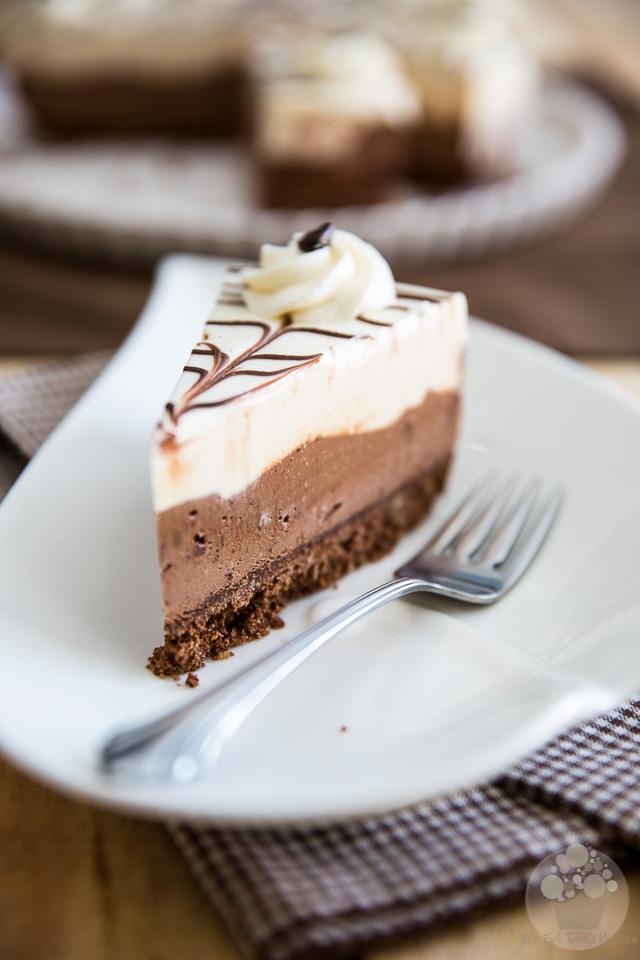
Slice with a super sharp knife (don’t forget to wipe that blade clean between slices) and serve!

Ingredients
- 2 cups (250g | 8.8oz) graham cracker crumbs
- 1/2 cup (100g | 3.5oz) light brown sugar, packed
- 1/2 cup (40g | 1.5oz) cocoa powder
- 3/4 cup (180g | 6.3oz) butter, melted
- 1 tsp pure vanilla extract, (store-bought or homemade)
- 1 tsp instant coffee powder
- 2- (227g | 8oz) packages cream cheese, at room temperature
- 1 cup (227g | 8oz) sour cream, at room temperature
- 3/4 cup (150g | 5.3oz) granulated sugar
- 1 cup (240ml | 8oz) whipping cream, whipped
- 3/4 cup (180ml | 6oz) Kahlua liquor
- 8 sheets gelatin (or 2 tbsp (15g) powdered gelatin)
- 1 cup (150g | 5.25oz) unsweetened chocolate, melted
- 1 cup (227g | 8oz) sour cream, at room temperature
- 2 tbsp powdered sugar
- 1/4 cup (37.5g | 1.3oz) semi-sweet chocolate, melted
- 1/2 cup (120ml | 4oz) whipping cream, whipped
- Whole coffee beans
Instructions
- Line the bottom of a 9” springform pan with parchment paper. To do that, remove the ring and cover the bottom with parchment paper. Fold the excess paper back under the plate and, while holding it in place with one hand, put the ring back in its position with the other hand. Bring the excess paper back from under the pan but do not cut it off.
- Combine the graham cracker crumbs, brown sugar, cocoa powder, vanilla extract, instant coffee powder and melted butter in a large mixing bowl. Mix until well combined and press firmly at the bottom and slightly up the side of the prepared pan. Set aside.
- Place the sheet gelatin to soak in a large bowl filled with icy cold water. (if using powdered gelatin, sprinkle it over the Kahlua liquor so it has a chance to bloom)
- Whip the heavy cream until fairly firm and reserve. Melt the unsweetened chocolate in a large mixing bowl and set aside.
- In another large mixing bowl, combine the cream cheese, sour cream and sugar and mix on high speed with an electric mixer for about 2 minutes, until light and fluffy.
- Warm the Kahlua liquor over very low heat until barely just warm to the touch (and until gelatin is completely melted, if using powdered gelatin). Remove sheet gelatin from the water bath and squeeze between your hands to remove as much water as possible. Add gelatin to warm Kahlua liquor and stir until fully dissolved. It's important that the Kahlua doesn't become hot.
- Pour the warm liquor into the cream cheese mixture and resume mixing until it's well incorporated, then delicately fold in the whipped cream.
- Working quickly so the chocolate doesn't have a chance to set, ladle or pour about half of the cream cheese batter over the melted chocolate and mix with the electric mixer on high speed until well incorporated. Pour onto reserved crust and spread evenly all the way to the edge of the pan.
- Top with the remaining batter, spread all the way to the edge and then gently tap the side of your pan and give it a little shake to help the top settle and smooth out.
- Place your cake in the fridge for about an hour to set.
- Prepare a piping cone out of parchment paper (you could also use a squeeze bottle but it doesn't work quite as well)
- Melt the semi-sweet chocolate and pour it into your parchment paper cone or squeeze bottle; reserve
- Combine powdered sugar and sour cream and then pour over the cheesecake, spread all the way to the egde as evenly as you can; tap the sides and give the pan a little shake like you did before to help make that top really smooth and even.
- Squeeze the chocolate in a spiraling motion, starting at the center and moving toward the exterior. Then, working fairly quickly so the chocolate doesn't have time to set, grab a long wooden skewer and carefully pull it across the lines in one direction, as if slicing the cake, then in the opposite way. Repeat, going in and out and in and out again, until you have completed the spider web pattern.
- Put the cake back in the refrigerator until completely set, at least 4 hours but preferably overnight.
- When ready to serve, carefully remove the cake from the pan, place it on a cake plate or pedestal and garnish with swirls of whipped cream and whole coffee beans, if desired.
WOW! This was a hit! Just made it this past weekend and the only change I made was to the crust. I used the chocolate cookie from oreo’s instead of graham cracker. You are be congratulated on a WINNING RECIPE!!!
Everyone said it’s a keeper!!! Thanks for making me looking like a true gourmet chef!!
So, SO happy to hear, Marlene. Thank YOU so much for this amazing feedback, you have no idea just how good it made me feel! You completely, positively made my day. Thank you!
No, I cannot tell you how impressed my guests were with this cake!!! It is a definite keeper and will do it again very soon but not befor I try your key lime creation. Now that one is one of my very favorite pies so very anxious to give this one a try !!!
Oh and I can’t WAIT to hear what you think of the lime cheesecake! I really look forward to your making it! 🙂
Thank you, this looks amazing! I appreciate the detailed recipe with accompanying pictures. Going to try this out soon.