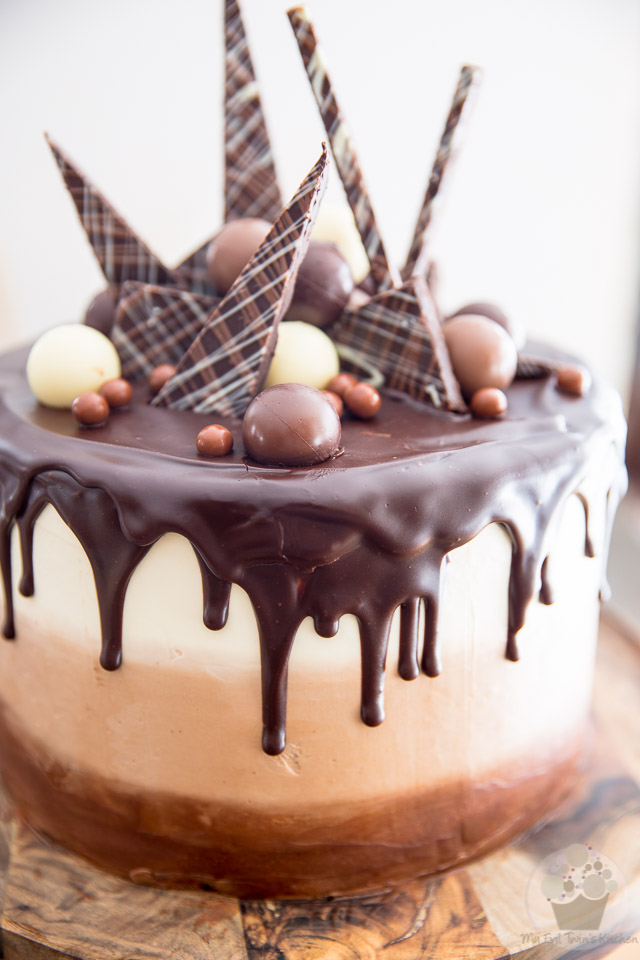
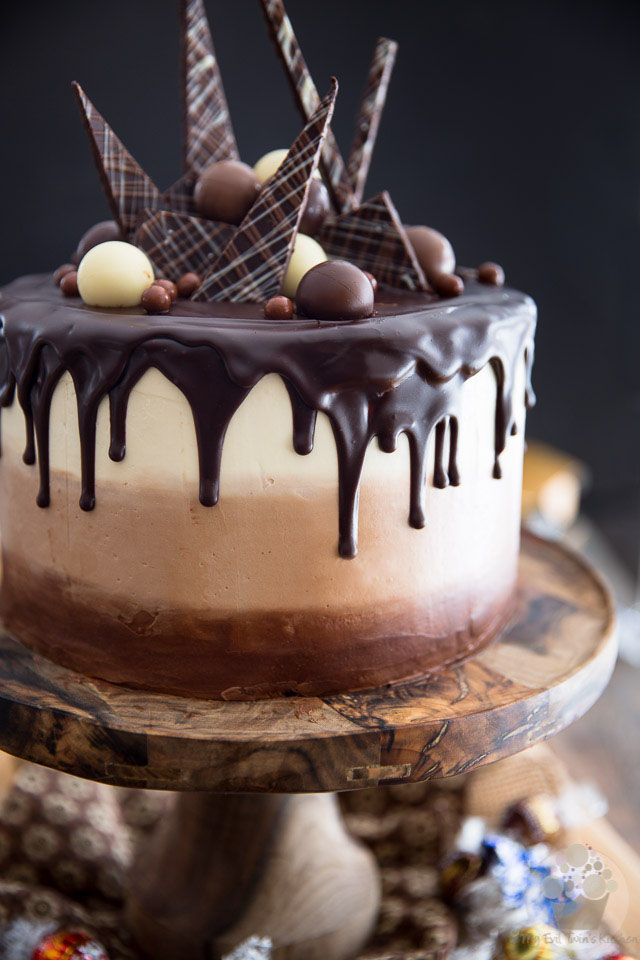
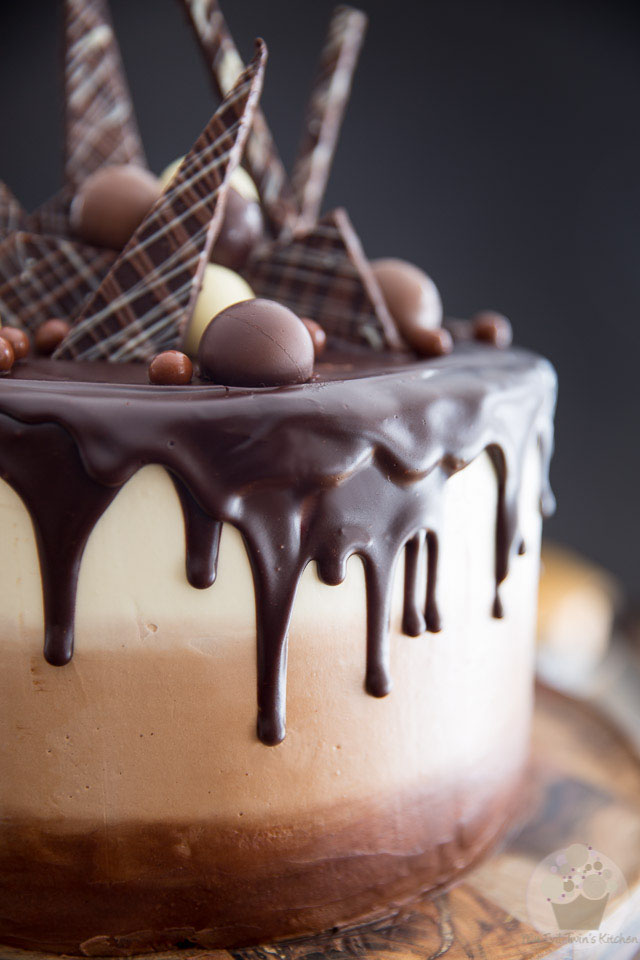
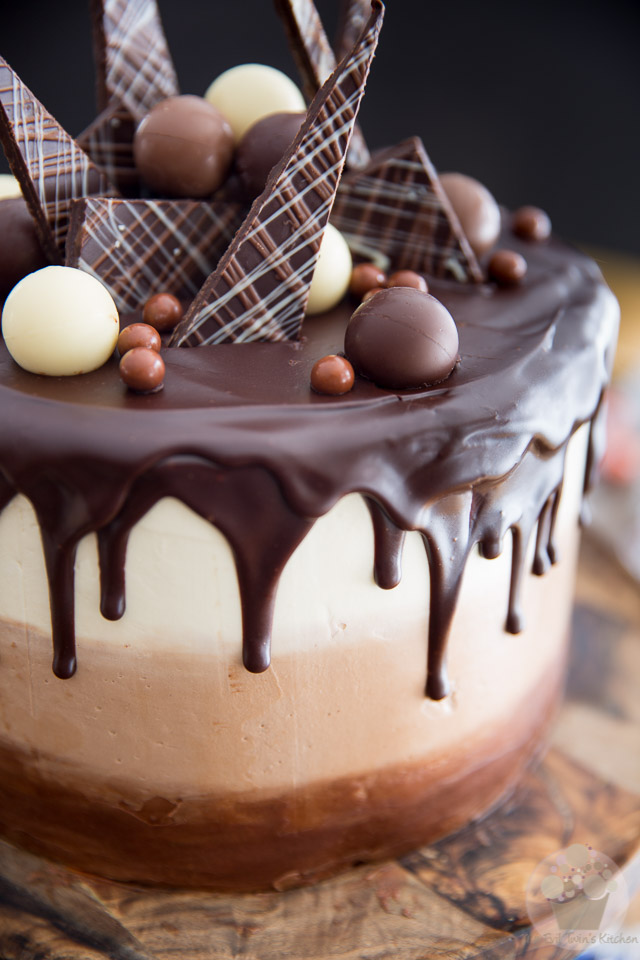
As spectacular looking as it is delicious tasting, this Triple Chocolate Ombre Cake is sure to make a winning and lasting impression!
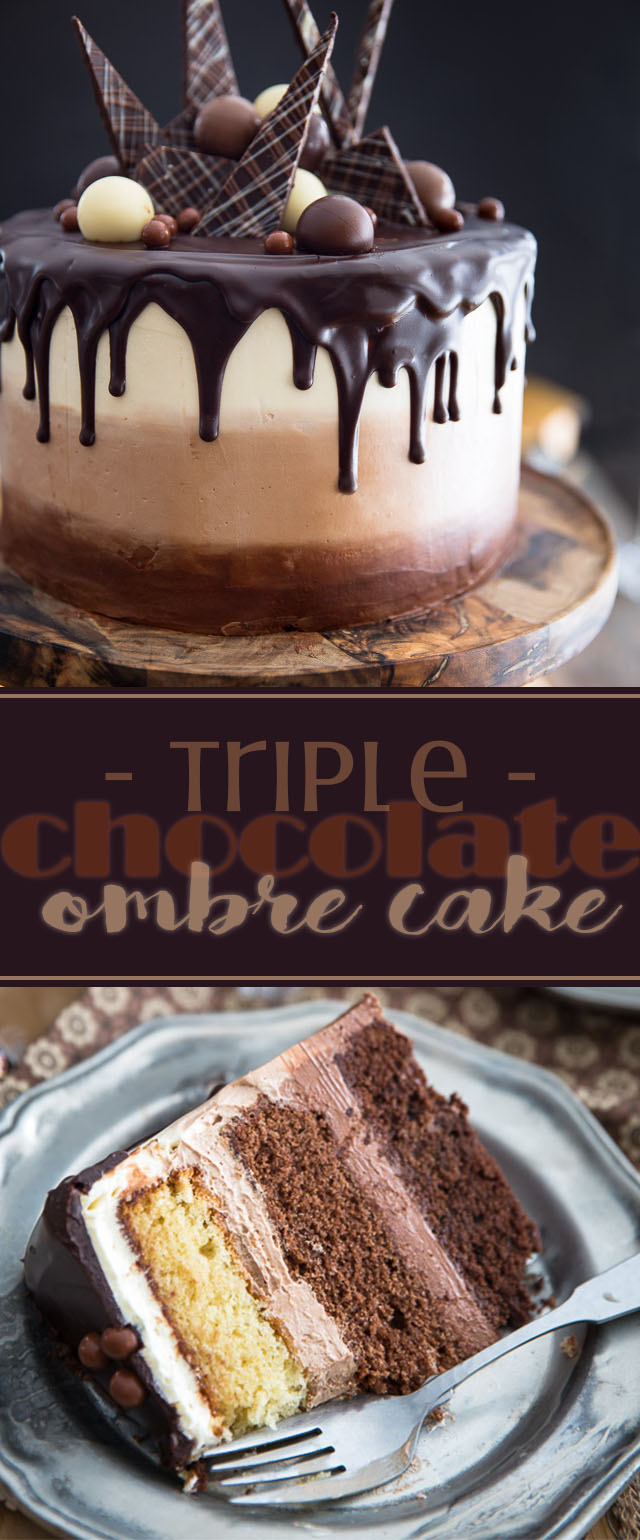
As spectacular looking as it is delicious tasting, this Triple Chocolate Ombre Cake is absolutely guaranteed to make a winning and very long lasting impression!
Speaking of long lasting… that also applies perfectly well to the amount of time you’ll be spending in the kitchen as you work on this project. I’m not gonna lie to you, this one is time consuming and that’s with a capital T!
In fact, I think it’s the kind of project that should probably be tackled over the course of 2 days…
On day one, you bake the cakes, make the buttercream and do the little chocolate shapes, or at least the chocolate plate that you’ll be using to cut the shapes out of. And on day 2, you put the cake together, ice it nice and smooth, top it with the ganache and then decorate it.
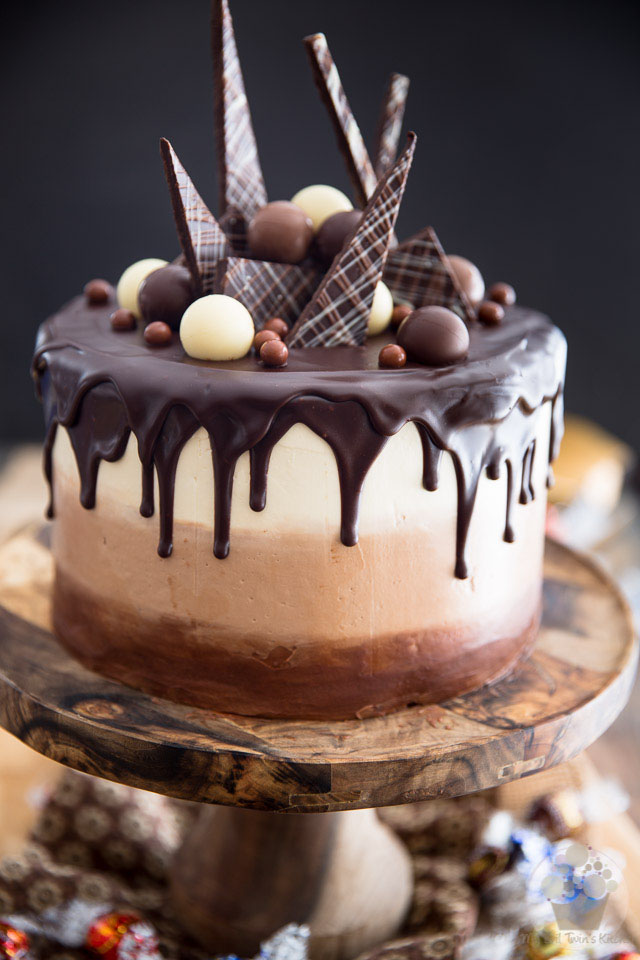
All your efforts will be well rewarded, though!
I mean, just look at this beauty. And like I said, it’s just as delicious as it is beautiful.
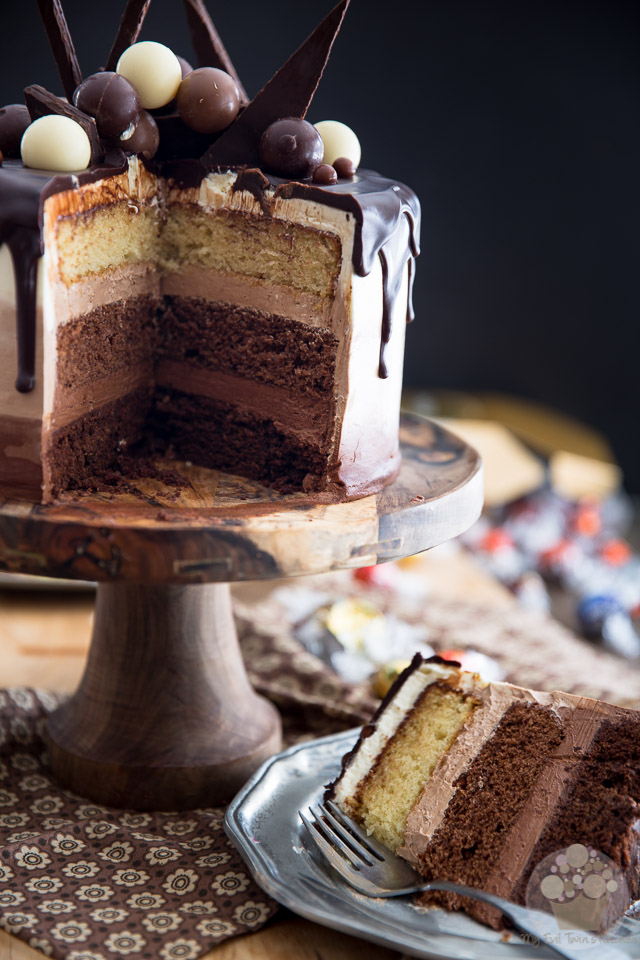
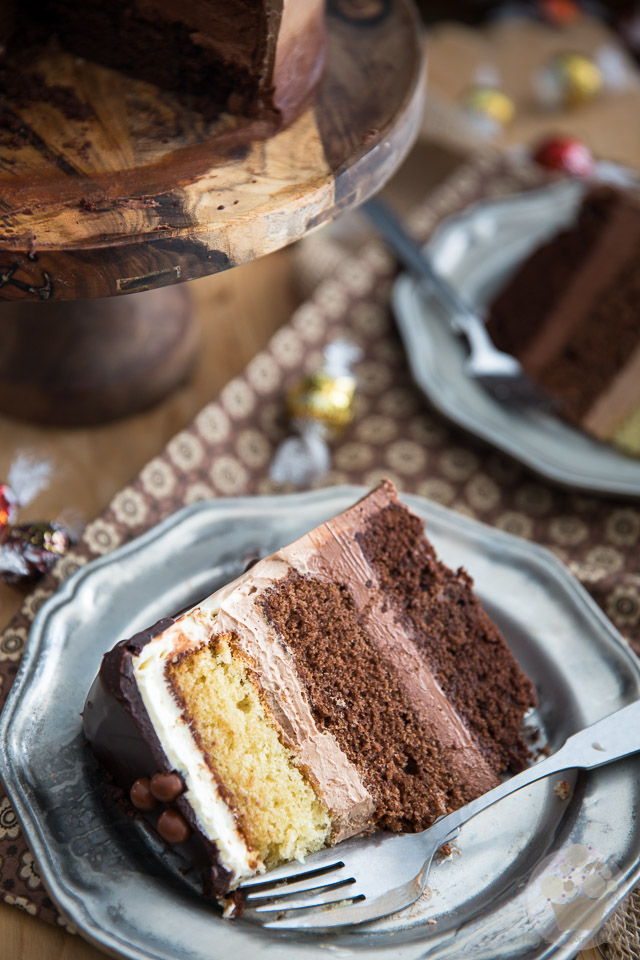
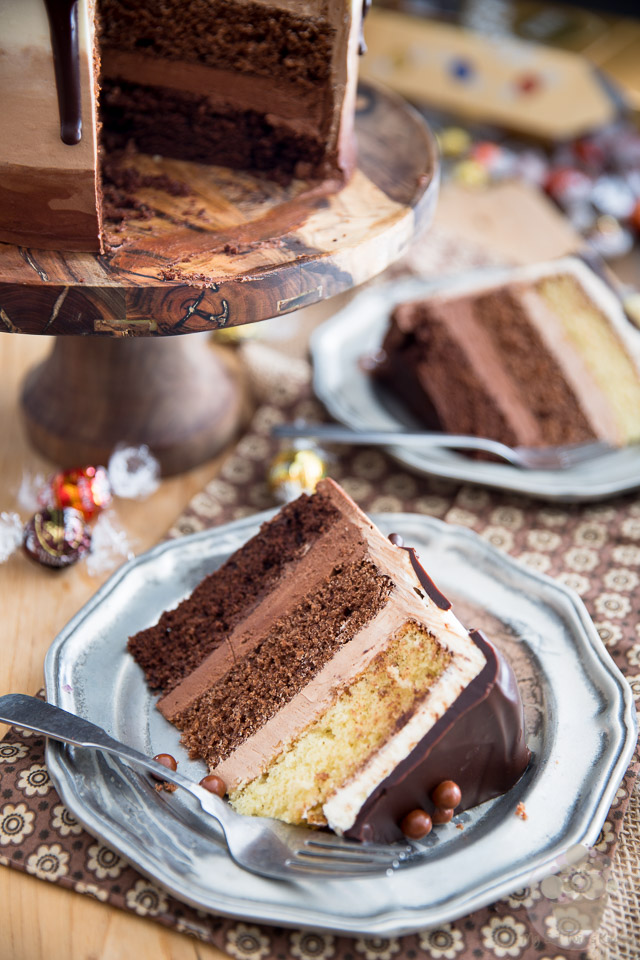
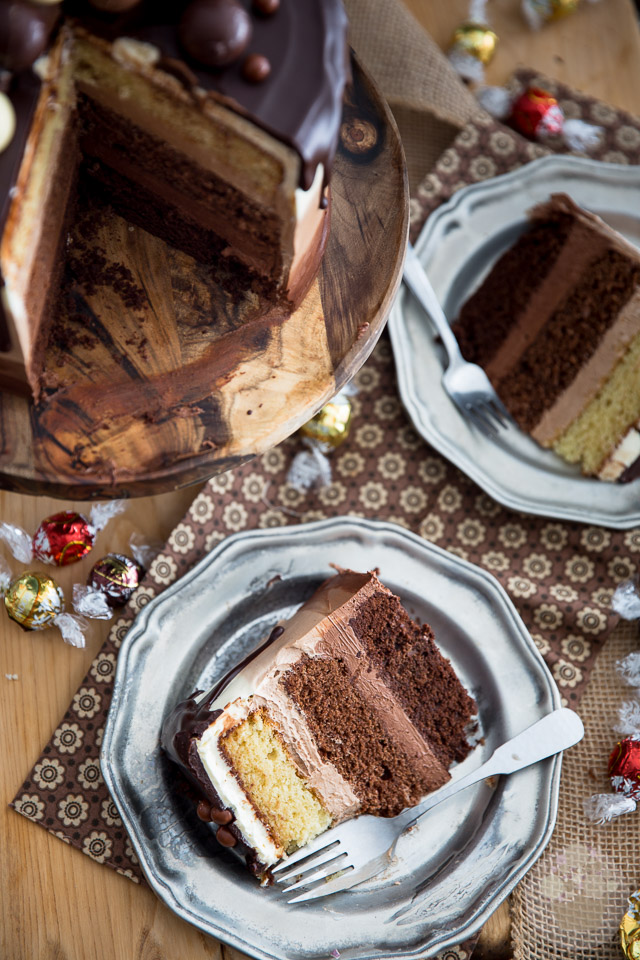
The cake itself is really not the rich and dense kind; rather, I would describe it as a little bit on the airy, slightly dry and crumbly side. A bit like a sponge cake, perhaps. And frankly, that texture is the perfect complement to the super light and fluffy Swiss meringue buttercream that generously covers all the different layers. It almost makes you feel as though you’re biting into a cloud of sugary goodness.
As for the flavors, they are completely out of this world! So very rich and chocolate-y!
Oh, and sweet, too. Very sweet. Be warned!
One rule that you ABSOLUTELY must follow though, to appreciate this cake to its full potential, is that you MUST serve it at room temperature.
Since the buttercream is made with pure butter, and lots of it, if you were to eat it cold, it would be extremely firm and not all that palatable. Think of cold butter vs room temperature butter; think of what happens to its texture and flavor. Cold butter is hard as a rock and doesn’t feel all that good in the mouth, whereas room temperature is all soft and creamy and melts practically on contact with your tongue. Well, the exact same thing happens with this buttercream.
Even the cake itself, if eaten cold, would have a very off texture. The fact that it contains real chocolate causes it to become overly dry and hard when chilled. Again, think cold chocolate versus room temperature versus melted…
So really take my word for it. Don’t ever consider, not even for a minute, eating a slice of this cake straight out of the ice box. Give it at least 4 hours at room temperature before serving it.
Oh, and one last thing…
If you’re gonna tackle this baby, plan on having bowls on hand, AND LOTS OF THEM TOO, because trust me, you’ll need quite a few!
And I strongly suggest that you take the time to read through all the steps before you start. I know, it’s a very lengthy post, but it’s also a fairly long and intensive project.
Hopefully, the zillion pictures and detailed instructions will help…
STEP-BY-STEP INSTRUCTIONS & PICTURES
TO MAKE THE CAKES
Preheat the oven 325°F; grease and flour three 8″ round cake pans. Hold each pan upside down and knock it gently against the counter a few times to remove any excess flour; set aside.
Melt the 3 types of chocolate along with a tablespoon of peanut oil in three separate bowls; set aside
My favorite method for melting chocolate is in the microwave. What you need to do is chop your chocolate super finely and then place it in the microwave for 30 seconds, along with the oil in this case. Then, let it rest undisturbed for 30 seconds and finally, stir delicately for 30 seconds. If there are still lumps of unmelted chocolate left after that, repeat the process but for 20 seconds this time, and continue doing that until the chocolate is completely melted but never hot to the touch.
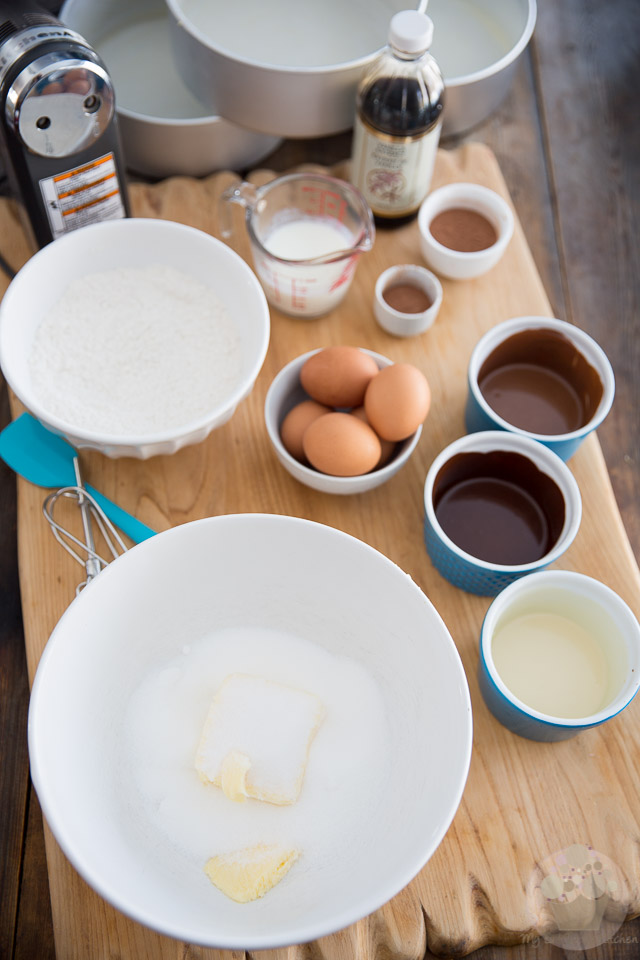
Combine the dry ingredients in a mixing bowl and mix with a whisk until well combined and fluffy; set aside
While you’re at it, you might as well measure and prep your eggs, cacao powder, instant coffee powder, buttermilk and vanilla extract…
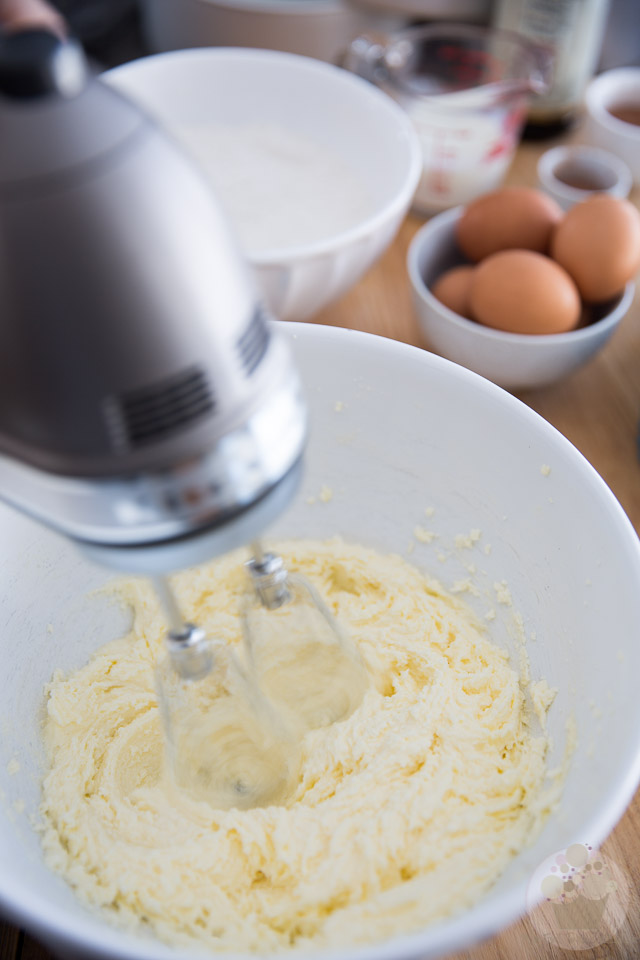
In another bowl, combine the butter and sugar and beat them with an electric mixer on medium-high speed until light and fluffy.
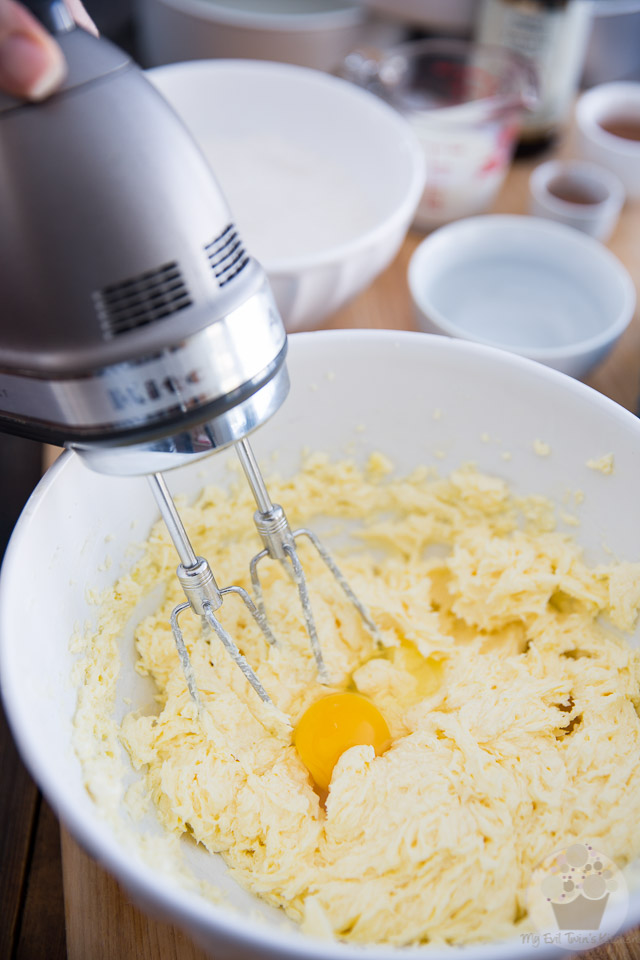
Add the eggs, one at a time, beating well between each addition…
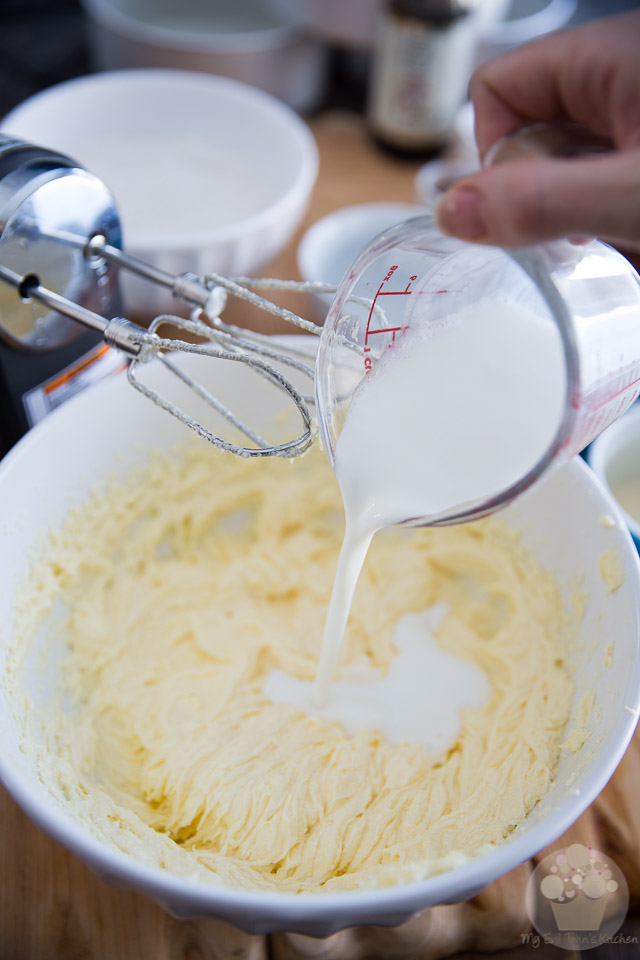
Then add the buttermilk and beat until well incorporated.
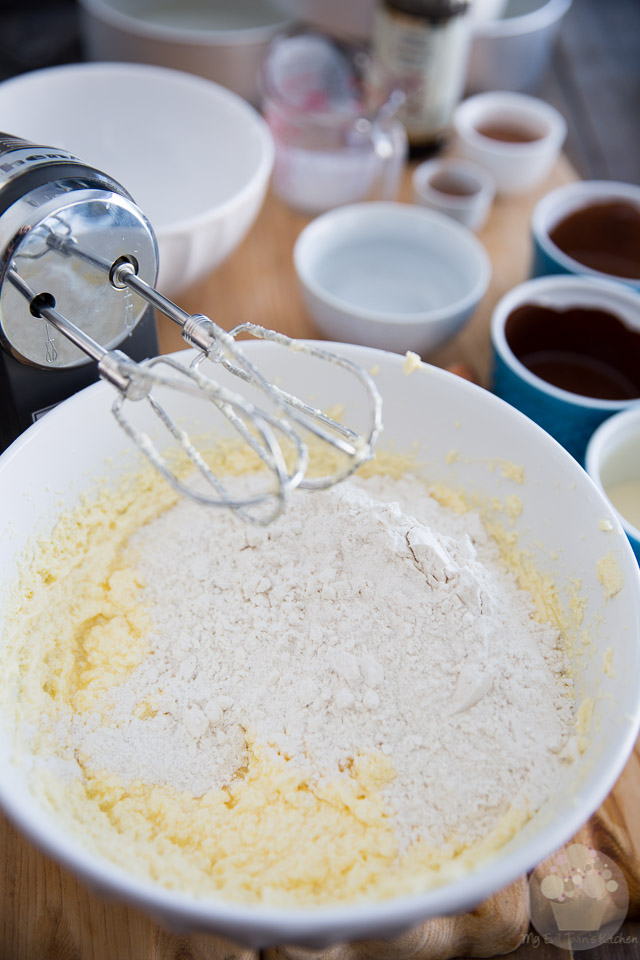
Add the dry ingredients all at once…
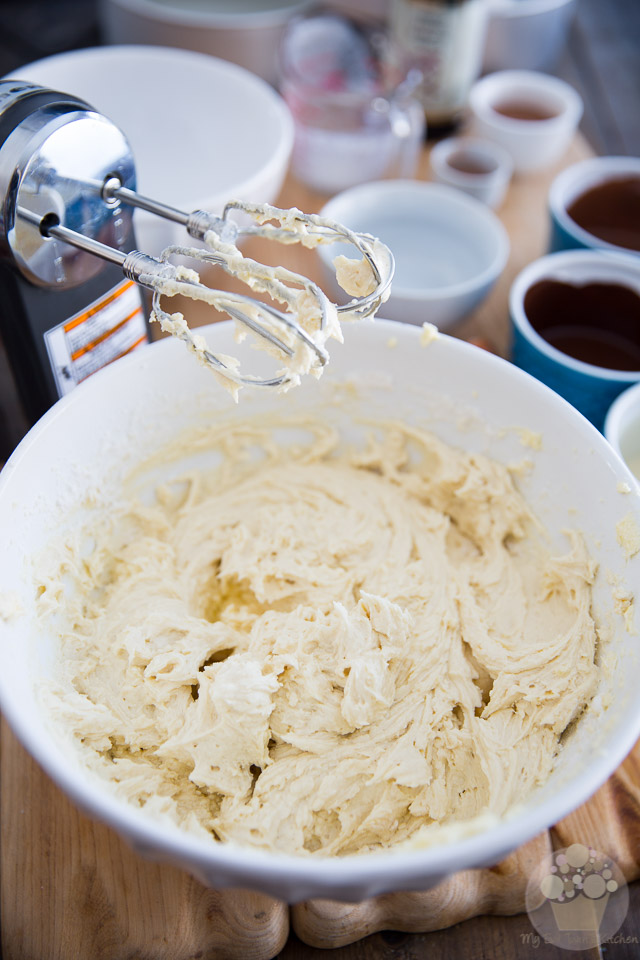
And beat on low speed until just incorporated, no more.
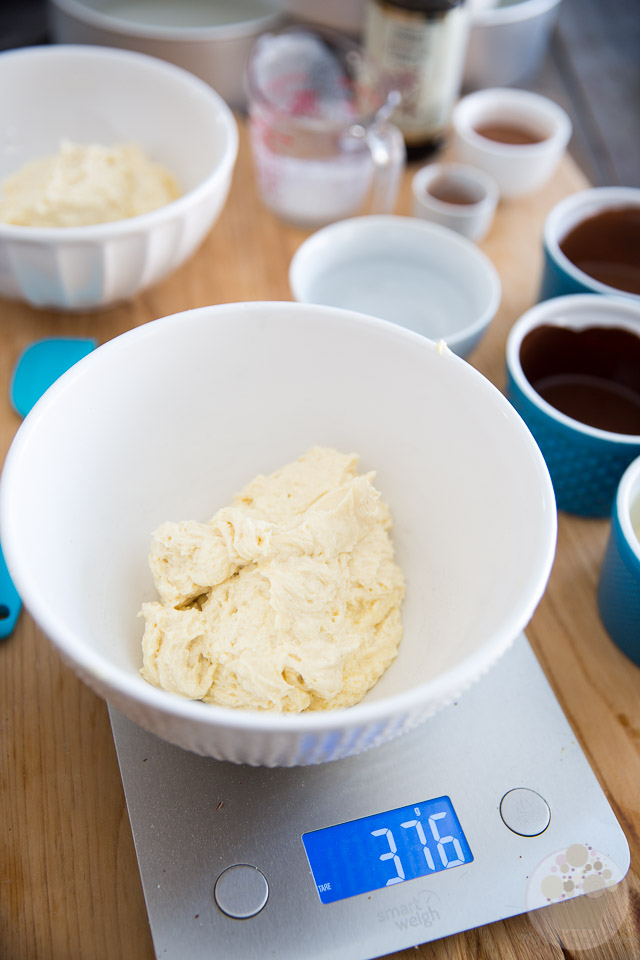
Divide the cake batter equally into 3 small mixing bowls. The best way to ensure that the batter gets divided equally is to weigh it: you should be getting approximately 375g (13.2oz) of batter per bowl.
For the white chocolate batter
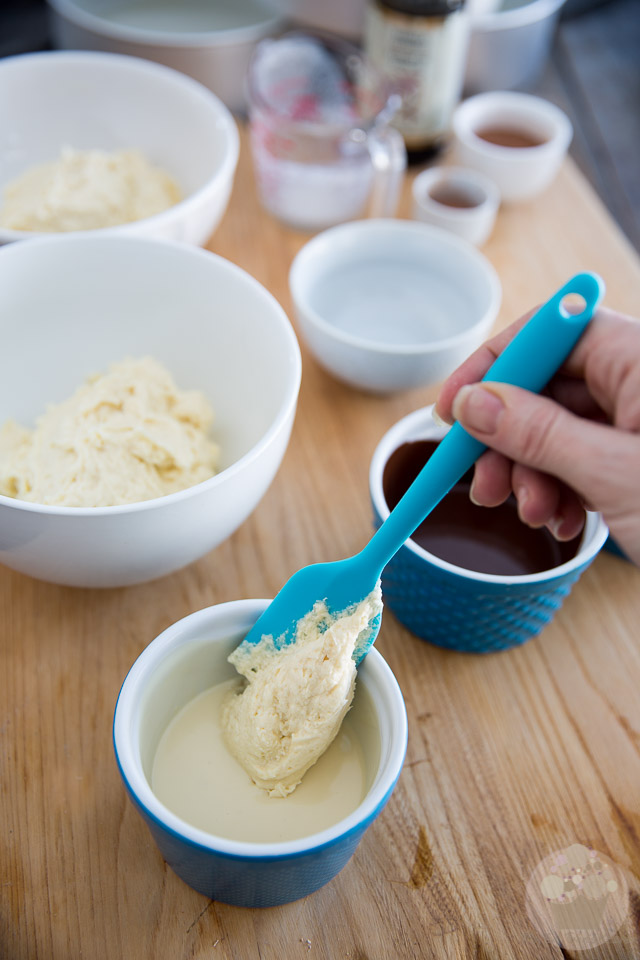
Take about 2 tablespoons of the cake batter from one of the bowls and stir it quickly into the melted white chocolate.
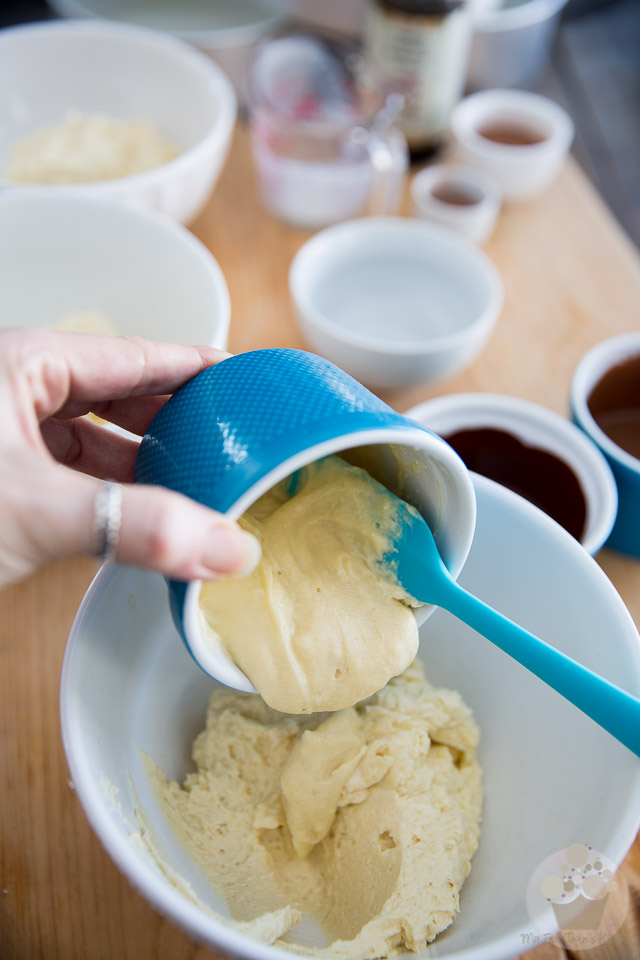
Then gently fold this white chocolate mixture back into that same bowl where you just got the cake batter from.
The reason why you want to do this, as opposed to adding the chocolate directly into the batter, is to prevent the chocolate from seizing as it gets mixed in…
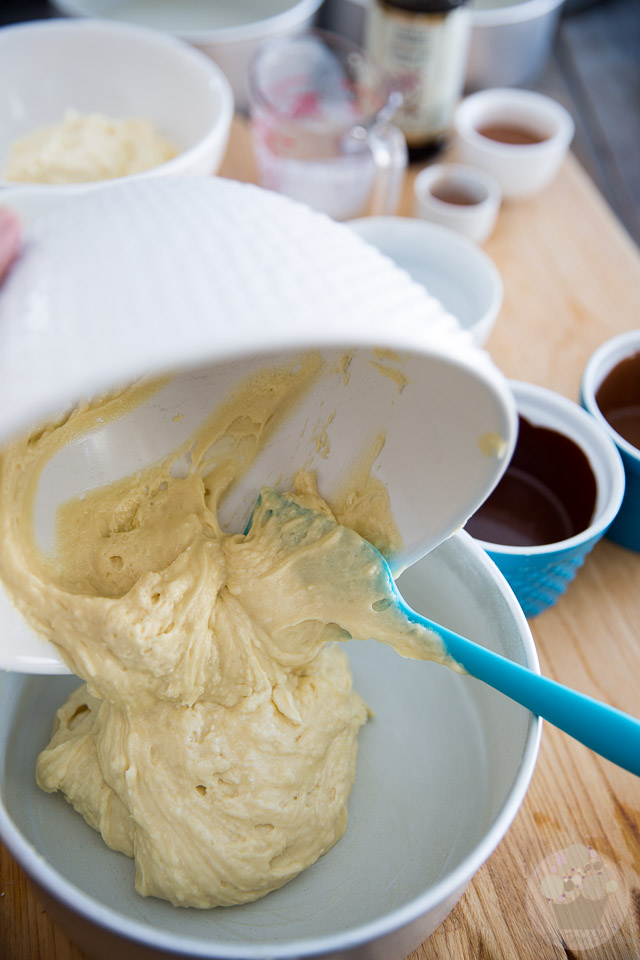
Once fully incorporated, gently pour the batter into one of the baking pans…
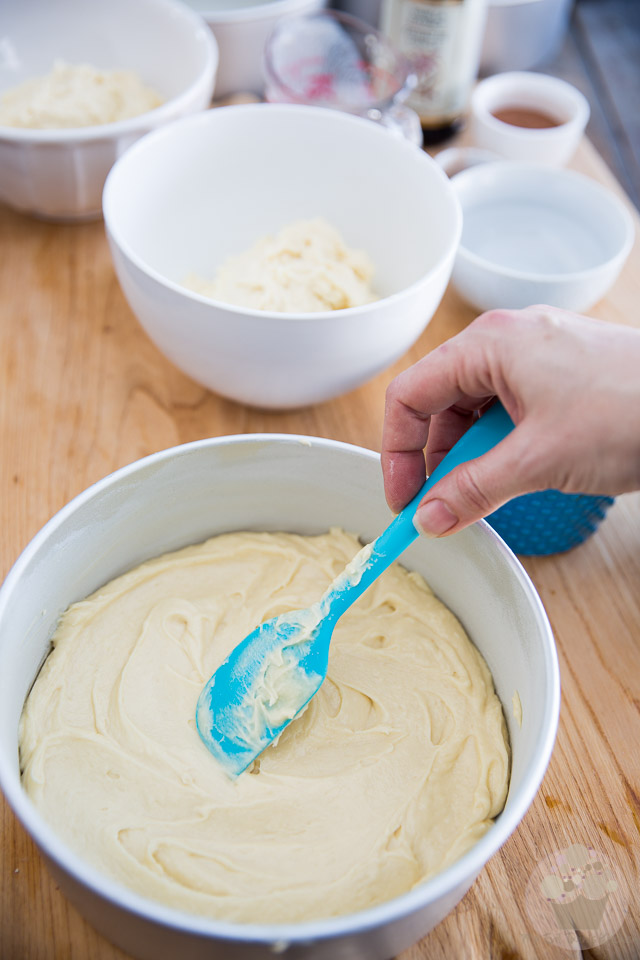
…and then spread it out with a spatula; set aside.
For the milk chocolate batter
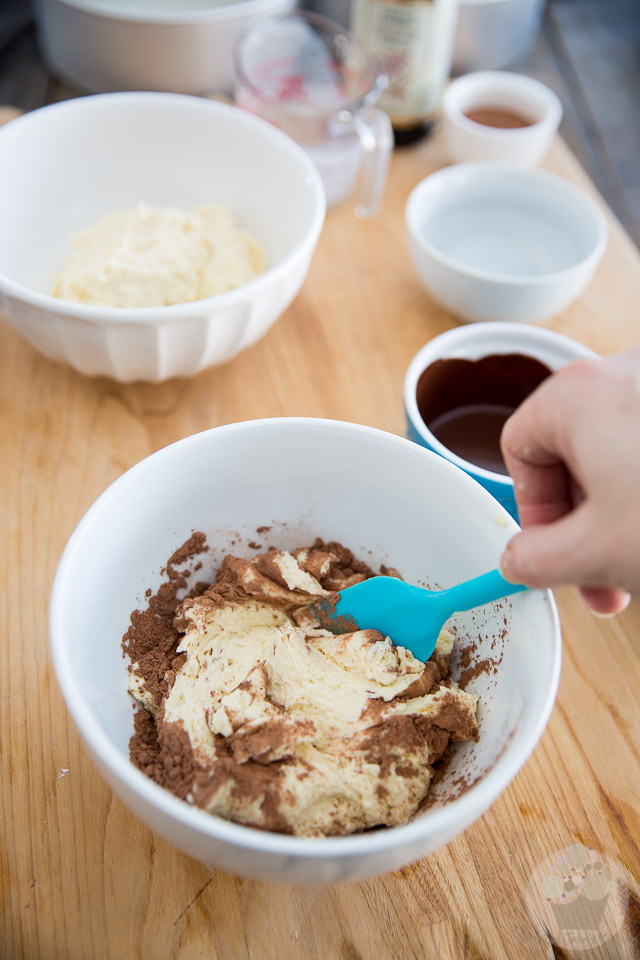
Stir the cocoa powder into the second bowl of cake batter;
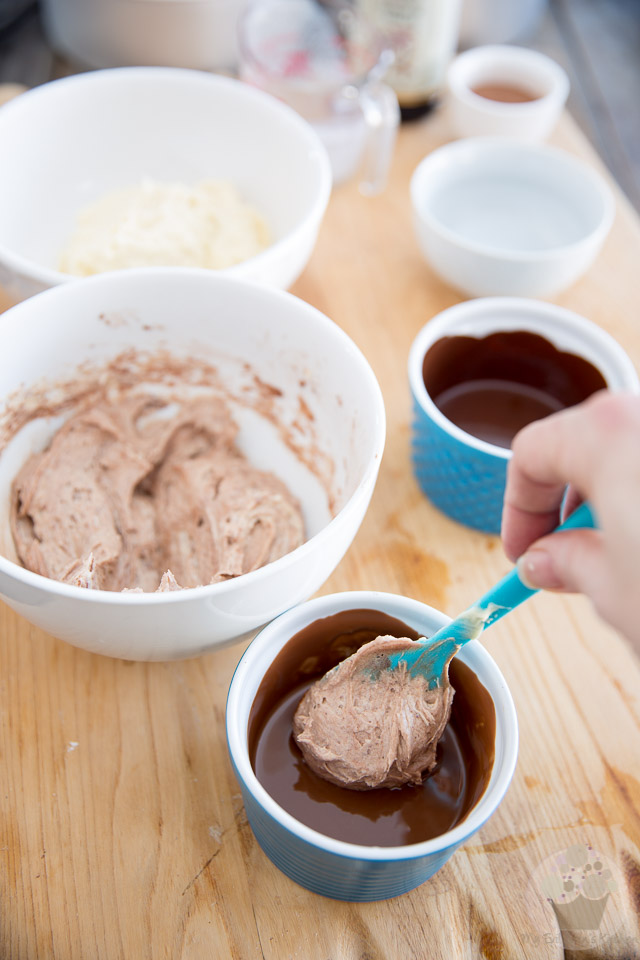
From that bowl, take a few tablespoons of batter and stir it quickly into the bowl with the melted milk chocolate.
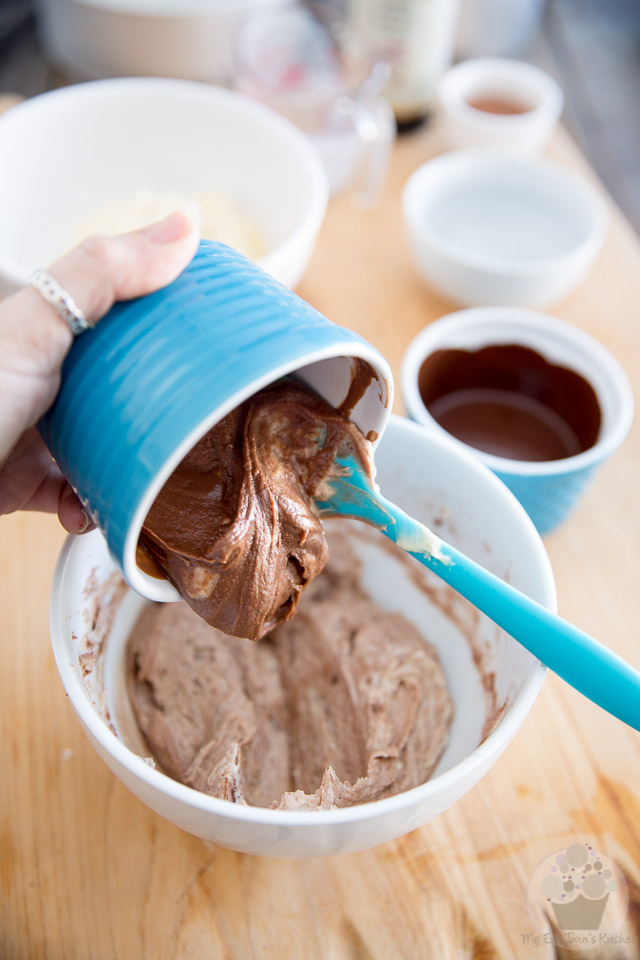
Then, mix this chocolate mixture right back with the rest of the cake batter.
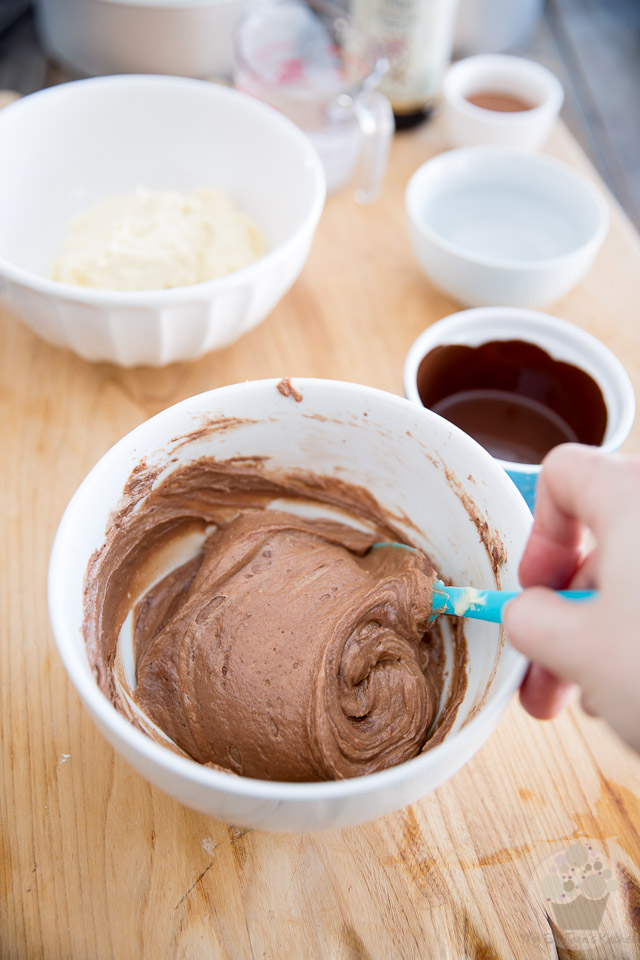
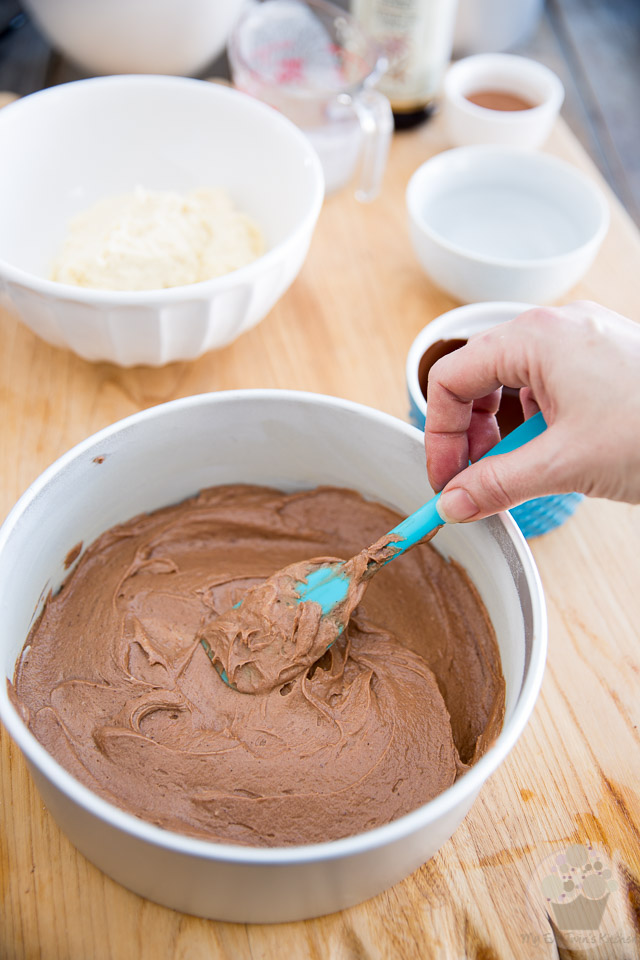
Transfer this batter into another of the cake pans and delicately spread it all the way to the edge; set that aside as well.
For the dark chocolate batter
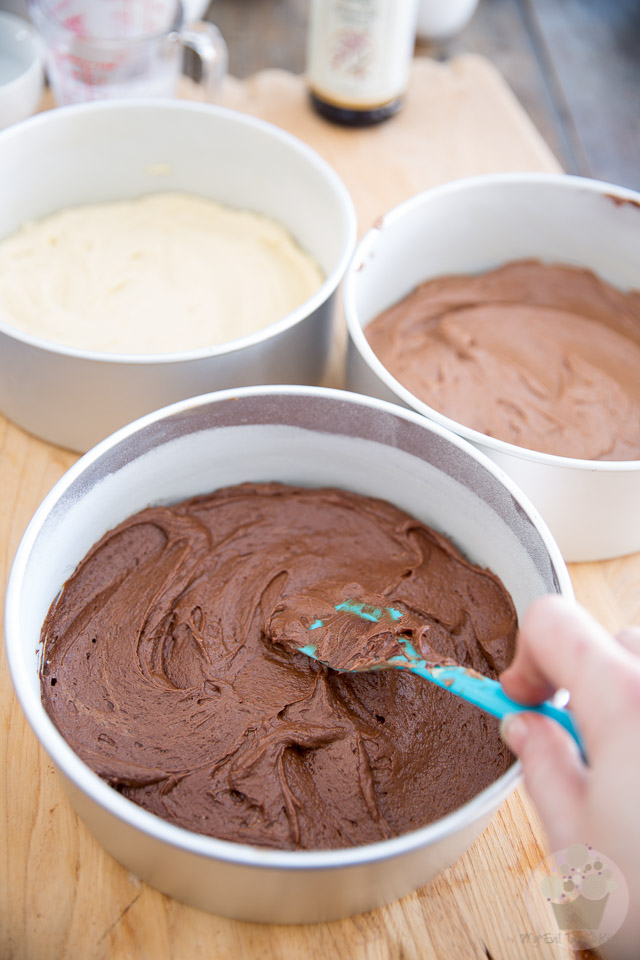
Repeat the exact same steps you just did for the milk chocolate batter, except this time stir in the cocoa and instant coffee powder into the remaining bowl of cake batter. Mix a few tablespoons of this batter into the melted dark chocolate, then add this chocolate mixture back into the rest of the cake batter.
Transfer and spread this batter into the last cake pan.
About the coffee powder, make sure that it’s ground into a fine powder… if using granules, grind them with a mortar and pestle or with the back of a spoon until they are reduced to a fine powder, otherwise the granules will never fully dissolve in the batter. As for leaving it out entirely (I can already hear you asking), I really wouldn’t suggest it, as the coffee greatly contributes in adding tons of depth to both the color and flavor of the dark chocolate layer.
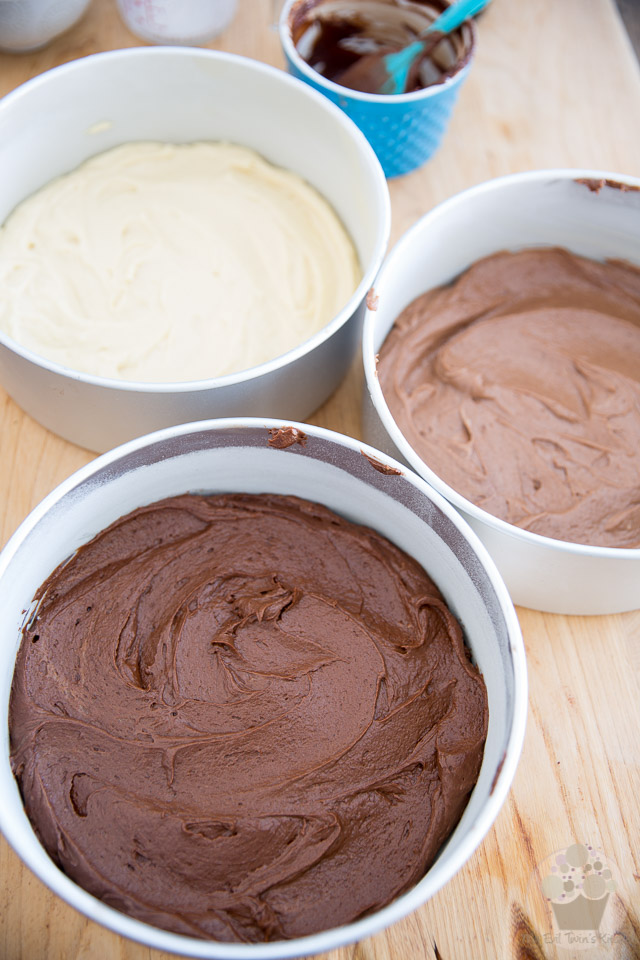
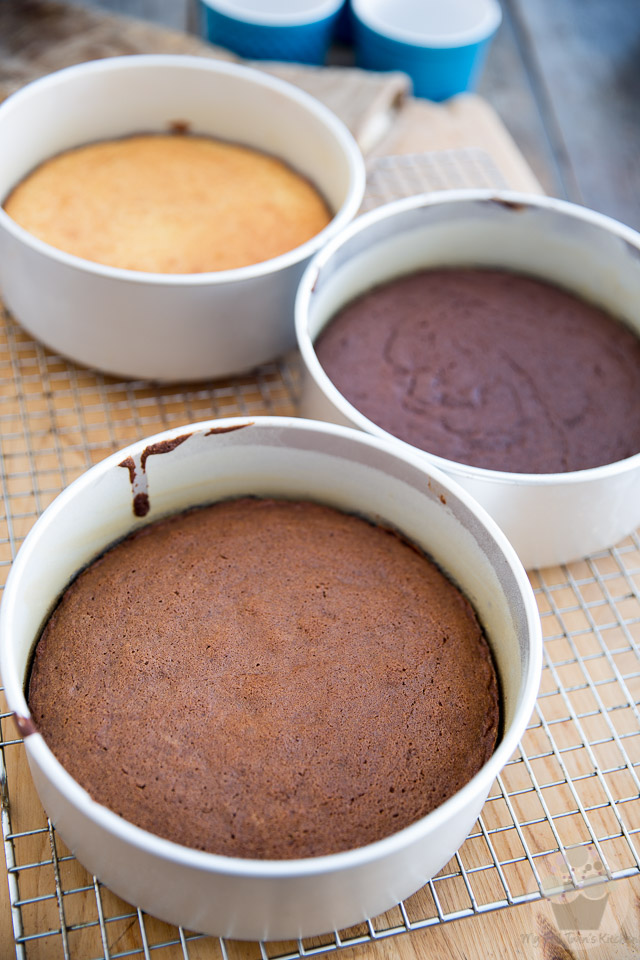
Bake the cakes for 25 to 30 minutes, or until they spring back when lightly pressed with the tip of your fingers or until a toothpick inserted in the center comes out clean.
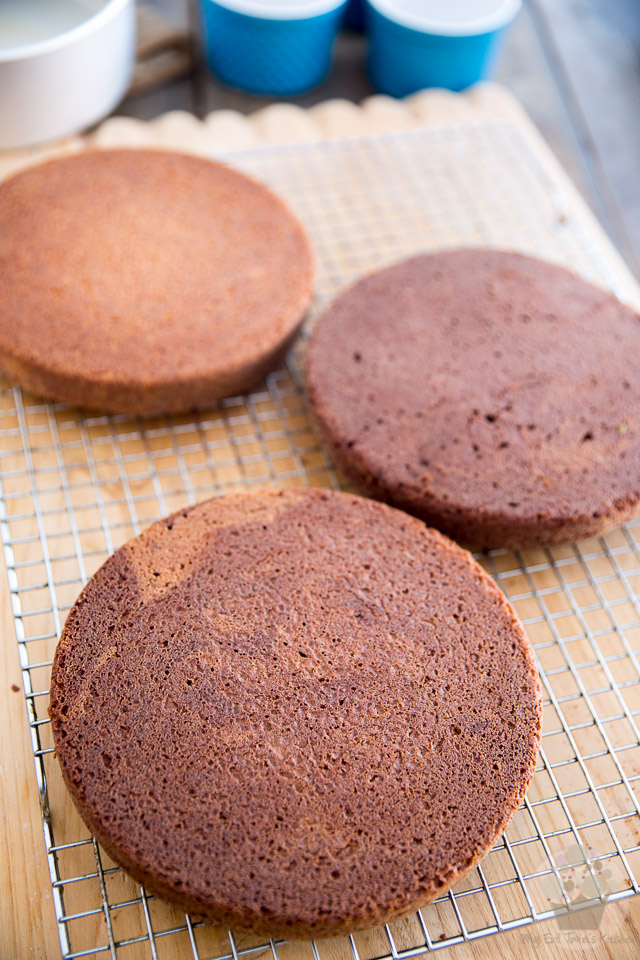
Place the cakes on a cooling rack and let them cool in the pans for 2 minutes, then delicately turn them onto the cooling rack and allow to cool completely before frosting, ideally in the refrigerator.
TO MAKE THE BUTTERCREAM
Make the Swiss Meringue Buttercream following the instructions in the post, but make one and a half recipe instead – which means you’ll need to use 900g of butter, 12 egg whites and 750g of sugar.
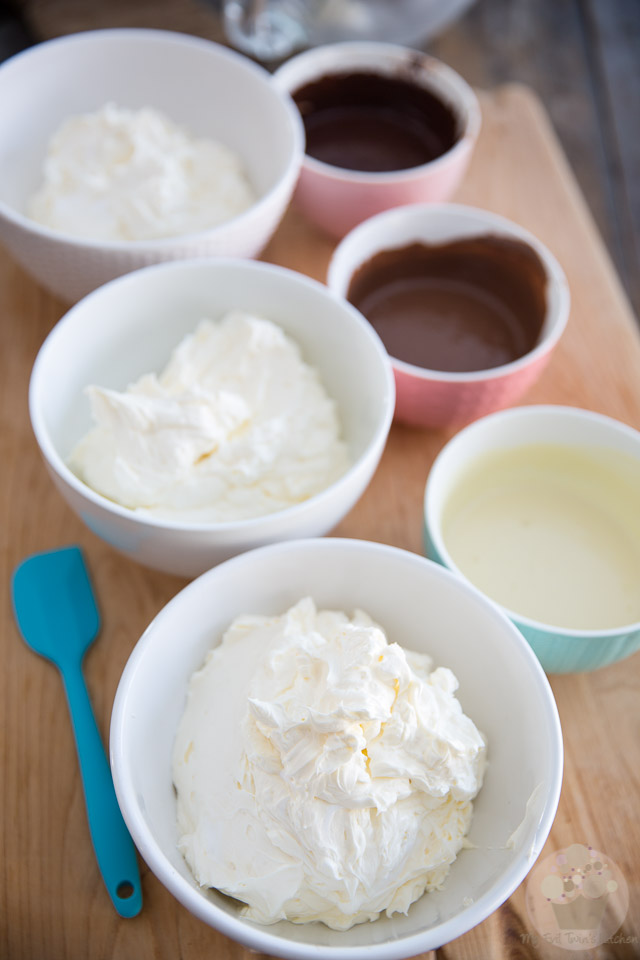
Just like you did for the cake batter, divide the buttercream equally between 3 mixing bowls – you should be looking at around 625g (22oz) per bowl this time.
Melt the different types of chocolates in three separate bowls and set them aside. It is absolutely imperative that the chocolates do not get hot when you melt them – they should only feel slightly warm to the touch but still be fully melted and free of lumps.
If the chocolates feel hot, let them cool for a bit, otherwise they will end up melting your delicate buttercream.
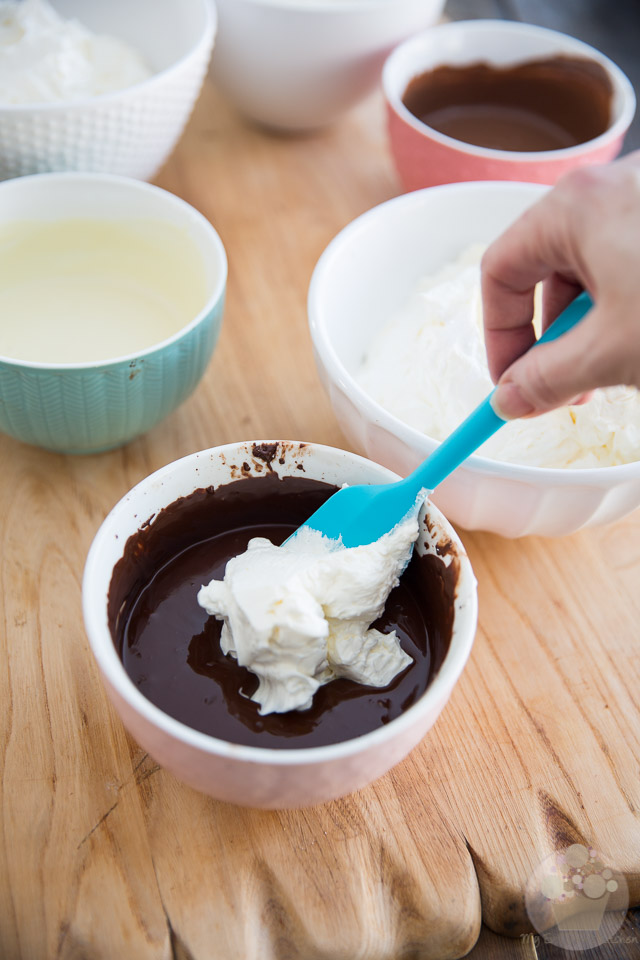
For each of the three different flavors of buttercream, take about 1/2 cup of plain buttercream from one of the bowls…
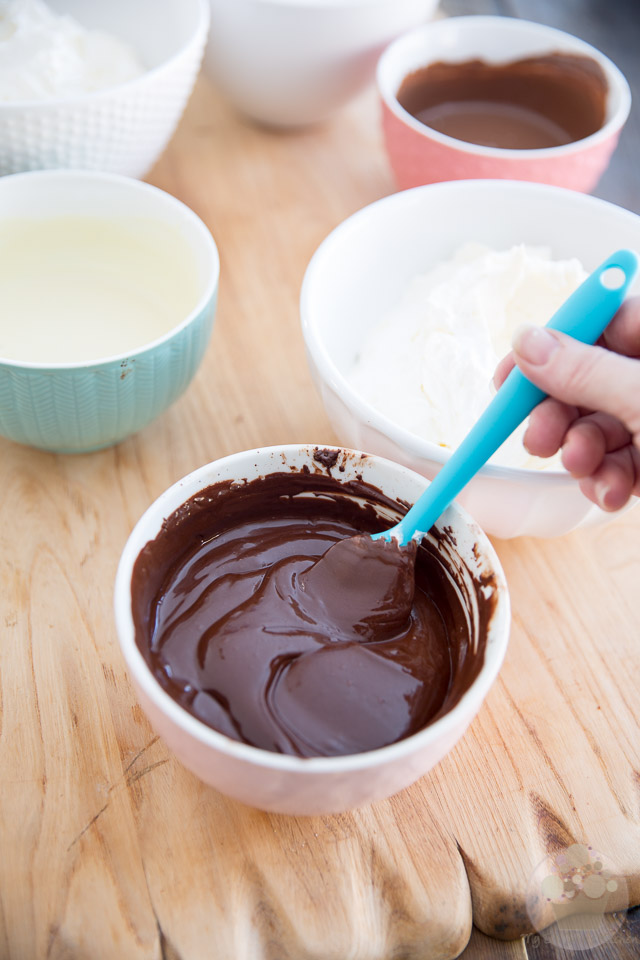
Mix it in with one of the melted chocolates…
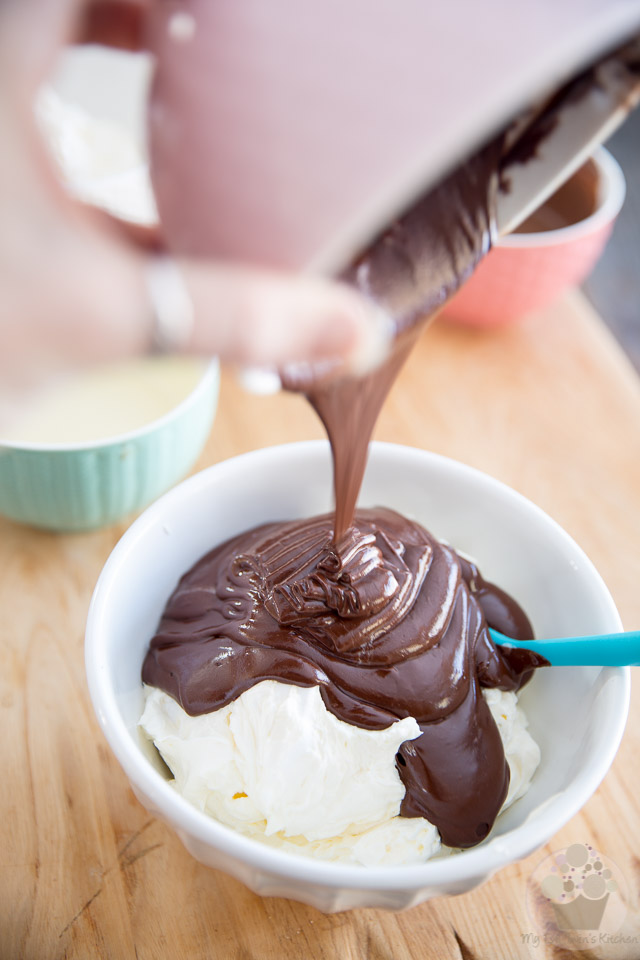
Return that mixture to the bowl where you just got the buttercream from…
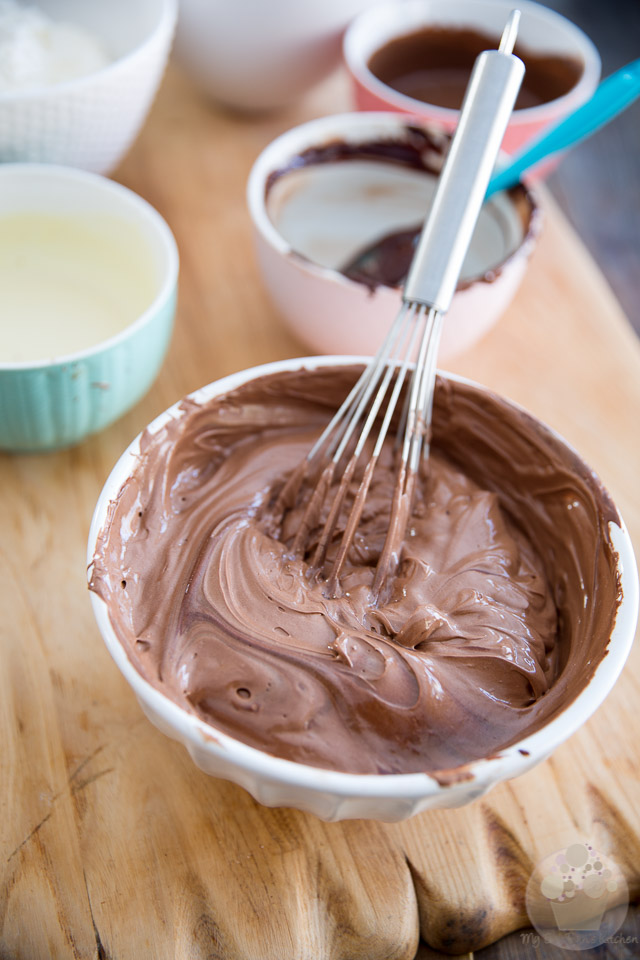
And quickly whisk it in with the rest of the buttercream.
Again, this simple precaution will prevent the chocolate from seizing as it gets added to the buttercream.
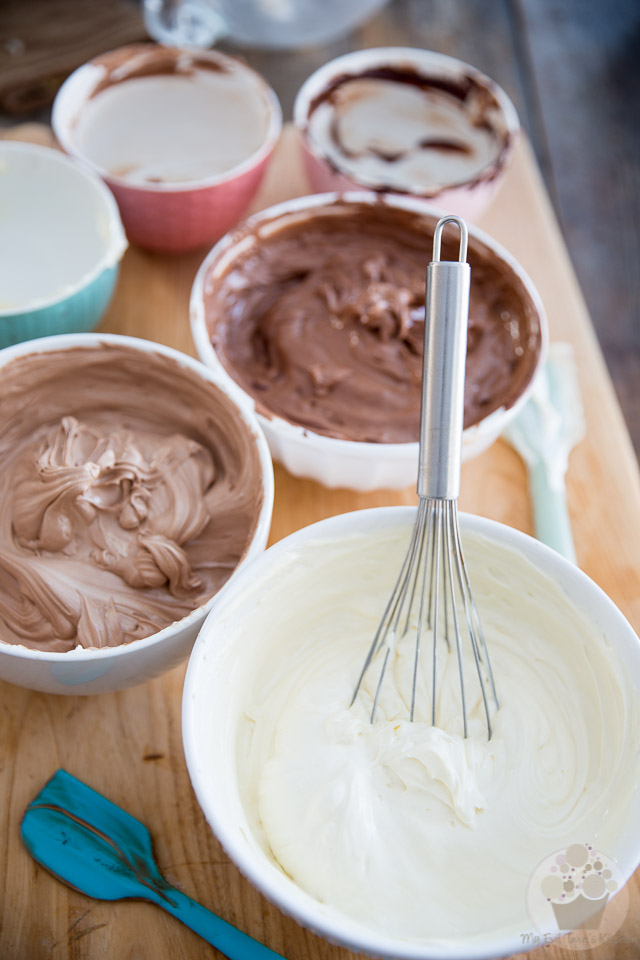
Once all three chocolate buttercreams have been mixed, place them in the refrigerator for about half an hour to firm up, then give them a quick stir and keep in a cool dry place until ready to use.
Don’t leave the buttercream in the fridge for too long though, else it will become too firm… cold butter = no bueno, remember?
TO MAKE THE CHOCOLATE ASSORTED SHAPES
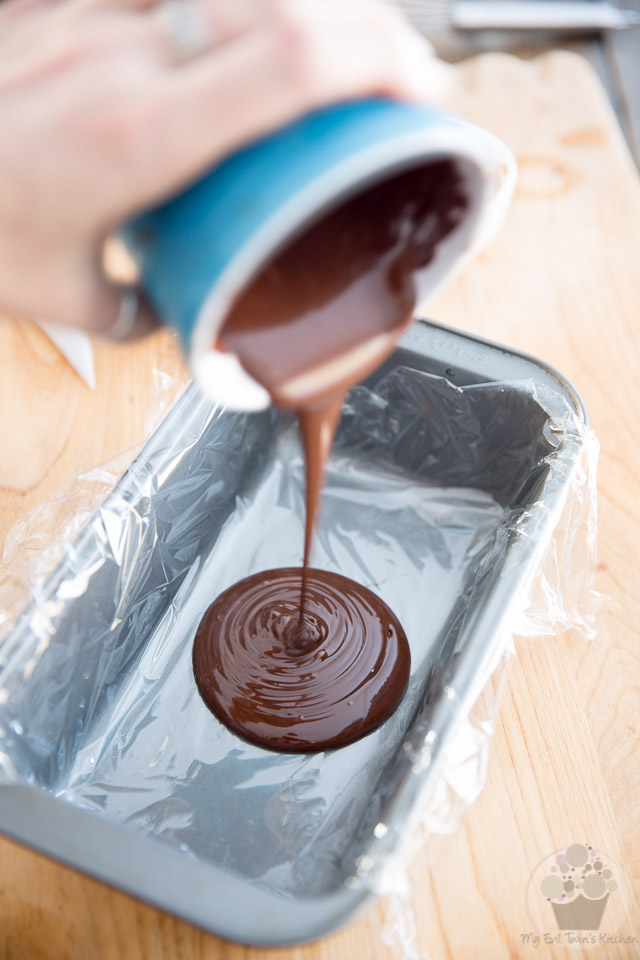
Melt the dark chocolate and oil together in a bowl, and the milk and white chocolates in 2 separate bowls.
Line a loaf pan with plastic film, trying to keep wrinkles at a minimum; it helps to grease or butter the pan lightly to help the film adhere better.
Pour the melted dark chocolate in the pan…
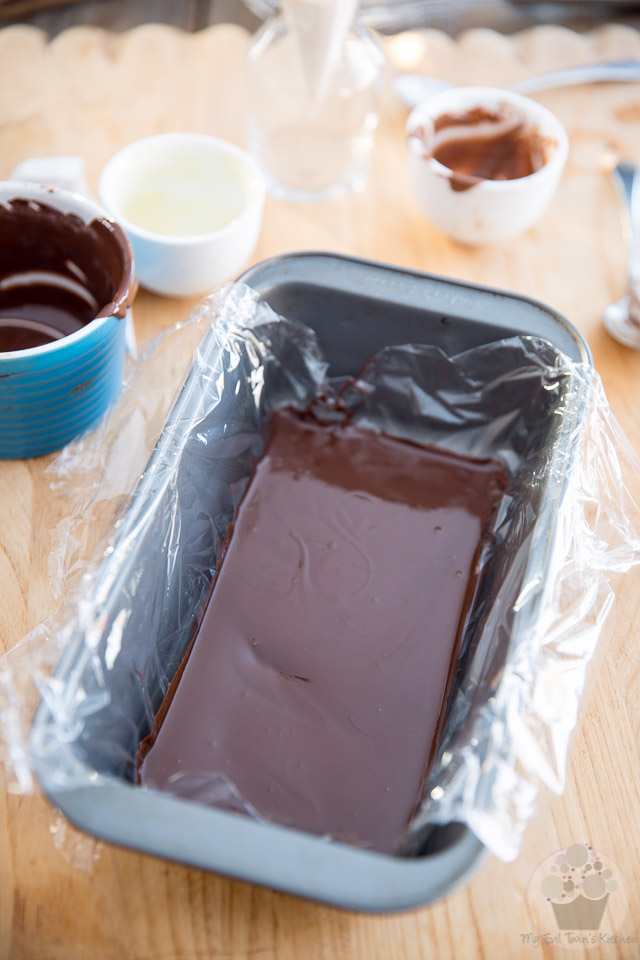
Delicately tilt the pan from side to side and give it a little shake to spread the chocolate in an even layer at the bottom of the pan.
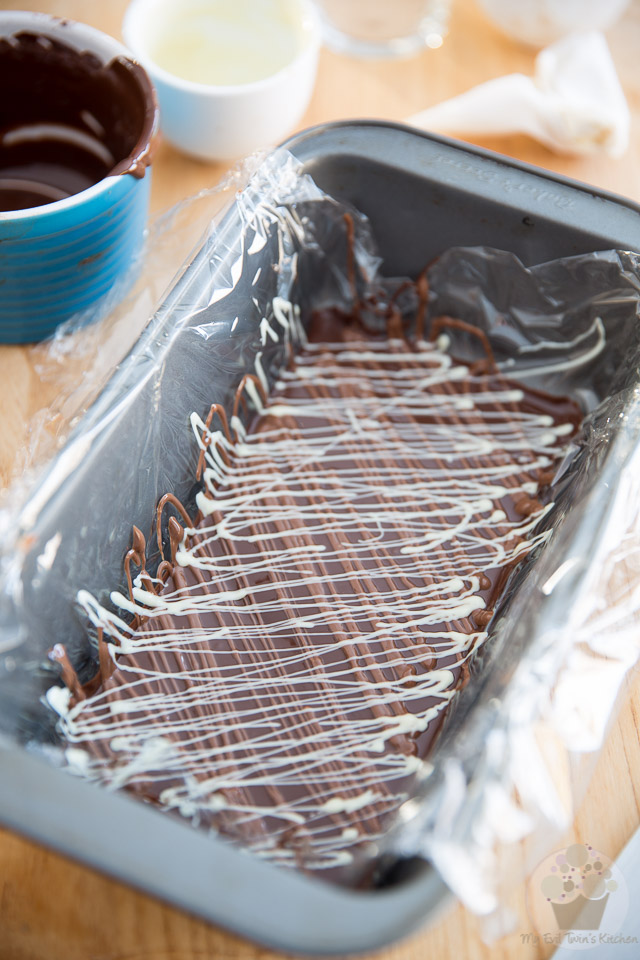
Drizzle the milk and white chocolates over the dark in a criss-cross motion, using either a fork, a squeeze bottle or a parchment paper cone (the paper cone is by far my favorite method).
Place the pan in the refrigerator until the chocolate is completely set, about 30 minutes. You will know that the chocolate is ready when the top is no longer shiny.
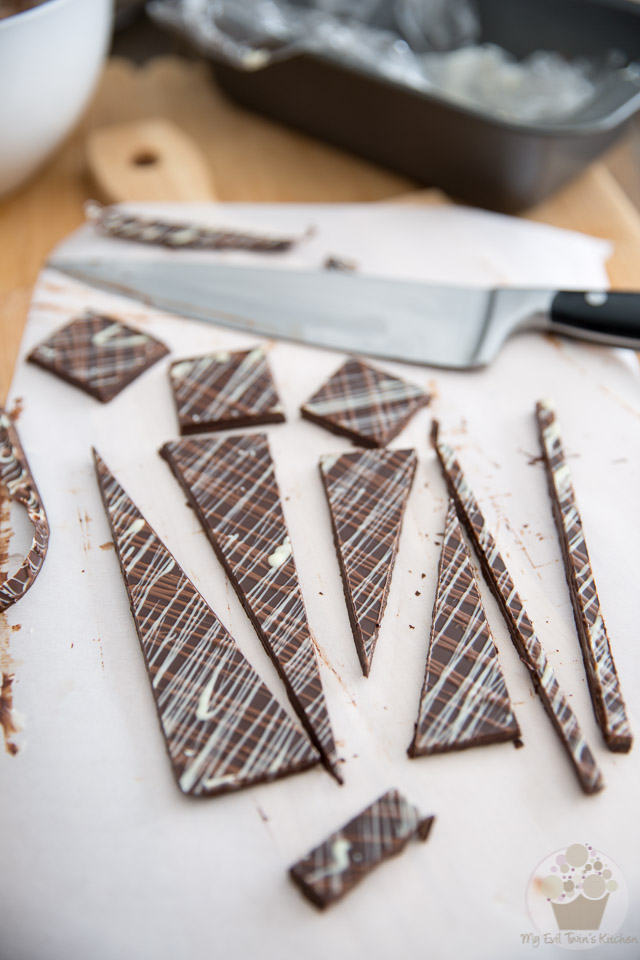
Once set, lift the chocolate plate from the pan; remove the plastic film and place the chocolate on a cutting board.
With a sharp chef knife, cut the chocolate into shapes of your choice: triangles, sticks, rectangles and squares. To make your job easier and your cuts cleaner, warm your blade lightly over an open flame (a propane torch or gas range burner are great for that) or under a stream of hot water – if you opt for water, make sure to wipe your blade dry before cutting the chocolate.
Send the finished shapes back to the refrigerator until ready to use.
TO FROST THE CAKE
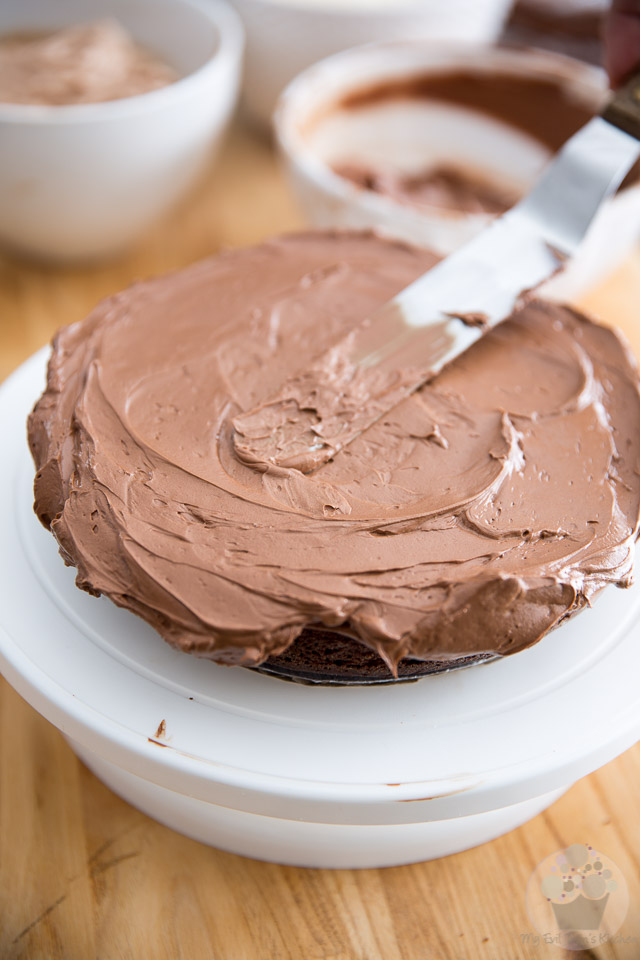
Place the dark chocolate cake flat side up on a cake decorating turntable.
Using an offset spatula cover that cake with a very generous layer of dark chocolate buttercream, making sure that the frosting goes over the edge of the cake.
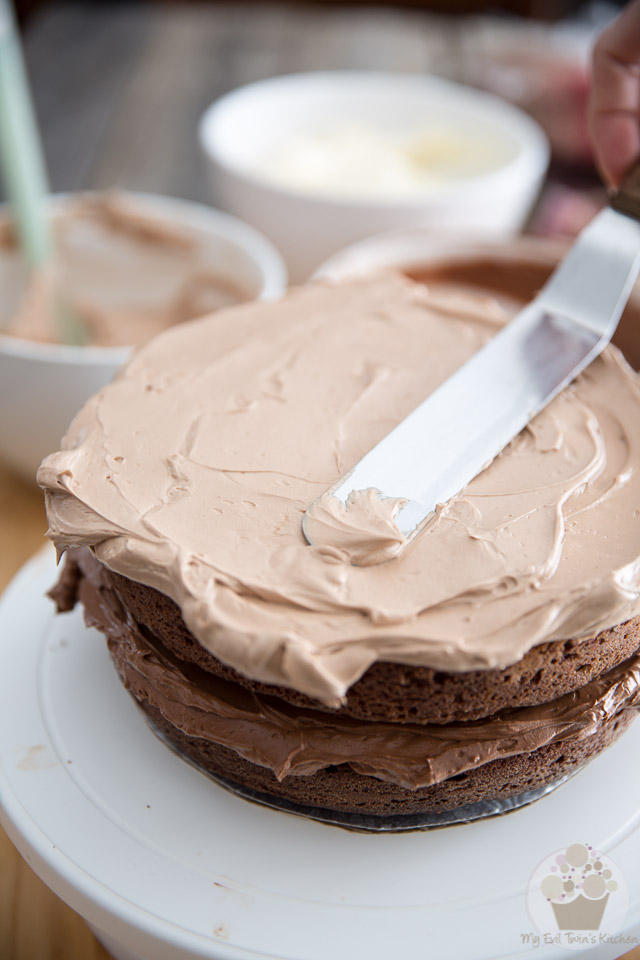
Top with the milk chocolate cake, again placing it flat side up, and cover that layer with an equally generous amount of the milk chocolate buttercream.
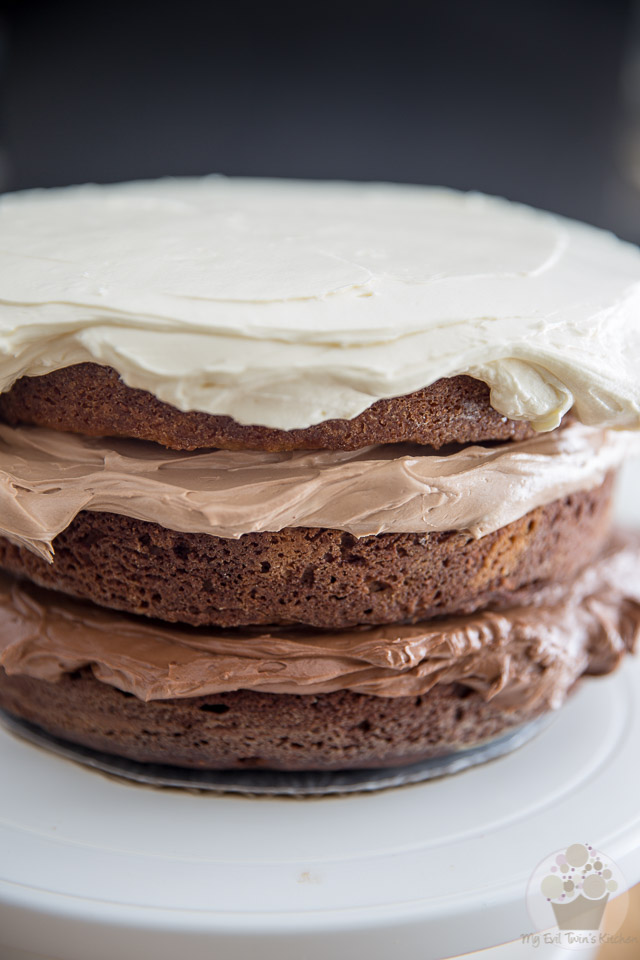
Repeat the process with the white chocolate layer.
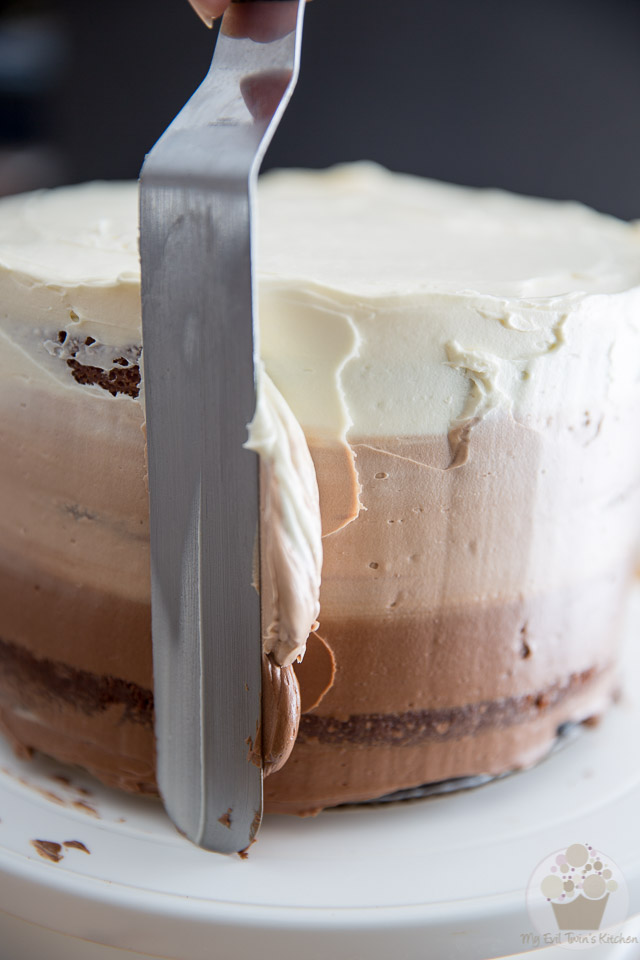
Using your offset spatula, spread the excess buttercream on the side of the cake to completely cover it, making certain that you fill the cracks between the layers as you go.
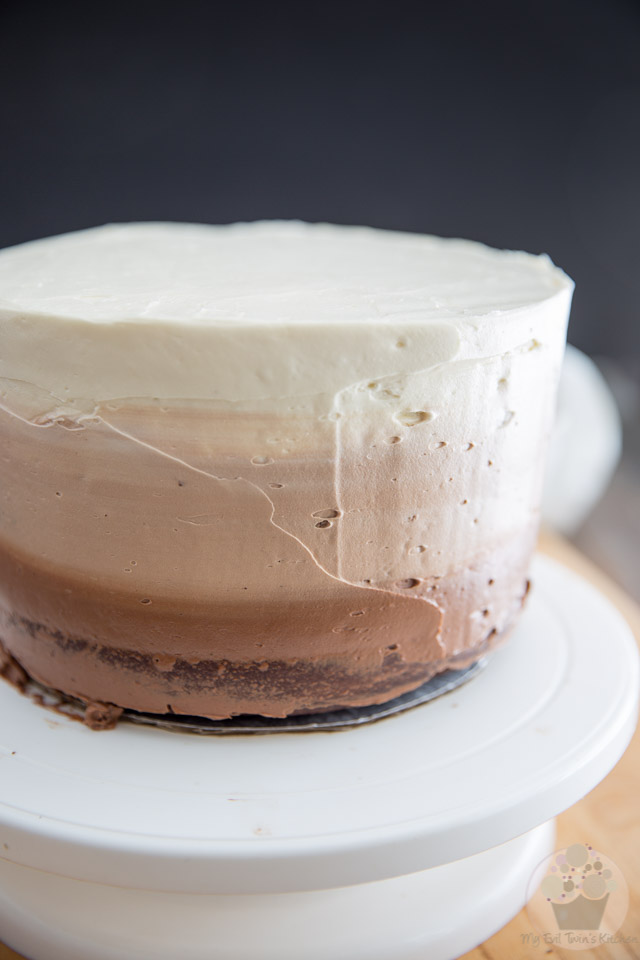
Make sure to work in a straight and steady motion so as to not mix the different colors together. Flatten the top as best as you can, too.
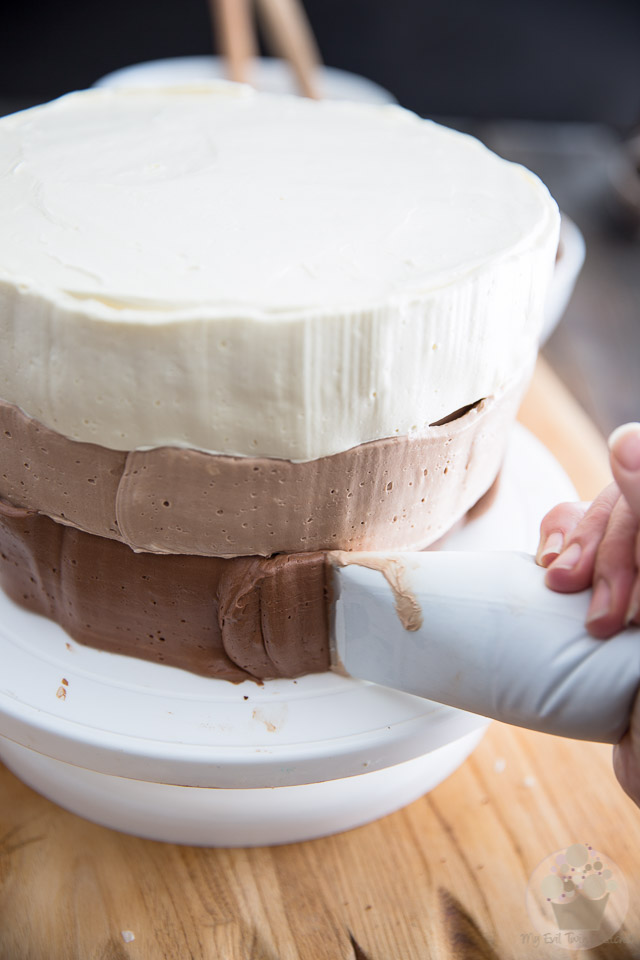
Then, using a cake icer tip, pipe a ribbon of buttercream of the corresponding flavor over each of the layers.
Yes, you will need to empty and clean the bag between each color, unless you happen to own 3 bags and 3 tips…
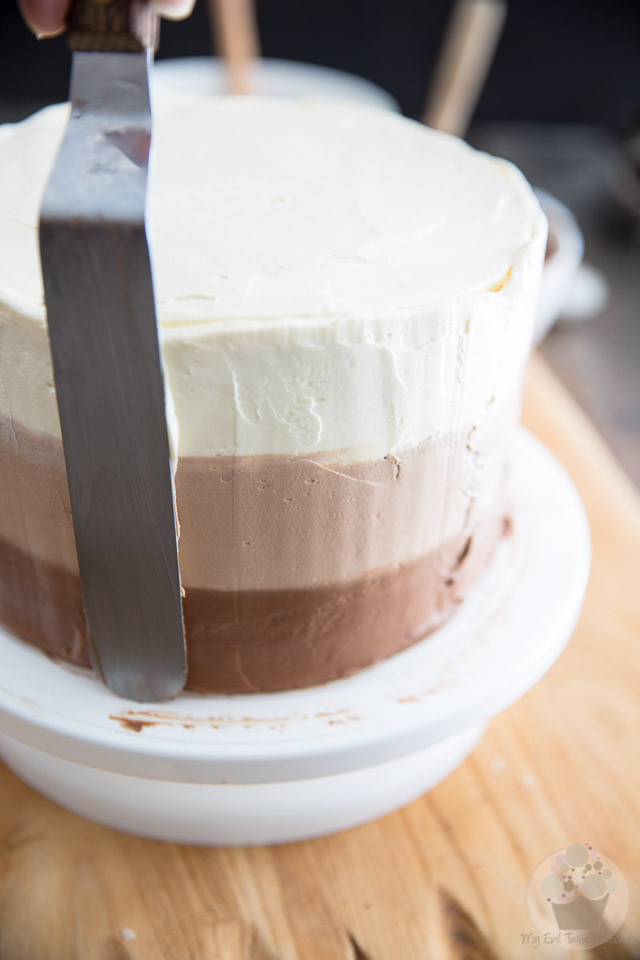
Smooth the frosting with your offset spatula as best as you can, then send the cake to the refrigerator for about 10 minutes.
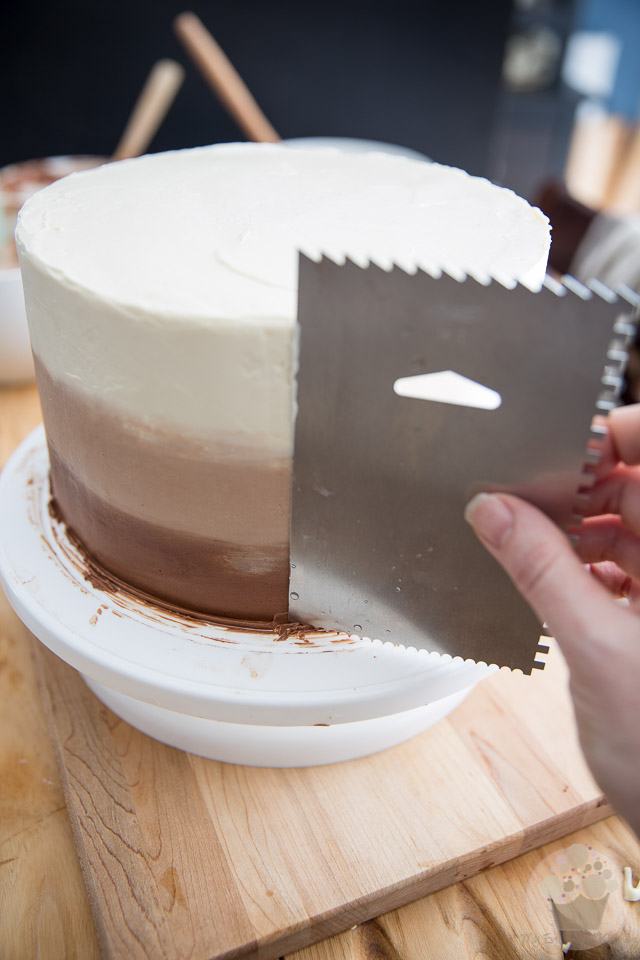
Finish smoothing the icing with a decorating comb dipped in warm water (shake to remove excess water before applying the comb to the cake)
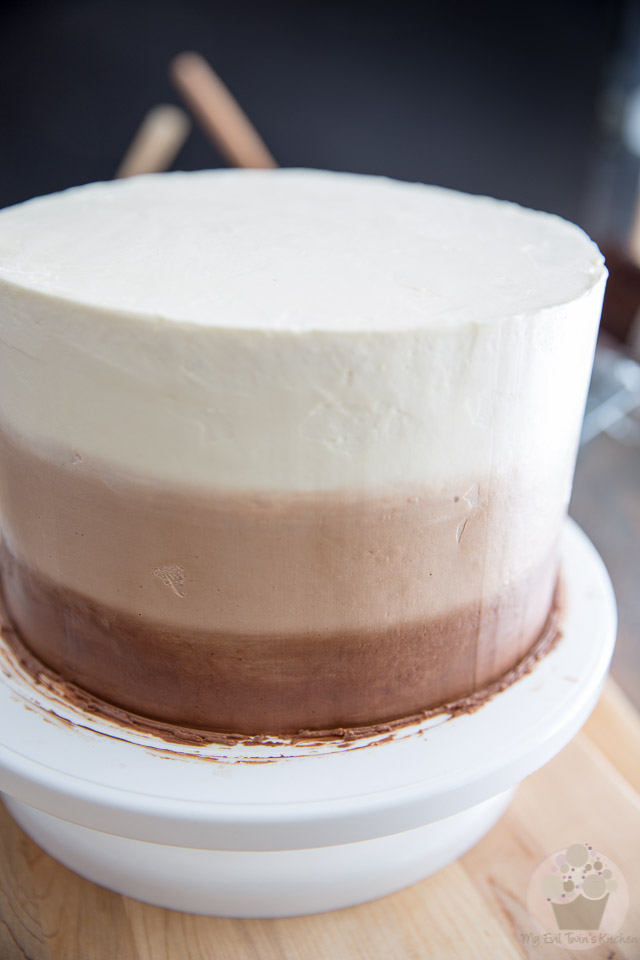
Place the cake in the refrigerator to chill for at least 1 hour before covering it with the ganache.
TO MAKE THE GANACHE
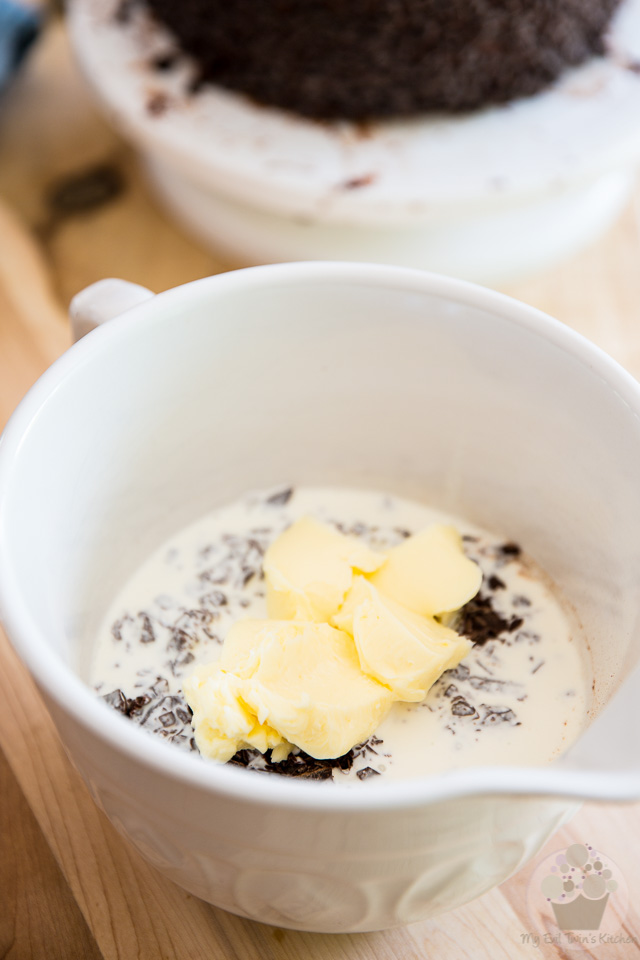
In a mixing bowl, combine the chopped chocolate, heavy cream and butter and place that in the microwave for 1 minute.
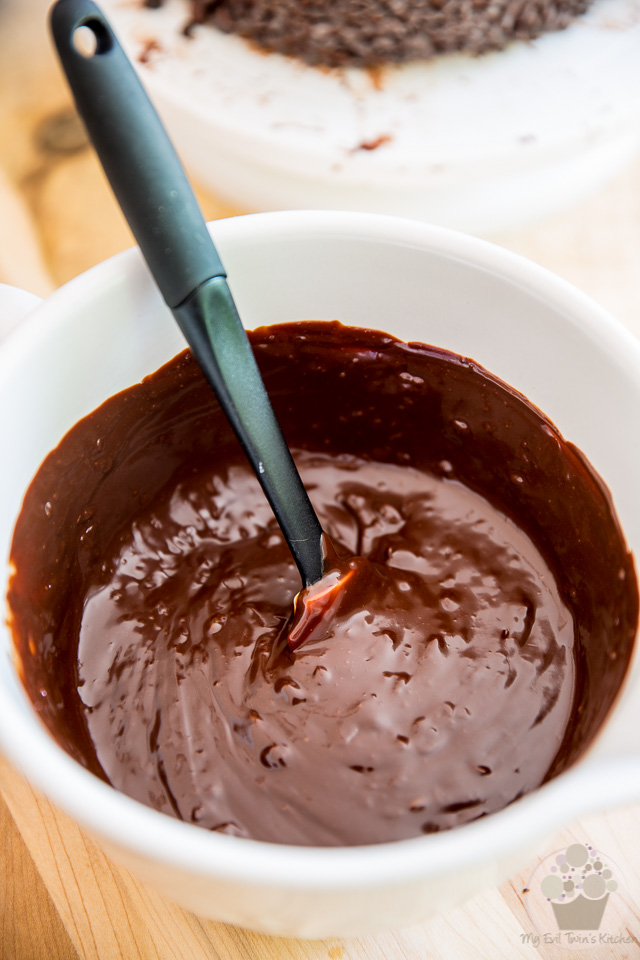
Allow to rest for 1 full minute and then stir for 1 minute. If there are still lumps of unmelted chocolate left after that, repeat the process but for 30 seconds this time…
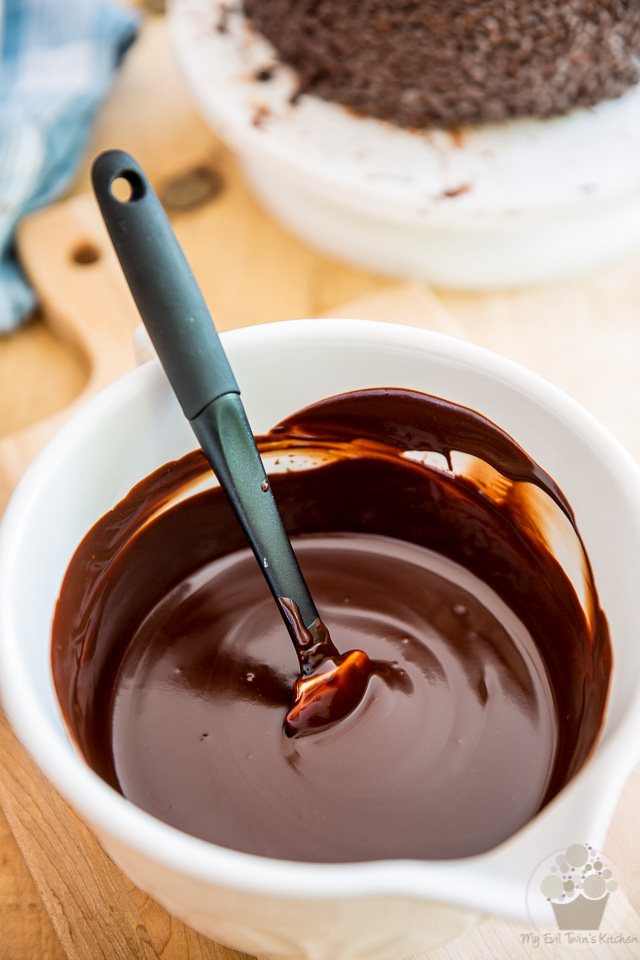
Continue doing that until the chocolate is completely melted and the ganache is fully combined without feeling hot to the touch.
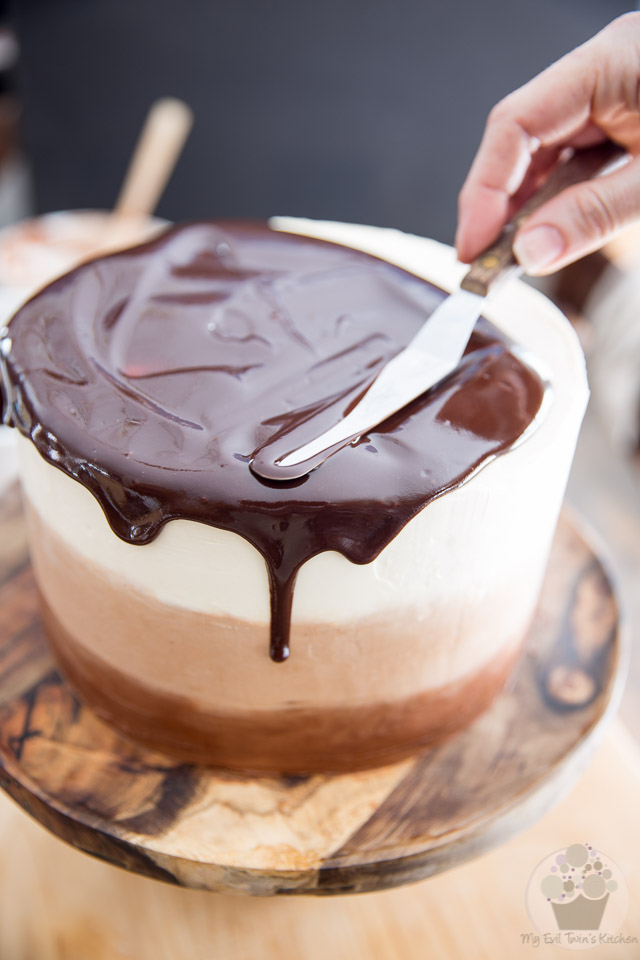
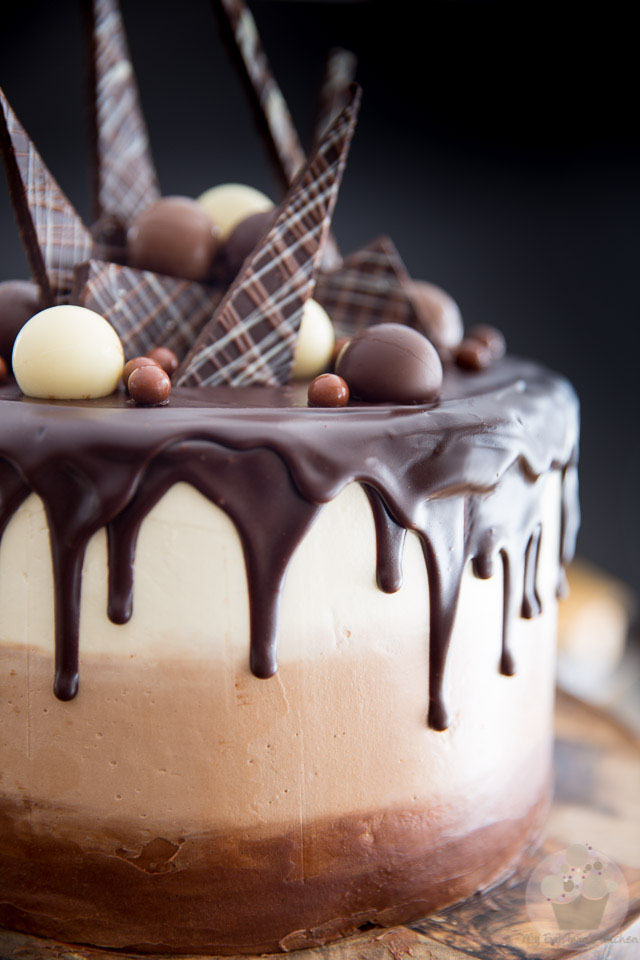
Take your cake out of the fridge, transfer it to a cake plate or stand and delicately pour about half of the ganache over its top. Spread it all the way to the edge, pushing it slightly past the edge to create little drizzles down the sides of the cake.
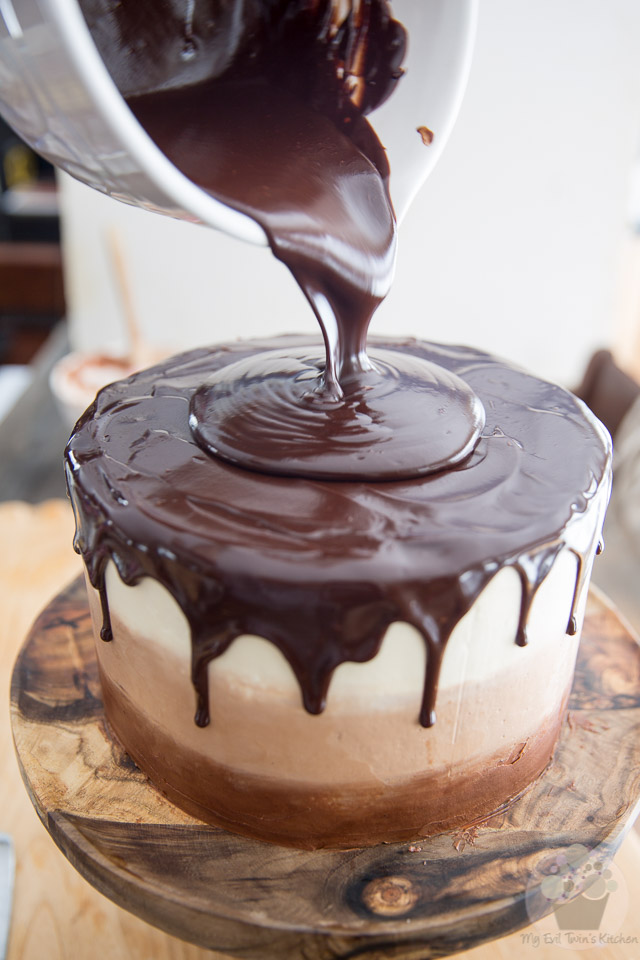
Repeat the process with the rest of the ganache.
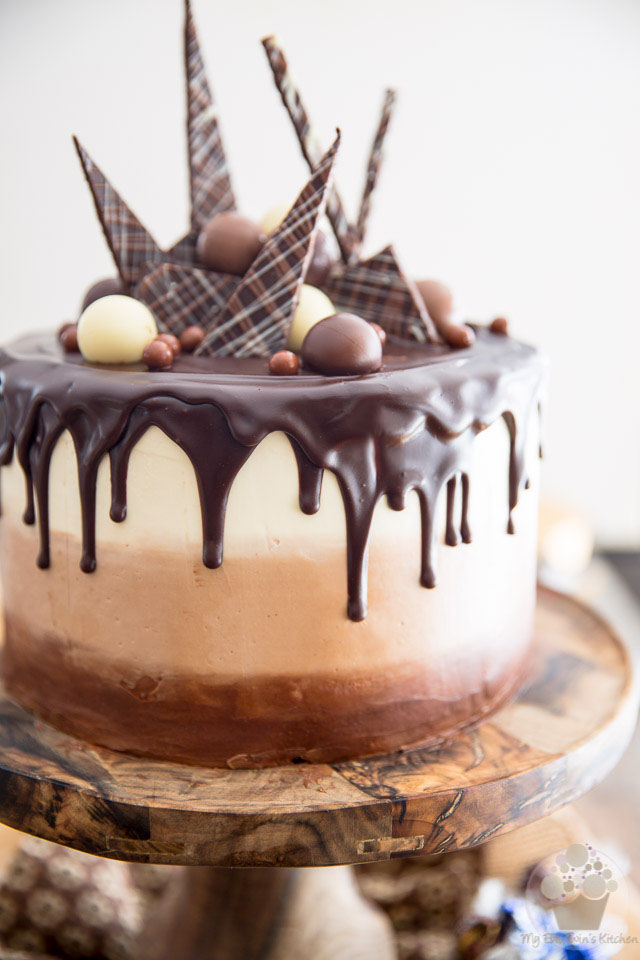
Decorate with the assorted chocolate shapes, Lindor truffles and candy beads.
Send to the refrigerator to set for at least 15 minutes.
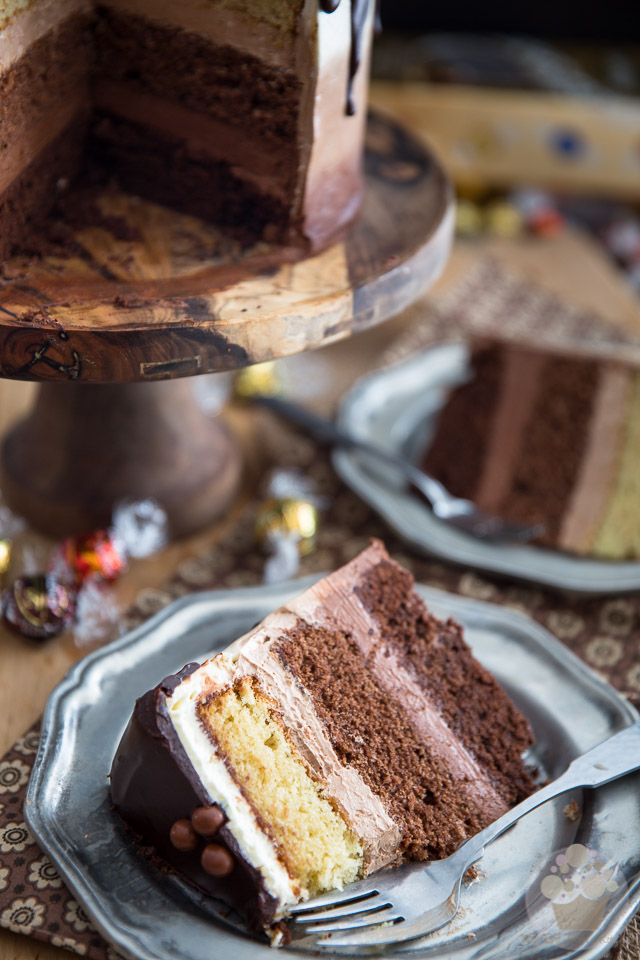
Leave the cake at room temperature for at least 4 hours prior to serving. I can’t stress this enough: this cake MUST be served at room temperature!
Leftovers can also be kept at room temperature for up to a few days, or in the refrigerator for up to a week. Just remember the above rule: never serve this cake cold. Take it out of the fridge for at least 4 hours prior to serving.
Ingredients
- 1 cup (240g | 8.5oz) butter, softened
- 1-1/4 cup (250g | 8.8oz) granulated sugar
- 5 large eggs, at room temperature
- 1/2 cup (120ml) buttermilk, at room temperature
- 1 tsp pure vanilla extract, (store-bought or homemade)
- 2-1/4 cups (290g | 10.2oz) unbleached all-purpose flour
- 1-1/2 tsp baking powder
- 1/2 tsp baking soda
- 1/2 tsp salt (I use Himalayan salt)
- 1/2 cup (85g | 3oz) finely chopped white chocolate
- 1 tbsp peanut oil
- 1/2 cup (85g | 3oz) finely chopped milk chocolate
- 1 tbsp peanut oil
- 1 tsp cocoa powder, sifted
- 1/2 cup (85g | 3oz) finely chopped dark chocolate
- 1 tbsp peanut oil
- 3 tbsp cocoa powder, sifted
- 1 tbsp instant coffee or espresso powder, finely ground
- 1-1/2 swiss meringue buttercream recipe
- 1-1/2 cups (225g | 8oz) finely chopped white chocolate
- 1-1/2 cups (225g | 8oz) finely chopped milk chocolate
- 1-1/2 cups (225g | 8oz) finely chopped dark chocolate
- 1/2 cup (75g | 2.65oz) finely chopped unsweetened chocolate
- 1/2 cup (75g | 2.6oz) finely chopped dark chocolate
- 3/4 tsp peanut oil
- 2 tbsp finely chopped milk chocolate
- 2 tbsp finely chopped white chocolate
- 1-1/2 cups (225g | 7.9oz) finely chopped dark chocolate
- 1/2 cup (120ml) heavy cream
- 3 tbsp butter, softened
- Assorted Lindt Lindor Truffles (about 3-4 of each white, milk and dark chocolate)
- 15-20 Chocolate Candy Beads
Instructions
- Preheat the oven 325°F; grease and flour three 8" round cake pans. Hold each pan upside down and knock it gently against the counter a few times to remove any excess flour; set aside.
- Melt the 3 types of chocolate along with a tablespoon of peanut oil in three separate bowls; set aside
- Combine the dry ingredients in a mixing bowl and mix with a whisk until well combined and fluffy; set aside
- In another bowl, combine the butter and sugar and beat them with an electric mixer on medium-high speed until light and fluffy.
- Add the eggs, one at a time, beating well between each addition, then add the buttermilk and vanilla and beat until well incorporated.
- Add the dry ingredients all at once and beat on low speed until just incorporated, no more.
- Divide the cake batter equally into 3 small mixing bowls; the best way to ensure that the batter gets divided equally is to weigh it: you should be getting approximately 375g (13.2oz) of batter per bowl.
- Take about 2 tablespoons of the cake batter from one of the bowls and stir it quickly into the melted white chocolate. Then gently fold this white chocolate mixture back into that same bowl where you just got the cake batter from. This will prevent the chocolate from seizing when it is mixed into the cake batter. Gently pour the batter into one of the baking pans and spread it out with a spatula; set aside.
- Stir the cocoa powder into the second bowl of cake batter; from that bowl, take a few tablespoons of batter and stir it quickly into the bowl with the melted milk chocolate. Then, mix this chocolate mixture right back with the rest of the cake batter. Transfer this batter into another of the cake pans and delicately spread it all the way to the edge; set that aside as well.
- Repeat the exact same steps you just did for the milk chocolate batter, except this time stir in the cocoa and instant coffee powder into the remaining bowl of cake batter. Mix a few tablespoons of this batter into the melted dark chocolate, then add this chocolate mixture back into the rest of the cake batter. Transfer and spread this batter into the last cake pan.
- Bake the cakes for 25 to 30 minutes, or until the cakes spring back when lightly pressed with the tip of your fingers or until a toothpick inserted in the center comes out clean.
- Place the cakes on a cooling rack and let them cool in the pans for 2 minutes, then delicately turn them onto the cooling rack and allow to cool completely before frosting, ideally in the refrigerator.
- Make the Swiss Meringue Buttercream following the instructions in the post, but make one and a half recipe instead (so use 900g butter, 12 egg whites and 750g sugar).
- Just like you did for the cake batter, divide the buttercream equally between 3 mixing bowls (you should be looking at around 625g (22oz) per bowl this time)
- Melt the different types of chocolates in three separate bowls and set them aside. Make sure that the chocolates do not get hot when you melt them - they should only feel slightly warm to the touch but still be fully melted and free of lumps.
- For each of the three different flavors of buttercream, take about 1/2 cup of plain buttercream from one of the bowls and mix it in with one of the melted chocolates, then return that mixture to the bowl where you just got the buttercream from and quickly whisk it in with the rest of the buttercream. Again, this simple precaution will prevent the chocolate from seizing as it gets added to the buttercream.
- Once all three chocolate buttercreams have been mixed, place them in the refrigerator for about half an hour to firm up, then give them a quick stir and keep in a cool dry place until ready to use.
- Melt the dark chocolate and oil together in a bowl, and the milk and white chocolates in 2 separate bowls.
- Line a loaf pan with plastic film, trying to keep wrinkles at a minimum; it helps to grease or butter the pan a little to help the film adhere better.
- Pour the melted dark chocolate in the pan and delicately tilt it from side to side and give it a little shake to spread the chocolate in an even layer at the bottom of the pan.
- Drizzle the milk and white chocolates over the dark in a criss-cross motion, using either a fork, a squeeze bottle or a parchment paper cone (the paper cone is my favorite method). Place the pan in the refrigerator until the chocolate is completely set, about 30 minutes. You will know that the chocolate is ready when the top is no longer shiny.
- Once set, lift the chocolate plate from the pan; remove the plastic film and place the chocolate on a cutting board. With a sharp chef knife, cut it into shapes of your choice: triangles, sticks, rectangles and squares. Send the finished shapes back to the refrigerator until ready to use.
- Place the dark chocolate cake flat side up on a cake decorating turntable.
- Using an offset spatula cover that cake with a very generous layer of dark chocolate buttercream, making sure that the frosting goes over the edge of the cake.
- Top with the milk chocolate cake, again placing it flat side up, and cover that layer with an equally generous amount of the milk chocolate buttercream. Repeat the process with the white chocolate layer.
- Using your offset spatula, spread the excess buttercream on the side of the cake to completely cover it, making certain that you fill the cracks between the layers as you go. Make sure to work in a steady motion so as to not mix the different colors together. Flatten the top as best as you can, too.
- Then, using a cake icer tip, pipe some buttercream of the corresponding flavor over each of the layers. Smooth the frosting with your offset spatula as best as you can, then send the cake to the refrigerator for about 10 minutes.
- Finish smoothing the icing with a decorating comb dipped in warm water (shake to remove excess water before applying the comb to the cake)
- Place the cake in the refrigerator to chill for at least 1 hour before covering it with the ganache.
- In a mixing bowl, combine the chopped chocolate, heavy cream and butter and place that in the microwave for 1 minute. Allow to rest for 1 full minute and then stir for 1 minute. If there are still lumps of unmelted chocolate left after that, repeat the process but for 30 seconds this time, and continue doing that until the chocolate is completely melted and the ganache is fully combined without feeling hot to the touch.
- Take your cake out of the fridge ,transfer it to a cake plate or stand and delicately pour about half of the ganache over its top. Spread it all the way to the edge, pushing it slightly past the edge to create little drizzle down the sides of the cake. Repeat the process with the rest of the ganache.
- Decorate with the assorted chocolate shapes, Lindor truffles and candy beads.
- Send to the refrigerator to set for about 15 minutes.
- Leave at room temperature for at least 4 hours prior to serving. This cake MUST be served at room temperature.
- Leftovers can be kept at room temperature for up to a few days, or in the refrigerator for up to a week. Just remember the above rule: never serve this cake cold. Take it out of the fridge for at least 4 hours prior to serving.
Notes
Cake recipe inspired by Little Sugar Snaps' Triple Layer Chocolate Cake
Sonia!
A labor of love..this is magnificent!
Merci Monique! 🙂
this is absolutely the most beautiful cake so far!! Can’t wait to make it., I just spent the last 2 hours writing it up and studying all your hints! Thanks, Janet
Awww, thank you much, Janet! Wishing you much success with yours! Hope it comes out perfect! 🙂
I made your Black Forest cake on Tuesday, and wow! My hubs takes it to work to share with his co-workers and they devoured it, You are amazing!!
Awww, thank you so very much, Janet. Glad to hear the cake was a hit! 🙂
I just made this triple chocolate ombre cake yesterday, and got rave reviews at my hubby’s place of work. They really enjoyed it, and I enjoyed using all the bowls!! No, really, it is a treat to make something so detailed and complex, and I didn’t have the right bags for the icing tips, so had to frost it free hand, so it didn’t look as pretty as yours, but I just want to say thank you for all the hard work and time you put into your recipes., I can’t wait for the next one!!
Hi!
This cake looks absolutely stunning! When making chocolate truffles I always have the problem that my chocolate gets a white haze when firming up. I guess it’s not tempered well then. I saw that you don’t temper your chocolate for the little shapes on top. Don’t you have this problem with the white haze?
Greetings, Caroline
It all depends on the type of chocolate that you use, Caroline. Not all of them require tempering. I like to use the kinds that don’t really call for it, and also too, the addition of oil helps with avoiding the need for it, as well as the apparition of a white film.
Hello
First of all ….. YUM!!!
I have been asked to make a death by chocolate cake for a friends 50th and this is PERFECT!!!
But it is for 50 guests and she wants a square cake.
Any suggestions on ingredient ratio that could help me would be MOST appreciated.
Lisa
Yikes! That’s quite the order. Unfortunately, I can’t really help you with ingredients ratio… I guess I would just make 4 times the recipe, but then you’ll need to use different size pans so the baking times will need to be adjusted. And I sure hope you have access to commercial mixers for the cake batter and buttercream, cuz you’ll be making humongous batches. Another possibility would be to deal with one flavor at a time, but that would require a lot of calculations!
Best of luck with your project, and please be sure to let me know how it turns out!!!
Hello,
This looks wonderful! I am about tackle this cake soon for a special occasion. It needs to be transported on a hours drive. Should I use dowels or straws to keep it from slipping about?
Thank you!!
Nah, really that shouldn’t be necessary, Tri. What I would do is refrigerate it and take it out of the fridge just before you leave. That should do the trick!
I made this today 🙂 I had way too much s. buttercream left over but i dont think i put enough between the layers… or my cakes were too thin? Either way, with school starting up soon, cupcakes are the perfect way to use up the extra icing. This was my very first attempt at swiss buttercream. I will never make amereican buttercream again! THIS IS AMAZING!!!
I have to admit that I’m really generous when it comes to icing cakes… I like to spread it on thick!!! And I always prefer to have too much icing than being short! 😉 Happy that you loved the Swiss buttercream! It’s by far my fave, too! I’e no doubt that you’ll find a way to use all the leftover! 😉
Thank you so much for this recipe! What a beautiful cake. I love the ombre effect!
I have one question for you though, one of the cake ingredients is vanilla but I don’t think I read where to add it. Do you add it before the buttermilk? I ended up missing the vanilla but I don’t think it will be too bad.
I can’t wait to serve this! Thanks again!
So very sorry about that, Ashley. I usually mix it in with the buttermilk… I’ll correct the recipe right away! Thanks for spotting this.
Hi, this cake looks amazing! Just wondering what is the purpose of the peanut oil in the sponges as i am struggling to find it in the supermarket?
Thanks!!
You can substitute any kind of oil that you prefer, Jess.
I’m attempting to make this cake in a year 9 cooking class and I was wondering if a basic buttercream would work instead of the swiss meringue buttercream? We have a time limit and a limit on our ingredients so it would just be alot easier with a basic buttercream.
Thanks
I’m not exactly sure what you mean by basic buttercream, Teagan but honestly, I think that any buttercream would do the trick!
I’m making this for work, would it be best to store in the fridge overnight and then remove in the morning for about 4-5 hours? Also, how can I store leftover buttercream?
Many thanks!
Ella
Definitely store in the fridge and take out about 4 hours before serving. Leftover buttercream should be stored in refrigerator. Bring it back to room temperature and give it a quick whip before using.
I had this cake for my birthday everyone loved it and my friend wedding cake and this year i have loss a love one my father passed way last week
Very great Cake
When baking the layers do you put all three pans in the oven at once or do you put them one at a time? Not sure all three pans would fit on one shelf in my oven. Just thinking about ensuring that each pan receives an even cook in the oven? Maybe best to do one at a time so each pan be in the centre of the middle shelf? Does the cooking time need to be reduced?
Hi!
I’m making this cake for my Aunts birthday. What kind of dark, white and milk chocolate do you recommend?
Thank you in advance.
Hi. This cake looks amazing. I want to make it for my sisters bday but they dont like buttercream. Can I make whipped cream instead?
I’m afraid not… whipped cream would be too fragile for this cake.
It is a wonderful cake it was delicious
Hello! Can I replace the peanut oil with vegetable (canola) oil? Thanks!
Absolutely!
I tried to make a cake very similar to this one but the white chocolate layer overflowed. I even made it twice and still had problems. The only thing that I can think is that I live at a high altitude. Do you think this recipe will work? I still really want to make this, but the person who wrote the other recipe deleted every comment that I made and refused to help me. You seem like you are going to be more helpful.
I’m really not sure what may have caused that… did you get the same result with my recipe? Perhaps try filling the pan with the white chocolate batter a little bit less? That way it shouldn’t overflow…