This Salted Caramel Sauce is sooooo crazy delicious, you’ll want to drizzle it over just about everything!
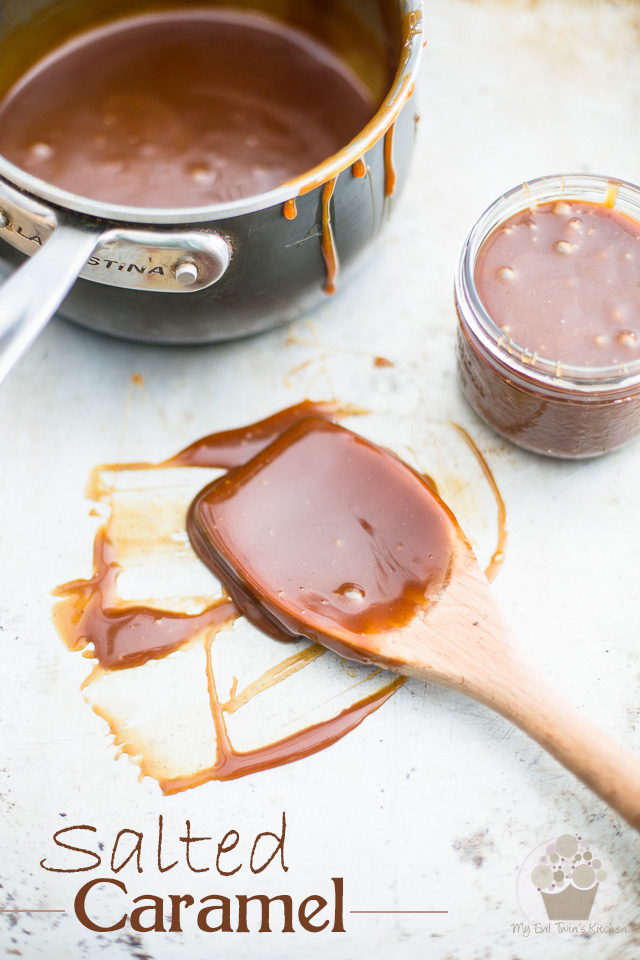
First off, a warning: just a tiny little spoonful of this delicious Salted Caramel Sauce will probably have you flying straight to seventh heaven, and the ride there might not be all that gentle, either. I mean you will probably get there in 2 milliseconds flat, so you better hold on to your hat!
In fact, this recipe was designed to be used as a gooey center for soft caramel chocolates. Yeah, it’s THAT good.
But that doesn’t mean that you HAVE to use it for that specific purpose. In fact, I rarely ever use it for that. I much prefer sitting myself down with the jar and eat it by the spoonful! No, seriously, I’m just kidding. I mostly tend to use this heavenly caramel as a component in some other super decadent recipes, such as this fabulous Chocolate and Salted Caramel Cheesecake, for instance.
It’s also super fantastic drizzled over vanilla ice cream, or your favorite chocolate cake! Think you can’t make a brownie even more decadent? HA! Just wait ’til you topped one with a generous drizzle of this sweet and salty delicacy. You’ll think you died and went to heaven.
Trust me. You WANT to make this caramel sauce, like NOW.
You may find it a little bit tricky to prepare at first, but once you get the hang of it, I swear you’ll be making it with your eyes closed. And seriously, once you have your own jar in the fridge, you will NOT be needing my help in finding ways to use it up (in fact, you may be needing help in finding ways to keep away from it…)
Step-by-Step Instructions & Pictures
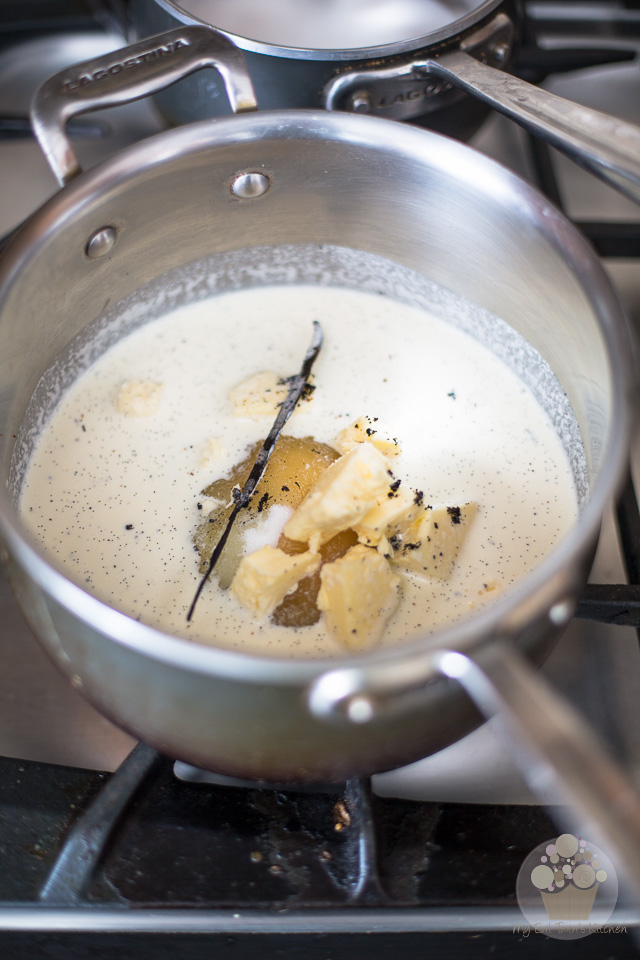
In a small saucepan set over medium heat, mix all the ingredients listed under “Part 1”, namely heavy cream, granulated sugar, honey, butter, salt and the scraped seeds of a vanilla bean and cook, stirring frequently, until the mixture just barely starts to simmer then kill the heat and set aside.
It is important that you do not let this mixture come to a full boil. Oh, and feel free to also throw in the vanilla “pod”, as it’ll infuse more flavor into the cream as it comes up to a simmer. We’ll simply need to fish it out later, that’s all.
Also too, feel free to use more or less salt to suit your taste. I don’t recommend leaving it out completely, as the salt does bring out the sweetness of the caramel, but you could go as low as just a pinch if you didn’t want your caramel to be salty. On the other hand, if you wanted your caramel to be significantly salty, you could go up to a full teaspoon. If you’re not sure, you could also wait until the caramel was finished (and slightly cooled) and adjust saltiness then.
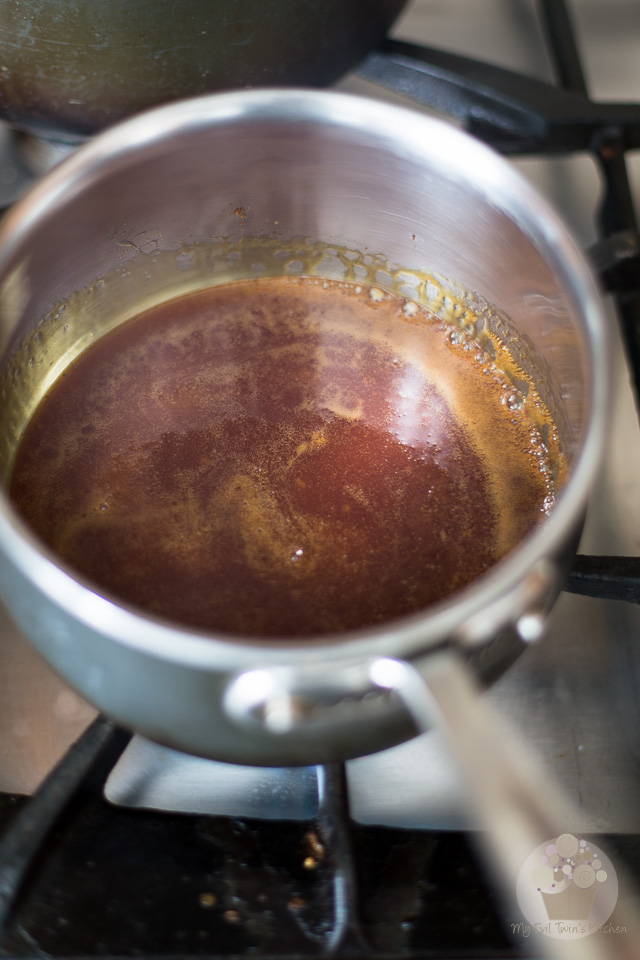
Alright, so while your cream is slowly coming up to a simmer, place the sugar listed under “Part 2” in a medium saucepan and slowly melt it over medium-high heat.
Note that the sugar will bubble up quite violently when we add the cream to it later, so make sure you choose a saucepan that’s large enough for the caramel not to boil over.
Try not to stir the sugar, as you want to avoid forming sugar crystals on the side of the pan. You may occasionally move the sugar around very delicately with a wooden spoon just to help it melt more evenly.
Bring the melted sugar to the boil and then let it boil until it takes a beautiful dark amber color, about 3 to 5 minutes.
It’s not important that your sugar reaches a specific temperature here; it’s all in the color: the darker your caramel, the more robust its flavor will be.
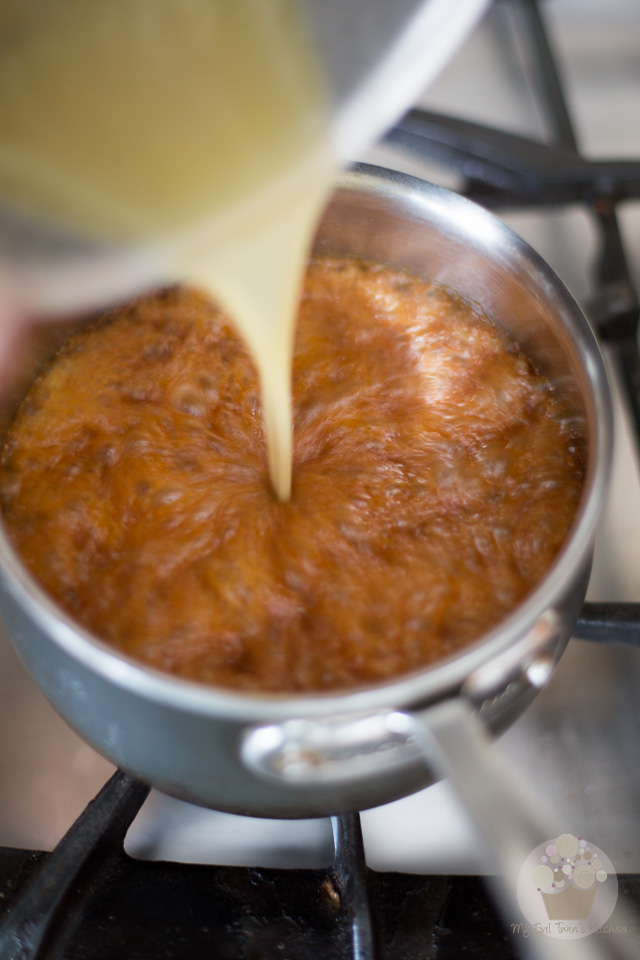
AS SOON as your sugar has reached the desired color (really, this can’t wait, not even a few seconds as the sugar will continue cooking even after you’ve taken it off the heat), TAKE IT OFF THE HEAT and SLOWLY pour in the reserved warm cream mixture, while constantly stirring with a long handled wooden spoon.
As I mentioned earlier, the caramel will boil very violently at this point and will also expand quite dramatically. The constant stirring will help prevent the caramel from boiling over, as will adding the cream very slowly.
Also make sure that you use a long-handled spoon: the vapors that will emanate from this sugary concoction are EXTREMELY hot and could burn your skin if you’re not careful.
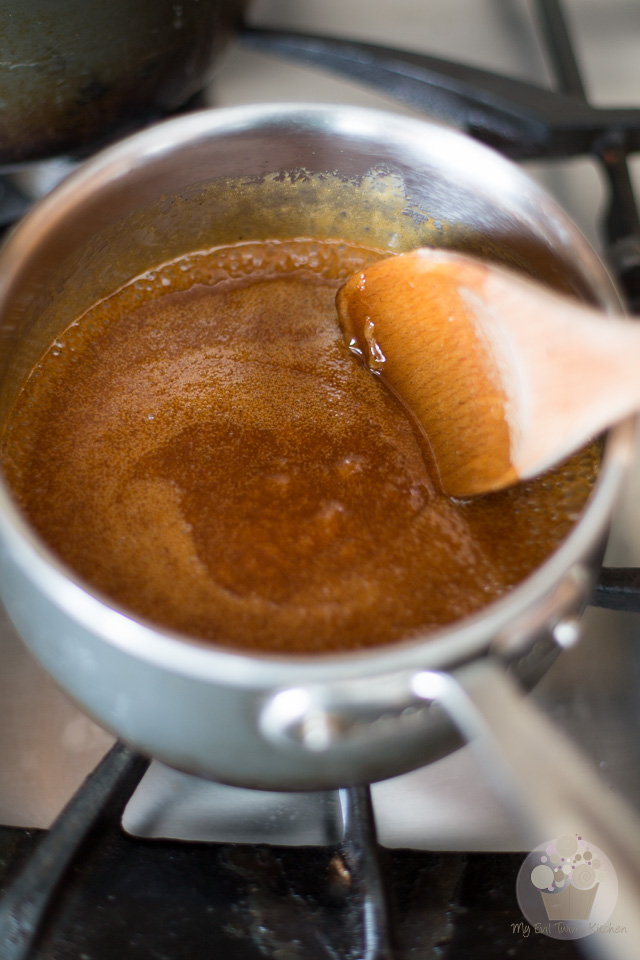
The furious boiling will eventually subside, fear not.
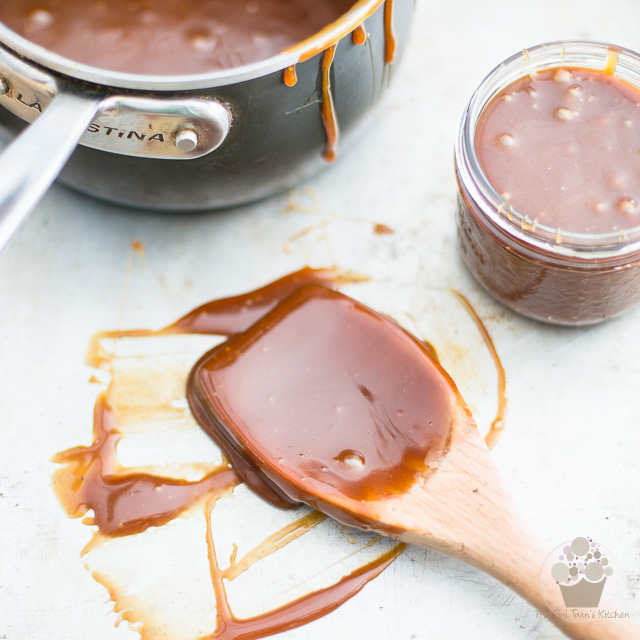
And this is what you will be looking at. Beautiful, isn’t it? And just you wait until you get to smell this…
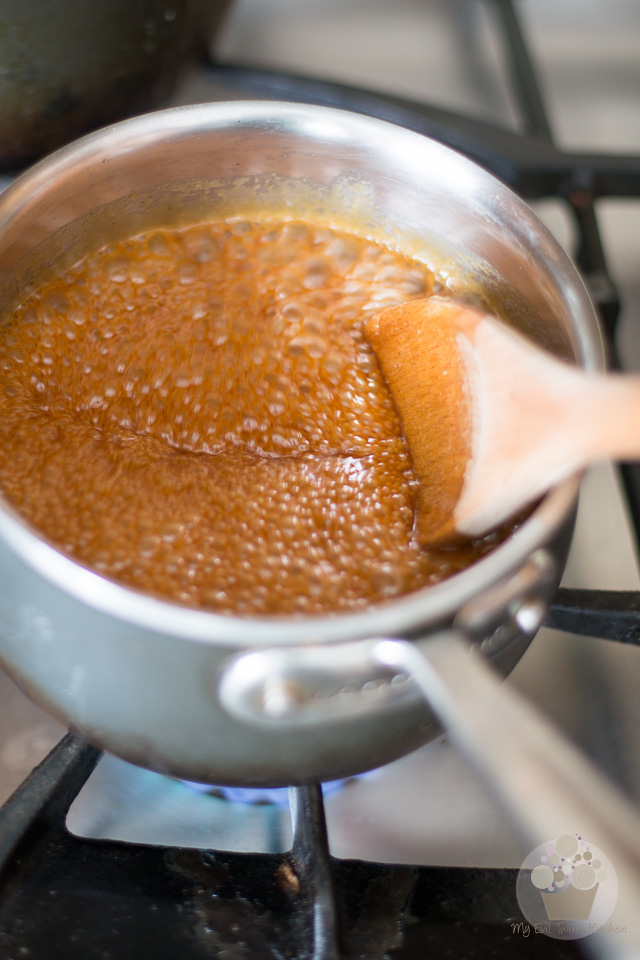
We’re almost there now we want to place the caramel back over the heat source and bring the caramel back to a boil; continue cooking for 1 full minute while stirring constantly.
It won’t boil quite as intensely this time around, but still; keep stirring!
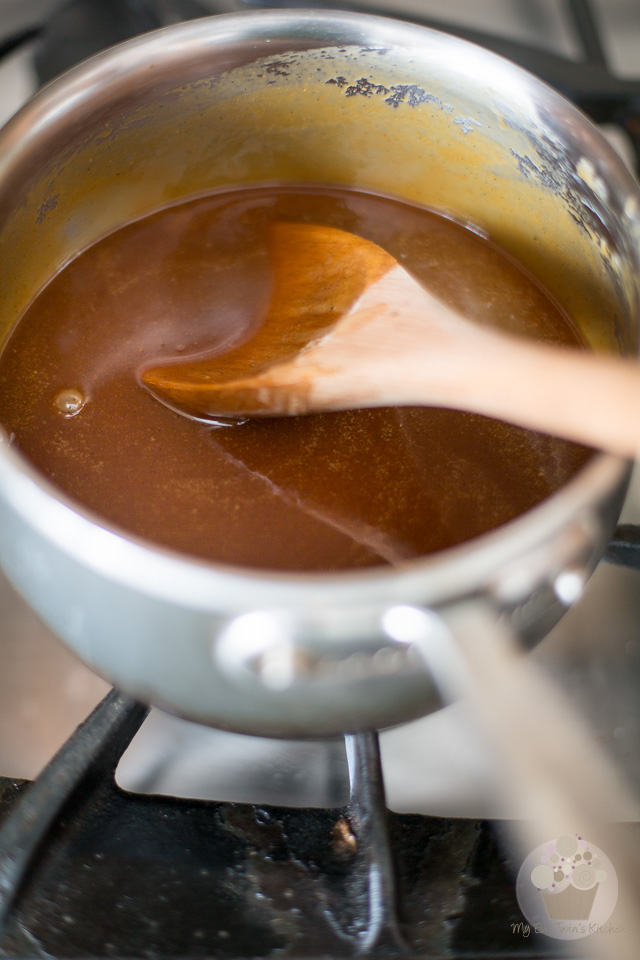
After a minute, turn off the heat and give that beautiful, silky, sweet and salty sauce a few minutes to come down in temperature. Then, you can finally taste it and adjust saltiness to suit your taste buds.
That’s after they have recovered from the shock of tasting such a delicious thing, that is!
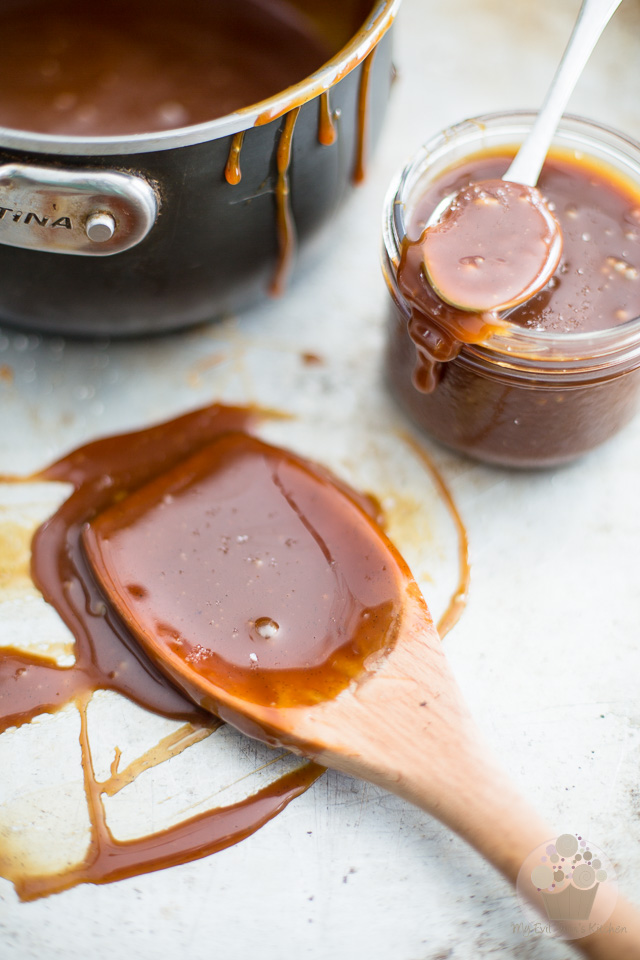
Now store your caramel sauce in the refrigerator in an airtight container, where it will keep for several weeks. And if you find that your caramel has firmed up a bit too much after having been refrigerated, know that you can always pop it in the microwave for a few seconds to bring it back to soften it a bit.
Ingredients
- 1 cup (240ml) heavy cream
- 3/4 cup (150g | 5oz) granulated sugar
- 1/4 cup (80g | 3oz) liquid honey or corn syrup
- 1/4 cup (60g | 2oz) butter
- 3/4 tsp salt (I use Himalayan salt)
- 1 vanilla bean, seeds scraped
- 3/4 cup (150g | 5oz) granulated sugar
Instructions
- In a small saucepan set over medium heat, mix all the ingredients listed under “Part 1” and cook, stirring frequently, until the mixture just barely starts to simmer then kill the heat and set aside. It is important that you do not let this mixture come to a full boil.
- Meanwhile, place the sugar listed under “Part 2” in a medium saucepan and slowly melt it over medium-high heat. Note that the sugar will bubble up quite violently when we add the cream to it later, so make sure you choose a saucepan that’s large enough for the caramel not to boil over. Also, try not to stir the sugar to avoid the formation of sugar crystals. You may occasionally move it around very delicately with a wooden spoon just to help it melt more evenly. Bring the melted sugar to the boil and then let it boil until it takes a beautiful dark amber color, about 3 to 5 minutes.
- As soon as your sugar has reached the desired color, take it off the heat and slowly pour in the warm cream mixture while constantly stirring with a long handled wooden spoon. Stirring constantly will help prevent that caramel from boiling over, and so will adding the cream very slowly.
- Once all the cream has been successfully and completely incorporated and once the violent boiling has subsided, place the caramel back over the heat source and bring the caramel back to a boil; continue cooking for 1 full minute while stirring constantly, then turn off the heat and set aside to cool.
- Store in an airtight container in the refrigerator for up to a several weeks.*
Notes
*If the caramel sauce becomes too firm once refrigerated, you can soften it by placing it for a just a few seconds in the microwave.
I understand it won’t be the same, but if I wanted to use vanilla instead of a vanilla bean, how much would you recommend?
Use a generous teaspoon of the best vanilla you can get your hands on, Marcelle. Like you said, it won’t be quite the same though. This caramel sauce is to good, it’s well worthy of using the fresh beans!
OMG. This is awesome. Great step-by-step instructions and I managed to find the patience to melt the sugar (have always found this one of the trickiest things to do in the kitchen), without stirring and it turned out fab. Now to the chocolate salted caramel cheesecake. Thankyou!