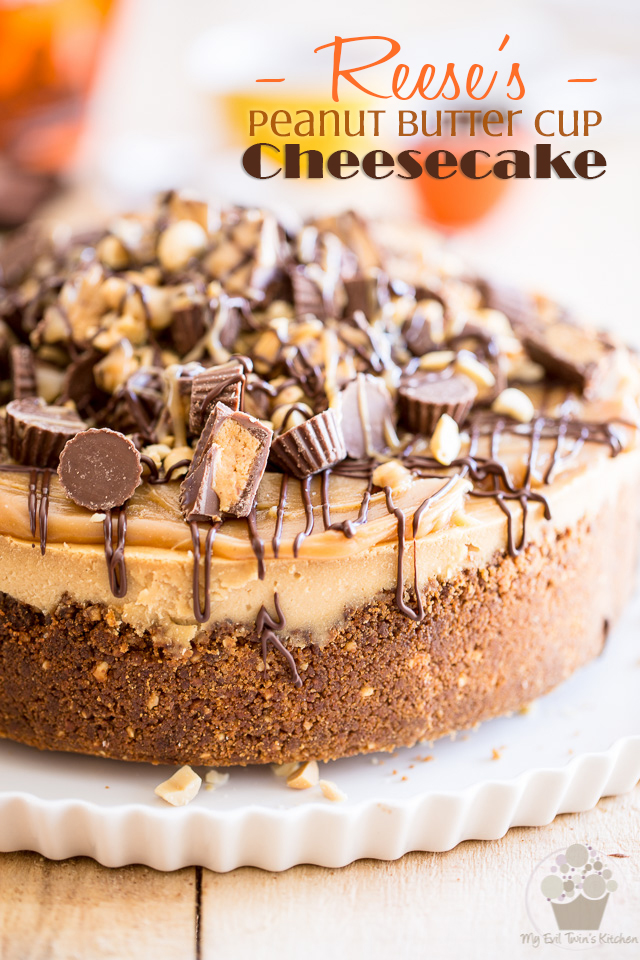
For my birthday this year I created the absolute most decadent Reese’s Peanut Butter Cup Cheesecake ever and topped it with a luscious peanut butter caramel! So heavenly, makes me wish it were my birthday every day…
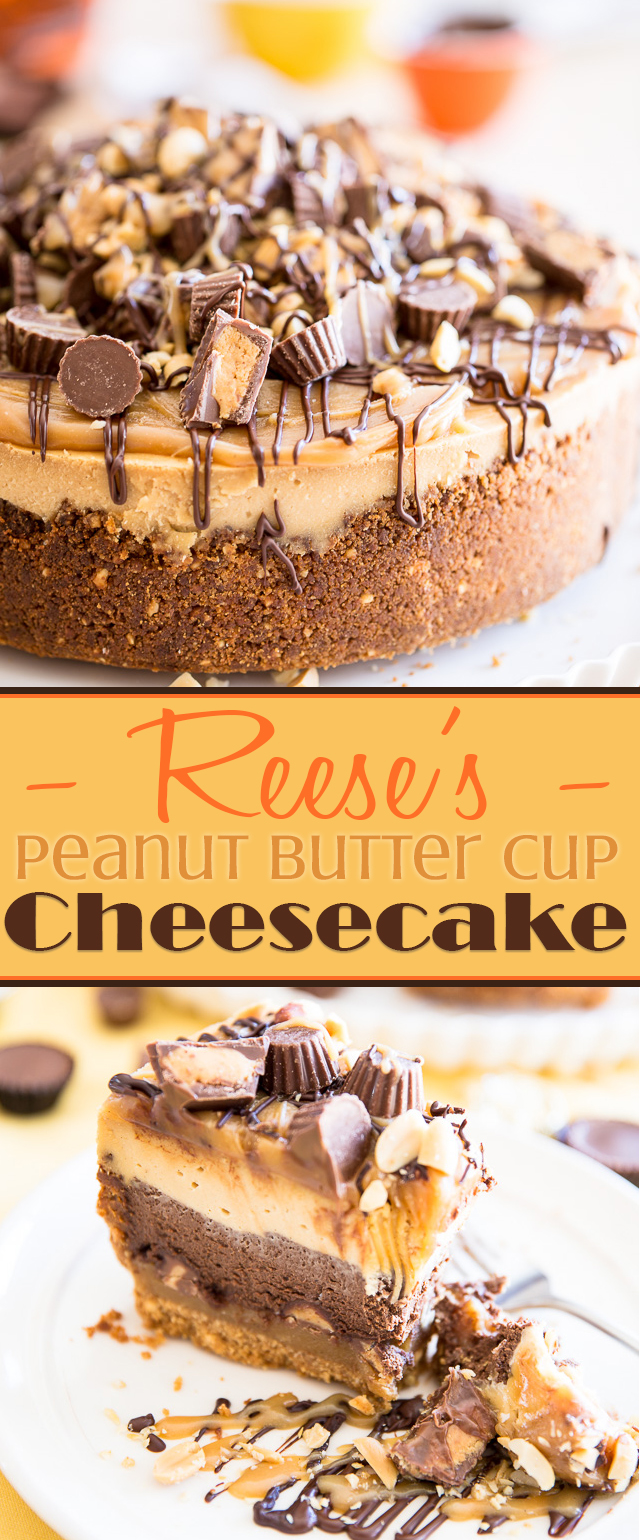
This, people, was my birthday cake this year.
For MONTHS, I dreamed about it, imagined it in my mind, thought of how I would make it, what ingredients I would use and how I would put everything together. I studied many a Reese’s Peanut Butter Cup Cheesecake recipe over the web, but none of them quite fit exactly what I had in mind. Sure, they all looked very good, especially for a peanut lover aficionado such as me, but I wanted something more, you know. I wanted to take mine to the next level. I wanted to make it utterly decadent, almost to the point of illegality.
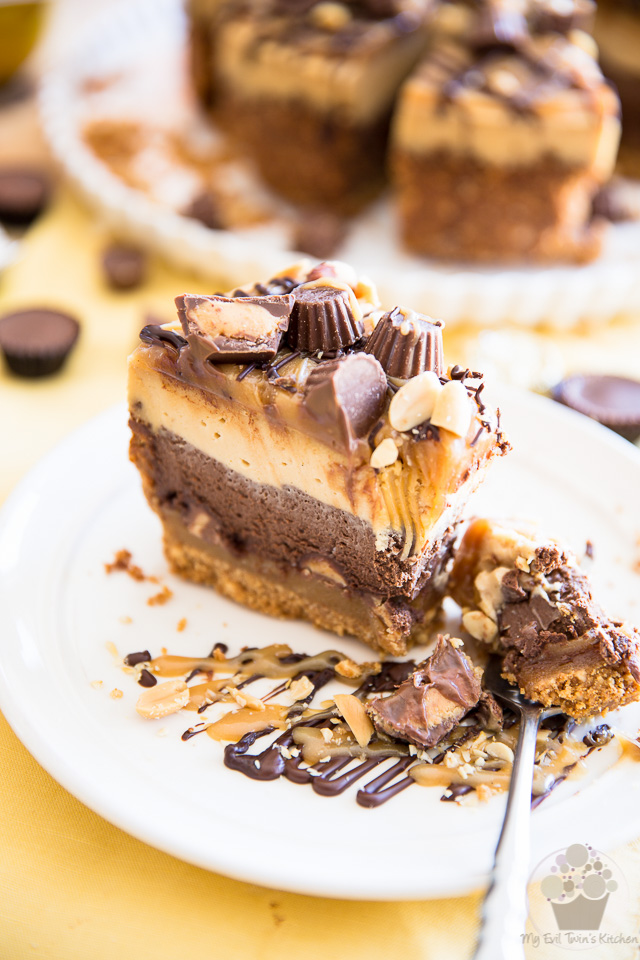
I finally decided to use my Chocolate and Salted Cheesecake as a base for inspiration. Just like it, I wanted this cheesecake to have two distinct layers, except this time, one would be chocolate, and the other one peanut butter. And I wanted both flavors to be discernible, too. I didn’t want the chocolate to overpower the peanut butter, or vice versa. And to kick things up a notch, I had visions of a lusciously thick Peanut Butter Caramel covering the base and top of my cake. I wasn’t quite sure how I was gonna get it done, but I knew I had to have it.
Last but not least, in my fantasy that ideal, epic cheesecake would have to be loaded with mounds of Reese’s Peanut Butter Cups, would look totally drool-worthy and taste even better than it looked. This birthday cake of mine, I wanted it to be perfect. And let me tell you that it was! The textures, the flavors, the way it looked. I love everything about it. If I was to do it again, I wouldn’t change a single thing.
NOT ONE.
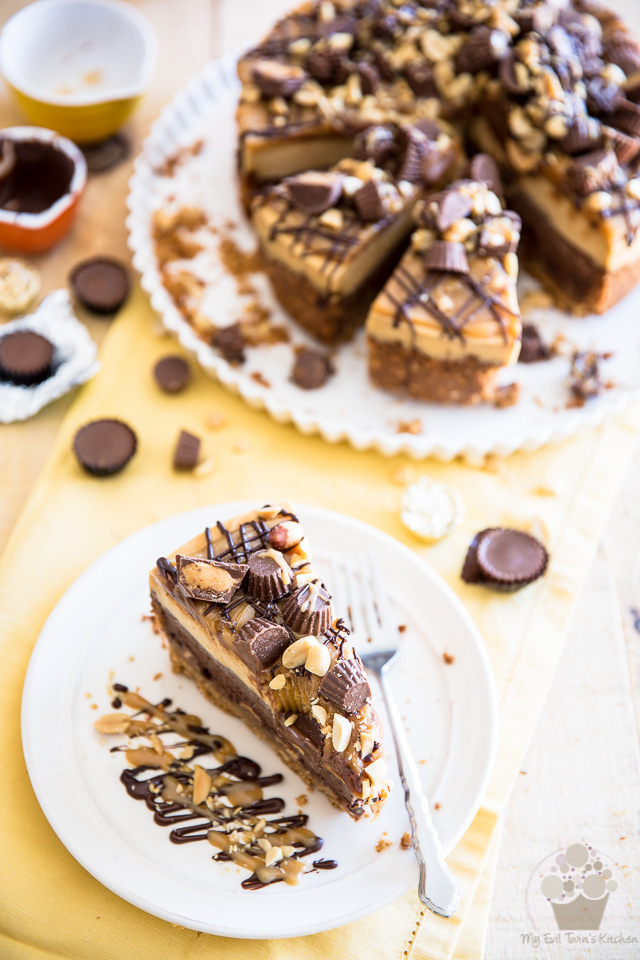
As sad as it may sound, though, circumstances made it so I ended up being all by my lonesome to eat it. No, I don’t mean that I ate the whole thing by myself. I had one slice on my birthday, and another one the next day. Then I shared the love with the people around me, and everyone who was fortunate enough to taste it had nothing but great things to say about it.
Even my son, who doesn’t really have a sweet tooth, had not one but TWO slices. I had managed to find lucky takers for all the slices except one, so I told him to bring that last one to his friend who had loved it so much, he’d raved about it for days. Initially he said: “sure, I’ll bring it to him, he’ll be happy”, but then, as he was about to leave, I reminded him not to forget the cake and he said, much to my surprise: “well, you know what? I decided that I would keep it for myself, after all. I’ll eat it when I get back from school tonight.” My jaw dropped to the floor. My son does not usually eat cake and I was already really surprised that he’d eaten an ENTIRE slice the first time around, but for him to have a second one? I couldn’t believe my ears.
That, people, means that this cake really is something else!
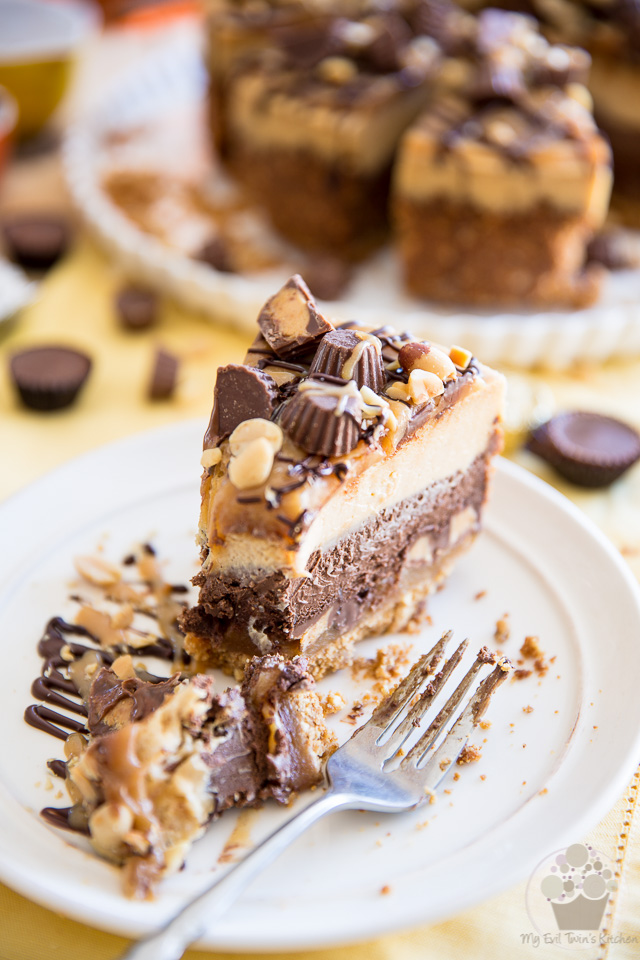
I’ll give it to you, there are many, many steps and this is the kind of cake that you make over the course of 2 days since the cheesecake needs to chill completely before you get to put the finishing touches on it. But all that hard work is really, totally, entirely worth it.
This cake is a real stunner. Total decadence. A peanut butter lover’s paradise.
Bring this cake to a party, pot-luck dinner or family reunion, or make it for your birthday and distribute the love around you, and you will forever be seen as a hero.
If you love cheesecake, chocolate and peanut butter, then you HAVE to make this cake at least once in your lifetime.
STEP-BY-STEP INSTRUCTIONS & PICTURES
First, let’s make some Peanut Butter Caramel
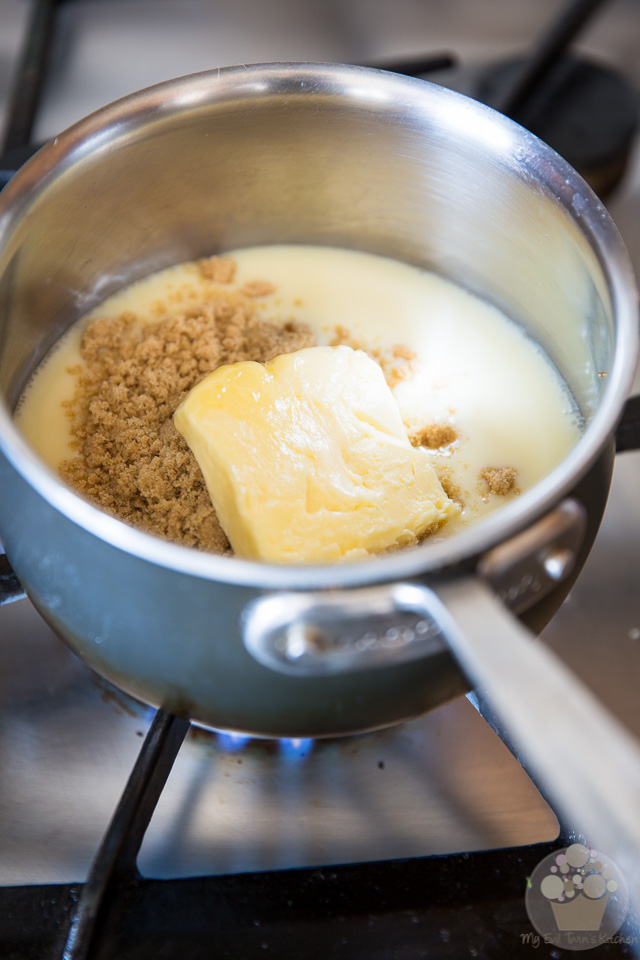
Combine the sweetened condensed milk, butter and brown sugar in a saucepan set over low heat.
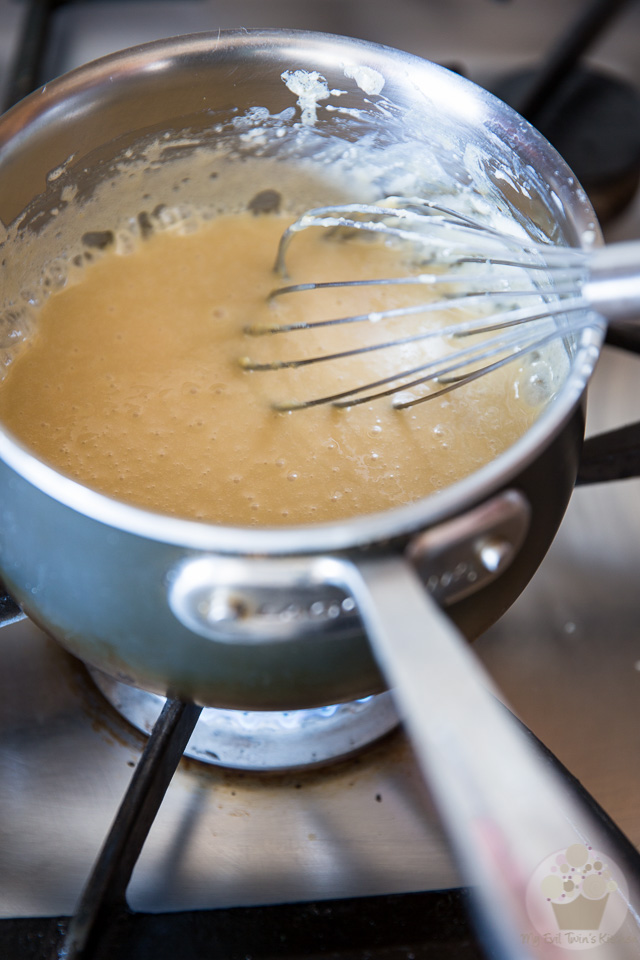
Cook, stirring very frequently…
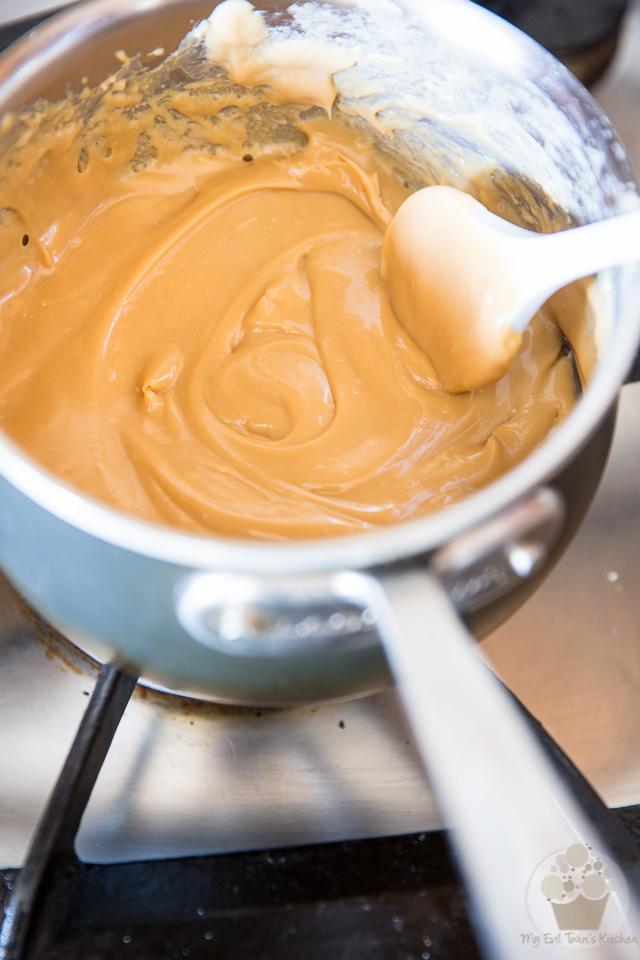
…until the mixture becomes thick and “sticky” and has the same color as peanut butter, about 10 minutes
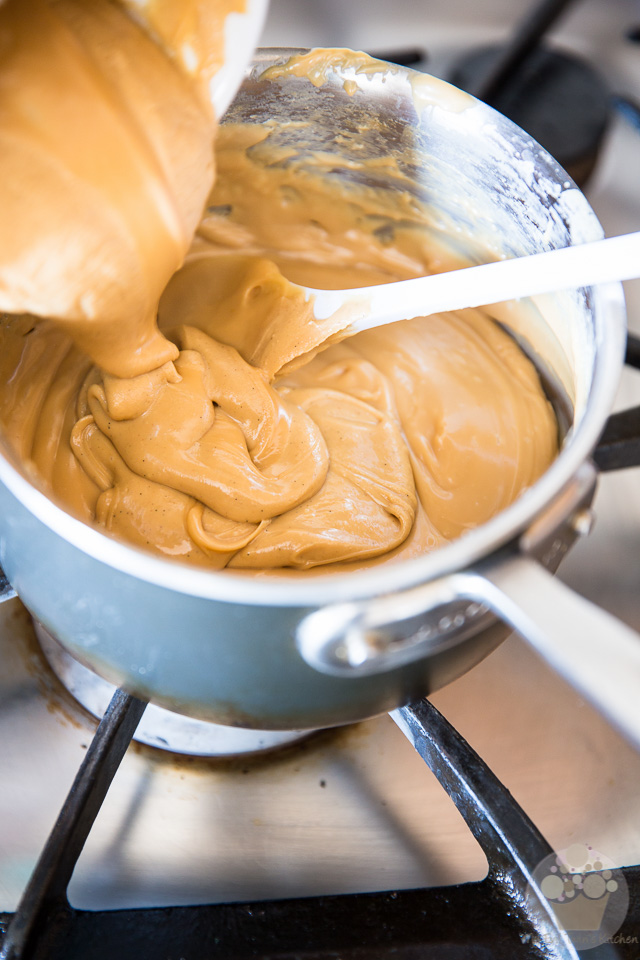
Add the creamy peanut butter…
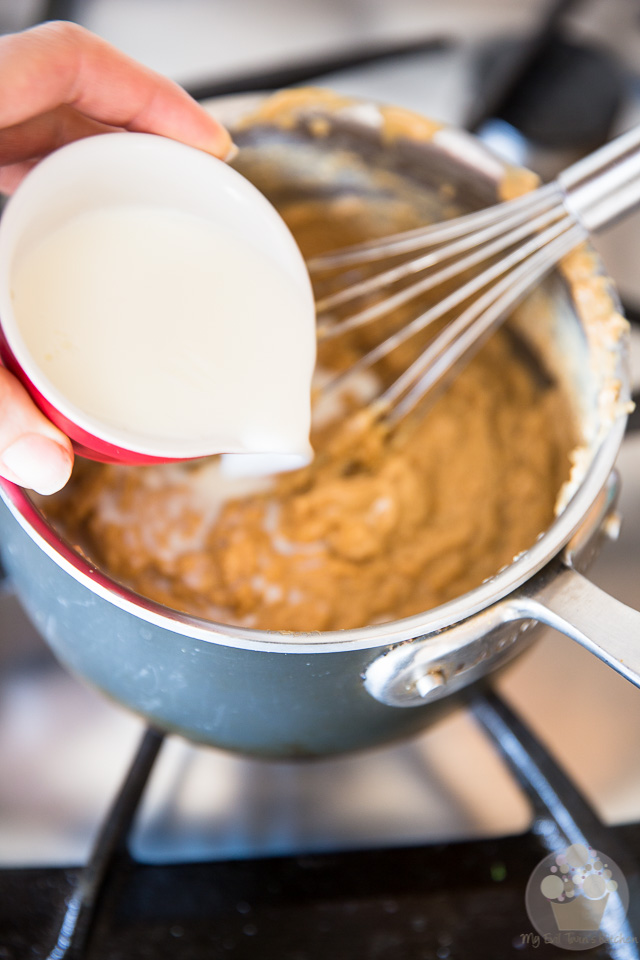
…followed by the milk and vanilla extract.
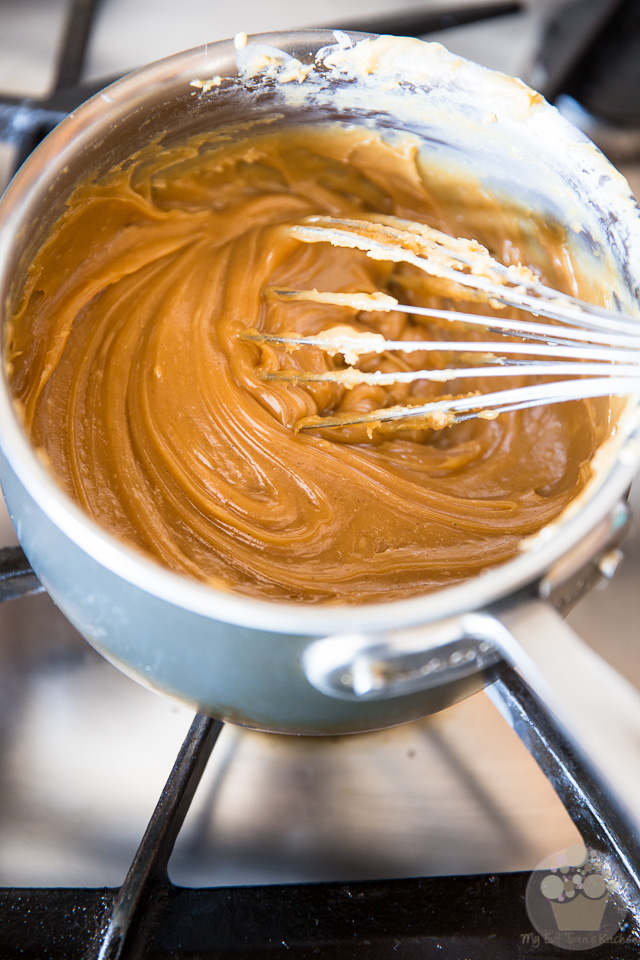
Whisk until well combined and the mixture has the consistency of soft, spreadable toffee.
If you find that it’s a little bit too much on the stiff side, add a little bit more milk, one tablespoon at a time, until it has the desired consistency. Remove from heat and reserve.
Movin’ on to the obligatory Graham Crust
But before we even get to making the crust, we have a few little things that we need to do. First, preheat your oven to 375°F
Next, line the bottom of a 9” springform pan with parchment paper. To do that, remove the ring and cover the bottom with parchment paper. Fold the excess paper back under the plate and, while holding it in place with one hand, put the ring back in its position with the other hand. Bring the excess paper back from under the pan but do not cut it off.
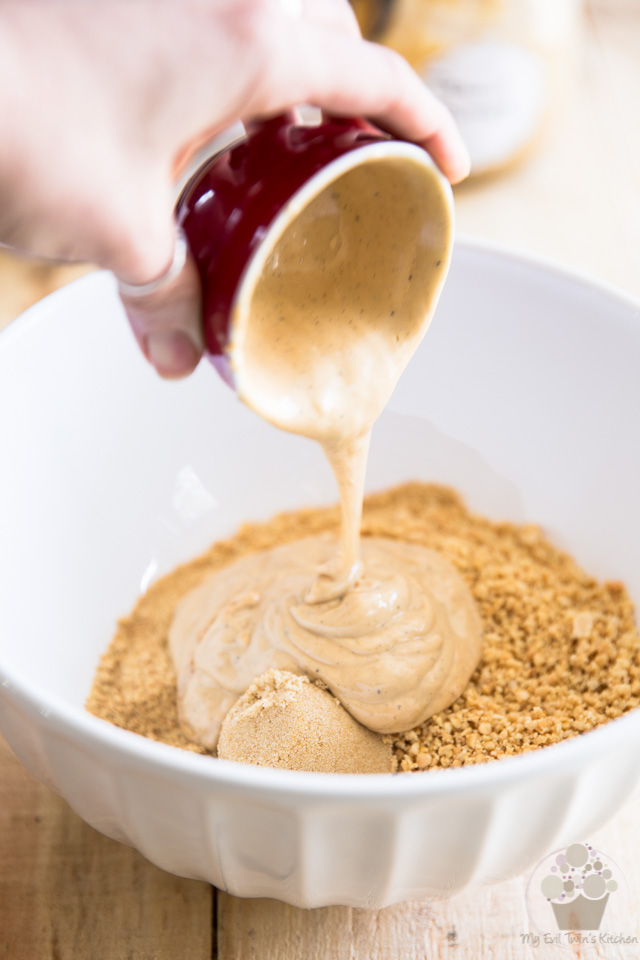
Now, combine the graham cracker crumbs, peanuts, brown sugar, peanut butter, melted butter and salt in a large mixing bowl.
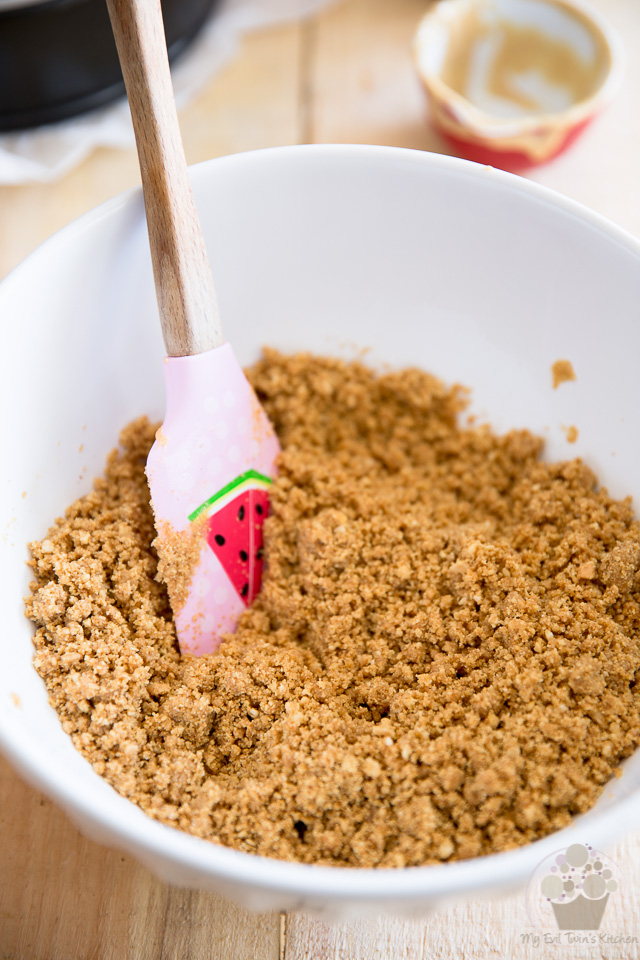
Mix until all the ingredients are well combined.
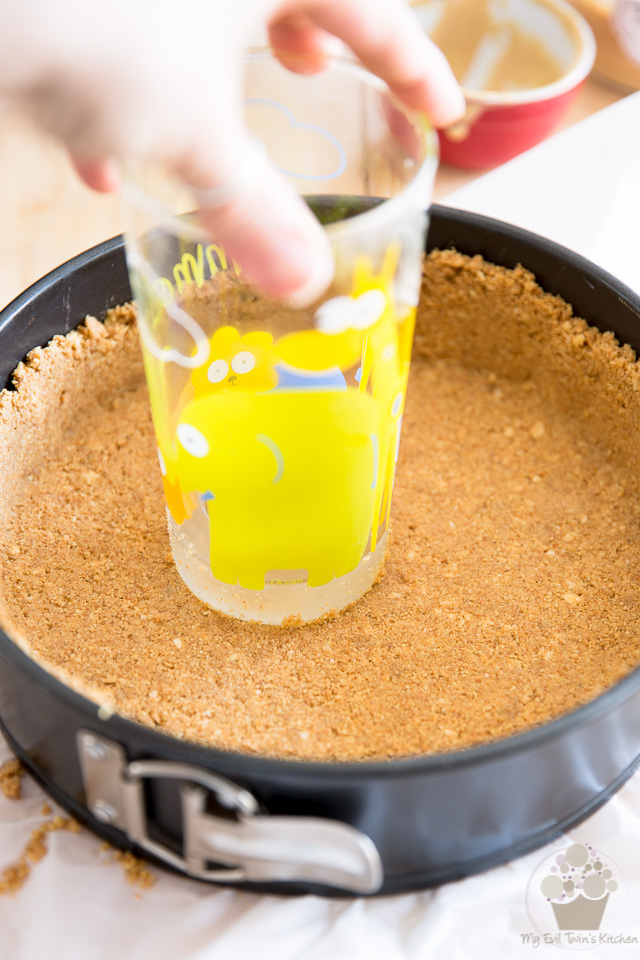
Press at the bottom and side of the prepared pan, bringing the crust about half way up the side of the pan.
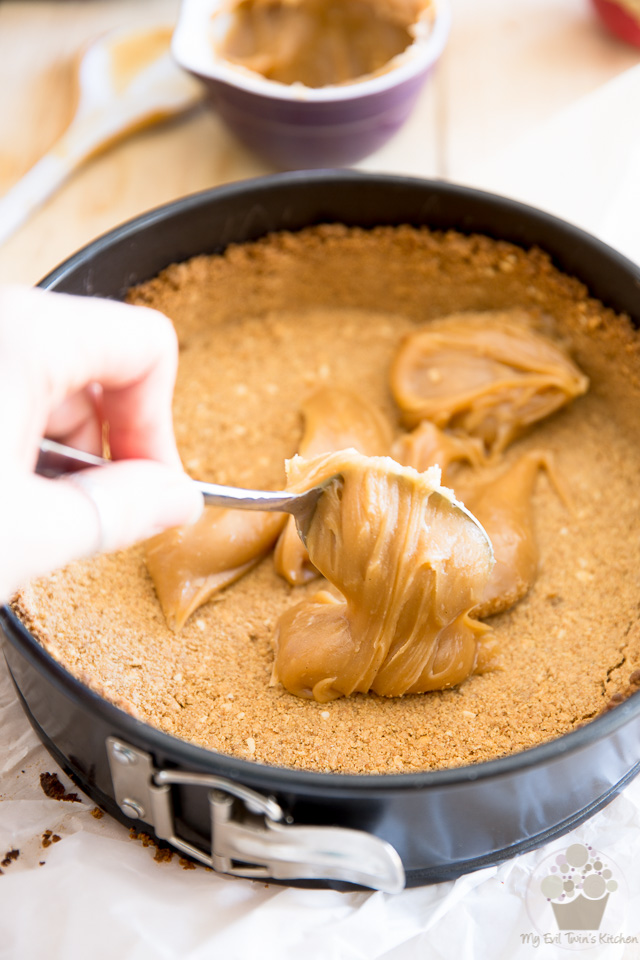
Bake the crust for 10 minutes and then spoon about 1-1/4 cup of the peanut butter caramel over the warm crust.
Hang on to the rest of that caramel until you need to use it again, which will most probably be tomorrow… Since you will have to reheat it slightly to bring it back to its spreadable consistency, you might as well leave it in the saucepan. Just make sure you put a lid on it.
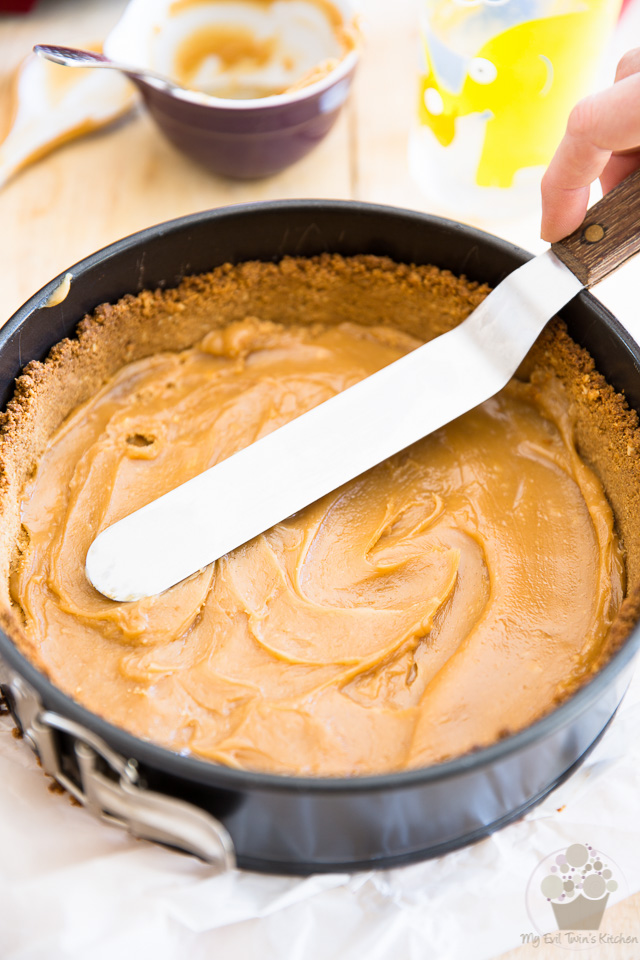
For now, spread that peanut butter caramel over the crust very delicately with a spatula, all the way to the edge.
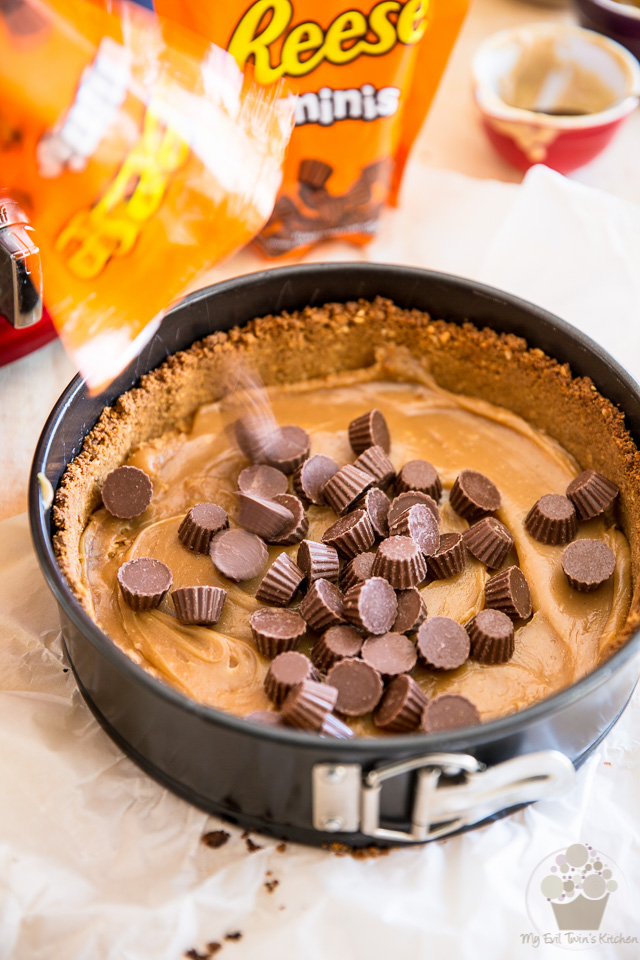
Top with a full bag of Reese’s Peanut butter Cups Minis, distribute them evenly and set aside.
Now for some Cheese Batters
Before you start, bring about 4 cups of water to a boil and reserve. You’ll need to use it in a little while.
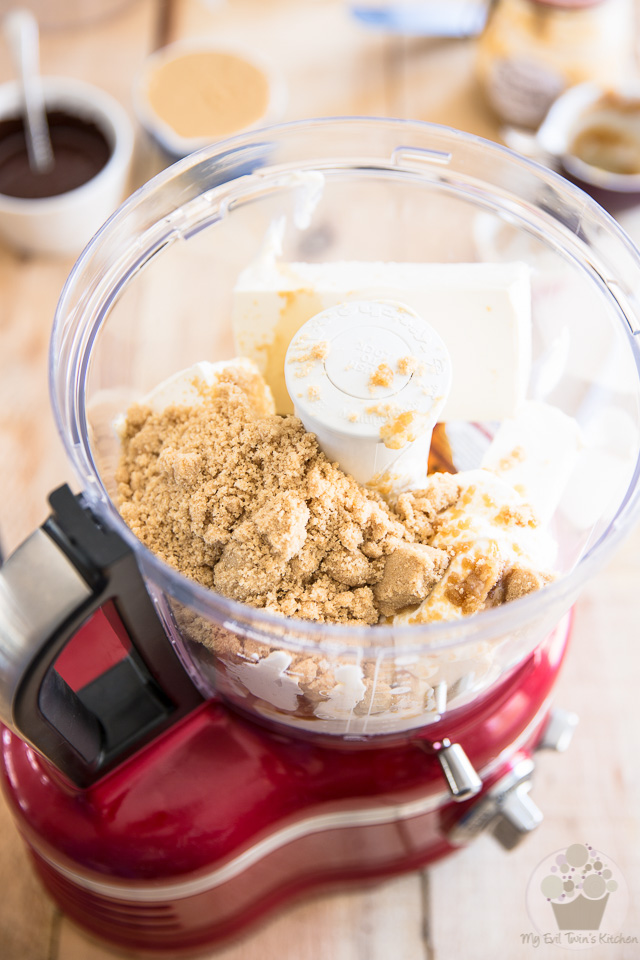
Next, combine the cream cheese, sour cream, brown sugar, vanilla extract and salt in the bowl of your food processor
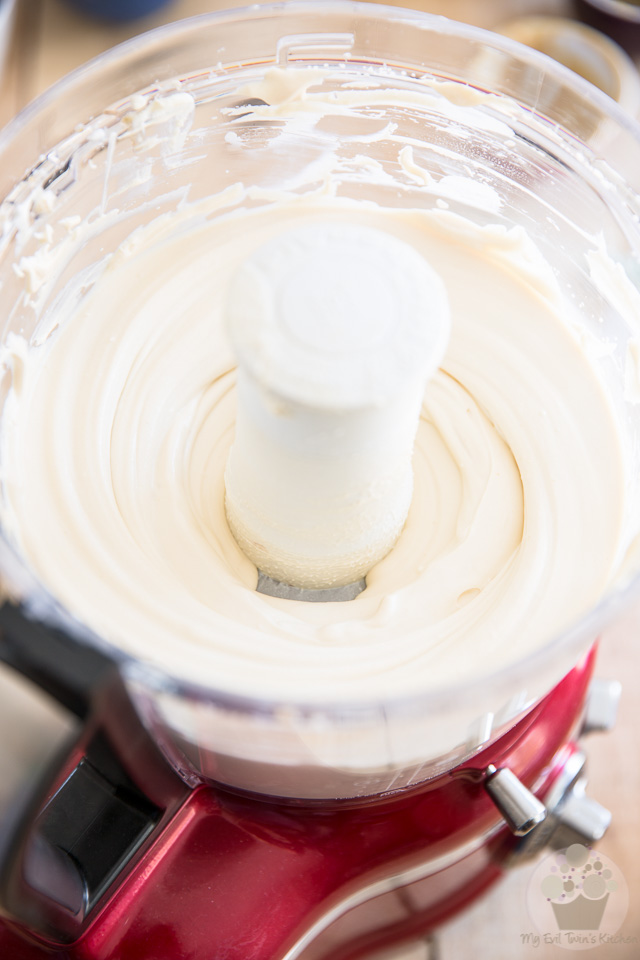
Beat until super smooth and creamy, stopping the motor to scrape the sides once or twice to make sure every last bit gets incorporated.
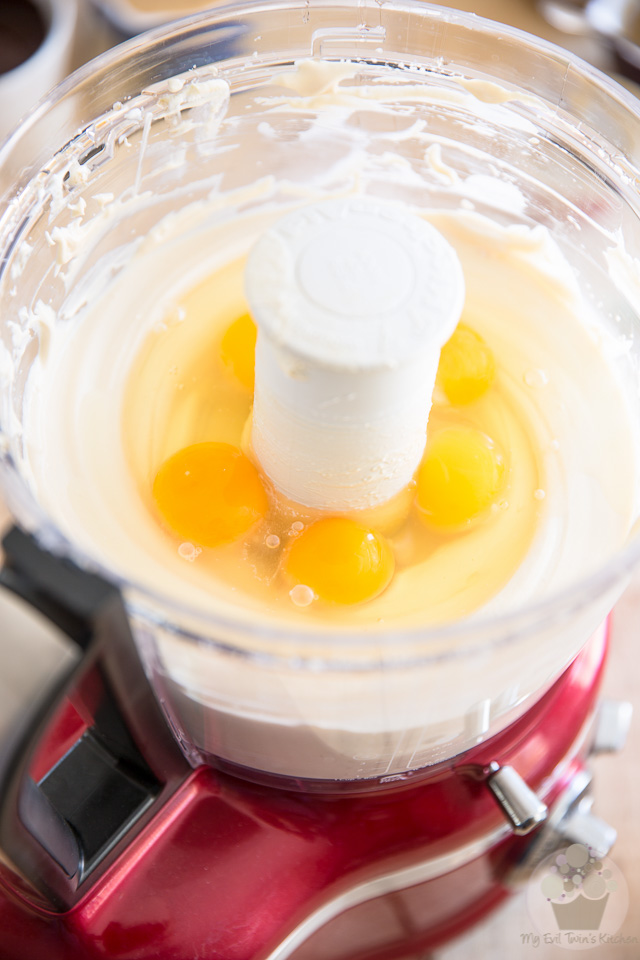
Add the eggs, all at once, and resume processing until they are fully incorporated.
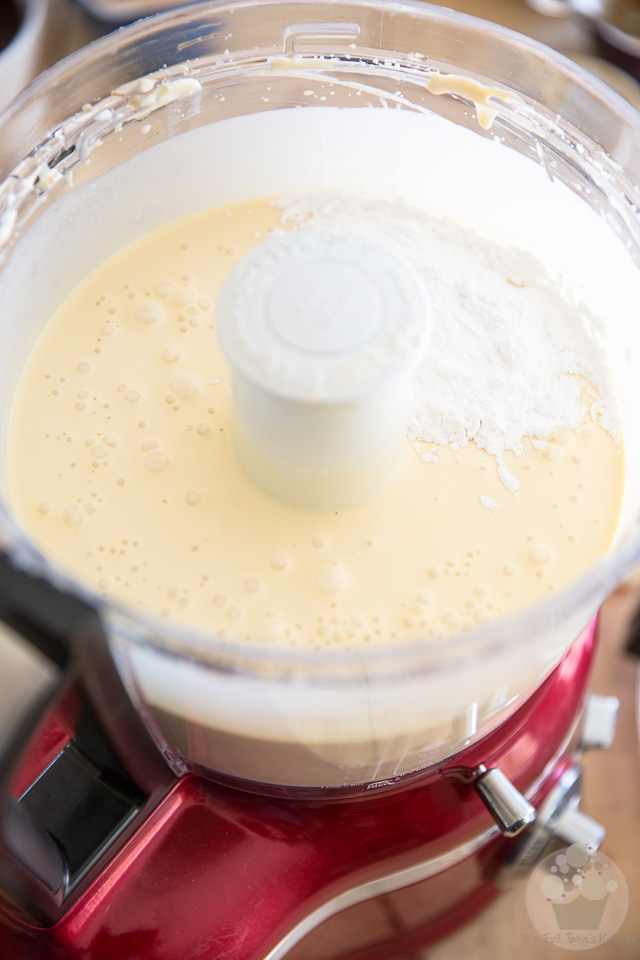
Then, add the starch and mix well.
Reserve 3½ cups of this cheese mixture in a separate bowl.
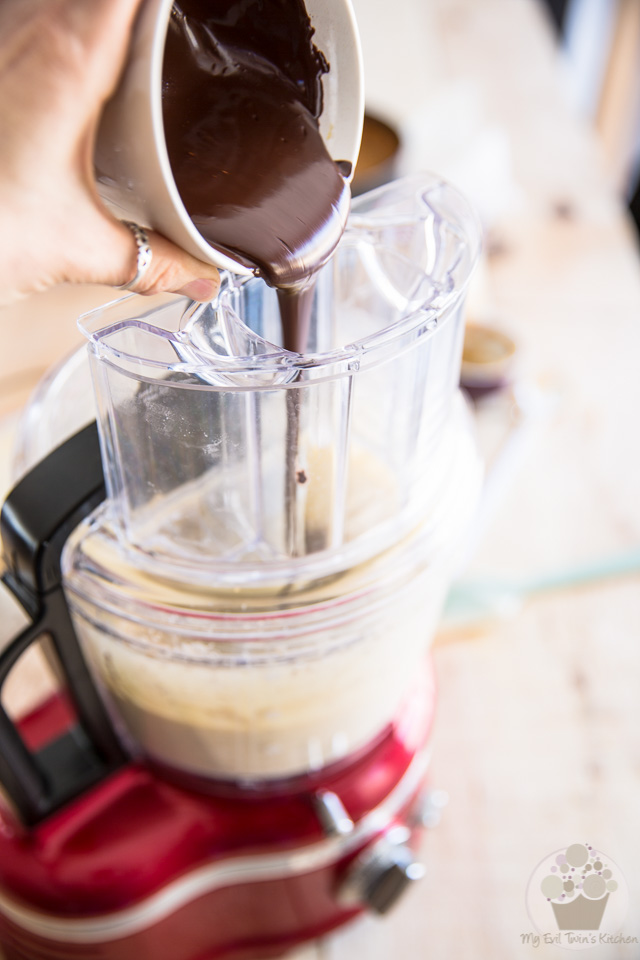
Melt the unsweetened chocolate and add this melted chocolate to the cheese mixture that is still in the food processor by pouring it into the feeding tube while the motor is still running.
I like to melt my chocolate in the microwave in 30 seconds increments, mixing well between each burst for 20 to 30 seconds, until the chocolate is completely melted and smooth. 3 to 4 bursts usually does the trick.
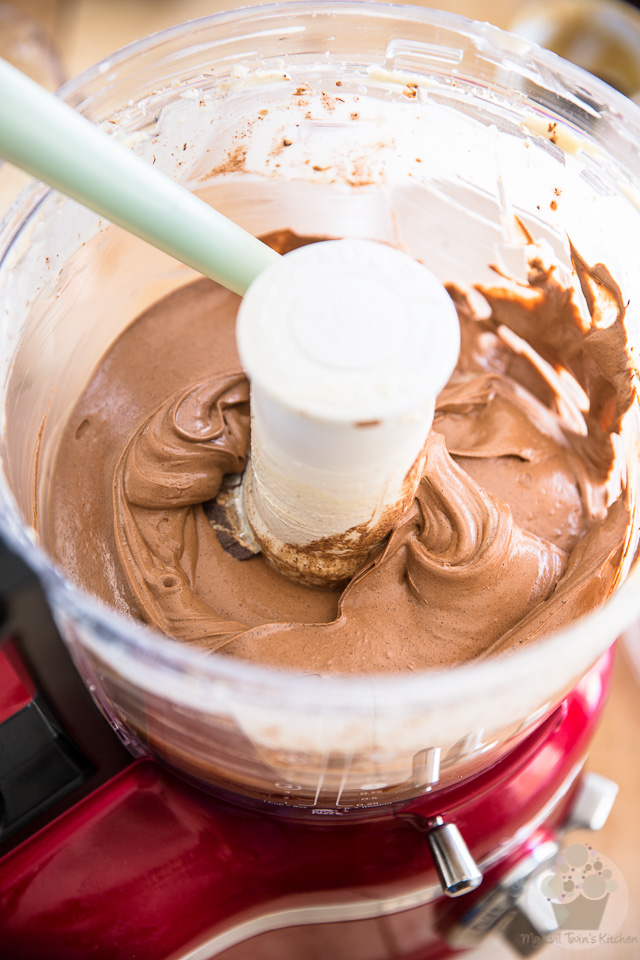
Mix until the chocolate is well incorporated
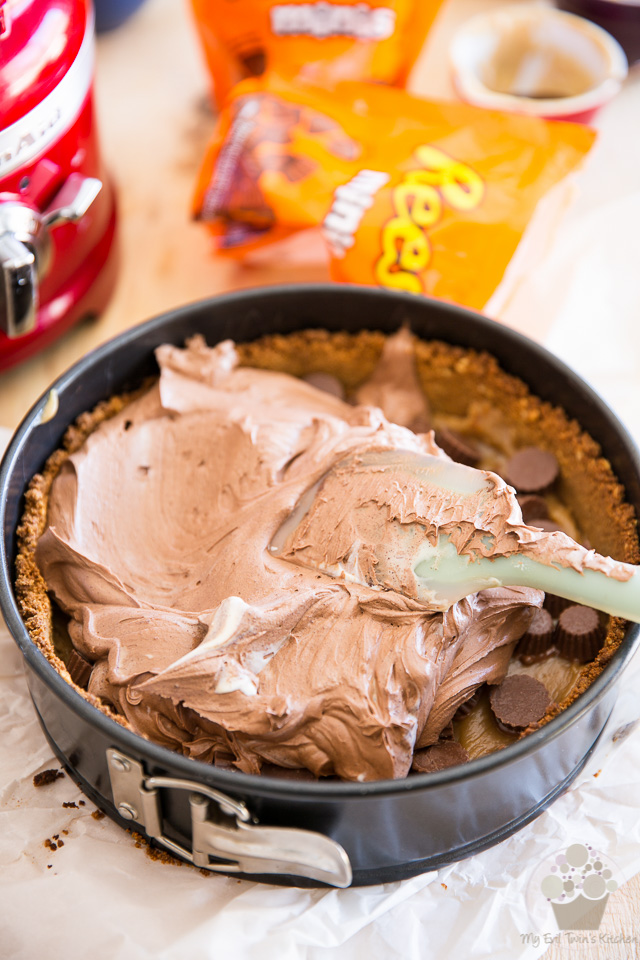
And then pour the chocolate cheese batter over the reserved crust. Spread evenly all the way to the edge.
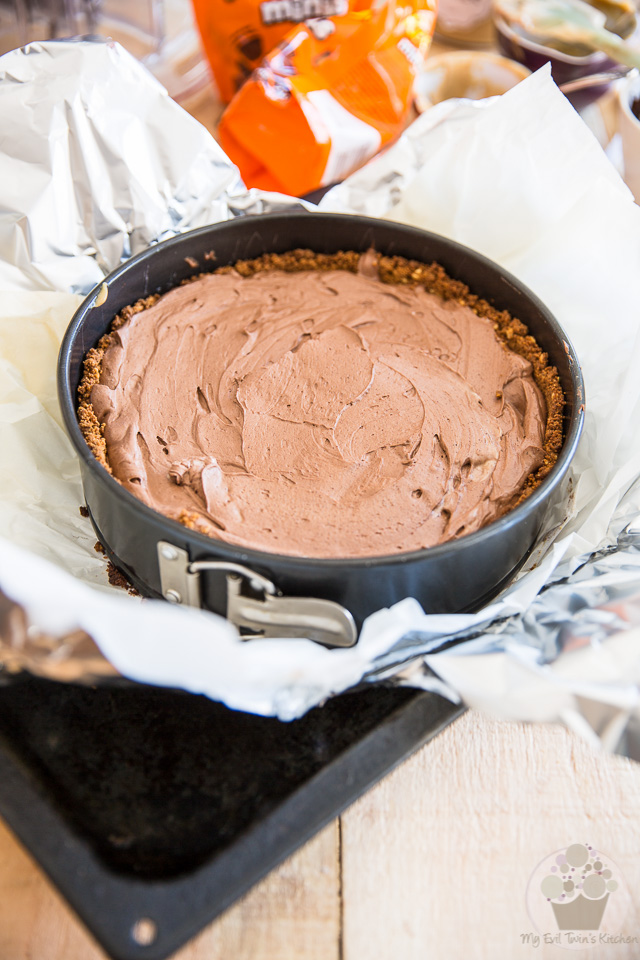
At this point, it would be a good idea to place the cake over a piece of aluminum foil and fold that piece of foil over the pan so the exterior is completely covered. This will prevent any water we’ll be pouring under the cake later from seeping into the pan.
Now place your cake in a broiler pan and set aside.
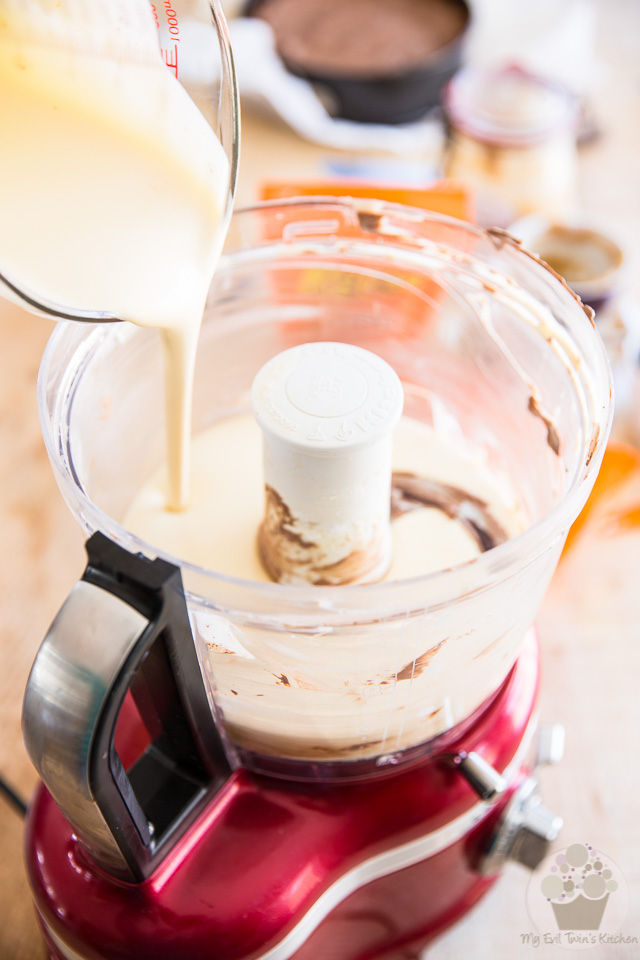
Return the cheese batter that you reserved earlier back to the food processor;
As you can see, I didn’t even bother rinsing my bowl, but I made sure that I scraped it really well. I didn’t want any traces of chocolate to affect the color of my peanut butter cheesecake batter. The very minimal amount that I left behind didn’t do any damage at all…
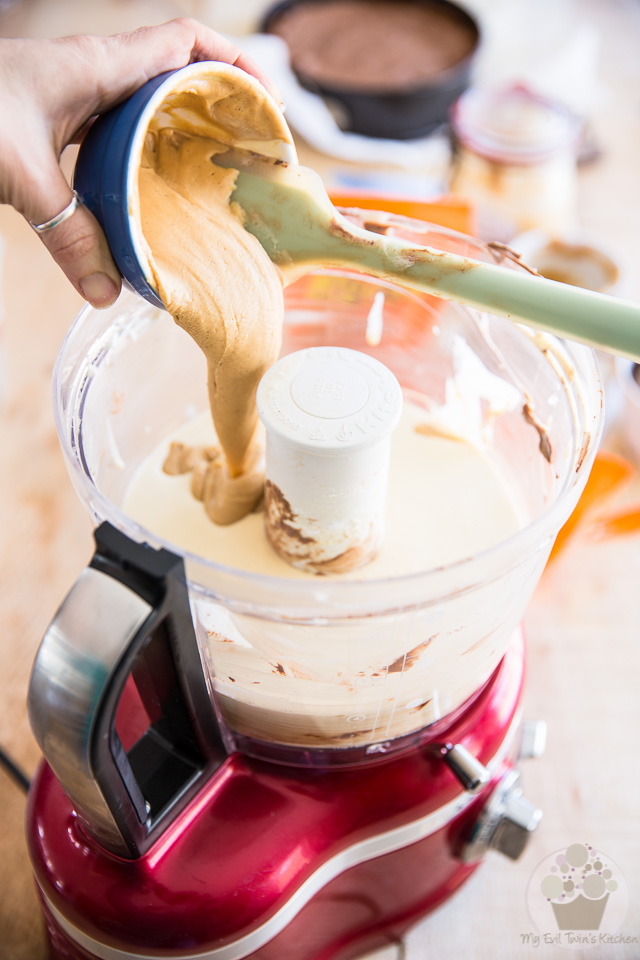
Add 1 cup of peanut butter to your batter…
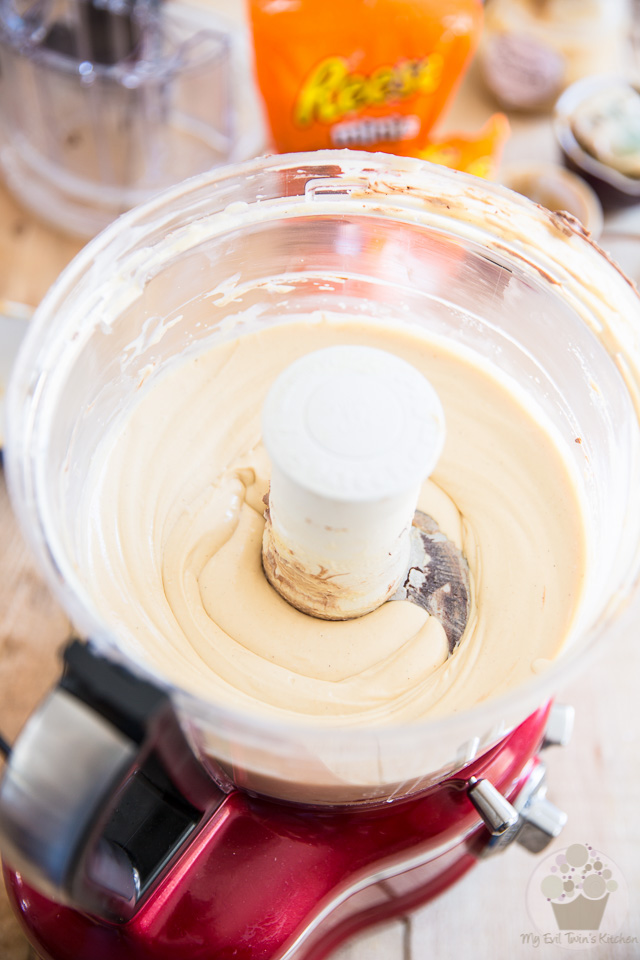
…and mix until well combined.
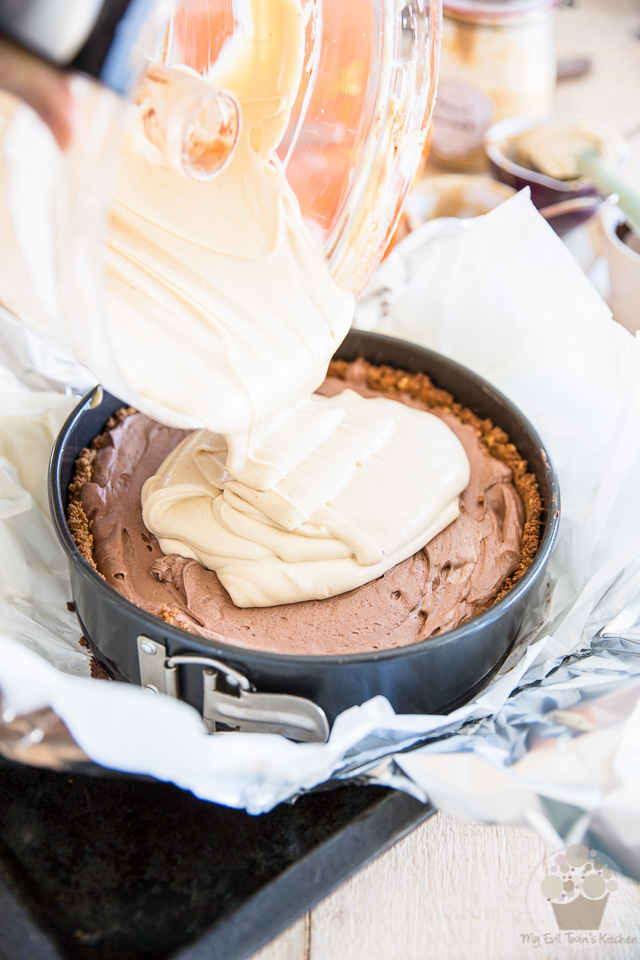
Pour that peanut butter cheese batter over the chocolate layer…
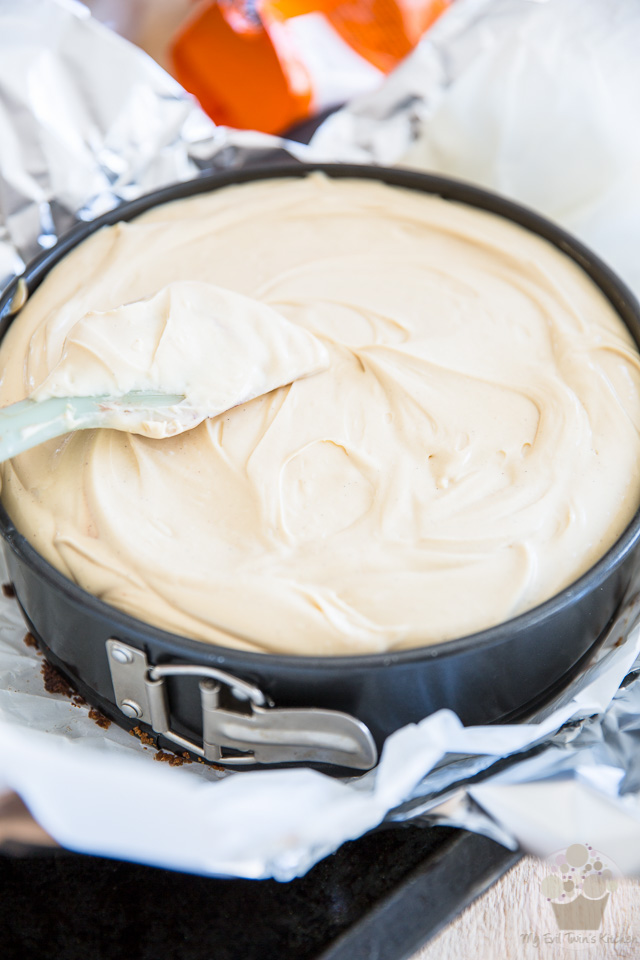
…spread as evenly as you can all the way to the edge.
Place the cake on the middle rack of your oven, decrease the temperature to 350°F and delicately pour some boiling water into the broiler pan underneath it so it goes about 1/4 of the way up the side of the pan.
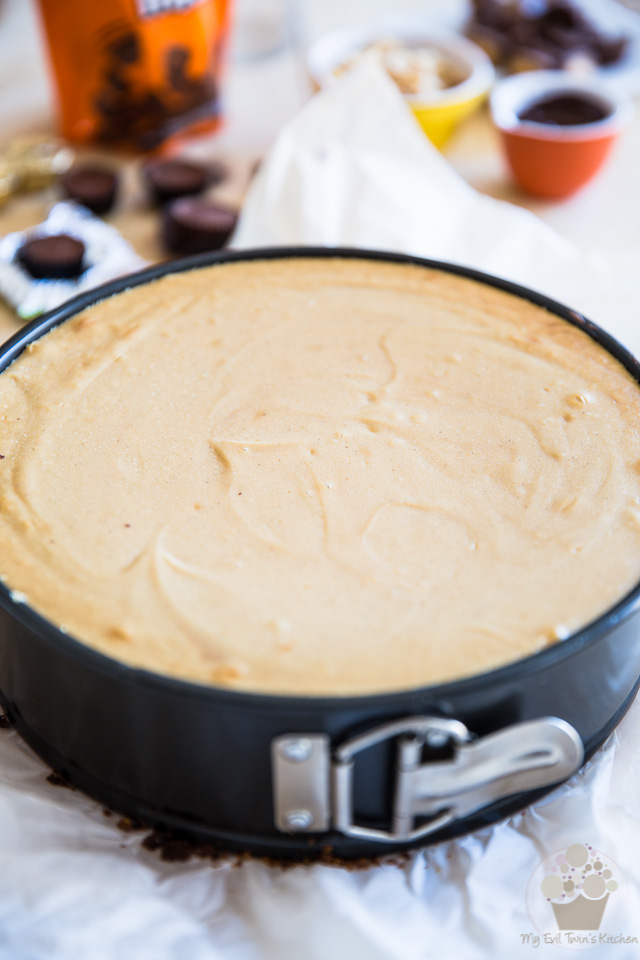
Bake your cake for 25 minutes and then, decrease the oven temperature to 250°F and continue baking your cake for a further 65 minutes.
Turn off the oven and crack the door open. Leave the cake in the oven, undisturbed, for about 1 hour, or until cool enough to be handled with your bare hands, and then slide it out of the oven.
When the cheesecake is completely cooled, transfer it to the refrigerator and chill for at least 6 hours, or preferably overnight.
Ah! The finishing touch
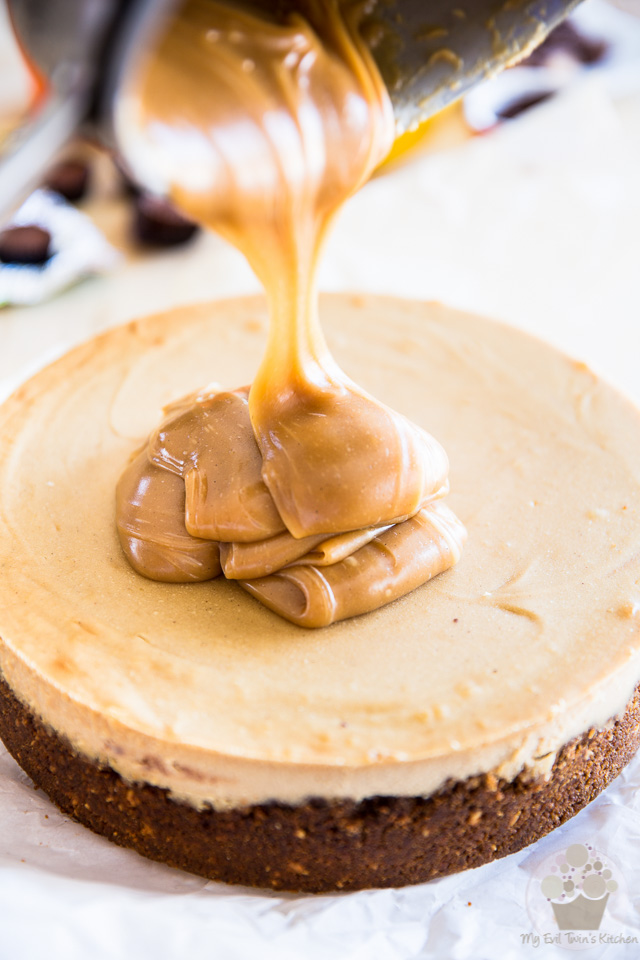
Remove the ring from around the cheesecake but leave it on the parchment paper.
Warm the leftover peanut butter caramel slightly over low heat just to bring it back to its spreadable consistency (it does stiffen quite a bit as it cools down). Add a little bit more milk if necessary.
Put a few tablespoons aside (we’ll use it to drizzle over the cake later) and pour the rest over the chilled cheesecake.
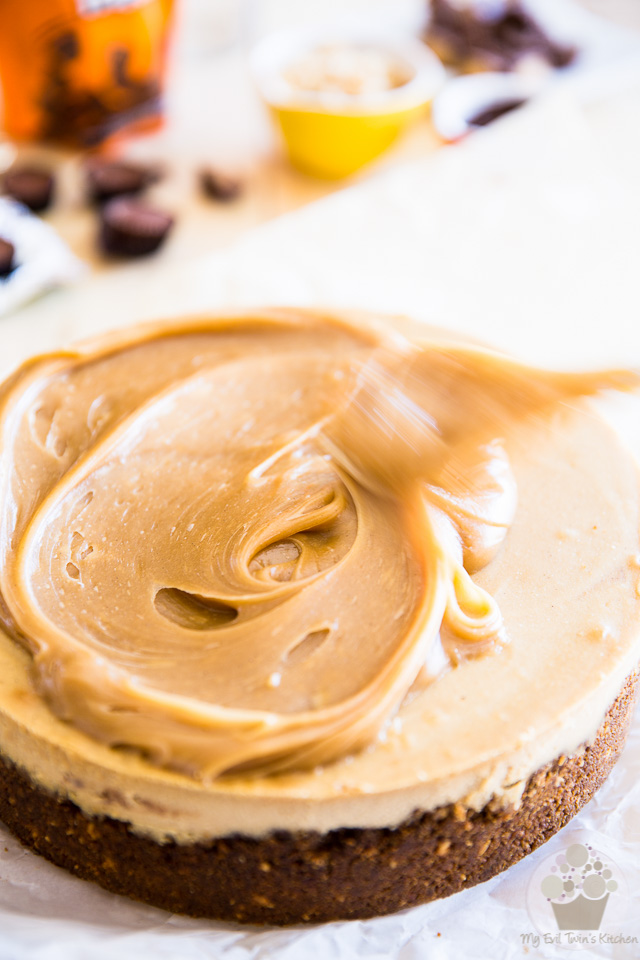
Spread delicately with a spatula, not quite all the way to the edge.
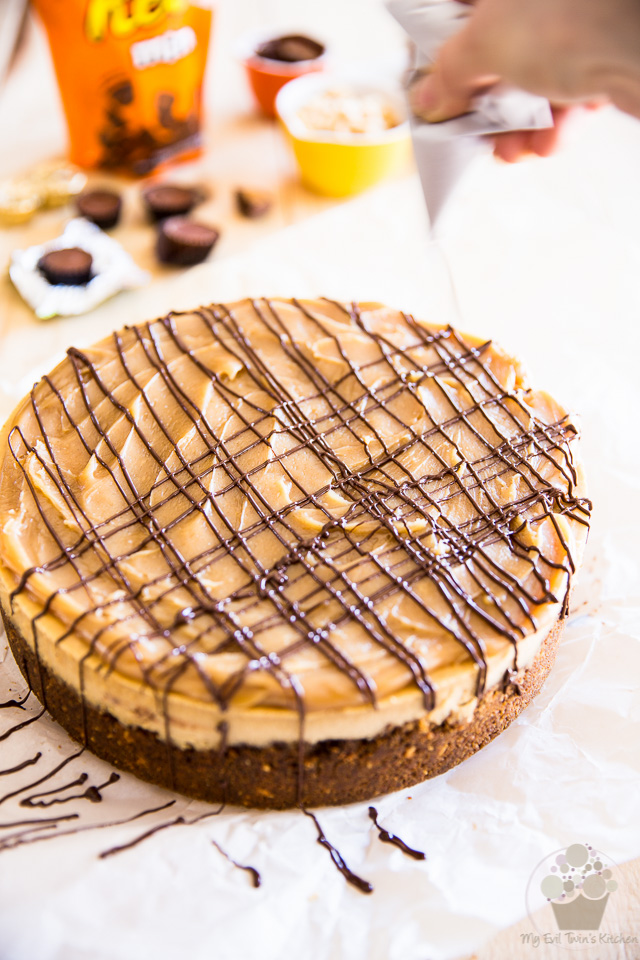
Prepare two piping cones out of parchment paper (you could also use squeeze bottles but they don’t work quite as well).
Melt the semi-sweet chocolate chips and pour the melted chocolate into a parchment paper cone, then squeeze the chocolate over the top of the cake going left to right then up and down.
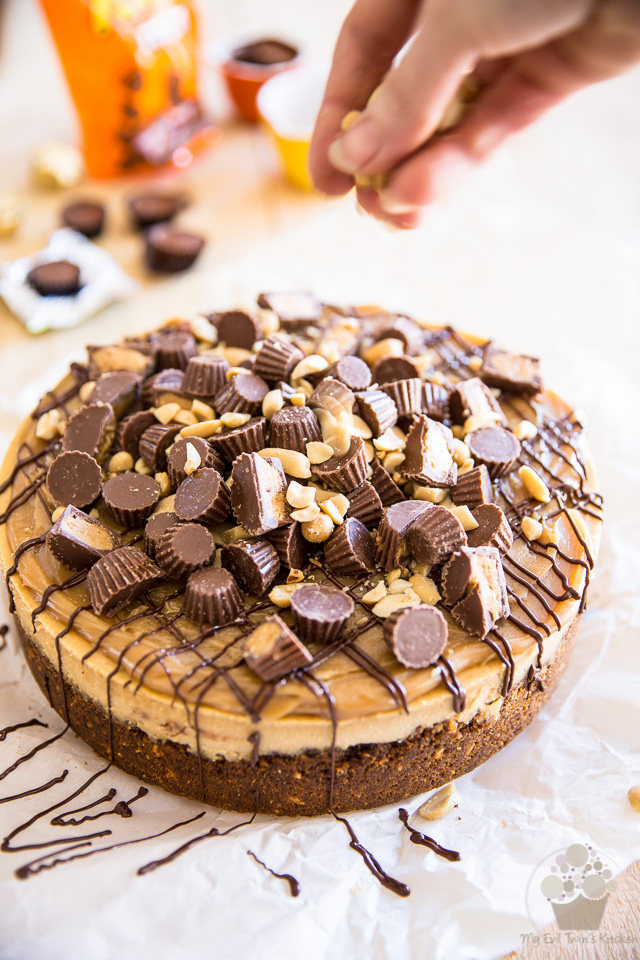
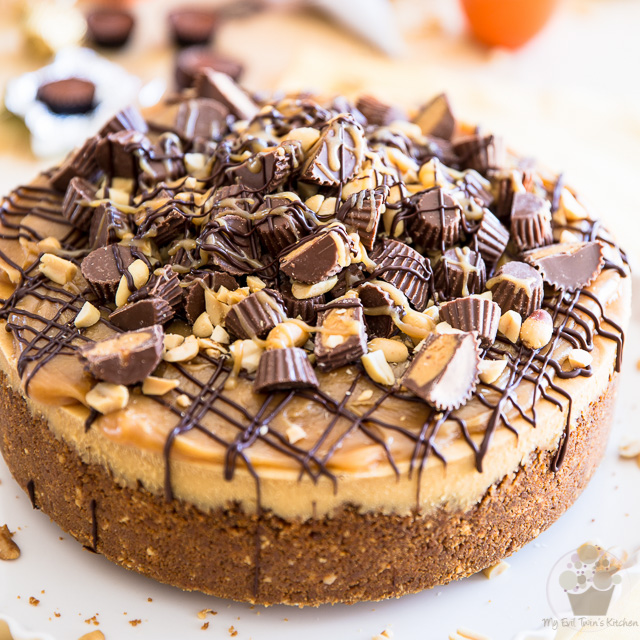
Mound the halved Reese’s Peanut butter Cups Miniatures, Reese’s Peanut butter Cups Minis and chopped roasted peanuts in the center of the cake and then drizzle more of the melted chocolate over this mound of goodness.
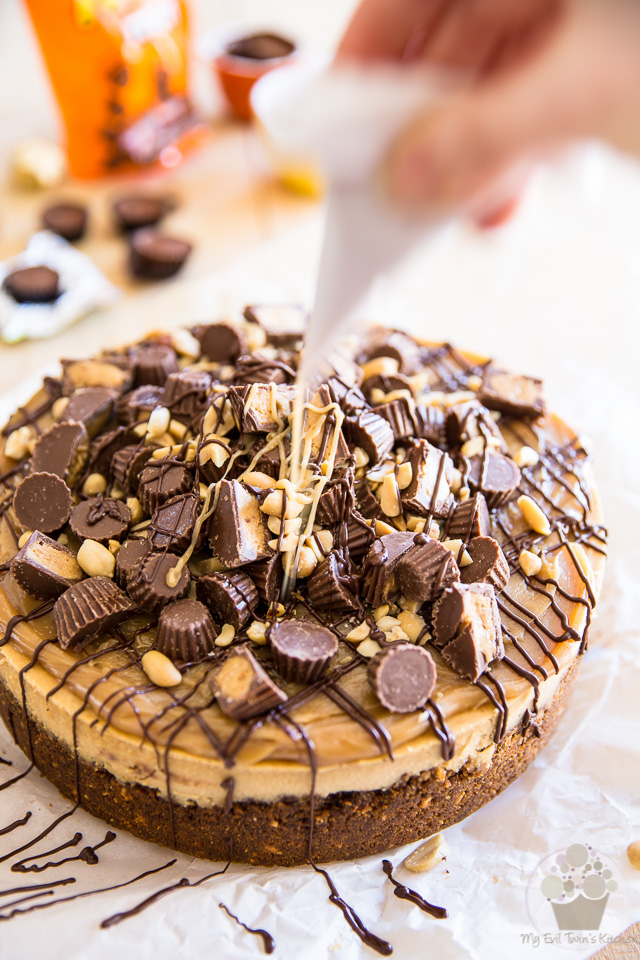
Thin the reserved peanut butter caramel with a few drops of milk to make it squeezable and then pour it into your second parchment paper cone; drizzle all over the cake.
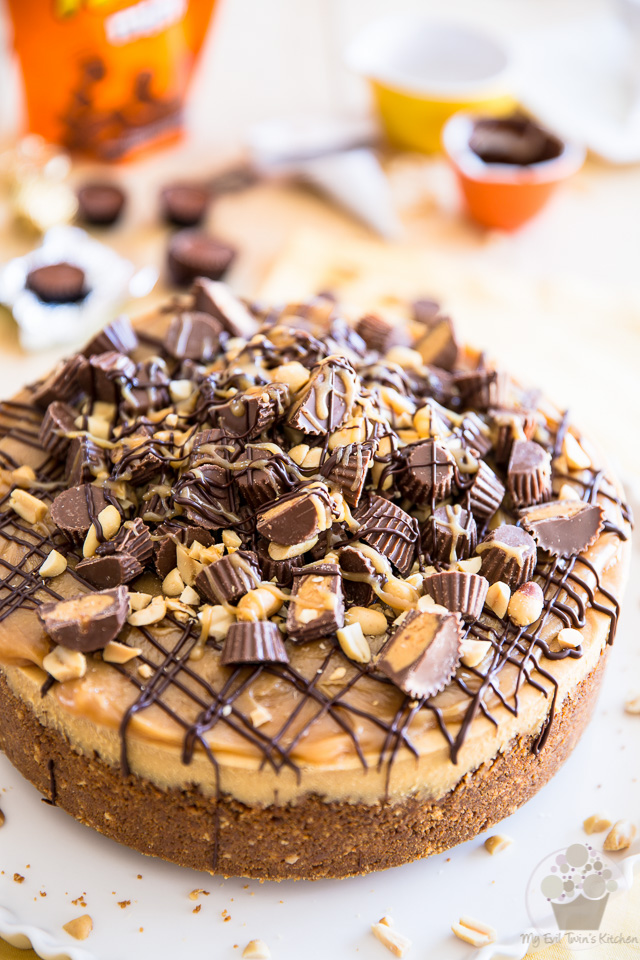
Carefully remove the cake from the parchment paper and place it on a cake plate or pedestal.
Ideally, you want to serve this cake at room temperature, but it’s also delicious served chilled.
Any leftovers will keep for up to 10 days if kept in the refrigerator in an airtight container.
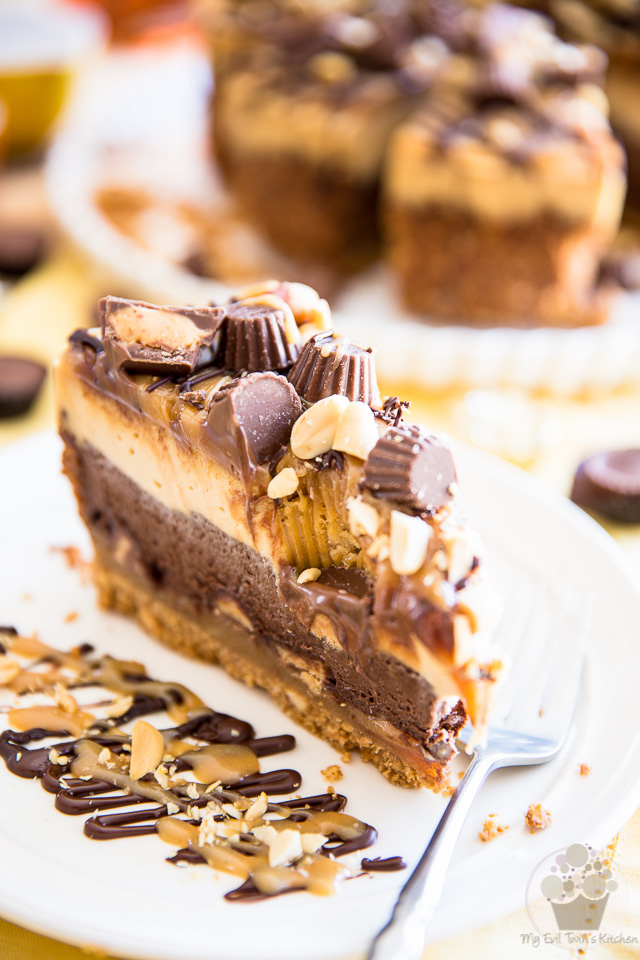
And finally, I get to dig in… Happy Birthday to me!
Ingredients
- 1 can (300ml | 397g | 14oz) sweetened condensed milk
- 1/4 cup (60g | 2.1oz) butter
- 1/2 cup (100g | 3.5oz) light brown sugar
- 1-1/4 cup (335g | 11.9oz) all-natural creamy peanut butter, (store-bought or homemade)
- 1/2 cup (120ml | 4oz) whole milk
- 1 tbsp pure vanilla extract, (store-bought or homemade)
- 2 cups (250g | 8.8oz) graham cracker crumbs
- 1/3 cup (50g | 1.8oz) finely chopped roasted peanuts
- 1/4 cup (50g | 1.8oz) light brown sugar
- 1/2 cup (135g | 4.8oz) all natural creamy peanut butter, melted
- 1/4 cup (60g | 2.1oz) butter, melted
- 1/4 tsp salt (I use Himalayan salt)
- 3- (227g | 8oz) packages full fat cream cheese, at room temperature
- 1 cup (227g | 8oz) full fat sour cream, at room temperature
- 1 cup (200g | 7oz) light brown sugar
- 1 tbsp pure vanilla extract (store-bought or homemade)
- 1/2 tsp Himalayan salt
- 5 large eggs, at room temperature
- 3 tbsp tapioca starch (you could also use corn starch)
- 1 cup (150g | 5.25oz) unsweetened chocolate, finely chopped
- 1 cup (270g | 9.5oz) all-natural creamy peanut butter (store-bought or homemade)
- 1 bag (226g | 8oz) Reese's Peanut butter Cups Minis
- What's left of the Peanut Butter Caramel from above recipe
- 3-4 tbsp semi-sweet chocolate chips, melted
- 20 Reese's Peanut butter Cups Miniatures, unwrapped and cut in half
- 1 bag (226g | 8oz) Reese's Peanut butter Cups Minis
- 1/2 cup (75g | 2.6oz) roasted peanuts, chopped
Instructions
- Combine the sweetened condensed milk, butter and brown sugar in a saucepan set over low heat and cook stirring very frequently until the mixture becomes sticky and has the color of peanut butter, about 10 minutes
- Add the peanut butter, milk and vanilla extract and whisk until well combined and the mixture has the consistency of soft, spreadable toffee. Add more milk, one tablespoon at a time, if you find that the caramel is too thick. Remove from heat and reserve
- Preheat your oven to 375°F
- Line the bottom of a 9” springform pan with parchment paper. To do that, remove the ring and cover the bottom with parchment paper. Fold the excess paper back under the plate and, while holding it in place with one hand, put the ring back in its position with the other hand. Bring the excess paper back from under the pan but do not cut it off.
- Combine graham cracker crumbs, peanuts, brown sugar, peanut butter, melted butter and salt in a large mixing bowl. Mix until well combined and press at the bottom and side of the pan, bringing the crust about half way up the side of the pan.
- Bake for 10 minutes and then spoon about 1-1/4 cup (335g | 11.8oz) of the peanut butter caramel over the warm crust (you may leave the rest in the covered saucepan until you need to use it again). Spread the caramel very delicately with a spatula, all the way to the edge. Top with a bag of Reese's Peanut butter Cups Minis and set aside.
- Bring about 4 cups of water to a boil and reserve.
- Combine the cream cheese, sour cream, brown sugar, vanilla extract and salt in the bowl of your food processor and beat until super smooth and creamy. Stop the motor to scrape the sides once or twice to make sure every last bit gets incorporated
- Add the eggs and resume processing until they are fully incorporated, then, add the starch and mix well.
- Reserve 3½ cups (785g | 27.7oz) of this cheese mixture in a bowl.
- Melt the unsweetened chocolate in the microwave in 30 seconds increments, mixing well between each burst for 20 to 30 seconds, until the chocolate is completely melted and smooth.
- Add this melted chocolate to the cheese mixture that is still in the food processor by pouring it into the feeding tube while the motor is still running. Mix until well combined and then pour over the reserved crust and spread evenly all the way to the edge.
- Place the cake over a piece of aluminum foil and fold it over the pan so the exterior is completely covered. Now place your cake in a broiler pan and set aside.
- Return the cheese batter that you reserved earlier back to the food processor; add 1 cup of peanut butter to it and mix until well combined.
- Pour that peanut butter cheese batter over the chocolate cheese batter and spread as evenly as you can all the way to the edge.
- Place the cake on the middle rack of your oven, decrease the temperature to 350°F and delicately pour some boiling water into the broiler pan underneath it so it goes about 1/4 of the way up the side of the pan. Bake your cake for 25 minutes and then, decrease the oven temperature to 250°F and continue baking your cake for a further 65 minutes.
- Turn off the oven and crack the door open. Leave the cake in the oven, undisturbed, for about 1 hour, or until cool enough to be handled with your bare hands, and then slide it out of the oven.
- When the cheesecake is completely cooled, transfer it to the refrigerator and chill for at least 6 hours, or preferably overnight.
- Remove the ring from around the cheesecake but leave it on the parchment paper.
- Slightly warm the leftover peanut butter caramel over low heat to make it spreadable again. Add a little bit more milk if necessary. Put a few tablespoons aside (to be drizzled over the cake later) and pour the rest over the chilled cheesecake and then spread it delicately with a spatula, not quite all the way to the edge.
- Prepare two piping cones out of parchment paper (you could also use squeeze bottles but it doesn't work quite as well). Melt the semi-sweet chocolate chips and pour the melted chocolate into a parchment paper cone, then squeeze the chocolate over the top of the cake going left to right then up and down.
- Mound the halved Reese's Peanut butter Cups Miniatures, Reese's Peanut butter Cups Minis and chopped roasted peanuts in the center of the cake and then drizzle more of the melted chocolate over this mound of goodness.
- Thin the reserved peanut butter caramel with a few drops of milk to make it squeezable and then pour it into your second parchment paper cone; drizzle all over the cake.
- Carefully remove the cake from the parchment paper and place it on a cake plate or pedestal.
- Stored in the refrigerator in an airtight container, this cake will keep for up to 10 days.
- Serve preferably at room temperature.
Looks delicious. I love any dessert with peanut butter cups, thanks a lot
Did you use a 9in or 10in springform? I used a 9in to make this today and I have leftover batter. The crust seemed too thick and I have a lot of caramel leftover as well. I’m sure and hoping it’ll taste delicious but this is my first time making a cheesecake from scratch and I was just worried.
Thanks!
I used a standard 9 inch pan, Sarah, and everything fit perfectly fine… perhaps yours was a tad smaller? Hope the cake turned out fine, still!
Yeah, it turned out fine, thank goodness. I just used the extra batter to make mini cheescakes in a muffin tin.
Thank you for the recipe! My husband and coworkers LOVED it.
I had the same. Way to much left over. Next time I’ll use a bigger pan. Still tasted awesome
hi i made this today and followed the instructions to the letter but the cheesecake collapsed when i took the ring off the tin. do you think it needs to be cooked longer?
Perhaps your oven is running a little cold? If you really followed all the recipe and instructions to the t, then that’s pretty much the only thing I could think of…
I made this cheesecake and everything went to plan. I swapped tve base for oreo cookies with 80g of melted butter and 45g of chopped peanuts. It worked great and went down a storm. I can’t stress the importance if serving it at room temp…far too stodgy when cold but at room temp it’s still dense, but soft and creamy. Thanks for the recipe and thanks for putting ingredients in grams for the Europeans!
Glad to hear the cake was to your liking, Andrew, and what a brilliant idea about the crust swaps! I wish I’d thought about it myself!
As for the gram measurements, I can’t take too much credit for that, as we Canadians also happen to use them! 🙂
I don’t have a food processor, what else can I use instead?
Try using a hand mixer!
Ok thank you!
I made one this weekend and everyone who tried it was awestruck! A lot of work, but the smiles and compliments make it worth the effort. Count me in as a fan. Thank you!
Real happy to hear, Gerry! Thank YOU so much for the awesome feedback! 🙂
I havent cut into mine yet, but are the top and sides supposed to be so hard!? The whole thing feels very dense and water got through the foil somehow so i’m concerned by base will be soggy. Felt really confident before it went in the oven!
any tips or this one for the bin?
Should the butter be salted or unsalted butter?
I always use salted butter, unless otherwise specified.
I have made this for each of my kids’ bdays for the past several years. It’s their favorite. My you best requested I not use unsweetened chocolate but use semisweet chips instead for the chocolate layer and I think it’s way better. Add a little more than the recipe calls for. Other than that it’s a winner and I totally blew out my macros on that pb fudge.
Can this be frozen till the day before Thanksgiving? Then I want to let it thaw out in the fridge? Its so labor intensive that I don’t want to mess it up!
I really wouldn’t see why not, Diana, although I would probably wait until the day of to do the final garnish… But cheesecake keeps very well and even gets better after a few days, so if you’re only going to make it a few days in advance, then there wouldn’t even be a need to freeze…
Also, I realized the error AFTER i had already poured the first layer of chocolate cheese mix in the crust. I got the chocolate measurements mixed. Instead of adding a cup of melted chocolate I added 4 TBSP which was about 1/3 cup. Sigh, this explains why my cheese batter was not as thick as in the picture. I hope this doesnt mess it up to badly.
Yikes! This will no doubt affect the texture, but the cake should still set. I’m guessing that it’ll probably be much softer, though.
Sigh…. It seemed to set up ok but I guess we wont know till it is actually cut, When I added the final caramel layer on top nothing sank. Thanks for replying though, I’ll let you know how it turned out. Sadly I already added the toppings though and since Thanksgiving is still 11 days away do you reccommend freezing?
Yeah… I would definitely freeze it. Fingers crossed that it turns out perfect!
Hi I love this recipe but every time I make this the chocolate batter is too soft so when I out the peanut butter cheesecake mix it sinks and the chocolate goes up the sides. the peanut butter cheesecake mix is perfect when cooked. what am I doing wrong?
It’s hard for me to tell, but technically if you followed the recipe and used the exact same ingredients, your batter should be fairly thick, just like in the pictures. Do you make any changes or substitutions at all?
Hi,
I followed this recipe to T….but my peanut butter caramel turned out very oily. Any suggestions for next time??
Not sure what you mean by oily, but maybe try adding more of the milk and stirring well between each addition until the caramel has the consistency you’re looking for.
I want to make this in a 9in and a 6in pan. How much would the recipe and baking time change for the 6 inch pan?
This was a lot of work first time I have made it but it turned out amazing. I wish I’d made a bit more of the peanut caramel sauce. I made a bunch of cupcake size and one very small cheesecake. Will do again..
Hi,
I’m planning on making this 5 days before xmas and freezing it, then thawing it the night before Xmas in the fridge then adding the topping before serving it.
That would work! Honestly though, I’m not sure that I would even bother freezing it for such a small amount of time. I would just keep it in the fridge in a good airtight container.
I forgot the cornstarch, what can I expect when it’s done?