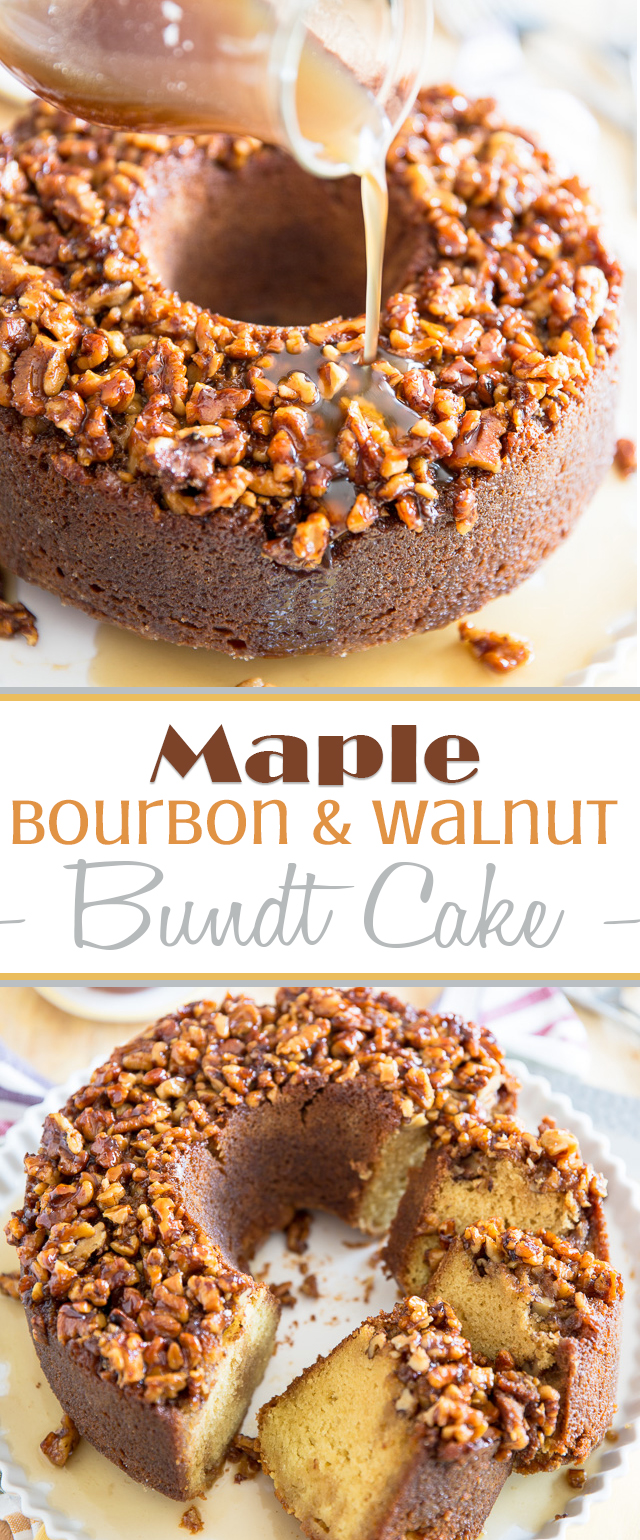
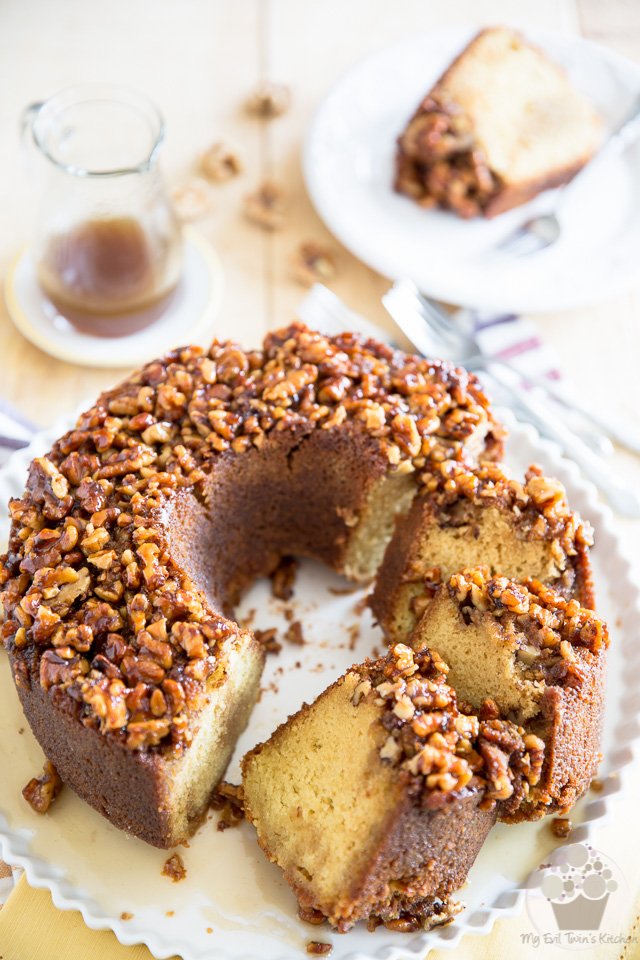
Soaked in a warm, boozy maple bourbon sauce, topped with sticky, caramelized walnuts, this Maple Bourbon Walnut Cake is an experience you won’t soon forget!
I feel I need to start this post with a serious warning…
The first time I made this Maple Bourbon Walnut Cake, I didn’t line the bottom of my pan with parchment paper and the walnut topping ended-up sticking to the pan like its life depended on it. I had to pry it loose with a sturdy metal spatula, and honestly, I think that the use of a jack-hammer might have been useful, as I was never able to get it all out. Okay, maybe the fact that I’m also the shameful owner of a lousy “el cheapo” pan didn’t help my case much, but still… If you intend on making this cake (which you totally should, by the way!) I strongly recommend that you follow my recommendations for greasing and lining the pan with parchment paper, and that you also use a good quality non-stick pan, too.
You see, this cake is positively sticky (in a good way, though… in a very good way!) and despite my best efforts, some of the walnut topping still clung to the [crappy] pan on my second attempt, even though I’d lined it with parchment paper this time. Again, I blame my worthless pan for that… At least, it was nothing major that time, only a few nuts here and there that decided to stay behind but I was able to easily convince them to return to their rightful spot. I just grabbed them with my fingers and put them right back where they belonged.
Apart from that totally avoidable little mishap, though, this Maple Bourbon Walnut Cake was totally perfect and exactly like I’d envisioned it to be: the cake itself, what with being thoroughly soaked in a warm, sweet and boozy maple bourbon sauce, came out super moist and melt-in-your-mouth tender. The edges of the cake, thanks to the granulated sugar that got sprinkled all over the interior of the pan, came out nice and sticky and sweet and oh so delicious. As for that walnut topping, it’s super sticky (duh, do I really need to specify that?) and crunchy and sweet and… so scrumptious!
The combination of all these elements makes for an experience you won’t soon forget.
Even my mom’s husband, who inherited my first and somewhat aesthetically challenged cake and who also happens to be a pastry chef, couldn’t stop raving about it. So much so, when I made the second one, he requested that I send some more his way!
Now if that doesn’t convince you that you need this cake in your life, and the sooner the better, I don’t know what will!
STEP-BY-STEP INSTRUCTIONS & PICTURES
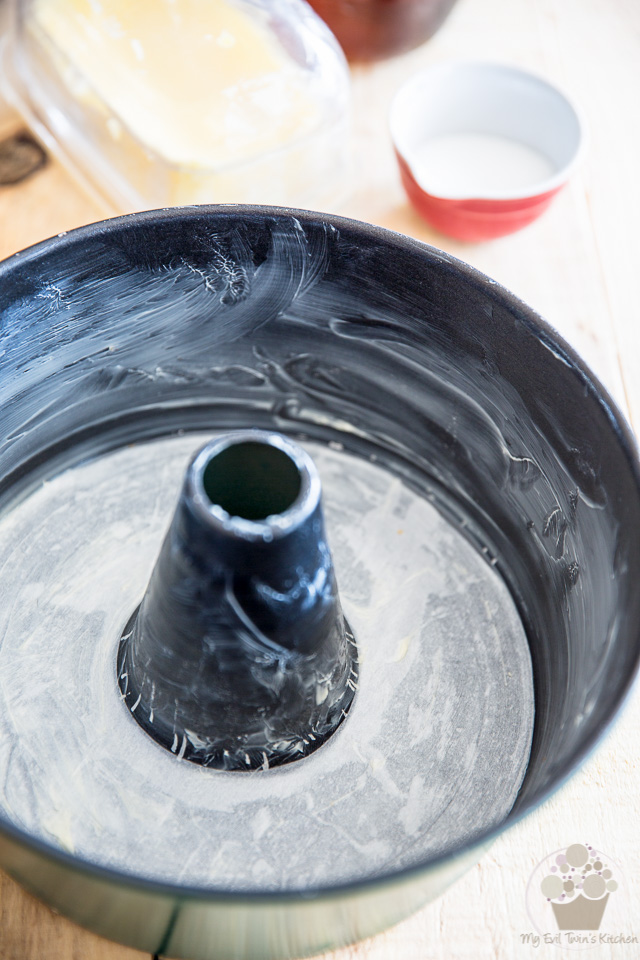
PREPPING THE PAN
Hold it! You did read my warning at the beginning of this post, didn’t you? Then you know that you absolutely, unquestionably have to follow these next few steps, right?
Right!
So go ahead and grease a non-stick 10″ tube pan liberally with butter, line the bottom with parchment paper, and then grease the top of the paper with more butter after you’ve positioned it.
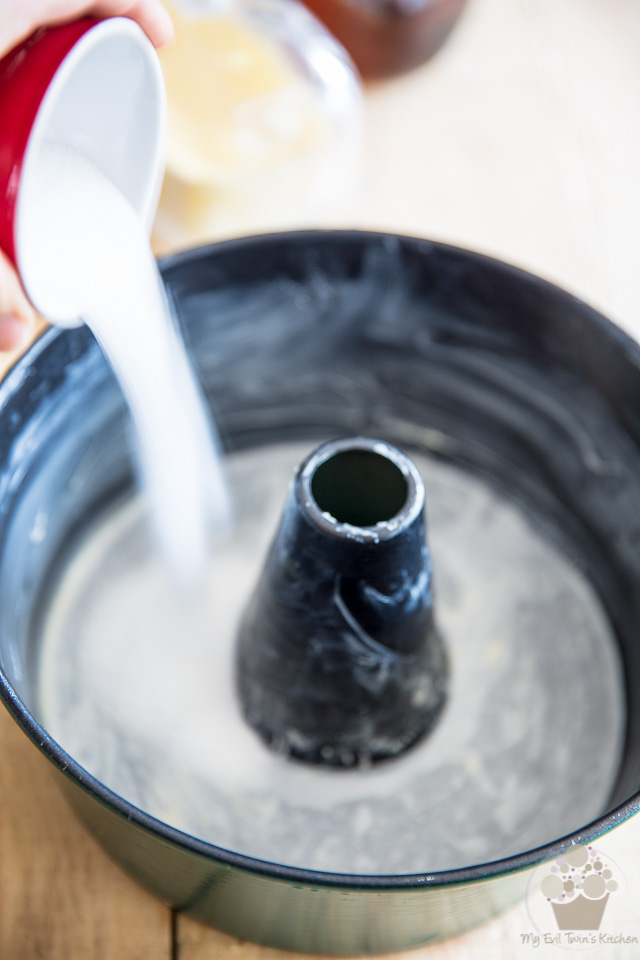
Throw in a few tablespoons of granulated sugar.
Using granulated sugar instead of flour will not only prevent the cake from sticking to the pan, it will also give us the beautiful dark, caramelized and sticky exterior that we’re looking for.
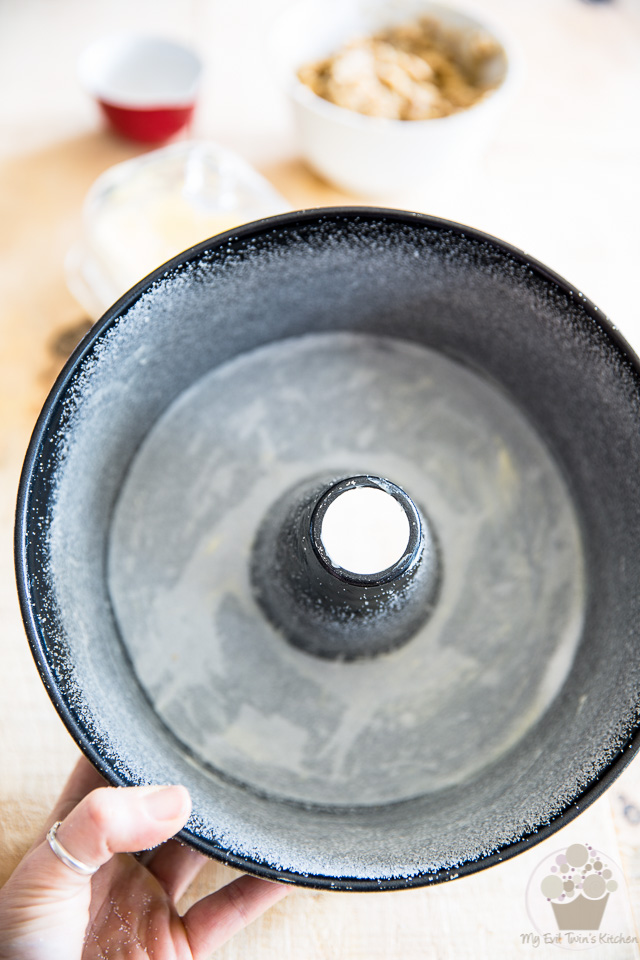
Gently tap and turn the pan around until every square inch of the inside of the pan is coated in sugar, INCLUDING the chimney!
I tend to forget about that chimney sometimes, and then my cakes refuse to get out of the pan because they’re glued to the center. Have you ever tried running a spatula around that narrow little tube without completely destroying your cake? Mission impossible, let me tell ya. So yeah… don’t forget the chimney!
Oh, and also too, now would be a good time to preheat your oven to 350°F.
MAKING THE WALNUT MAPLE TOPPING
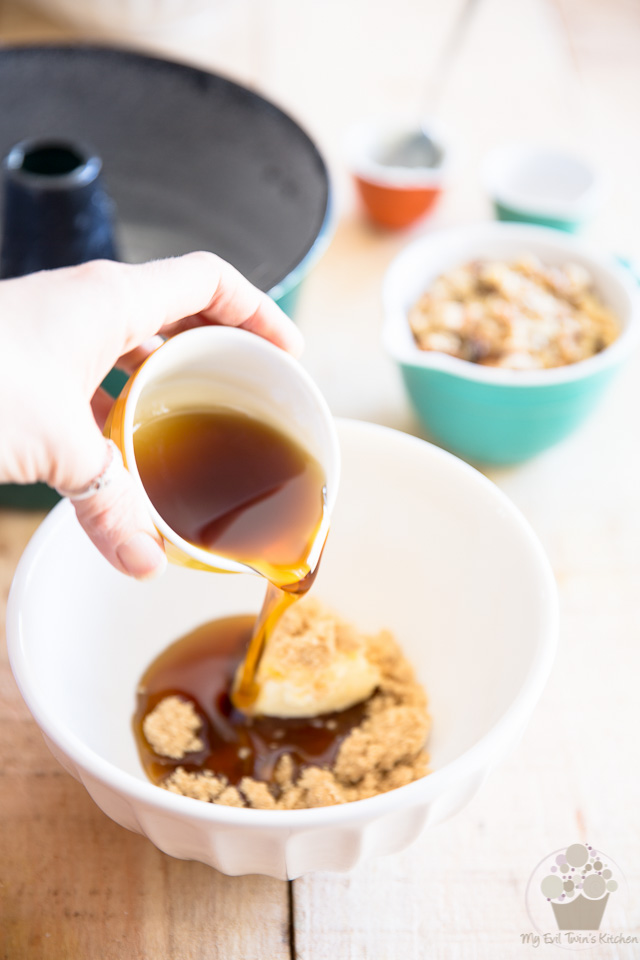
In a small bowl, combine the softened butter, brown sugar and maple syrup and mix with a flat whisk until well combined.
Don’t worry if the mixture looks like it’s kind of broken a little bit, it really doesn’t matter. Just so long as everything it well combined. The tiny little bits of butter will melt as the cake bakes and it will all come together perfectly, you’ll see.
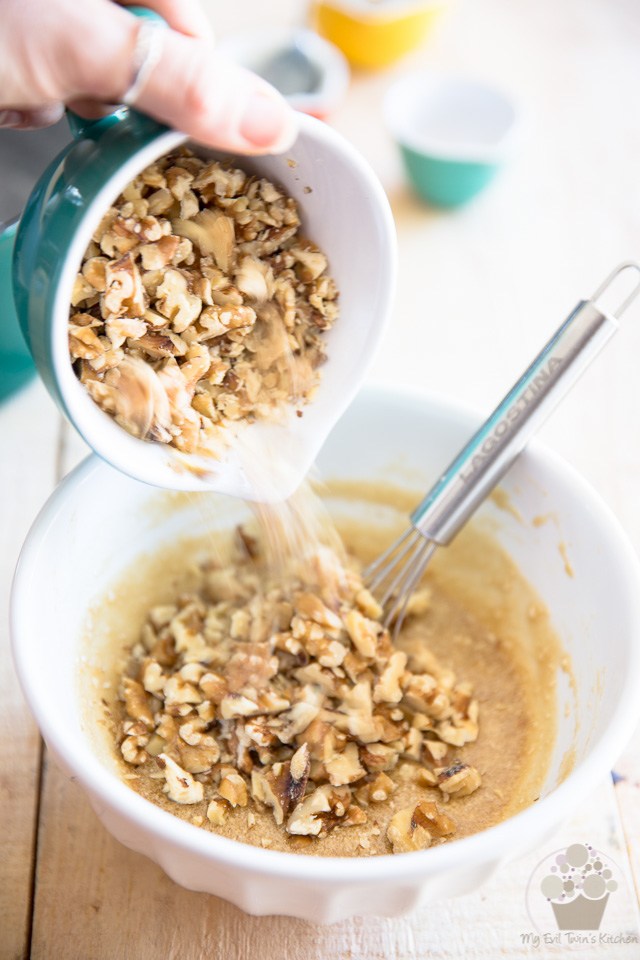
Throw in your walnuts…
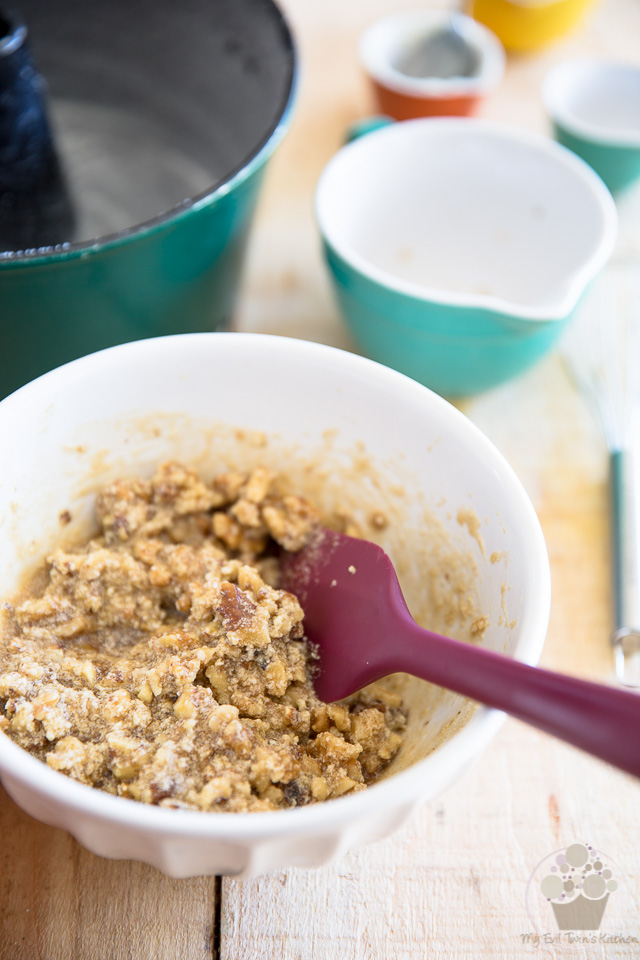
Stir well and set aside. Now you might be tempted to put this directly into your prepared pan, but don’t. There is a very good chance that the mixture will separate a little bit after sitting for a while, so you’ll probably have to give it a quick stir before you use it.
AND NOW FOR THE CAKE BATTER
First, a little mise-en-place, so things will be easier and more efficient down the road: combine the flour, baking powder, baking soda and salt in a medium sized mixing bowl; mix well with a whisk until thoroughly combined and set aside.
Next, in a large glass measuring cup, combine the sour cream, buttermilk and vanilla extract and mix until well combined.
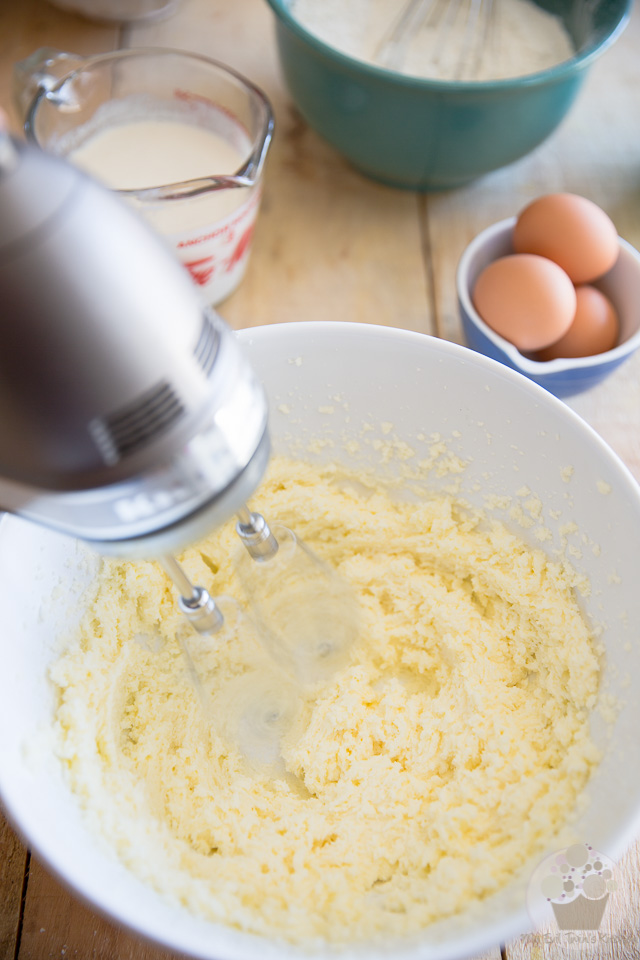
Finally, in a separate, larger mixing bowl, cream the butter and sugar with an electric mixer at medium speed until well combined, about 1 minute.
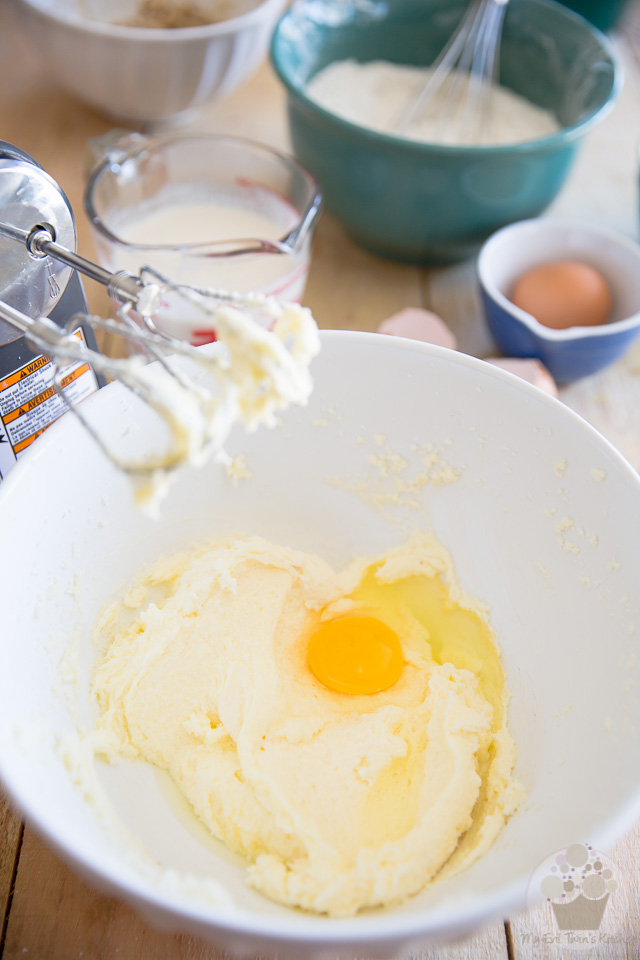
Add the eggs, one at a time…
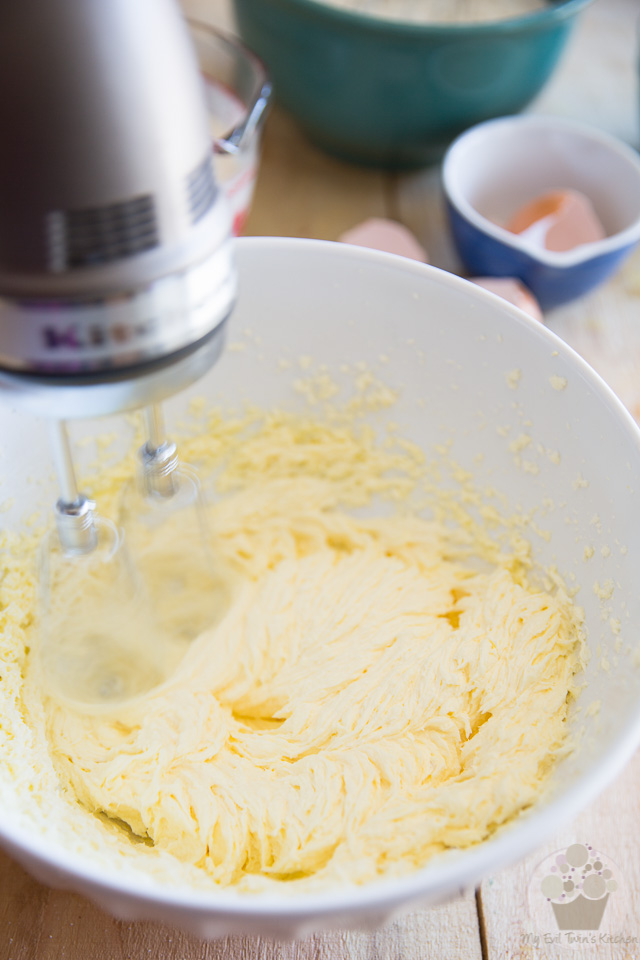
…beating well between each addition until light and creamy.

Once all the eggs have been added, throw in half of the dry ingredients.
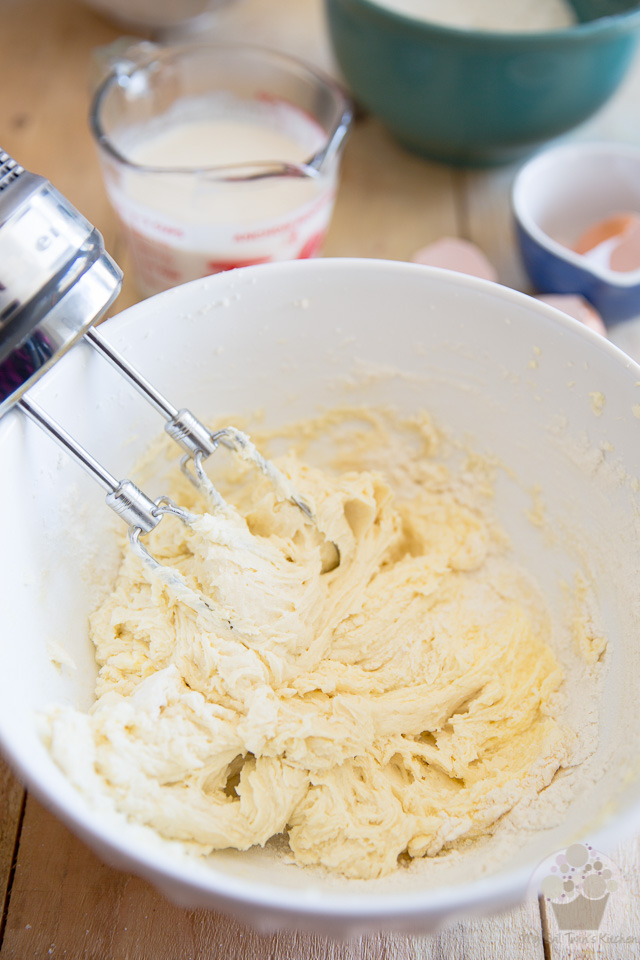
Mix on low speed until barely just incorporated… see, I still have bits of unmixed flour on the side of the bowl. That doesn’t matter.
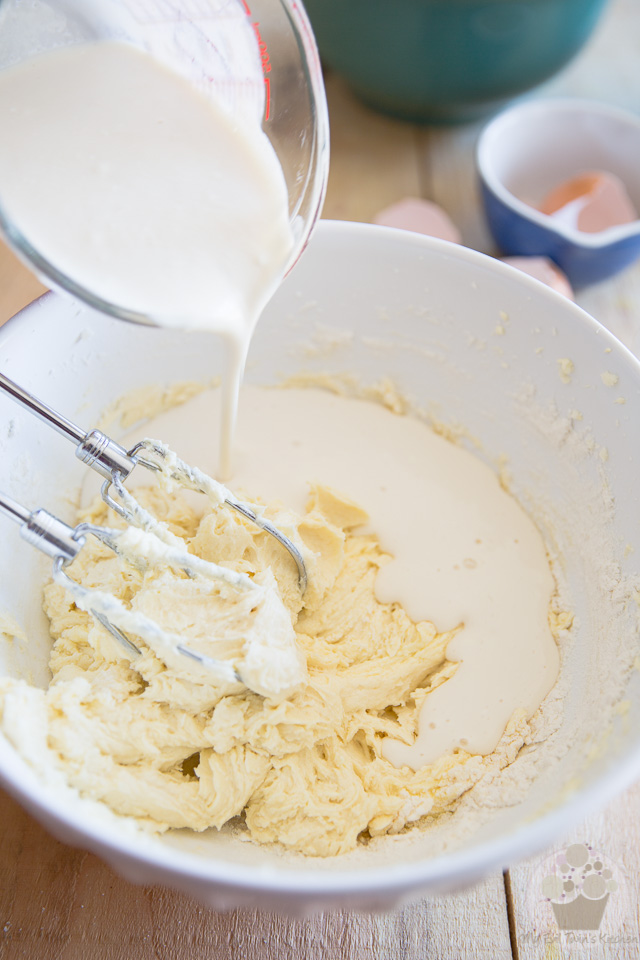
Pour in half the buttermilk and sour cream mixture…
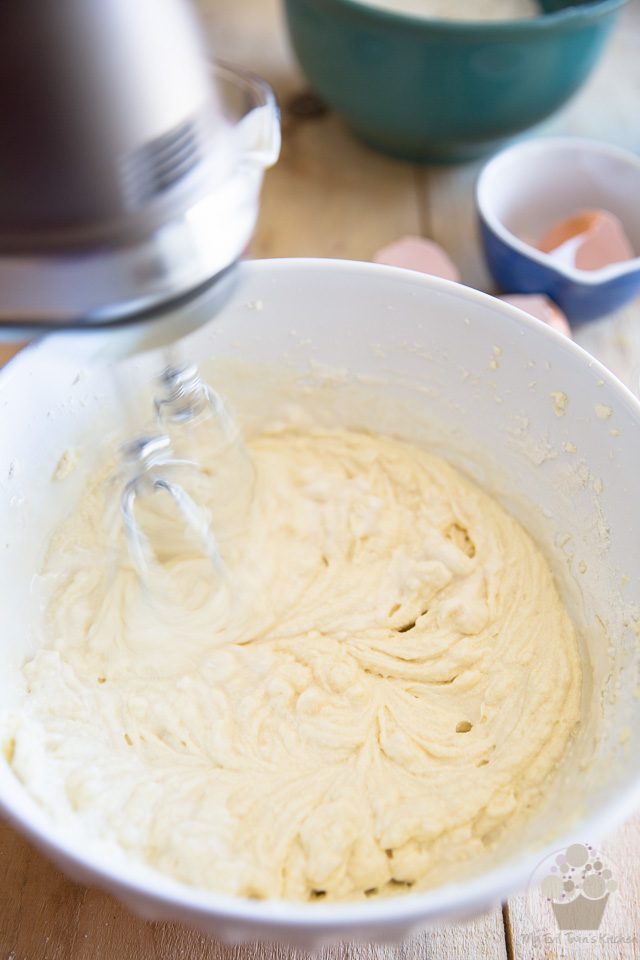
…and resume mixing on low speed until combined.
Now repeat those last 2 steps with the rest of the dry ingredients and the rest of the buttermilk, mixing just until combined each time.
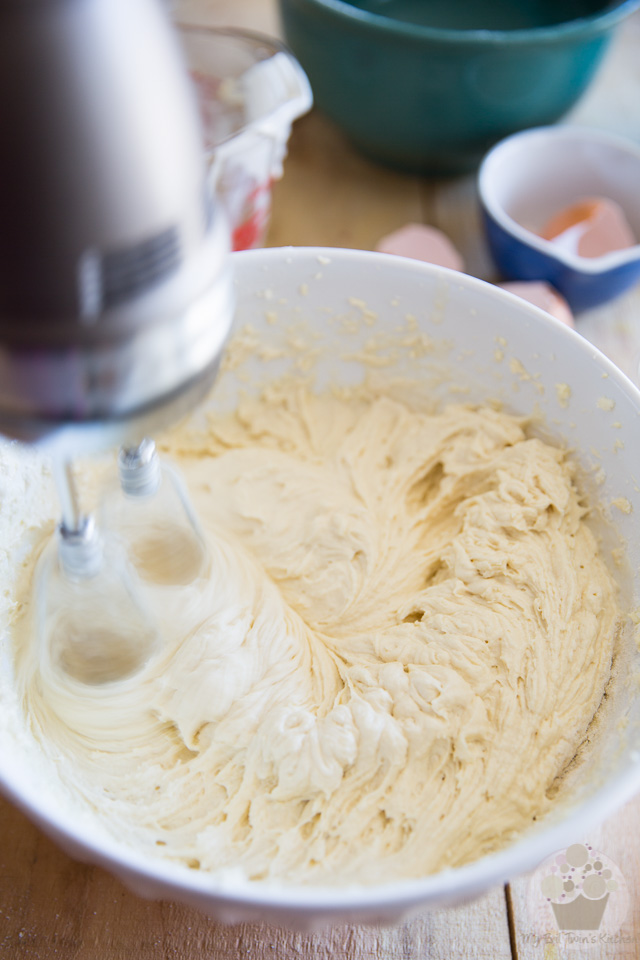
Whatever you do, don’t overmix your cake batter. As soon as your final drops of liquid have been incorporated, drop everything.
And now, if you’re like me, you won’t be able to resist a little taste test. This is soooo my kind of batter! Thick, dense, sweet and tangy… YUMMY! Sometimes, I wonder why we even bother baking such amazing cake batters. I could easily sit myself down with a bowlful and eat it just like that, or maybe with a few chocolate chips sprinkled on top.
But hey, if we’re gonna make this cake, we’re gonna need all the batter. So a little spoonful or two is all you’re allowed at this point. You can also lick the beaters and bowl clean later, if you want…
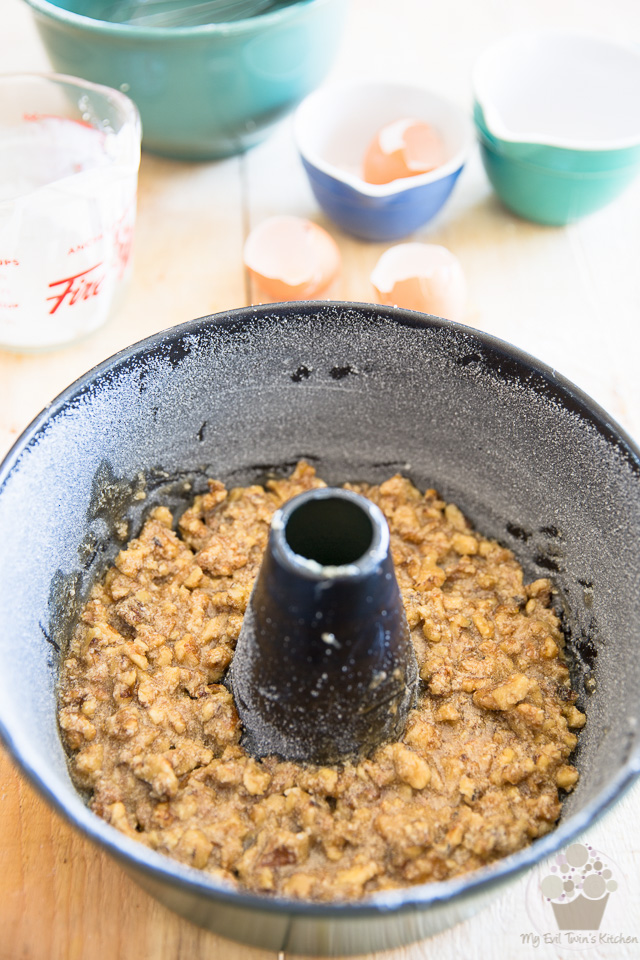
Now it’s time to transfer the maple walnut topping to the pan. Like I said before, it may have separated a little, so just give it a quick stir before to pour it into the pan. Then, very delicately spread it so it covers the entire bottom of the pan.
Be careful not to disturb the paper or sugar!
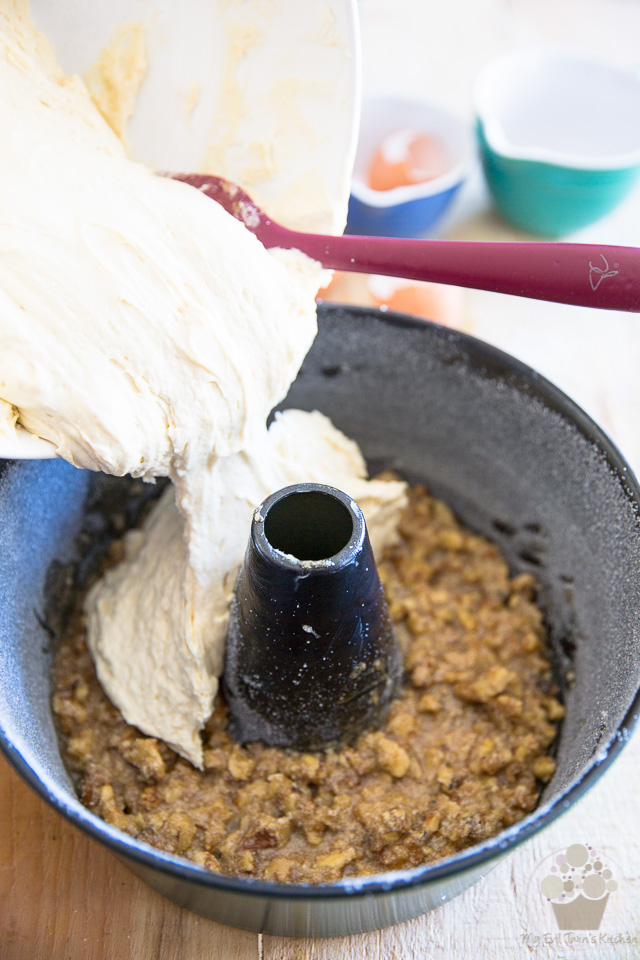
Pour the cake batter right over the walnuts…
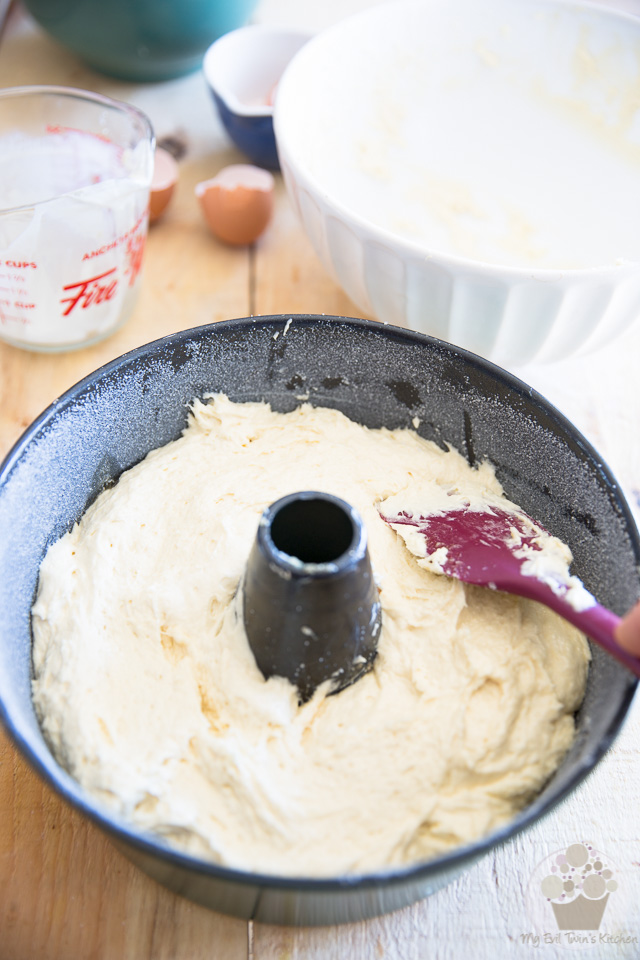
…and then spread the batter as evenly as you can. Bake for 55 to 60 minutes or until a toothpick inserted in the center of the cake comes out clean.
And now, you can take care of the bowl and beaters!
BOURBON MAPLE SAUCE
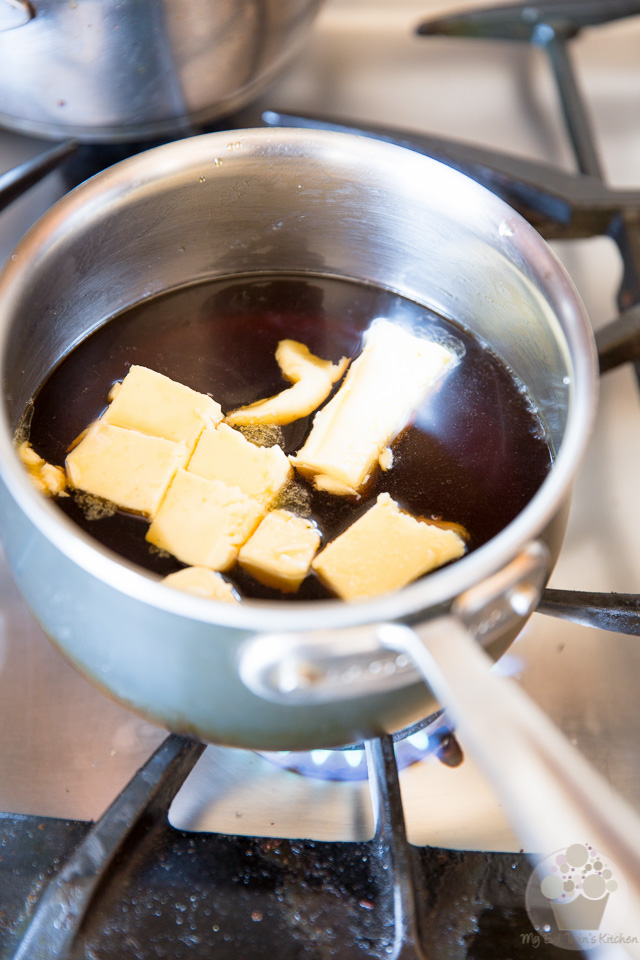
When the cake is almost done baking, make the bourbon maple sauce.
To do that, simply combine the maple syrup, bourbon, butter, vanilla extract and salt in a small saucepan.
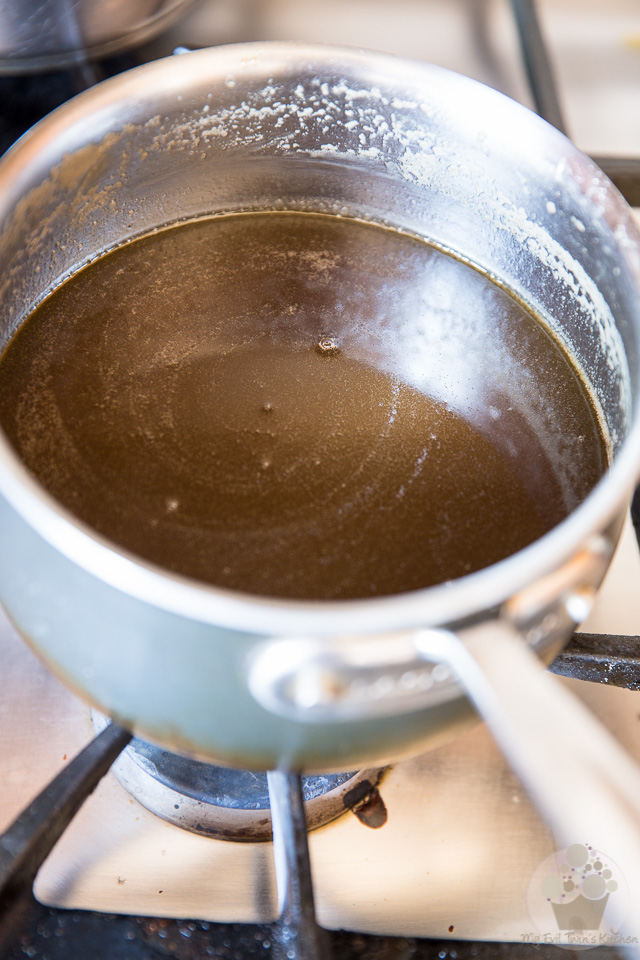
Bring to a simmer over medium heat and then continue to simmer for 5 minutes or until the sauce comes together and gets slightly thicker. Keep a close eye on your saucepan as the content may bubble up a bit and you wouldn’t want it to overboil!
Keep your sauce warm until you are ready to use it: it will absorb much better into the cake if it’s hot when you pour it over.
ASSEMBLING THE CAKE
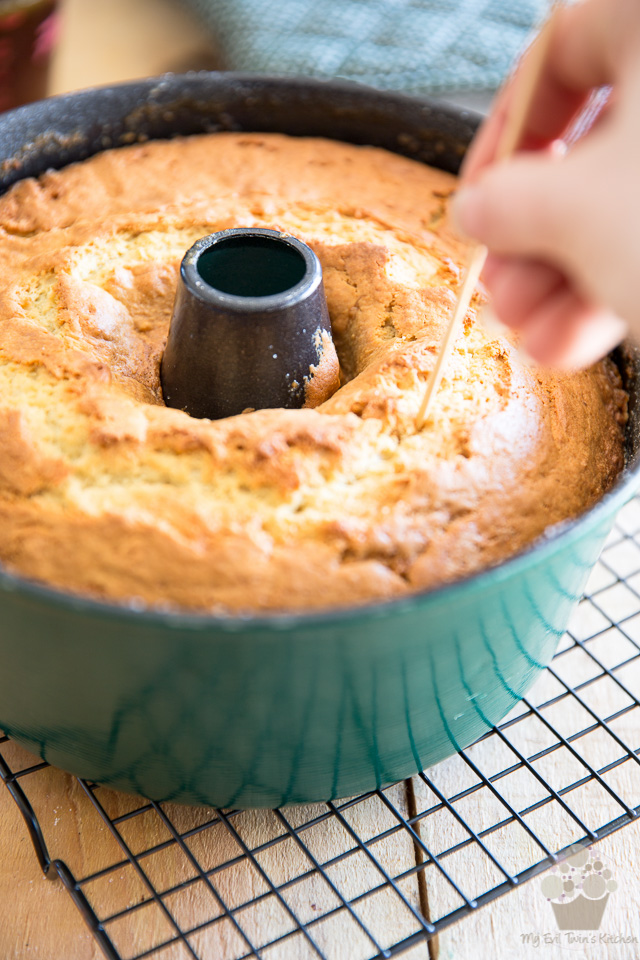
Once the cake is done baking, take it out of the oven and place it on a cooling rack. Using a long wooden skewer, poke holes all over the cake, going as deep as you can.
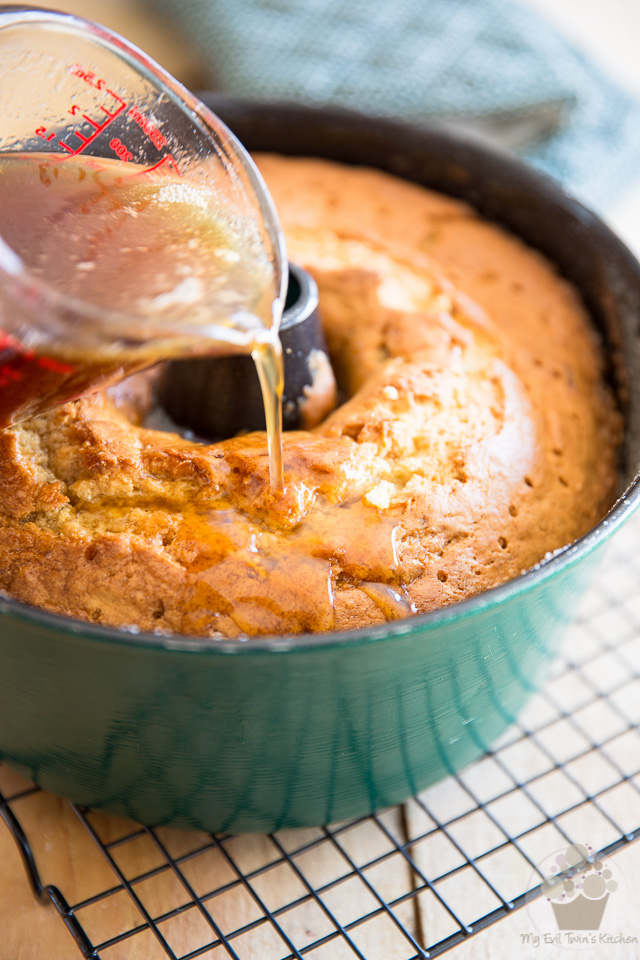
Pour about 1/3 of the hot bourbon maple sauce over the entire surface of the cake and then let it rest for about 5 minutes to allow the cake to absorb all that sauce.
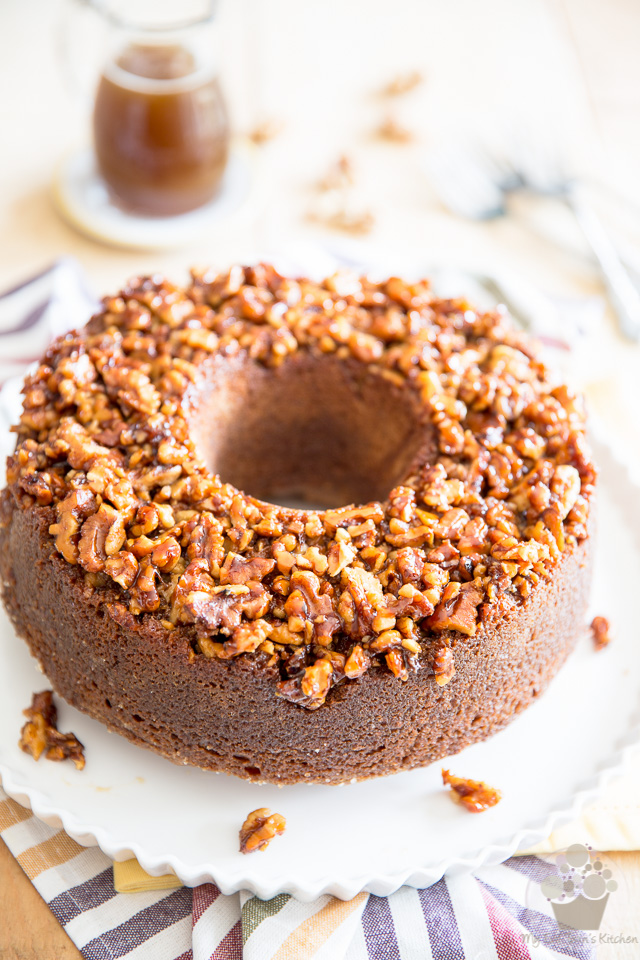
Then, carefully invert the cake onto a cake plate or stand. I strongly suggest that you use a rimmed plate so the sauce doesn’t go running all over the place when we pour more over the cake in a few minutes…
If all goes as planned, your cake should come out of the pan in one piece, looking all nice and pretty with a beautiful crown of hot, sticky and sweet caramelized walnuts!
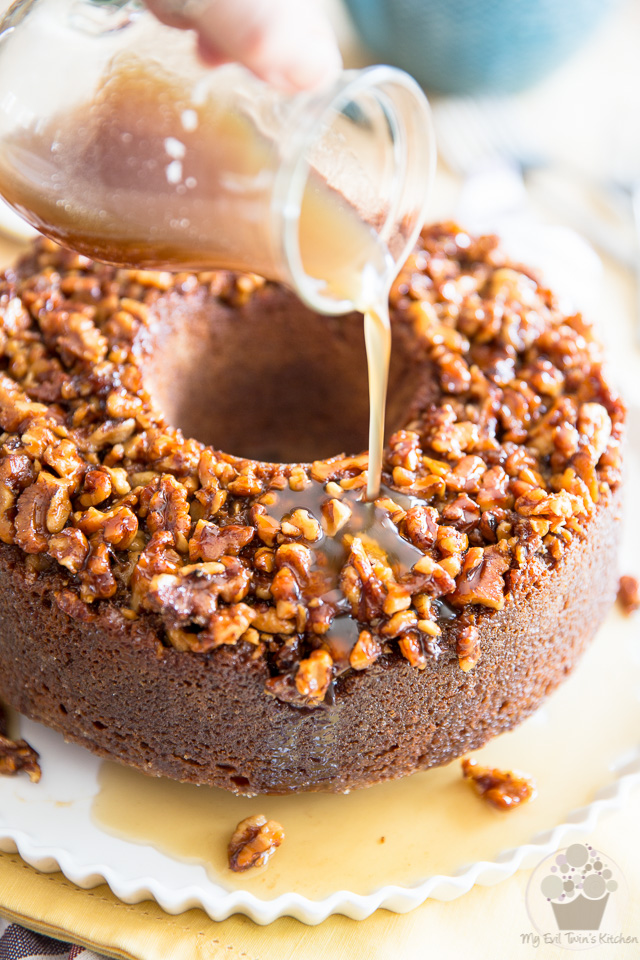
Now drizzle another 1/3 of the sauce over the top of the cake. Don’t go too fast here, so your cake has time to absorb all of that delicious boozy sauce. Don’t worry if some of it ends up in the plate, the cake will drink it right up while it rests.
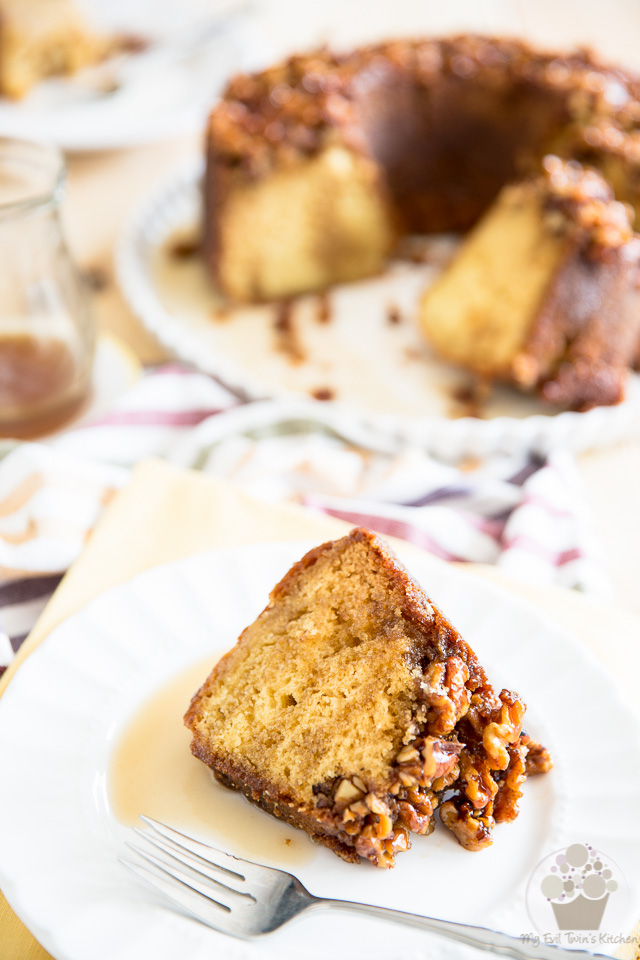
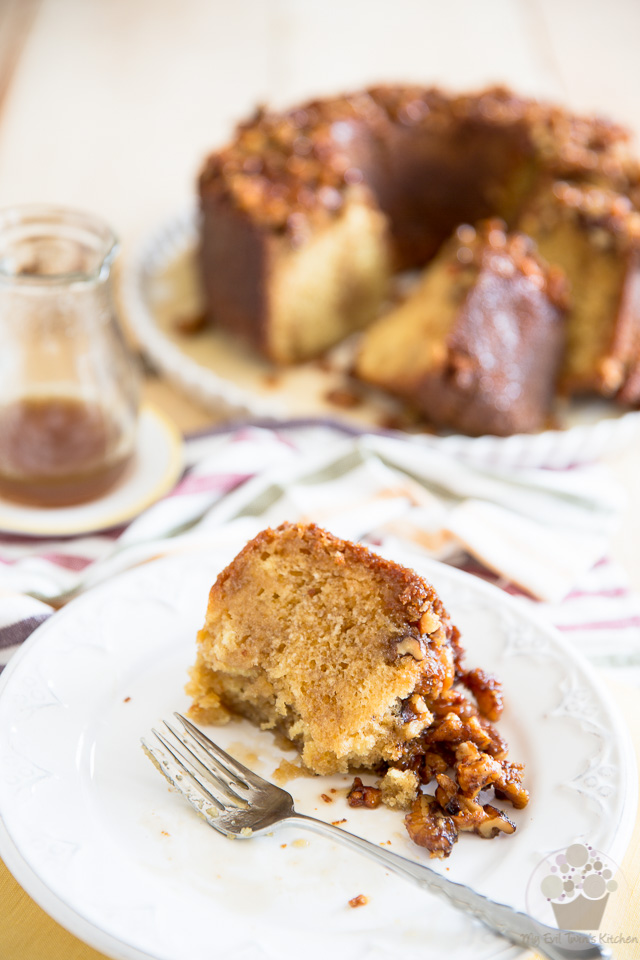
Because yeah… you still have to let the cake sit for about 30 minutes, so it soaks all that beautiful sauce right up, and also so it has a chance to cool a little. This cake truly is at its best served warm: too hot, the flavor suffers… too cold, it’s the texture that takes a serious hit.
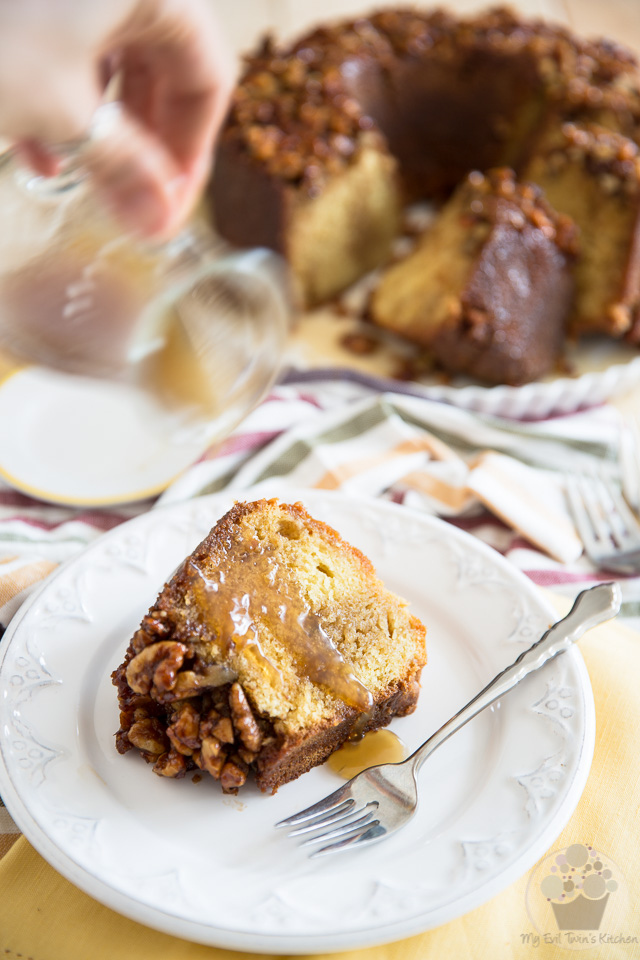
When ready to serve, slice that baby up and pour some more of that intoxicating maple bourbon sauce over the warm slices.
Any leftovers will keep in the refrigerator for up to a week, (in fact, the cake seems to get even better after it’s had a chance to sit in the fridge for a few days) but I strongly I recommend that you slightly reheat them before serving; 30 seconds in the microwave should do the trick.
Take my word for it, this cake is like a million times better when served warm.
And if you’re feeling particularly decadent, might I suggest that you top it with a scoop of vanilla ice cream?

Ingredients
- 1/4 cup (60g | 2.1oz) butter, softened
- 1/4 cup (50g | 1.8oz) light brown sugar
- 1/2 cup (120ml) pure maple syrup
- 2 cups (200g| 7.1oz) chopped walnuts
- 1/4 tsp salt (I use Himalayan salt)
- 1 tsp pure vanilla extract (store-bought or homemade)
- 3 cups (375g | 13.2oz) unbleached all-purpose flour
- 1-1/2 tsp baking powder
- 1-1/2 tsp baking soda
- 1/4 tsp salt
- 3/4 cup (180g | 6.3oz) butter, softened
- 1-1/4 cup (250g | 8.8oz) granulated sugar
- 3 large eggs, at room temperature
- 3/4 cup (170g | 6oz) sour cream, at room temperature
- 3/4 cup (180ml) buttermilk, at room temperature
- 2 tsp pure vanilla extract (store-bought or homemade)
- 1-1/2 cup (360ml) pure maple syrup
- 1/2 cup (120g | 4.2oz) butter
- 1/3 cup (80ml) bourbon
- 1/4 tsp salt
- 1 tsp pure vanilla extract (store-bought or homemade)
Instructions
- Preheat your oven to 350°F; grease a non-stick 10" tube pan liberally with butter, line the bottom with parchment paper, and then grease the top of the paper with more butter after you've positioned it. Add a few tablespoons of granulated sugar to the inside of the pan, and gently tap and turn it around until every square inch of the inside of the pan is coated in sugar, INCLUDING the chimney! Set aside.
- In a small bowl, combine the softened butter, brown sugar and maple syrup and mix with a flat whisk until well combined. Add walnuts, stir well and set aside.
- Combine flour, baking powder, baking soda and salt in a medium sized mixing bowl. Mix well with a whisk until thoroughly combined.
- In a large glass measuring cup, combine the sour cream, buttermilk and vanilla extract and mix until well combined.
- In a separate, larger mixing bowl, cream the butter and sugar with an electric mixer at medium speed until well combined, about 1 minute. Add eggs, one at a time, beating well between each addition until light and creamy.
- Add half the dry ingredients and mix on low speed until barely just incorporated, then pour in half the buttermilk mixture and resume mixing on low speed until combined. Repeat with the rest of the dry ingredients, then buttermilk, mixing just until combined each time. Do not overmix.
- Delicately spread the walnut mixture at the bottom of the pan (give it a little stir first if it has separated) and top with the cake batter. Spread the batter as evenly as you can and bake for 55 to 60 minutes or until a toothpick inserted in the center of the cake comes out clean.
- When the cake is almost done baking, make the bourbon maple sauce.
- Combine the maple syrup, bourbon, butter, vanilla extract and salt in a small saucepan; bring to a simmer over medium heat and then continue to simmer for 5 minutes or until the sauce comes together and gets slightly thicker. Keep warm.
- Once the cake is done baking, take it out of the oven and place it on a cooling rack. Using a long wooden skewer, poke holes all over the cake, going as deep as you can. Pour about 1/3 of the hot bourbon maple sauce over the entire surface of the cake and then let it rest for about 5 minutes to allow the cake to absorb the sauce. Then, carefully invert the cake onto a rimmed cake plate or stand (so the sauce doesn't go running all over the place) and drizzle another 1/3 of the sauce over the top of the cake.
- Let the cake sit for about an hour and then serve warm with the remaining sauce.
- Store the leftovers in the refrigerator for up to a week. I recommend that you slightly reheat leftovers before serving, as this cake is MUCH better when served warm.

Leave a Reply