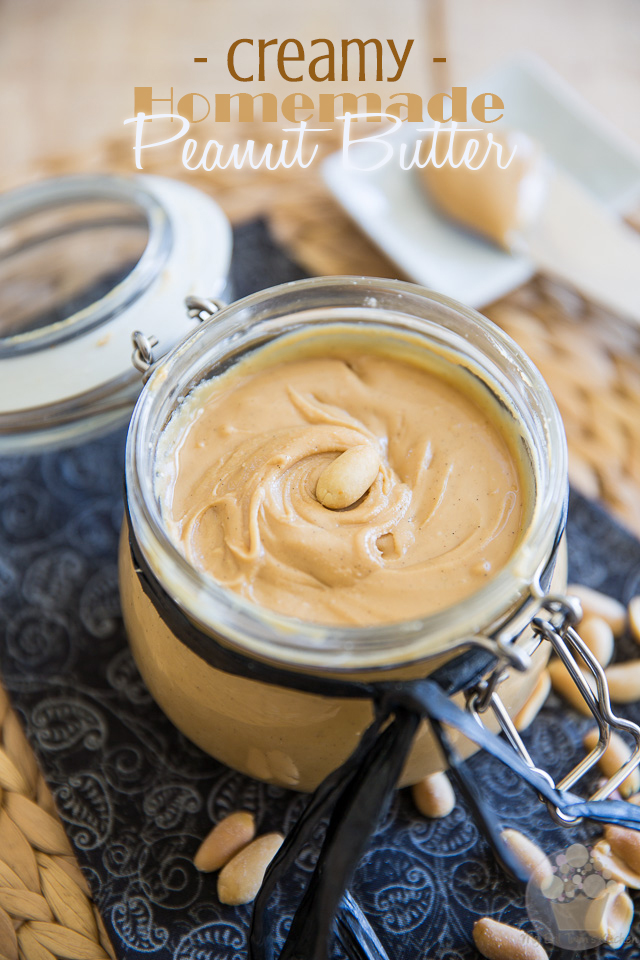
A step-by-step guide, complete with pictures and useful tips, to help you make the best homemade creamy peanut butter you will have ever eaten!
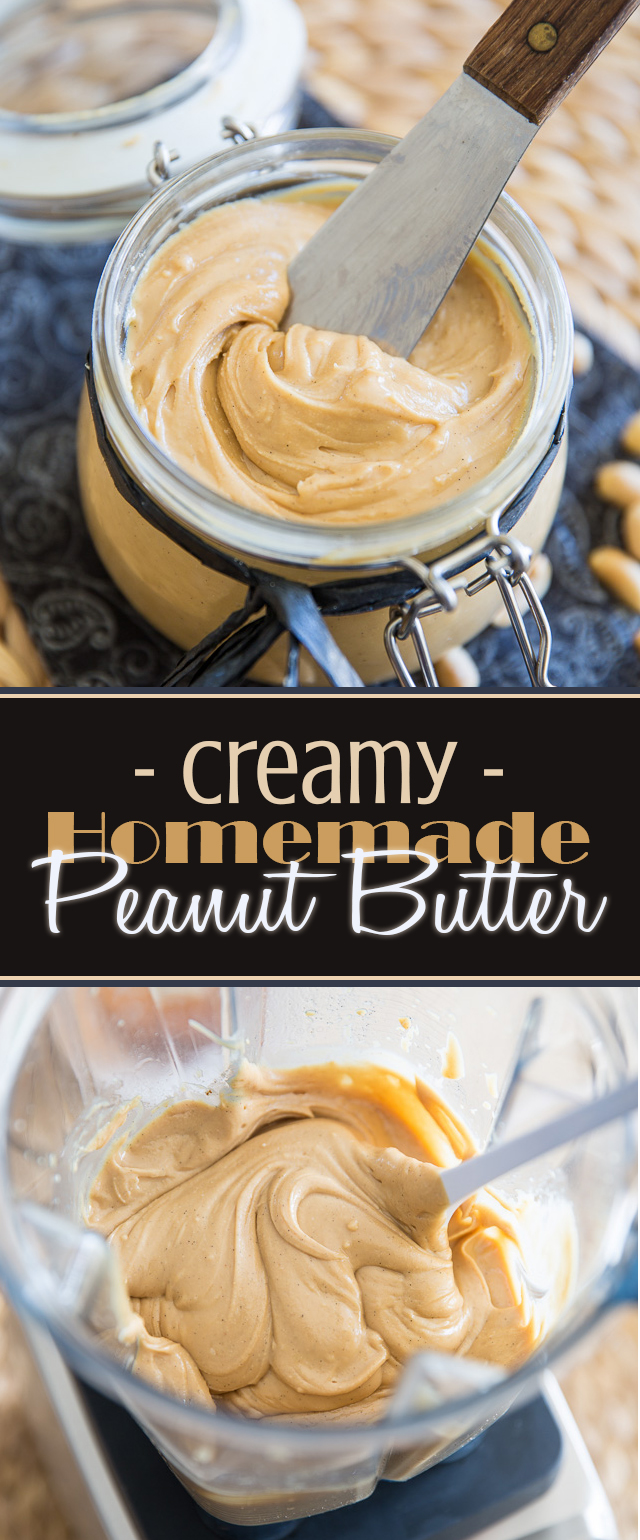
Okay, so you’re probably thinking what the heck? I thought this blog was about culinary decadence! There’s like absolutely nothing quite so decadent about Homemade Creamy Peanut Butter, now is there?
Probably not… Unless your name is Sonia and you’re so madly into the stuff that you practically inject it directly into your veins! Then it becomes one of the most drool-worthy foods on the surface of the earth!
Seriously, though, I figured I’ve been using peanut butter in so many of my recipes lately that it might be a good idea to share my actual peanut butter recipe. For as much as I dig peanut butter, I only ever eat or use homemade. In fact, it’s been ages since I last used commercial peanut butter: I find it to be quite tasteless and can’t stand the sort of greasy feeling that it leaves in my mouth.
As for the commercially prepared all-natural peanut butter, I find that it tends to be too runny for my taste, and well, speaking of taste, most seriously lack in that department.
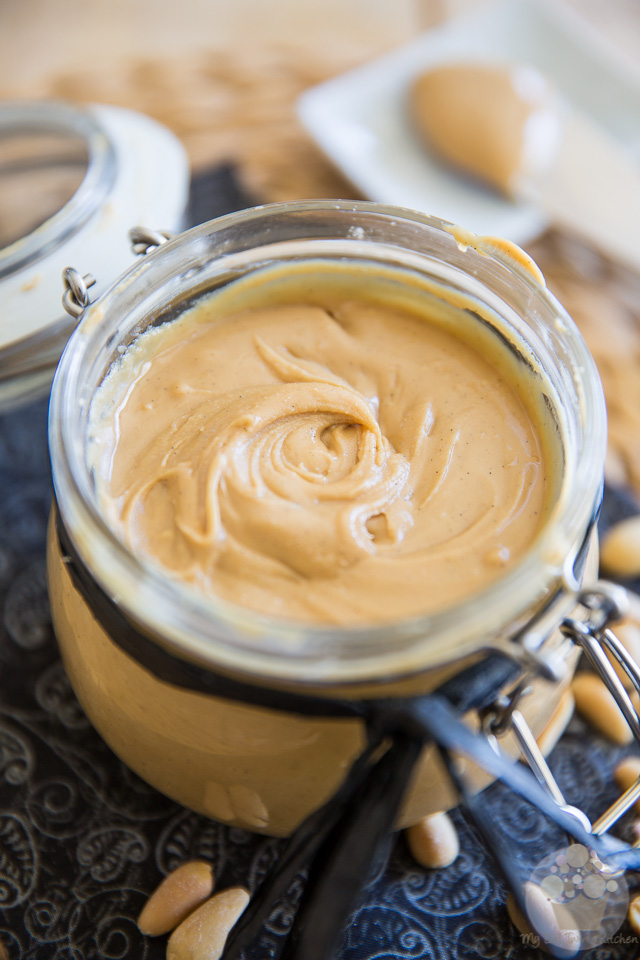
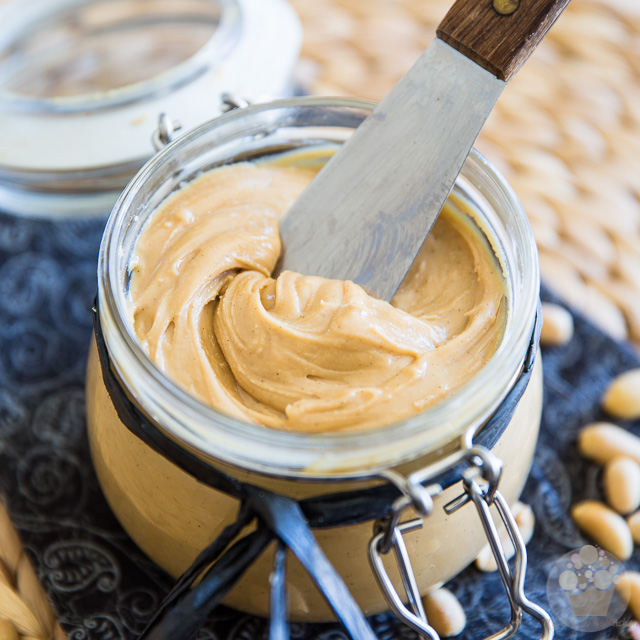
But this Peanut Butter right here? This is like food of the gods… It’s lusciously thick and creamy and has a consistency that’s very similar to that of the peanut butter which we are accustomed to, without the greasy feeling. And its flavor is simply over the top. For real. This thing just literally EXPLODES with flavor, so much so, I sometimes wonder how it all can be contained into such a tiny little jar. Wait ’til you taste it, you’ll understand exactly what I’m talking about…
As you can very well imagine, I’ve made MANY a batch before I came up with what I can now call the absolute ultimate perfect homemade peanut butter, so I’ll be able to share some of what I’ve learned along the way.
For starters, I must warn you that, in order to get these exact same results, you must ABSOLUTELY use a high speed blender, such as a Vitamix or Blendtec. Only these high-end machines can spin fast enough to completely transform the nuts into a super smooth and silky concoction.
Now that doesn’t mean that you can’t make this peanut butter in a regular food processor. You could very well do it, providing that it has a nice, powerful motor. The steps will be pretty much identical, only it will take a little bit longer, you’ll need to stop and scrape the bowl all kinds of times, and more importantly, the final product won’t be nearly as smooth.
Honestly, though, I find that my Vitamix does such a good job at making nut butters, it’s probably worth the investment, if only for that purpose alone!
You ready to get started? Let’s go!
I strongly recommend that you stick to the original recipe for best results, but if you should need to make a few substitutions, I’ve put together a little reference guide to help you change things up without making a mess.
STEP-BY-STEP INSTRUCTIONS & PICTURES
Like I said previously, this recipe calls for a high speed blender.
If you didn’t have one you could still make the peanut butter in a regular food processor, but you will need to adapt the processing times (which will be much longer) and stop to scrape the sides of the bowl every 30 seconds or so, at least until the nuts have started to turn into nut butter.
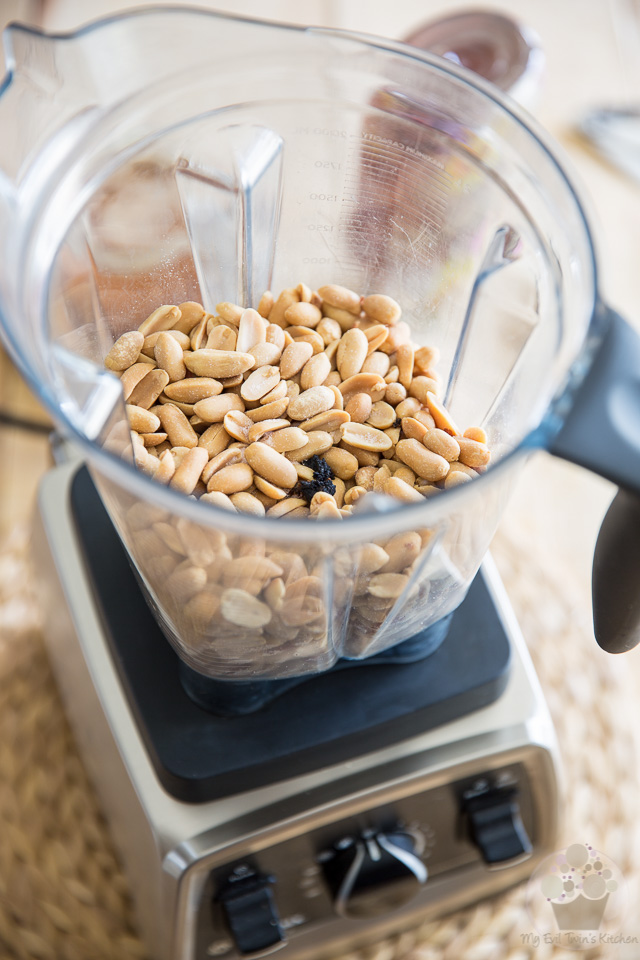
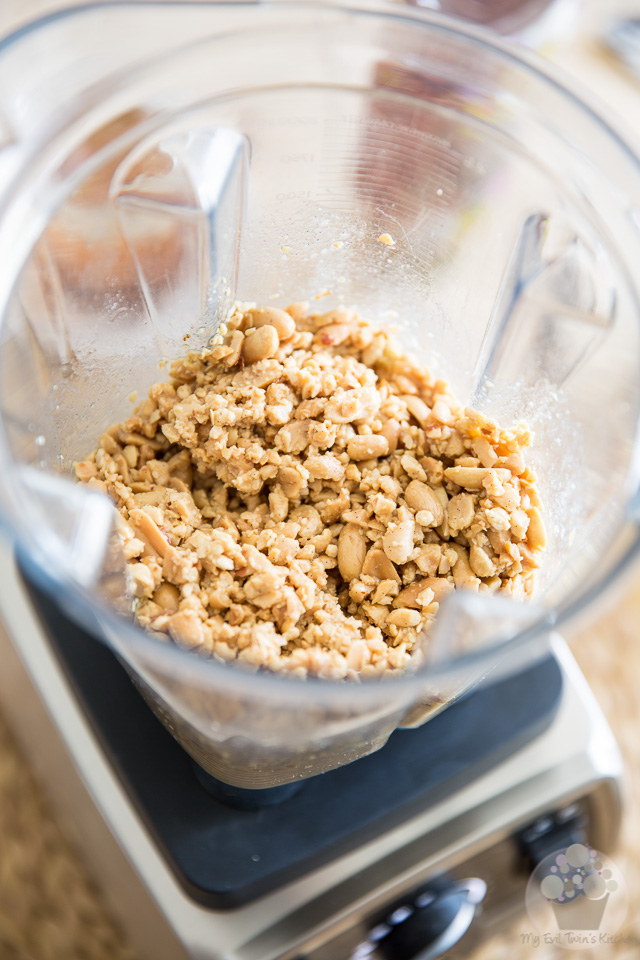
Start by placing the roasted peanuts, melted ghee, vanilla seeds and salt in the jar of your High-Speed Blender.
Why use the seeds of a fresh vanilla bean and not vanilla extract? First off, vanilla does do A LOT for the flavor of the peanut butter, so I wouldn’t dream of leaving it out. Also too, I LOVE the way those cute little black specks look.
But the main reason for using vanilla seeds as opposed to vanilla extract is that vanilla extract contains moisture and moisture doesn’t go well with nut butters. Think oil and water: they’re not the best of friends, are they?
Now that doesn’t mean that you should never add any moisture to nut butters, because you can and it’s even desirable, sometimes. It’s all a question of knowing when, how and how much to add.
Sooooo, if you didn’t have vanilla beans on hand or unlike me, didn’t care for the tiny black specks in your peanut butter, you could use vanilla extract, BUT you’d need to be adding it at the very end of the process.
Whatever you do, DO NOT add it right now.
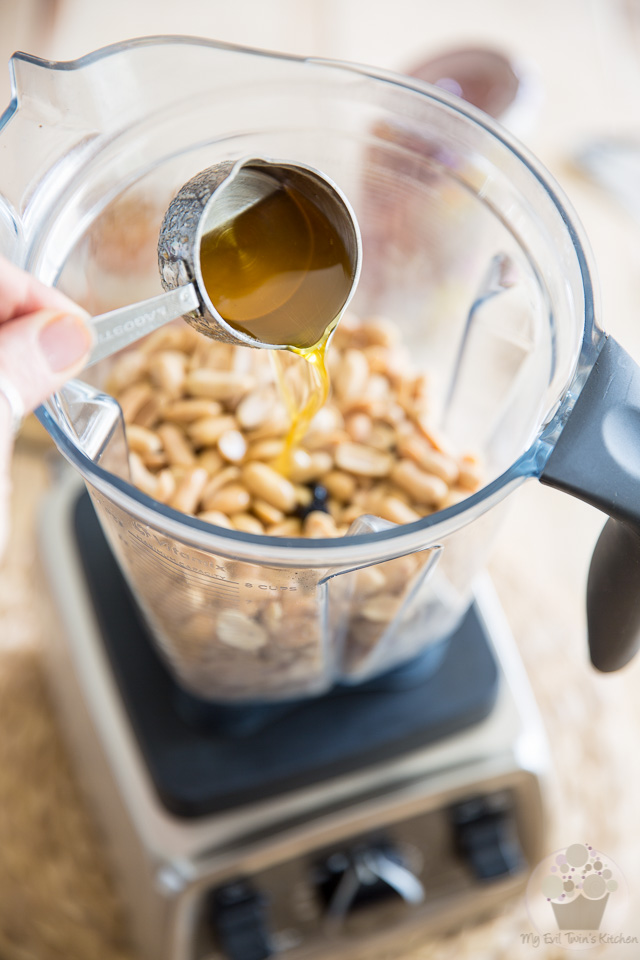
As for the ghee you want to add it in a melted state, because this will GREATLY accelerate the process. The oil will go straight to the bottom and will help the peanuts spin through the blades much faster and easier.
Why ghee you ask? Because ghee has no extra moisture, it’s all pure fat, so it will not affect the consistency of your nut butter, at least not at this point. However, since ghee is solid at room temperature, it will play a big role in making your peanut butter lusciously thick and creamy later down the road.
If you were to use oil, since oil remains liquid at room temperature, your peanut butter would be super thin and runny.
Another great advantage of ghee is that is has a very long shelf life, which means it will not go bad if kept at room temperature for an extended period of time. Plus, it tastes AMAZING, so it will pass some of its delicious flavor to your final product. With that in mind, browned butter (if you tend to keep that in your pantry) would be another FANTASTIC option! (browned butter is pretty much like ghee, only it doesn’t get filtered to remove the brown bits)
You could also use melted butter if that’s all you had on hand, or if it was easier for you, but you would need to use about twice as much to make up for all the excess moisture that it contains. On the plus side, the final texture of your peanut butter will be even thicker, but its shelf life will be greatly reduced: I wouldn’t stretch it past a couple of weeks… so depending on what you intend to do with your peanut butter, using butter may or may not be a good idea.
Oh, and also too, if you use salted butter, you’re going to want to reduce the amount of salt that you’re adding to account for the salt that’s already in the butter.
Phew! I think I’m all done with the technical stuff now… Are you still with me?
I hope so, ‘cuz now we can finally get busy and process those peanuts!
Start the blender on low speed and process for about 30 seconds to a minute, while pushing the peanuts down with the tamper to force them into the blades (that’s if you have to!)
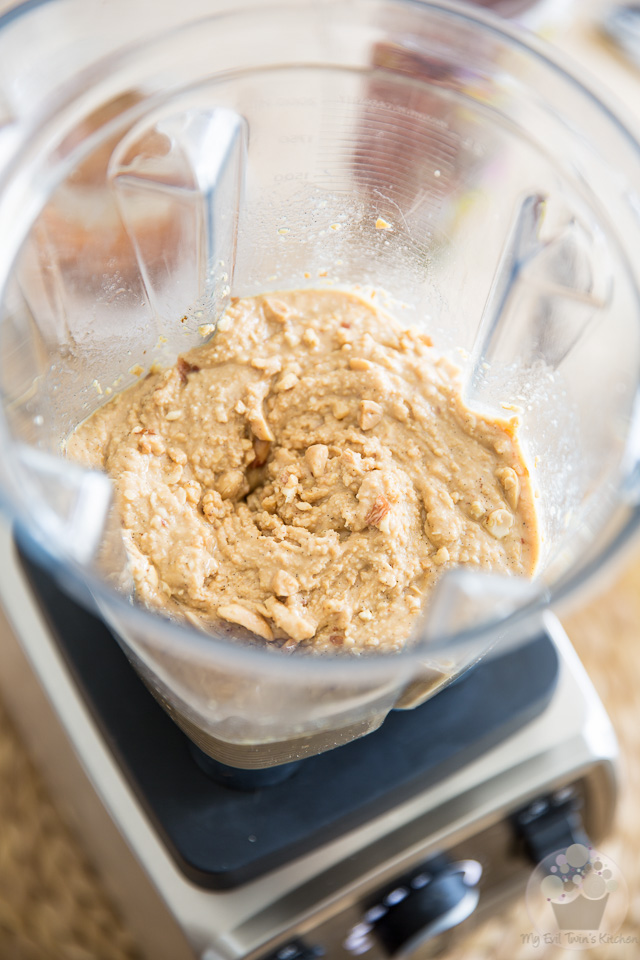
Then slowly increase the speed to 5-6 and continue processing until the butter starts to become creamy, about 30 seconds to a minute.
You should definitely not need to be using the plastic tamper at this point.
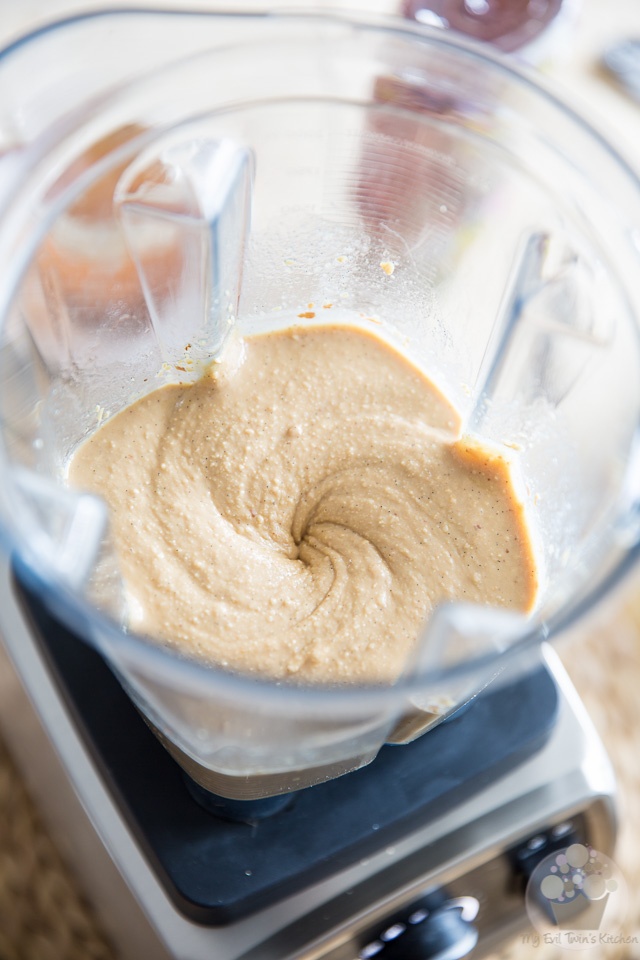
Remove the lid and scrape the sides with a rubber spatula to make sure every last bit of peanut gets into the blades, and then resume processing, progressively increasing the speed all the way up to 10.
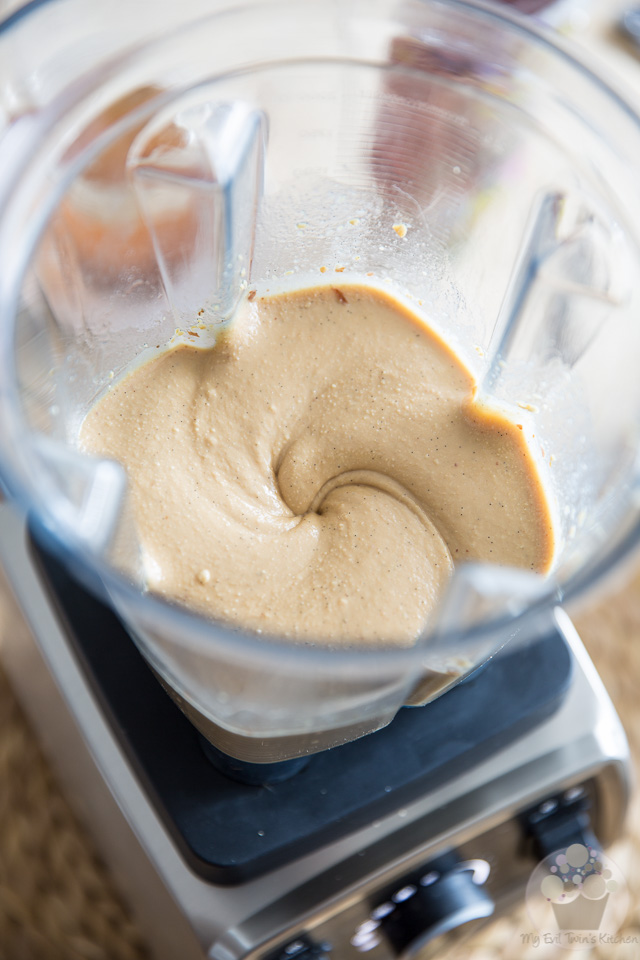
After 30 seconds at maximum speed, this is what your peanut butter should look like. Getting there, but not quite there yet…
For the record, if you were using a standard food processor, that’s probably the smoothest texture you could expect to get.
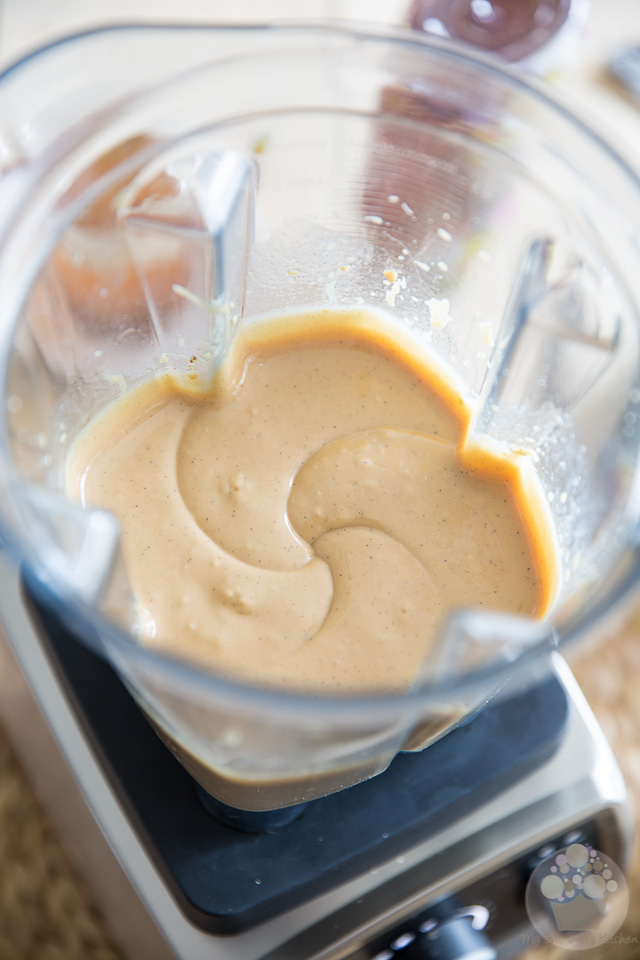
Let the motor run for about 60 seconds more, until the peanut butter becomes really silky and smooth and has a fairly runny consistency, similar to that of pancake batter.
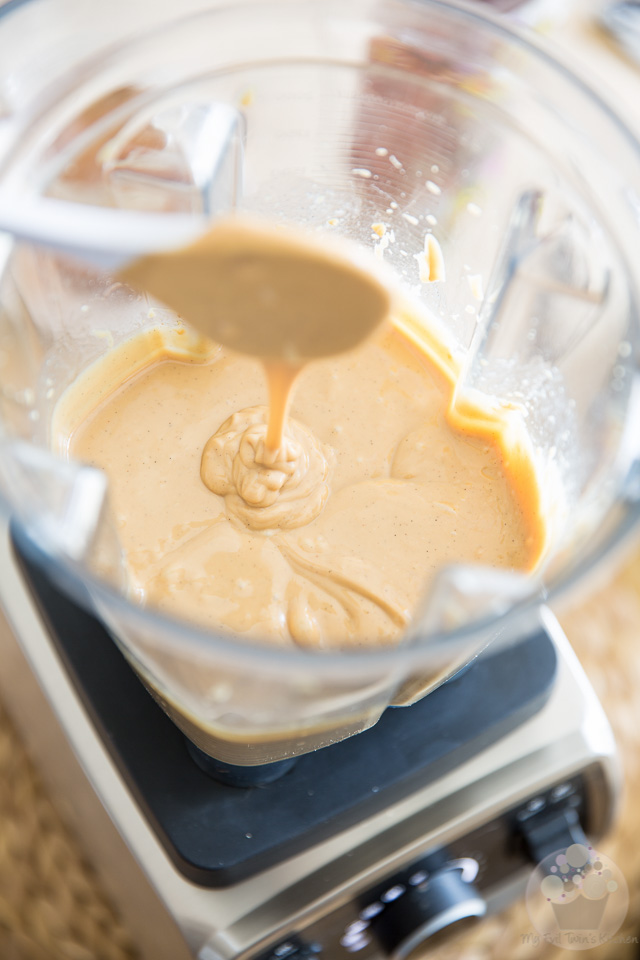
Notice how runny the nut butter is at this point?
Now that’s about to change, as we’re going to introduce some moisture!
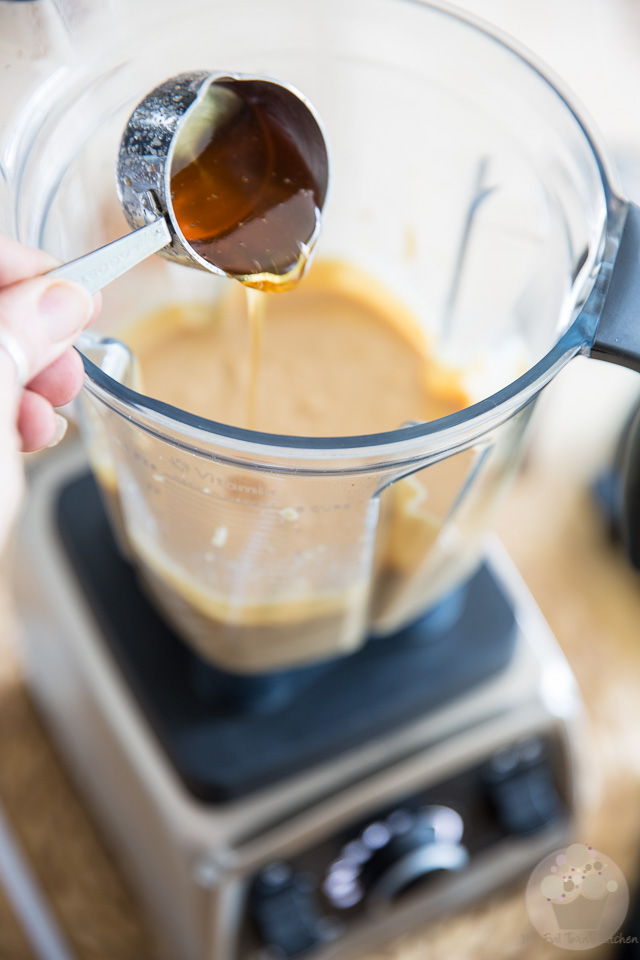
Add the liquid honey and mix it in on high speed until it gets completely incorporated and the peanut butter becomes nice and thick, about 15 seconds.
Whatever you do, DO NOT overmix the honey. As soon as the texture starts to shift, you want to stop the motor.
You’ll see when that happens, don’t worry.
Oh, and if you didn’t have liquid honey on hand, you could use an equal amount of maple syrup, or light or golden corn syrup. Flavor-wise, though, honey is definitely your best option!
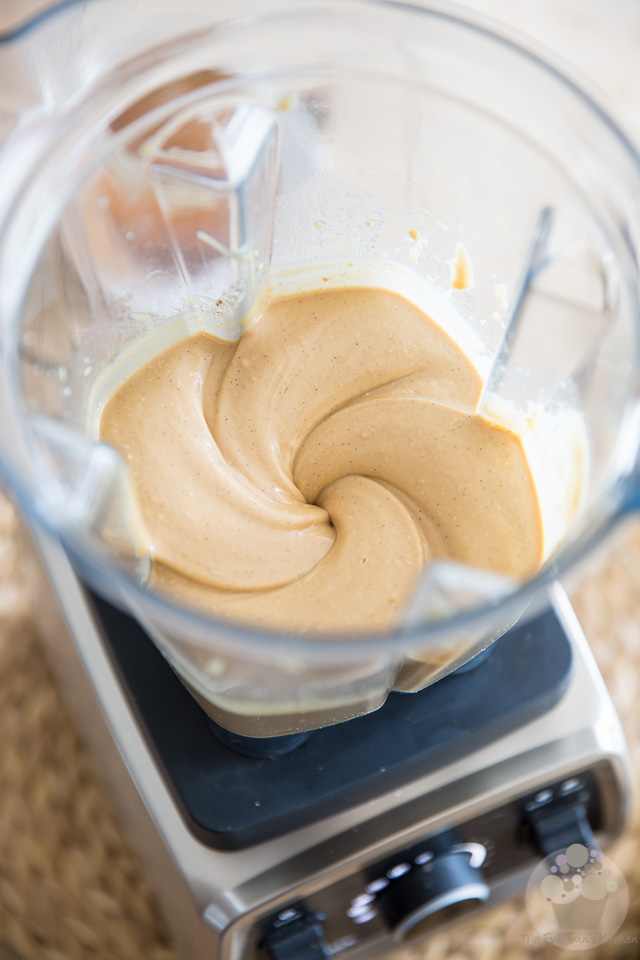
See how much thicker this Peanut Butter got in just a few seconds?
OH! It’s a beautiful thing!
And seriously, you gotta admit that those tiny little black specks, they look pretty darn elegant! Personally, I think that they simply elevate the peanut butter to a whole new level!
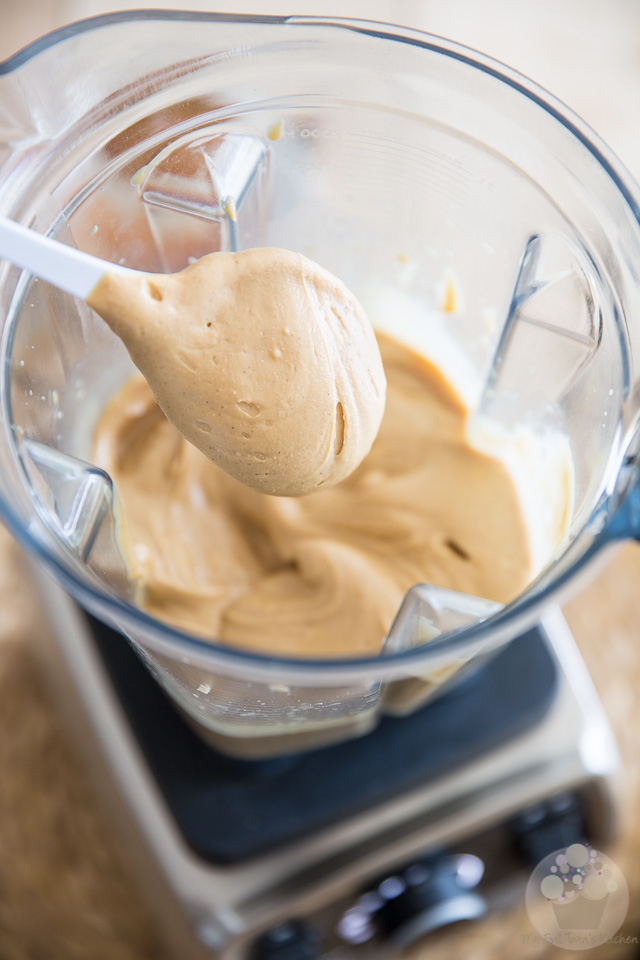
But, if you have your mind set on using vanilla extract, now would be the time to add it.
Just like with the honey, you’d have to mix it in real quick. I’d even go as far as to recommend that you just give it a few spins and then finish mixing it in by hand.
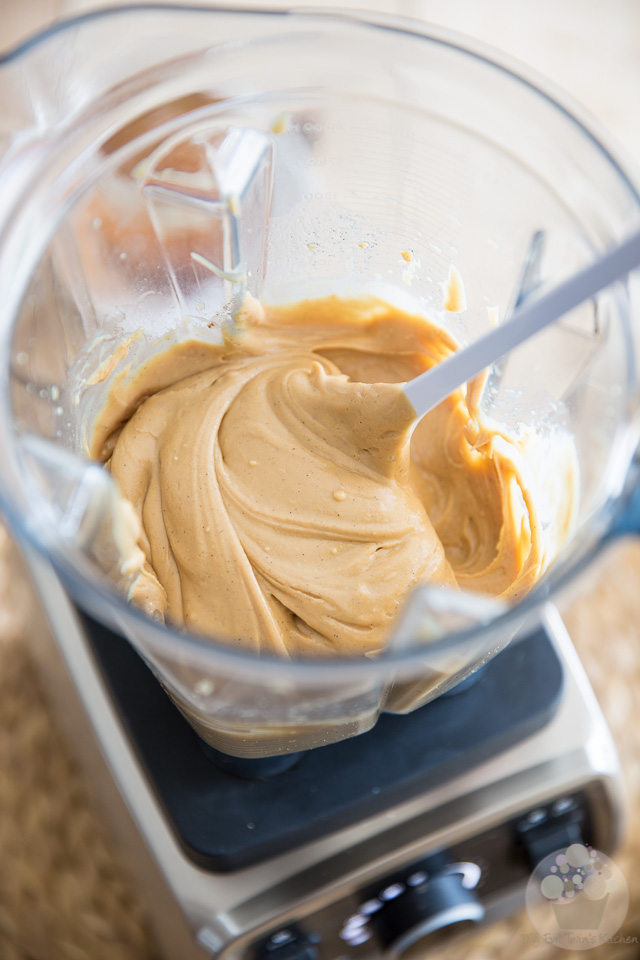
And there you have it. Now just you wait until you get to taste this!
Transfer your beautiful peanut butter to an airtight container and store it in the pantry, where it will keep for up to several weeks, if you can keep it that long, that is!
Just try and keep your fingers out of the jar…
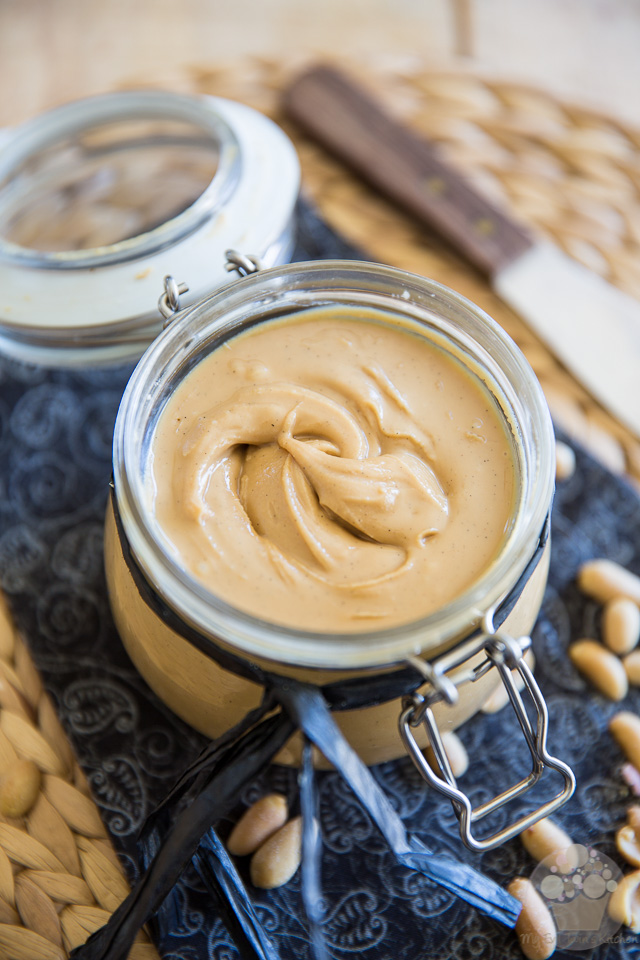
Ideally, you want to let your peanut butter rest for a full day before you dig in.
First, because it will get a tad firmer still as it cools down, but also too, because it’ll be much tastier once it’s back at room temperature; warm nut butters aren’t quite as flavorful.
On a final note, just like with any natural nut butter, there’s a chance that your peanut butter will separate over time and that the oil will come floating to the surface. To avoid that, it’s a good idea to give your peanut butter a little stir from time to time.
Mind you, that only holds true if your peanut butter is going to be sitting in your pantry, untouched, for a prolonged period of time, which I really doubt is gonna happen.
My guess is, you’ll never even have time to see a single drop of oil raise to the surface…
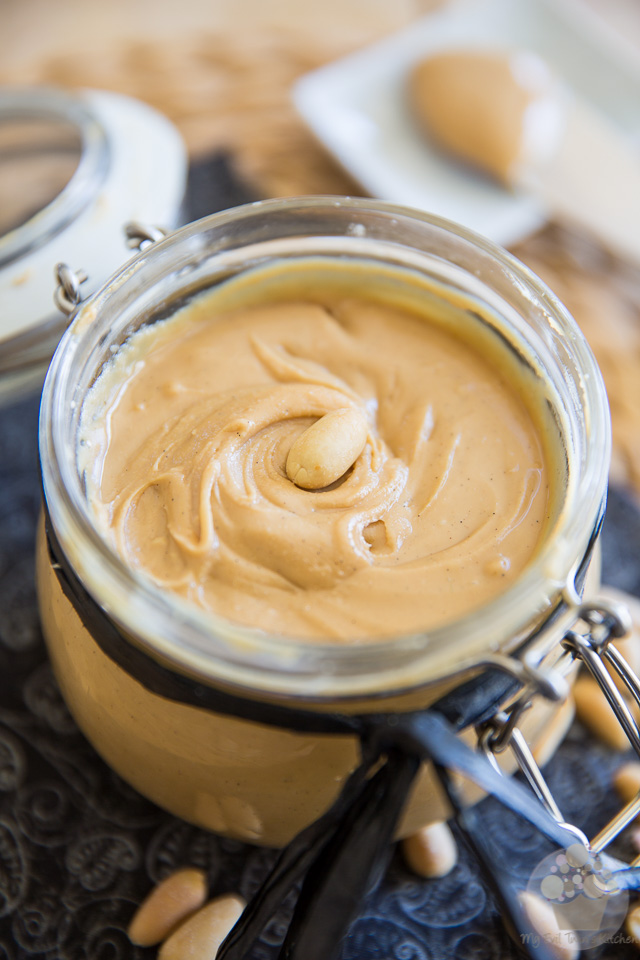
Ingredients
- 4 cups (600g | 21.2oz) roasted salted peanuts
- 1/4 cup (55g | 1.9oz) ghee, melted (you can use store-bought or make your own)
- 1/2 tsp salt (I use Himalayan salt)
- 1 vanilla bean, seeds scraped
- 2 tbsp liquid honey
Instructions
- Place the roasted peanuts, melted ghee, vanilla seeds and salt in the jar of your High-Speed Blender.
- Process the nuts on low speed for about 30 seconds to a minute, while pushing down with the tamper to force them into the blades if you have to. Slowly increase the speed to 5-6 and continue processing until the butter starts to become creamy, about 30 seconds to a minute. You shouldn't need to be using the plastic tamper at this point.
- Remove the lid and scrape the sides with a rubber spatula to make sure every last bit of peanut gets into the blades, and then resume processing, progressivly increasing the speed all the way up to 10. Let the motor run for about 60 seconds, until the peanut butter becomes silky smooth and has a fairly runny consistency, similar to that of pancake batter.
- Add the liquid honey and mix it in on high speed until it gets completely incorporated and the peanut butter becomes nice and thick, about 15 seconds.
- Transfer your peanut butter to an airtight jar and store it in the pantry, where it will keep for up to several weeks.
- Note that your peanut butter will get a tad firmer still as it cools down.

Definitely making this for a friend! I don’t do peanuts myself but he love peanut butter. He’ll love the addition of the ghee!
It makes all the difference in the world, Shel. Your friend will never want to have commercial peanut butter ever again! Did you finally get your hands on a high-speed blender?
Oh ye a company in the UK GAVE ONE TO ME!!! Life changing!
Whoa, LUCKY, that’s awesome! Which one did you end up getting?
This one – http://www.froothie.com.au/optimum-9400
NICE!! I’ve no doubt that it’ll make the creamiest peanut butter! 🙂