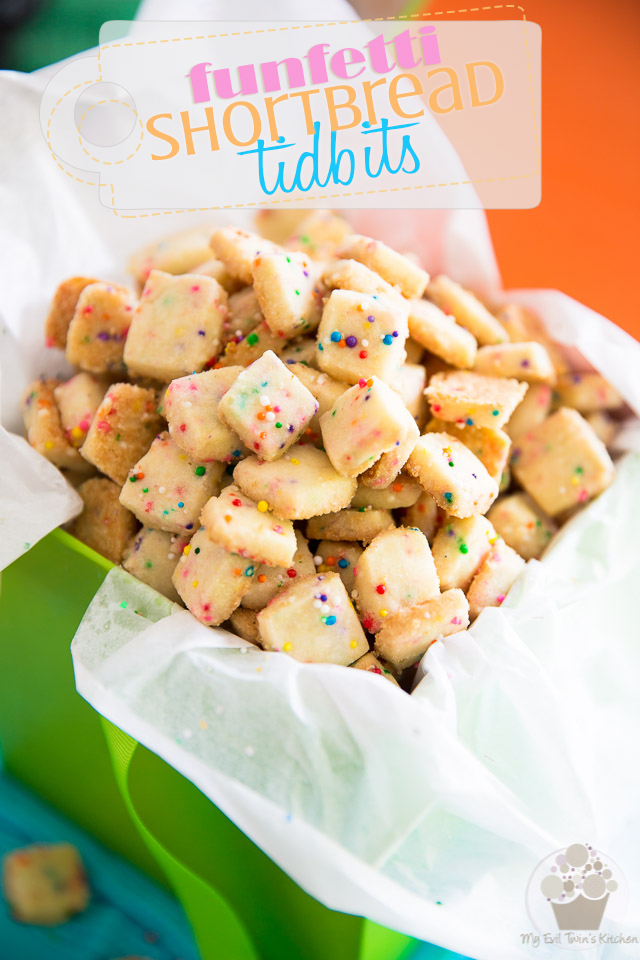
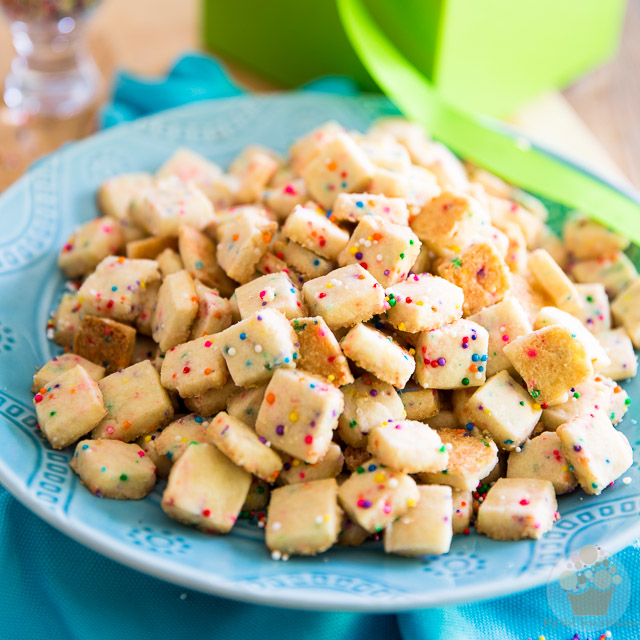
As cute as they are delicious and addictive to eat, these Funfetti Shortbread Tidbits will be a favorite at your next party – they’ll disappear in no time!
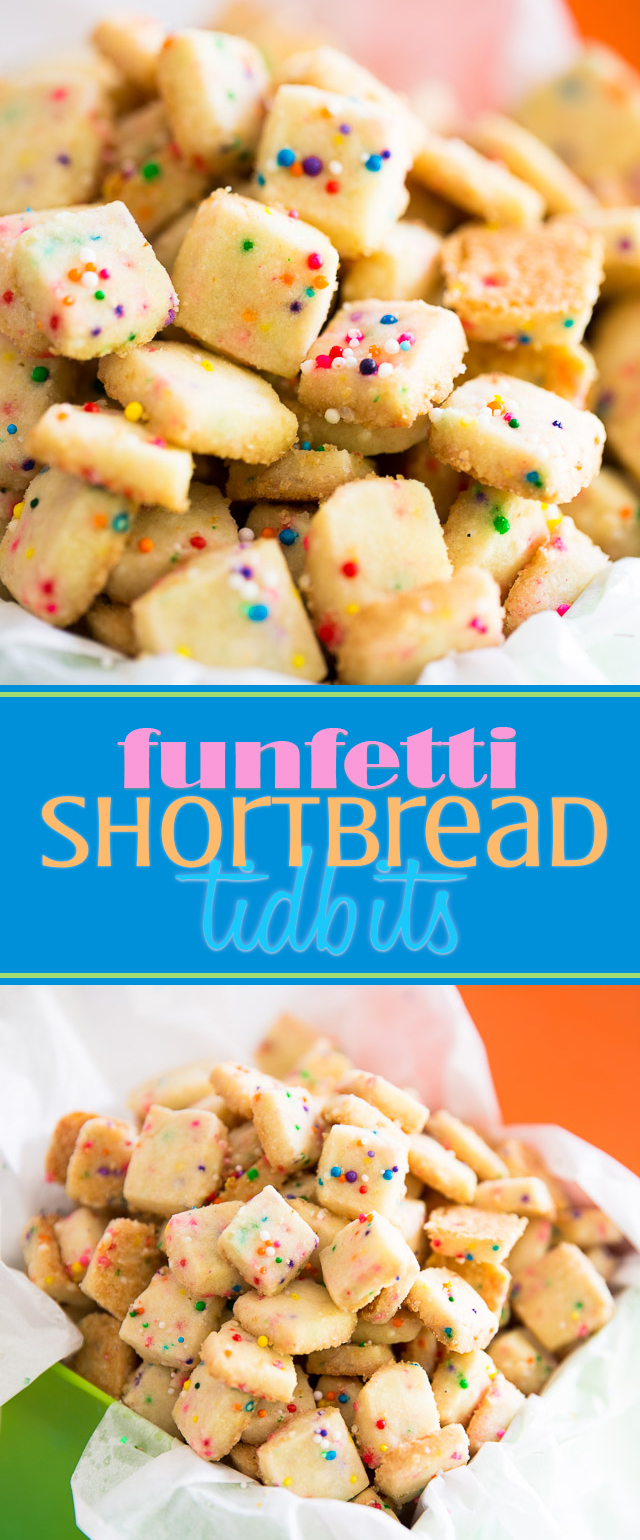
Seriously, how adorable are these Funfetti Shortbread Tidbits? I know, right?
Now what if I told you they taste like a thousand times better than they actually look? What if I told you that they’re crazy good, dangerously addictive, unbelievably crunchy, crispy yet totally melt-in-your-mouth and practically disintegrate on contact with the tiniest little kiss from your teeth?
Bet you’re wishing you could reach through your screen right now and grab a handful or two, aren’t you?
Ha! I really wish you could do just that, too, since you’d be getting them off my hands… Because these pretty little things, they’re so good, they’re very dangerous to have around. You pop one, you just can’t stop — I strongly advise against being left alone with a fresh batch of these!
If you’re gonna whip up a batch, make sure that you have plenty of people to share them with, or someone that you can offer them to.
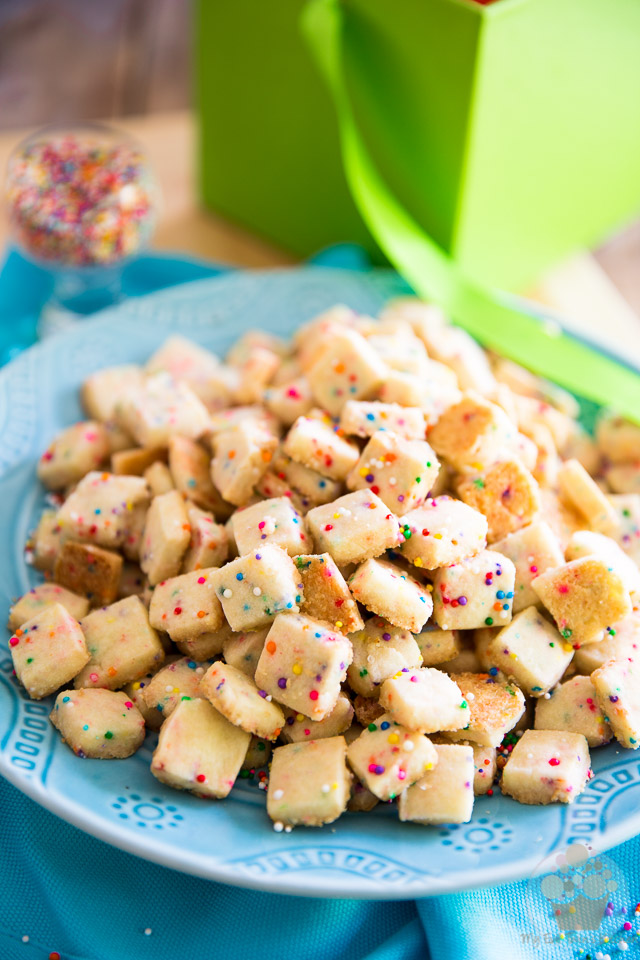
Speaking of which, they certainly would make for an awesome hostess gift.
Plus, they are perfect for ANY occasion, too! With so many different colors and varieties of rainbow sprinkles and nonpareils available, you can very easily find some to match just about any event or Holiday: Halloween, Christmas, Easter, Valentine’s Day, Baby Shower, 4th of July, Thanksgiving… whatever the occasion, you’re guaranteed to find a variety that’ll fit your needs.
You could even give them a different flavor and color, if you wanted to! I chose to add lemon extract to mine, because I like the very subtle little zing that it gives to the cookies, but you could very well use any other flavor that you wanted. Pure vanilla would work, of course, but I’m thinking maple or coconut would also be awesome. Again, let your imagination go wild!
As for color, the possibilities are endless: simply add a few drops of food coloring to the dough and your cookies will have a completely different look.
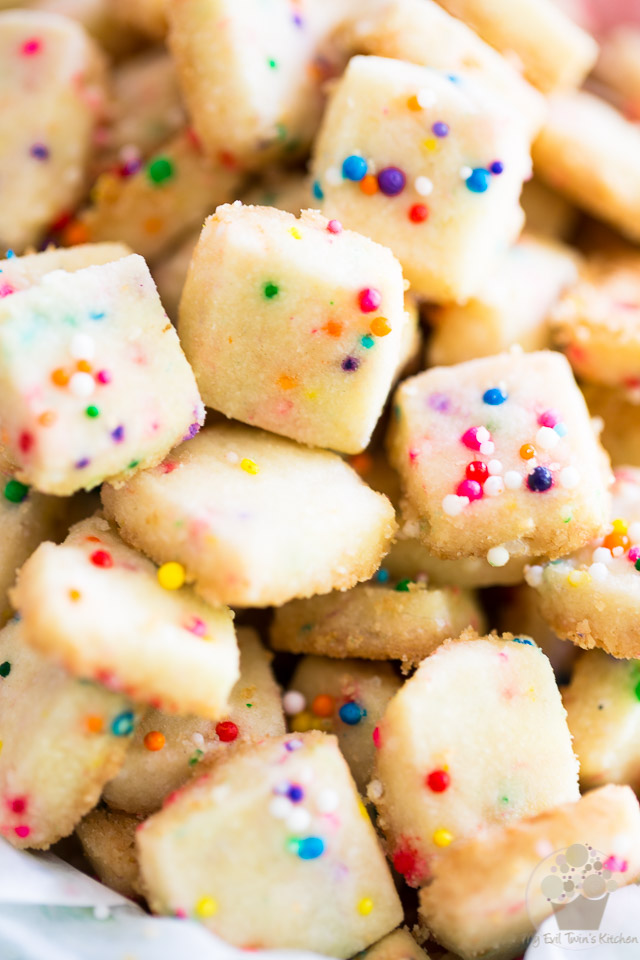
No matter what color or flavor you choose, you can be certain that these Funfetti Shortbread Tidbits will ALWAYS be extremely popular and no matter what kind of event you bring them to, I’m just about ready to bet that they’ll disappear before you even get a chance to drop them on the table.
Perhaps you should make a double batch…
STEP-BY-STEP INSTRUCTIONS AND PICTURES
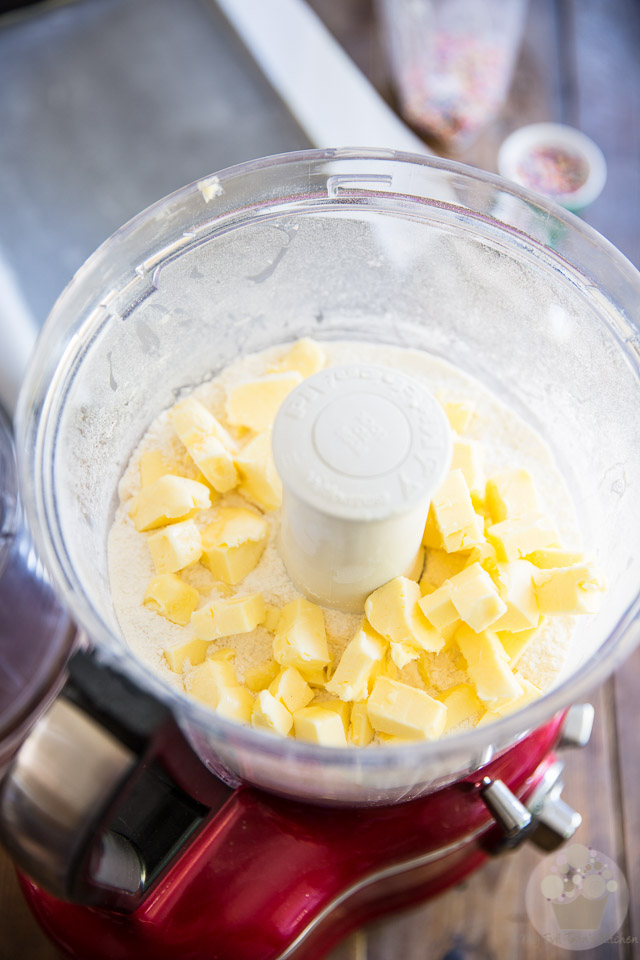
Butter and line a 9″ x 13″ baking sheet with parchment paper, leaving a bit of an over hang on the longer sides and set aside; make sure that the parchment paper really clings to the pan.
Mix the flour and sugar together in the food processor, until well combined. Next, add the butter and lemon extract and pulse until the dough begins to come together.
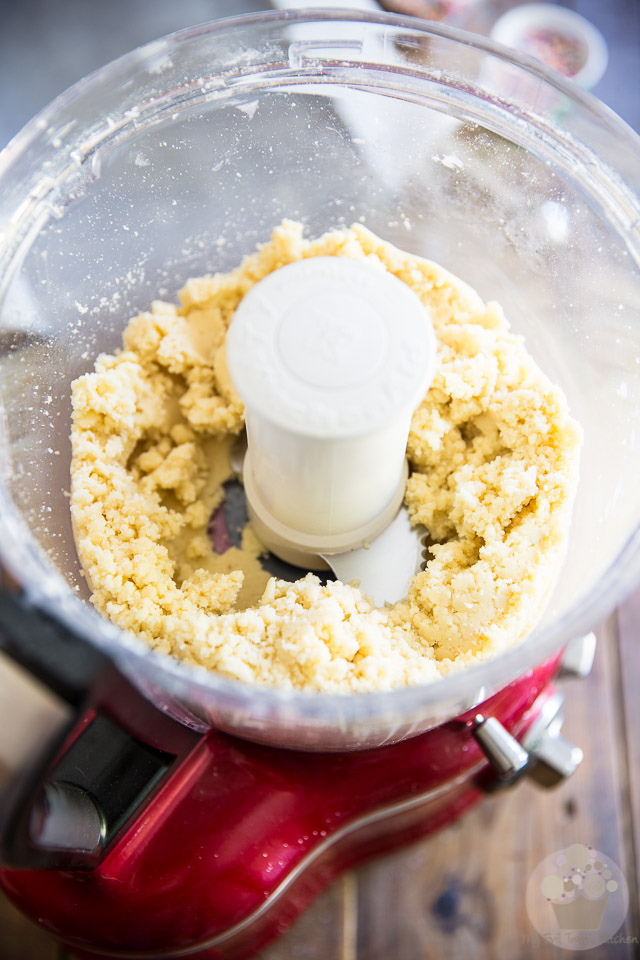
At first, the mixture will have the consistency of coarse sand and you’ll probably think that there’s no way it’s ever gonna come together and that there must be an error in the recipe…
Keep going, trust me. It’ll happen eventually!
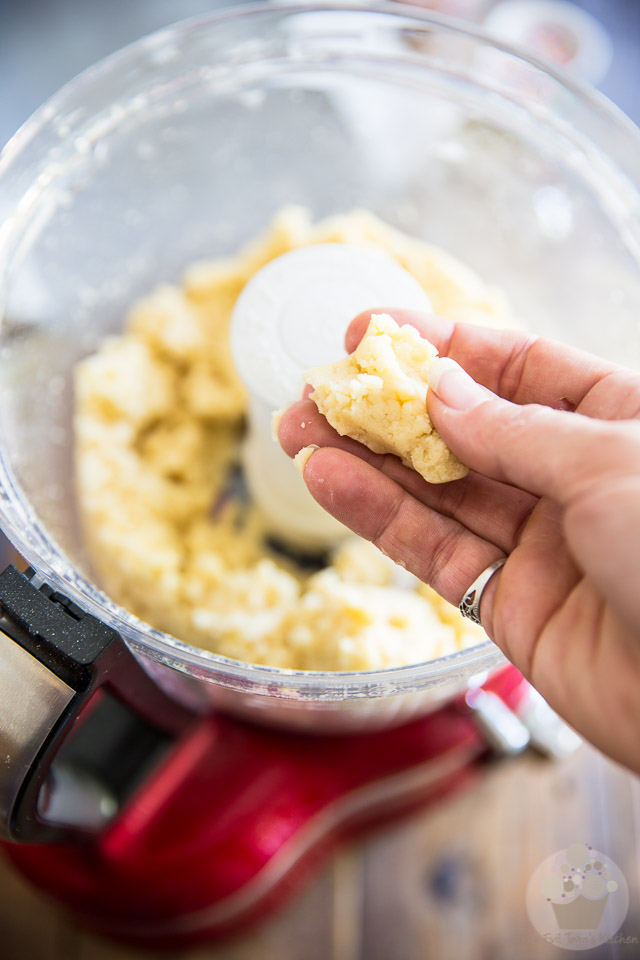
As soon as the dough forms into a ball when you squeeze it in the palm of your hand, it’s ready to use.
Do not over mix it…
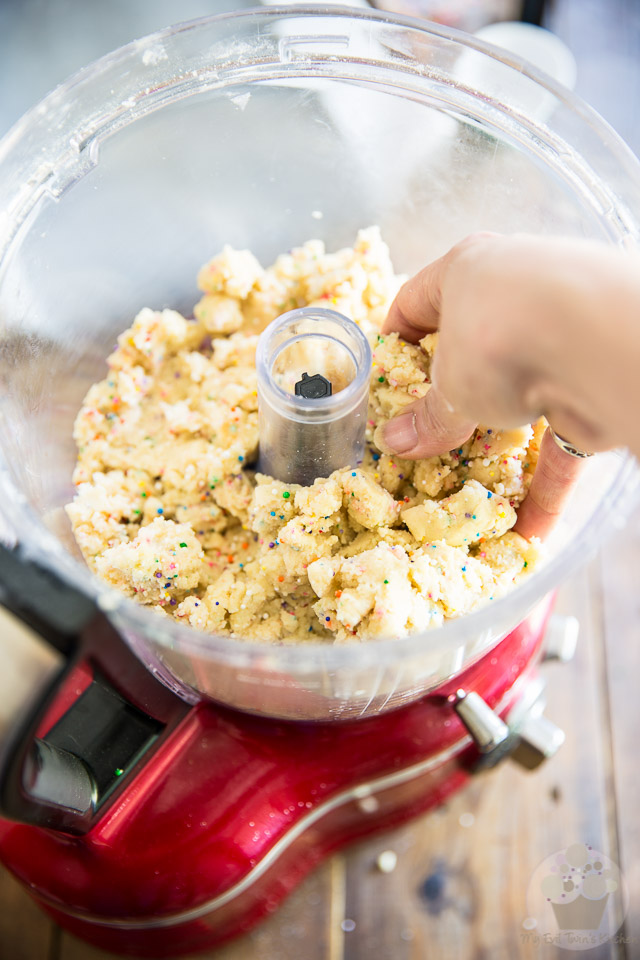
When the dough is ready, remove the blade and gently knead in 2 tablespoons of rainbow nonpareils with your hand, until they’re evenly distributed.
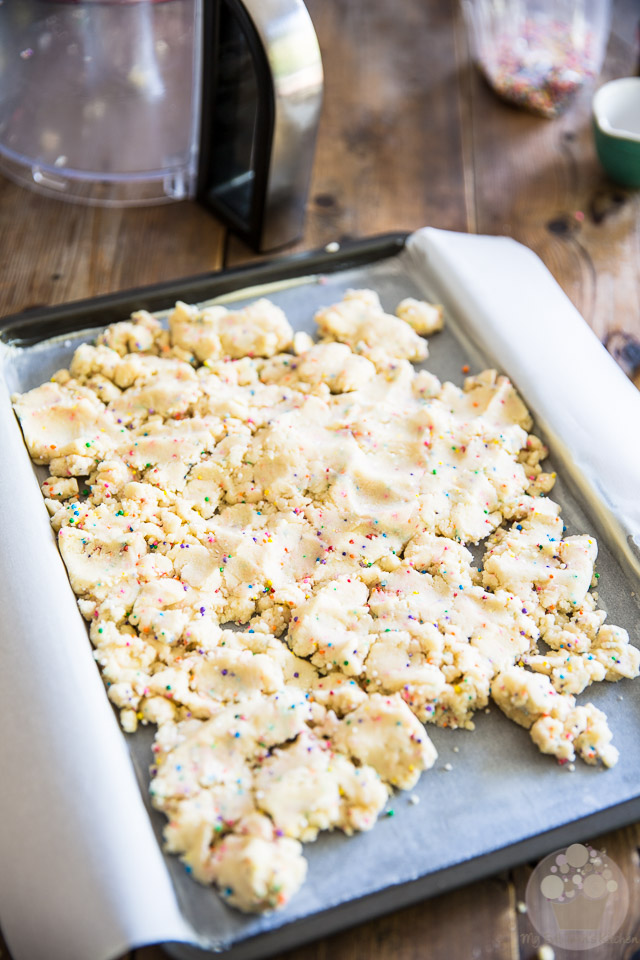
Turn the dough onto the prepared baking sheet and press it into an even layer, using your fingers to start…
Again, you’ll probably think that it’s never going to happen, but be patient. Soon, you’ll have covered the entire surface of the pan.
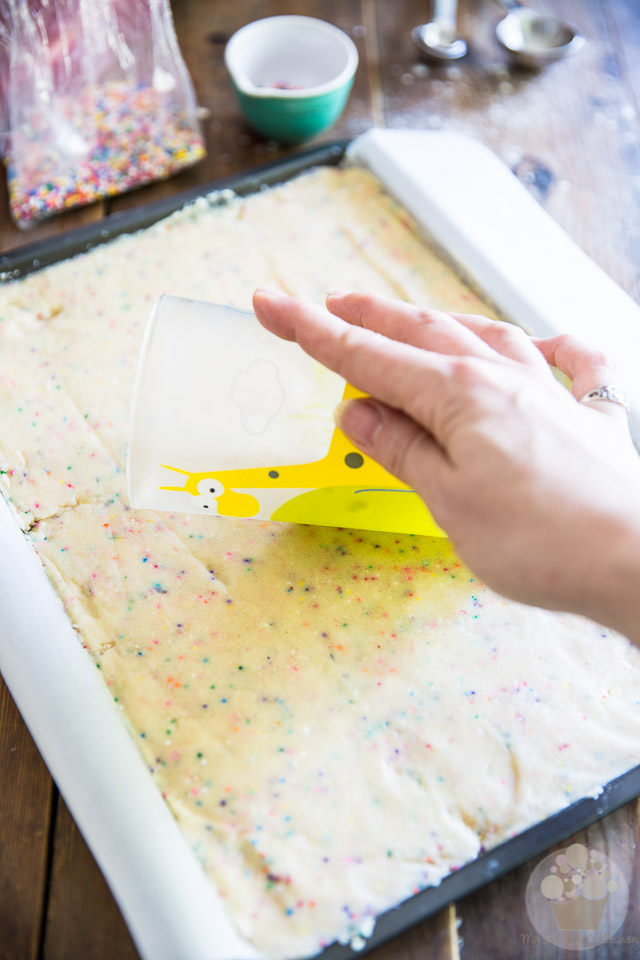
Then, to make the top all beautiful and nice and smooth, use a small rolling pin or other flat or cylindrical object, such as a sturdy drinking glass, and roll or press it all over the dough.
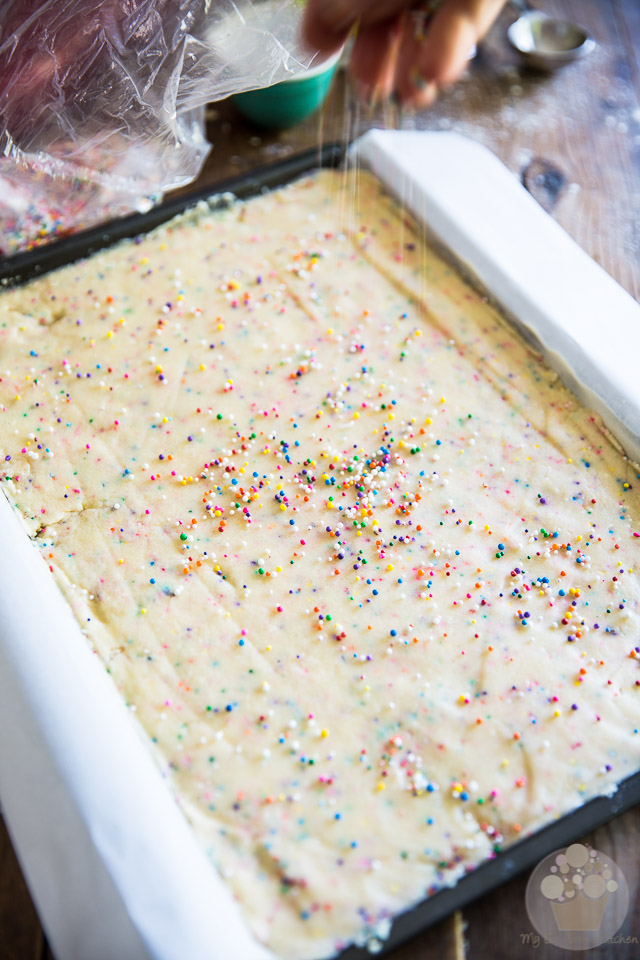
Finally, sprinkle the remaining nonpareils all over the top and lightly press them into the dough;
Now send your unbaked cookies to the refrigerator for at least 30 minutes, or even up to a few days.
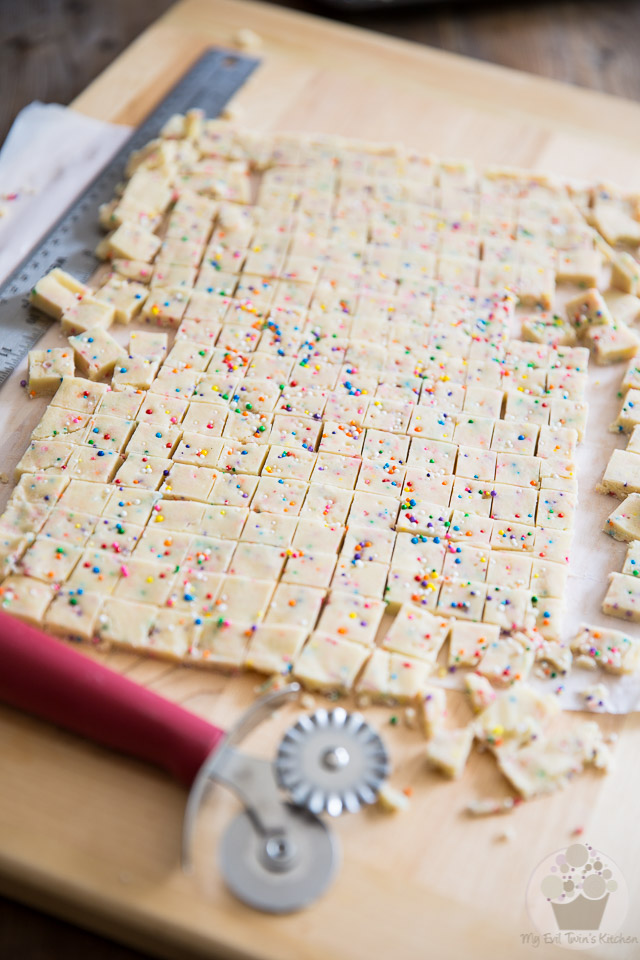
When you are ready to bake your cookies, preheat your oven to 350°F; carefully lift the dough from the baking sheet by pulling on the excess parchment paper.
If you find that the parchment paper is stuck to the pan and refuses to budge, run a warm cloth underneath the baking sheet; this will help soften the butter that’s keeping the paper attached to the pan.
Place your unbaked cookies on a cutting board and, using a ruler as a guide and a pastry wheel or sharp knife, cut the dough into roughly 1/2″ squares.
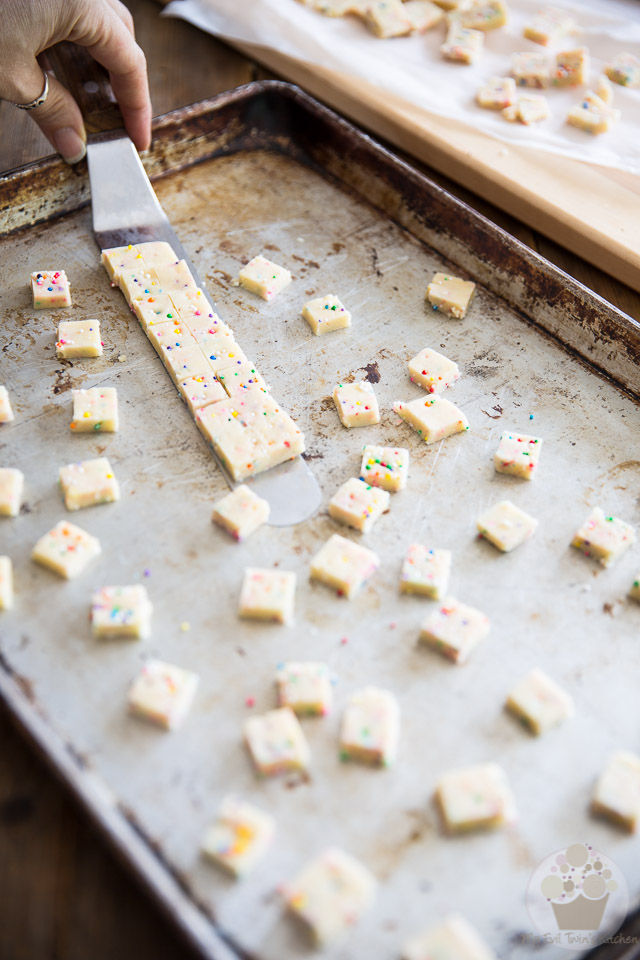
Scatter the squares, about 1/2″ apart, onto an ungreased, unlined 13″ x 18″ baking sheet; The direct contact with the metal is imperative if you’re gonna get those cookies to brown and crisp up.
Also, I strongly recommend that you use an offset spatula to help detach the cookies from the parchment paper — this will make your life MUCH easier!
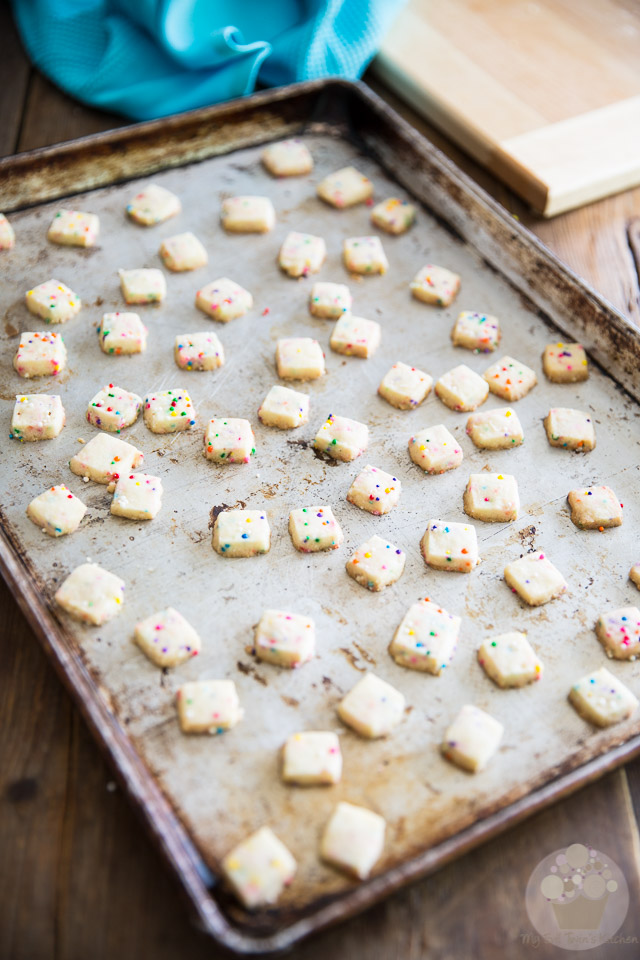
Bake the cookies for 8-9 minutes or until they are LIGHTLY browned on the bottom. As you can see in the above picture, the tops will barely take on any color at all, so be extra careful not to over-bake your cookies!
Make sure to place the remaining unbaked cookies back in the refrigerator while these are in the oven.
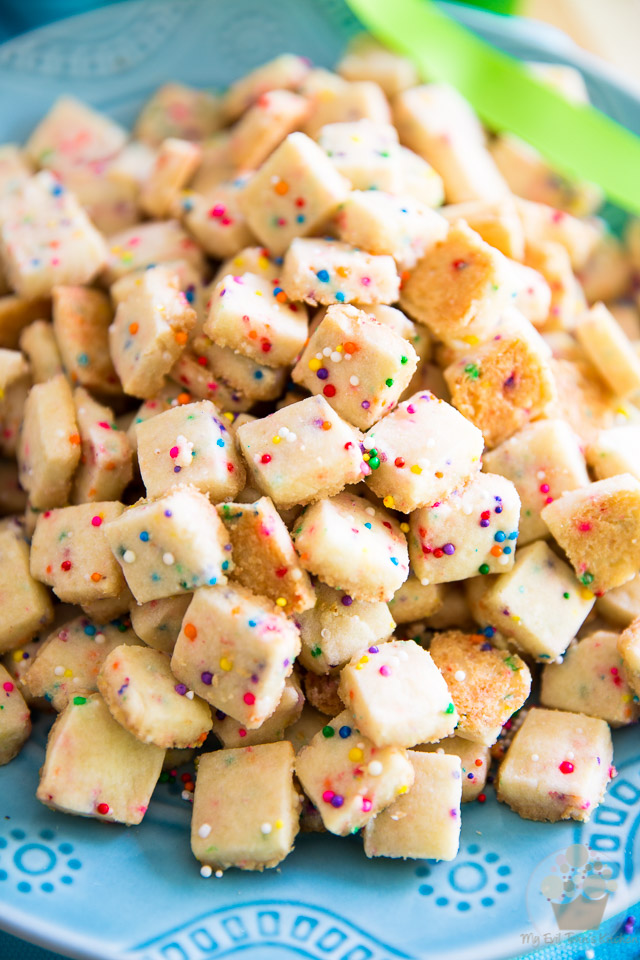
Once baked, let the cookies cool in the pan for 2 to 3 minutes and then transfer them to a plate to cool completely. Repeat with the remaining cookies — you’ll probably end up baking the cookies in 3 to 4 batches.
Store the finished cookies in an airtight container at room temperature for up to about a week.
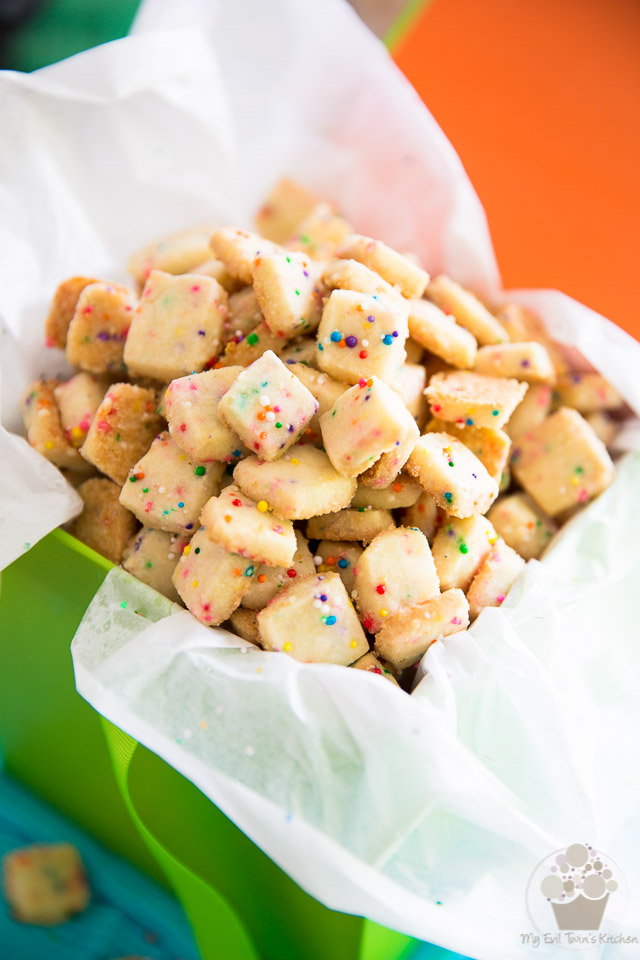
Or place them in a pretty little box and offer them to someone you love!
Ingredients
- 2-1/2 cups (320g | 11.3oz) unbleached all-purpose flour
- 1/2 cup (100g | 3.5oz) granulated sugar
- 1 cup (240g | 8.5oz) butter, cubed
- 1/2 tsp pure lemon extract
- 3 tbsp rainbow nonpareils, divided
Instructions
- Butter and line a 9" x 13" baking sheet with parchment paper, leaving a bit of an over hang on the longer sides and set aside.
- Mix the flour and sugar together in the food processor, until well combined. Add the butter and lemon extract and pulse until the dough begins to come together.
- Remove the blade and gently knead in 2 tablespoons of nonpareils with your hand, until they're evenly distributed.
- Turn the dough onto the prepared baking sheet and press it into an even layer with your fingers to start, then use a small rolling pin or other flat or cylindrical object (such as a sturdy drinking glass) to finish smoothing it out.
- Sprinkle remaining nonpareils over the top and lightly press them into the dough; refrigerate for at least 30 minutes, or even up to a few days.
- When ready to bake your cookies, preheat your oven to 350°F; carefully lift the dough from the baking sheet by pulling on the excess parchment paper. If you find that the parchment paper is stuck to the pan and refuses to budge, run a warm cloth underneath the baking sheet; this will help soften the butter that's keeping the paper attached to the pan.
- Using a ruler (as a guide) and pastry wheel or sharp knife, cut the dough into 1/2" squares.
- Scatter the squares, 1/2" apart, onto an ungreased 13" x 18" baking sheet. Use an offset spatula to help detach the cookies from the parchment paper, if needed.
- Bake the cookies for 8-9 minutes or until they are lightly browned on the bottom. (place the remaining cookies back in the refrigerator in the meantime)
- Let the cookies cool in the pans for 2-3 minutes then transfer to a plate to cool completely. Repeat with remaining cookies.
- Store cookies in an airtight container at room temperature for up to about a week.
Oh wow! These look dangerous. I could much on those until they were all gone. Yum!