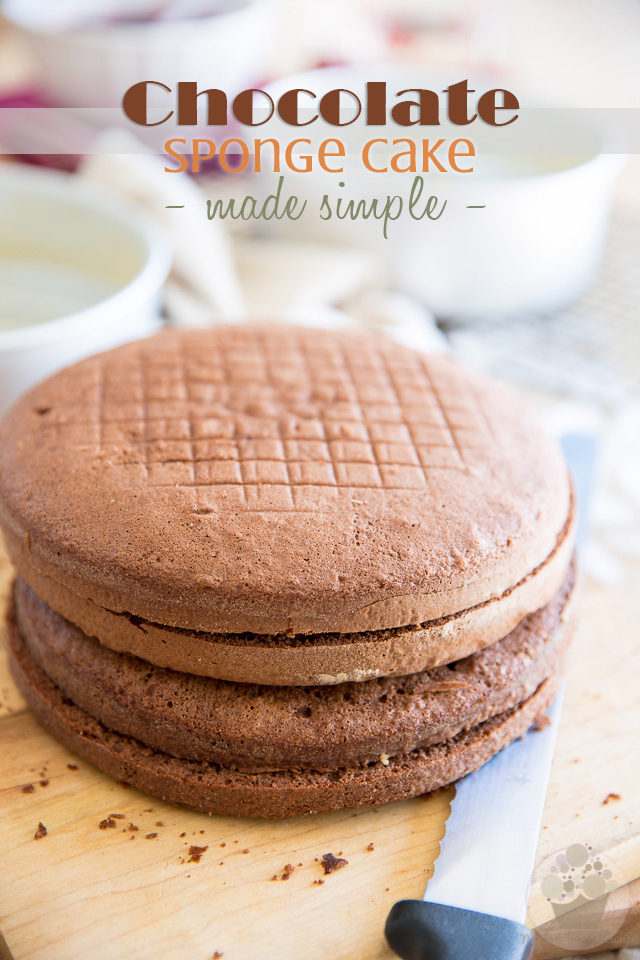
Make a light and airy Chocolate Sponge Cake the easy way and in a single bowl, too! No separating the eggs or heating them to an exact temperature…
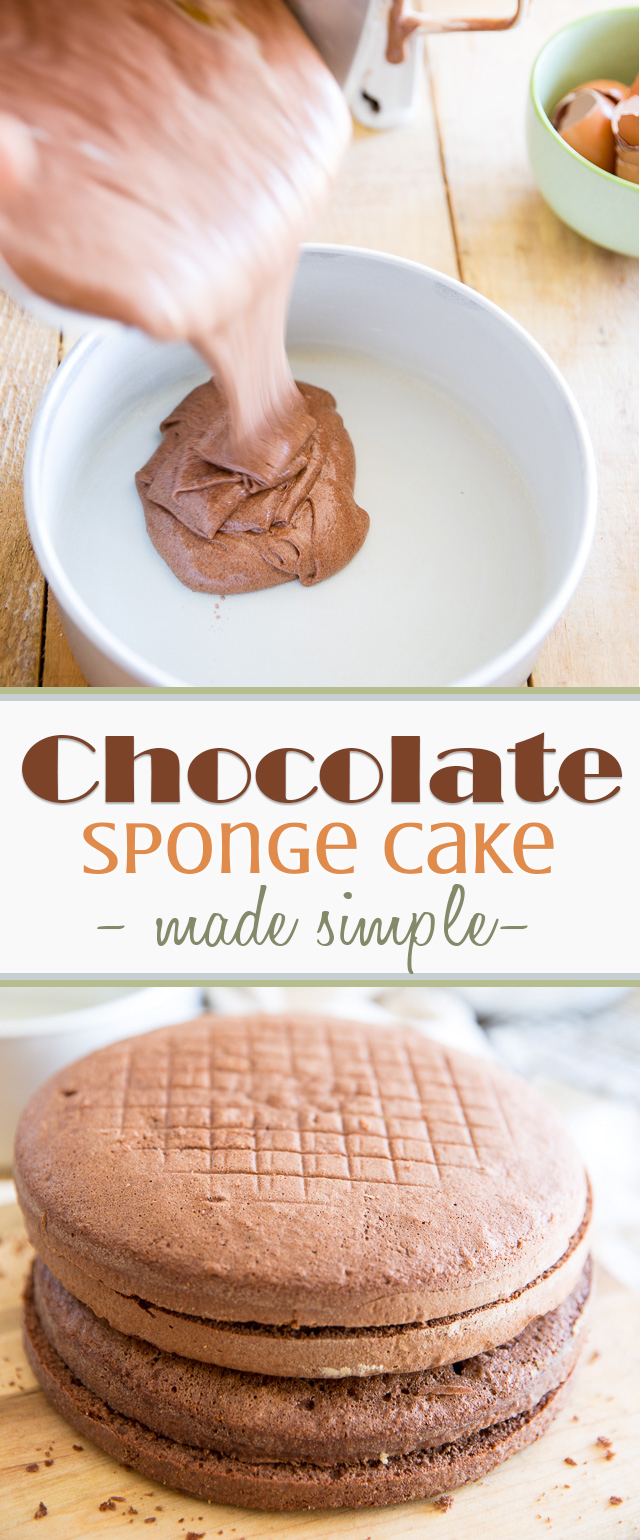
Traditionally, a sponge cake is a cake that strictly relies on air as a leavening agent and that’s made with nothing but flour, starch, sugar and eggs. Obviously, a Chocolate Sponge Cake would also call for the addition of cocoa powder, but that’s basically it.
That makes for a very light cake, but one with a baking process that is fairly delicate: it’s really easy to lose all the precious air that you’ve worked so hard at incorporating throughout the different steps of the process.
The trick to successfully making sponge cake is to incorporate as much air as possible into the various components, more specifically the eggs and flour and, more importantly, to preserve it once that’s been achieved.
There are many different ways of making sponge cake, one of the most popular being the foam method. Technically, with that method, you’re supposed to heat the eggs while whisking them at the same time until they have reached the proper temperature and then whisk them some more in a stand mixer until they have reached the right consistency. Some bakers even separate the yolks from the whites and beat them separately, heating only the yolks and whipping the whites cold, and then carefully reunite both parts of the eggs once they have been properly dealt with.
Then, you’re supposed to transfer the fluffy egg mixture to a large bowl and sift the dry ingredients over those inflated eggs while delicately folding in the flour with your other hand.
Phew! Talk about complicated… Personally, I don’t have that kind of patience. No matter how much I love baking, I sometimes tend to be a little bit lazy in the kitchen…
So, I started making sponge cake “the lazy way”… I do the whole thing in a single bowl: that of my stand mixer. Works perfectly well, if you want my opinion. Yields a beautiful, light and airy cake that’s filled with tons of air pockets of various sizes.
And that is precisely what a sponge cake is all about!
STEP-BY-STEP INSTRUCTIONS & PICTURES
When making sponge cake, or when baking in general, should I say, it’s a very good idea to have everything ready before you start. So let’s go ahead and get our mise-en-place going…
First, melt some butter and mix the vanilla extract right into it. Set that aside.
Then, sift together the flour, corn starch, cocoa powder, and salt.
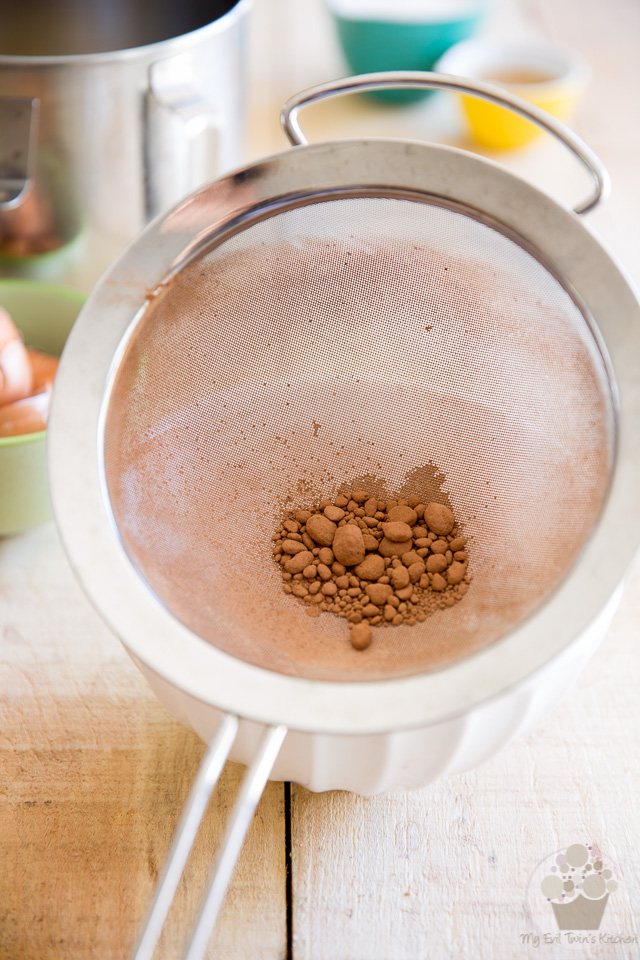
I know, I know… I said this was the lazy way of making sponge cake and yet, I STILL require that you sift the dry ingredients. Not very lazy-like, I agree. But hear me out: there are certain steps that you really do not want to skip, no matter how lazy you feel that day. Sifting would be one of them, in most cases anyway.
See that picture above? This would be ONE of the reasons why you really don’t want to skip this step: you want to break up or get rid of any extra lumps that might be in your flour or cocoa powder…
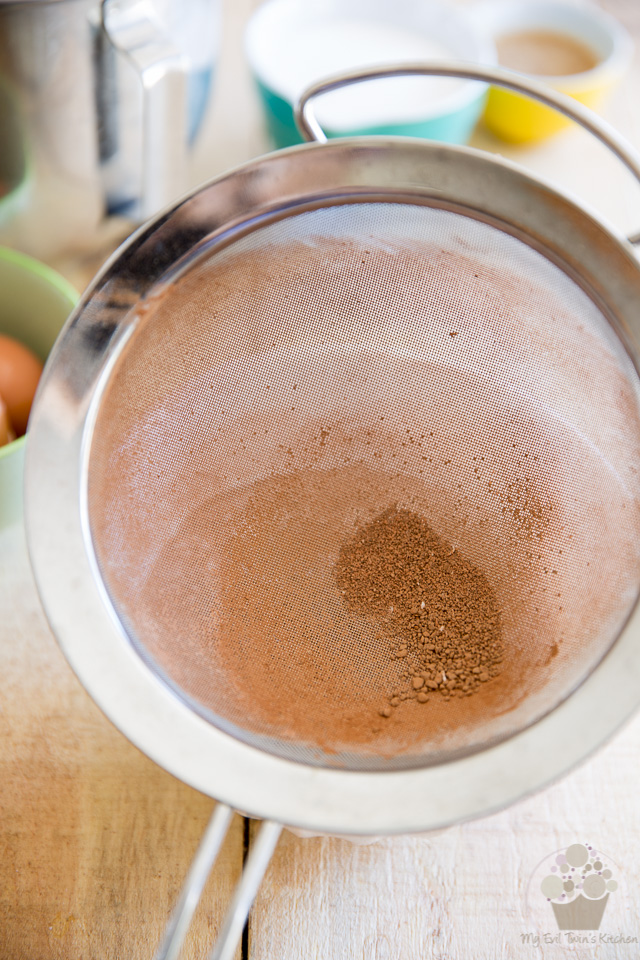
Cocoa powder is especially lumpy, so I tend to always sift it, no matter what…
Even after I’d forced it down the sieve, there were still LOTS of slightly larger particles that got trapped in there… this isn’t always the case, sometimes every little bit makes it through the sieve, but I wouldn’t want to risk throwing any of that into my baked goods.
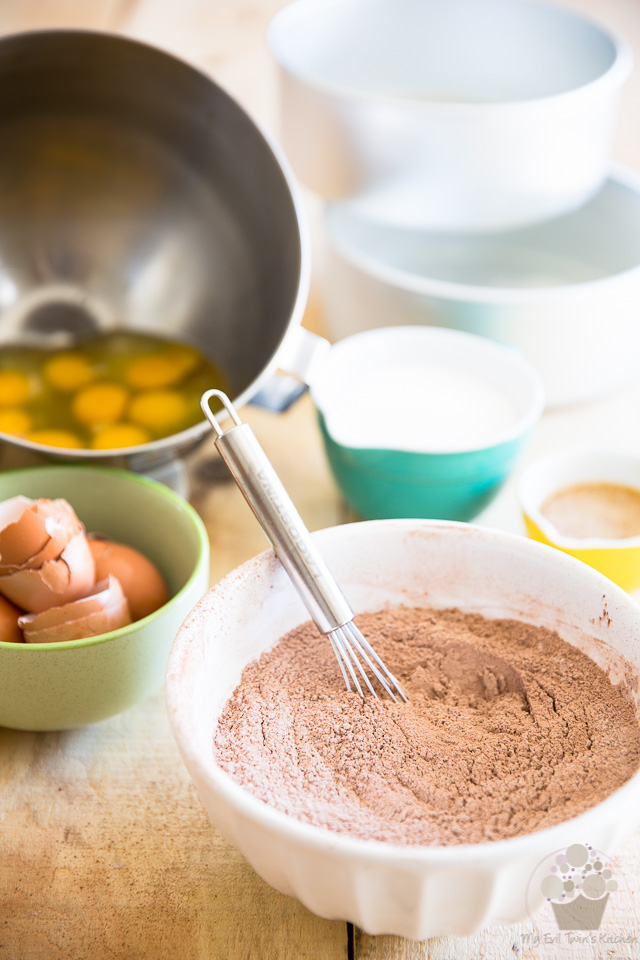
The second reason for sifting your dry ingredients is to incorporate air into them. See how light and fluffy that flour and cocoa powder mixture looks now that it’s been sifted?
When this gets incorporated into the whipped eggs later, it’ll fall softly, like little droplets of rain, and it won’t scare the heck out of your eggs, causing them to instantly deflate!
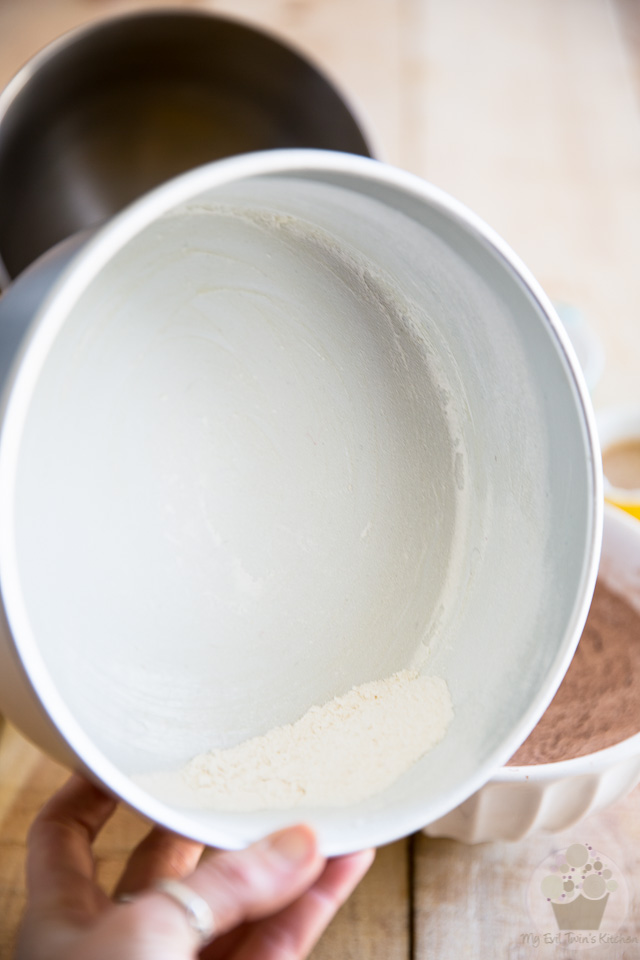
Now that the sifting is out of the way, butter AND flour two 8″ round cake pans.
My favorite way of doing this is to cover my pans with a light coat of softened butter (I use a pastry brush or even my bare, clean fingers) and then, once the pan is completely covered, I throw a few tablespoons of flour in there.
I move the pan around until all the butter is completely coated in flour and then I transfer the excess flour to the next pan.
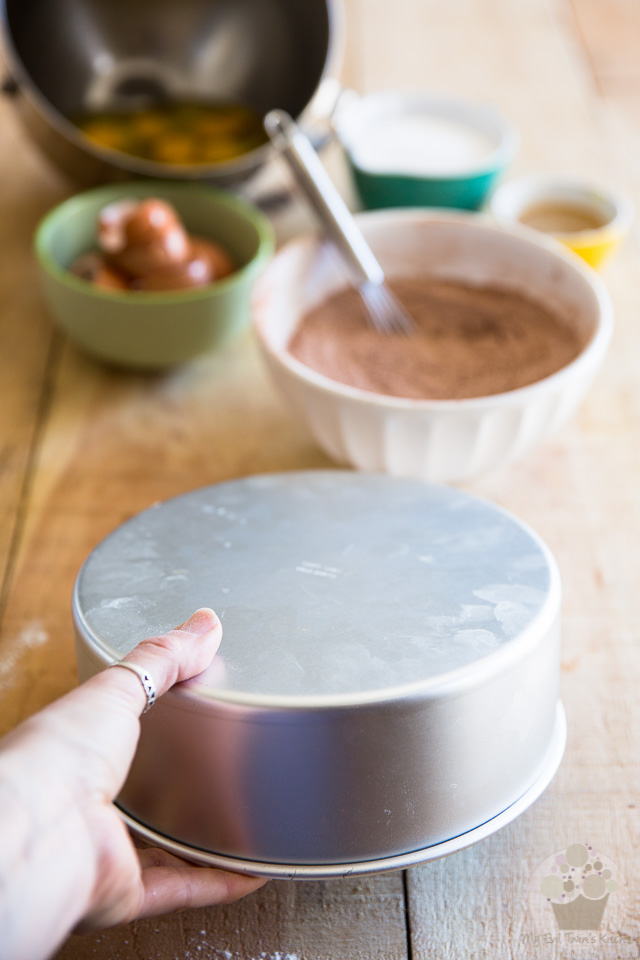
Then, I hold the pans upside down and bang them gently on the counter a few times to remove any excess flour. You’d be surprised at how much gets removed, really! This WILL send little clouds of flour flying around your kitchen, but it’s very well worth it, trust me!
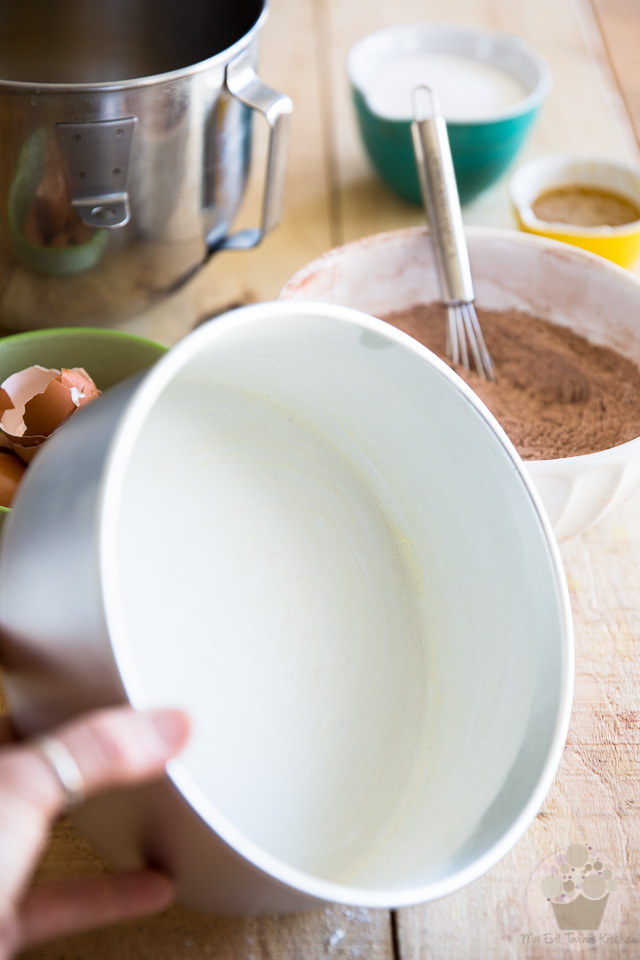
See how super fine that coating of flour is? This simple little precaution totally ensures you that no extra, unwanted flour accumulated anywhere in the pan, especially around the bottom edge.
Now that your pans are prepped, now would be a good time to preheat the oven to 375°F.
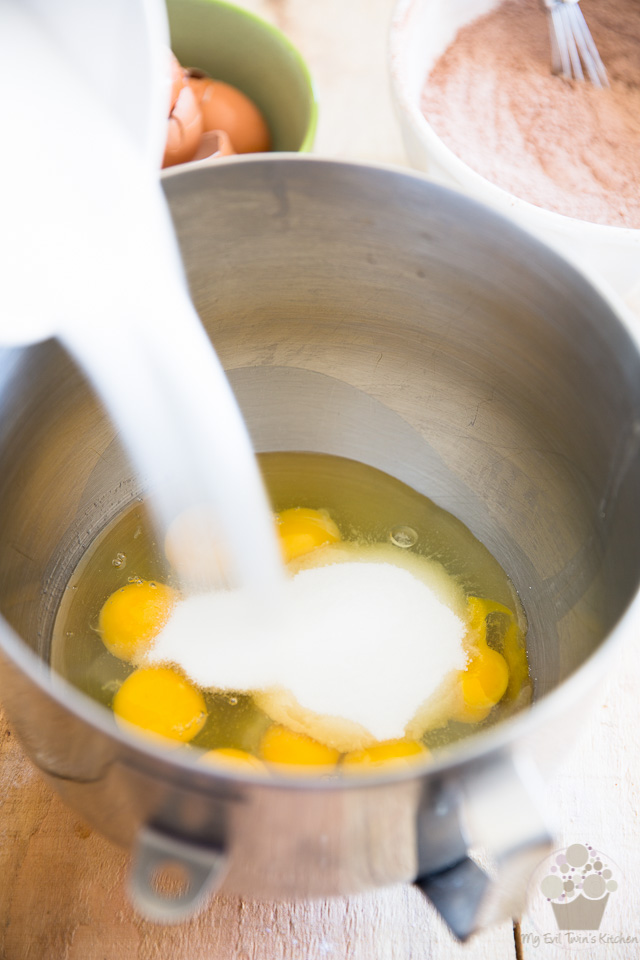
Now crack the eggs into the bowl of your stand mixer and pour the sugar right in.
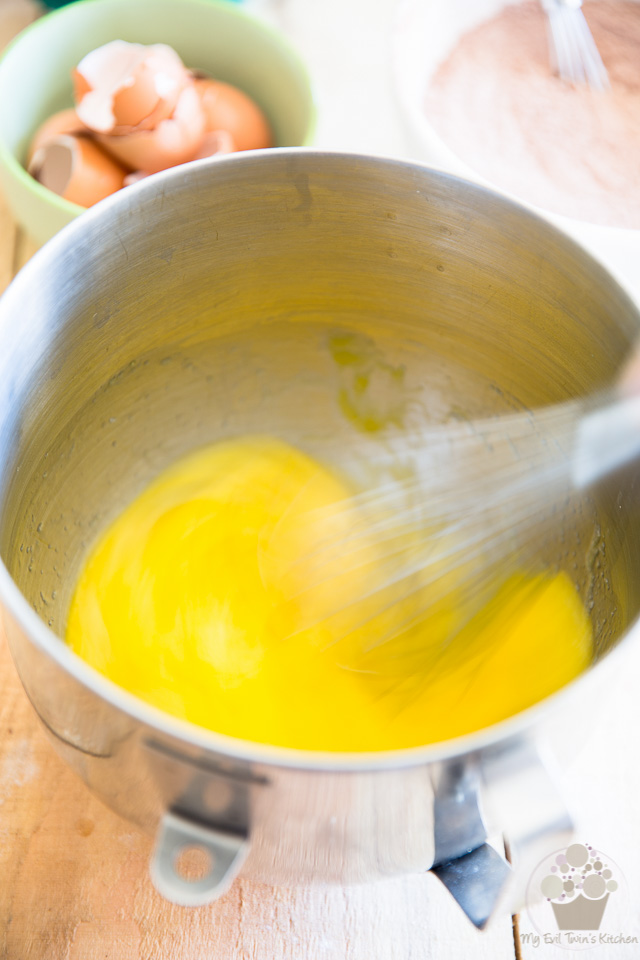
As soon as the sugar has been added, you want to start whisking until well combined.
You should never let sugar sit together with unbeaten egg yolks for too long, as the part of the yolk that’s in contact with the sugar would assuredly “cook” after a while, rendering it totally unusable. Here’s a very interesting article on the subject, if you’re curious to find out more about this phenomenon…
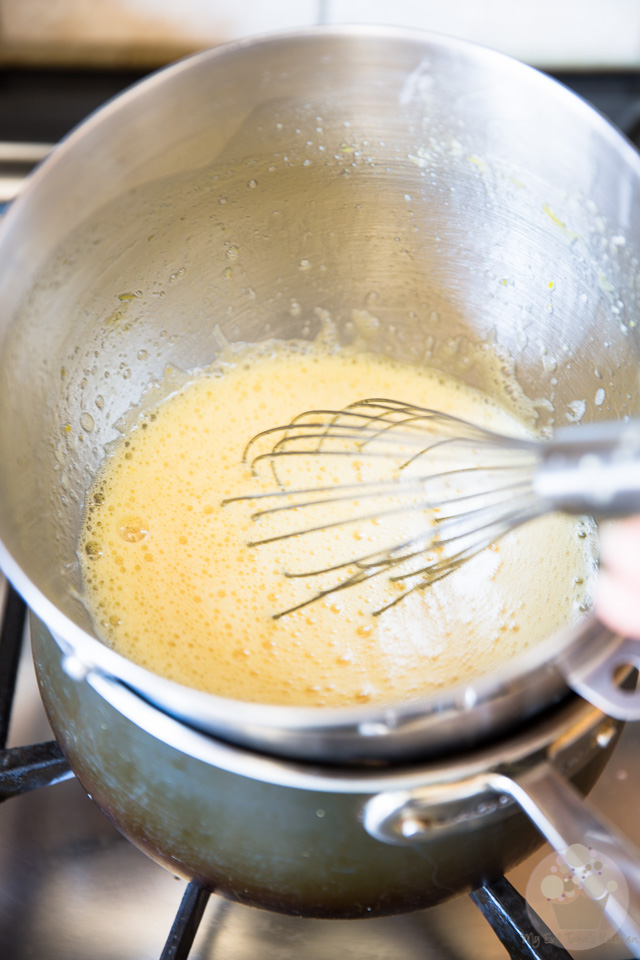
Now place your eggs and sugar over a bath of simmering water and whisk lightly but continuously until the sugar is completely dissolved and the mixture feels warm to the touch.
I feel I need to insert another little warning here, or perhaps even two!
Unless you’re wanting to make sweet scrambled eggs, make sure that your water bath isn’t too hot! Just barely simmering water is what you’re after. And for the exact same reason, make sure that you whisk constantly and never ever stop whisking not even for a second.
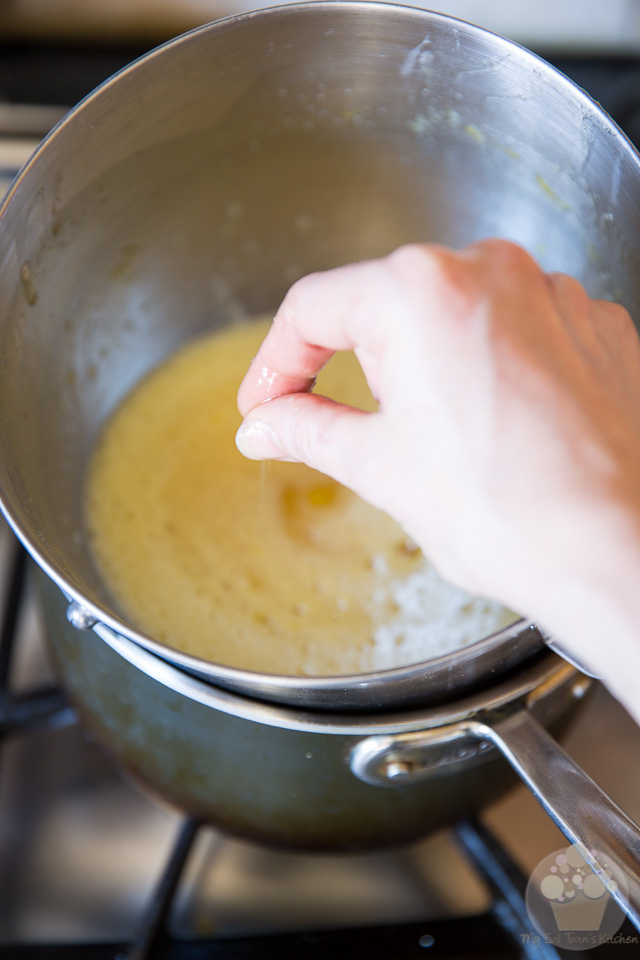
Well, okay, maybe you can stop for a second or two, but only to test your mixture…
First, you need to feel it regularly to make sure that it’s not too hot. It should never get past warm. Hot would be too hot.
Also, every 30 second or so, you’ll want to rub some of the mixture between your fingers and as soon as it feels really smooth and that you can’t feel any sugar granules anymore, the eggs are ready for the next step.
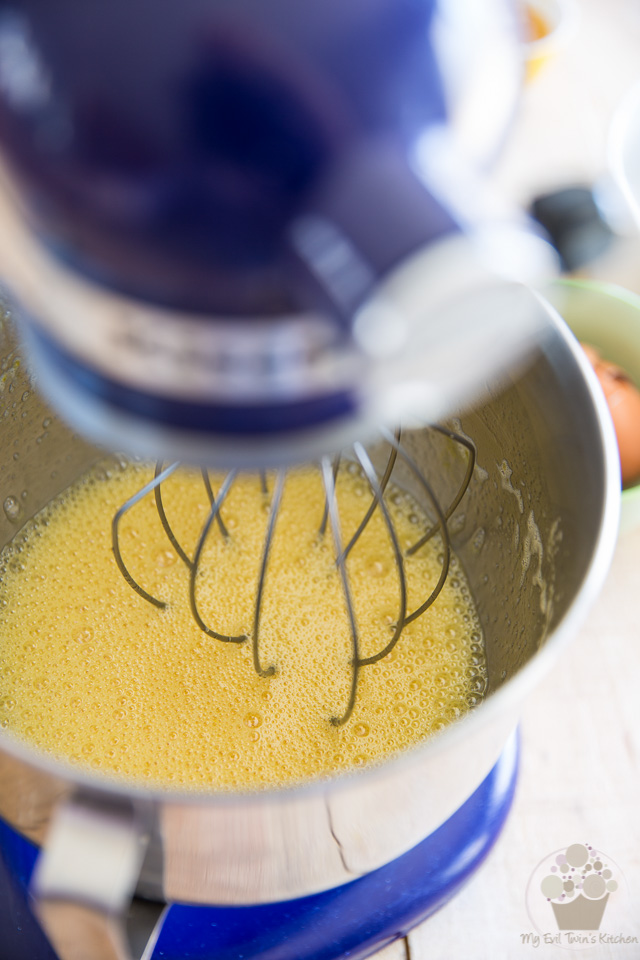
Equip your stand mixer with the whisk attachment and whip the eggs on high speed for 10 minutes, or until the eggs have reached their maximum volume.
You’ll know that the eggs have reached maximum volume when the mixture stops expanding in the bowl.
Let me give you a bit of a visual on that…
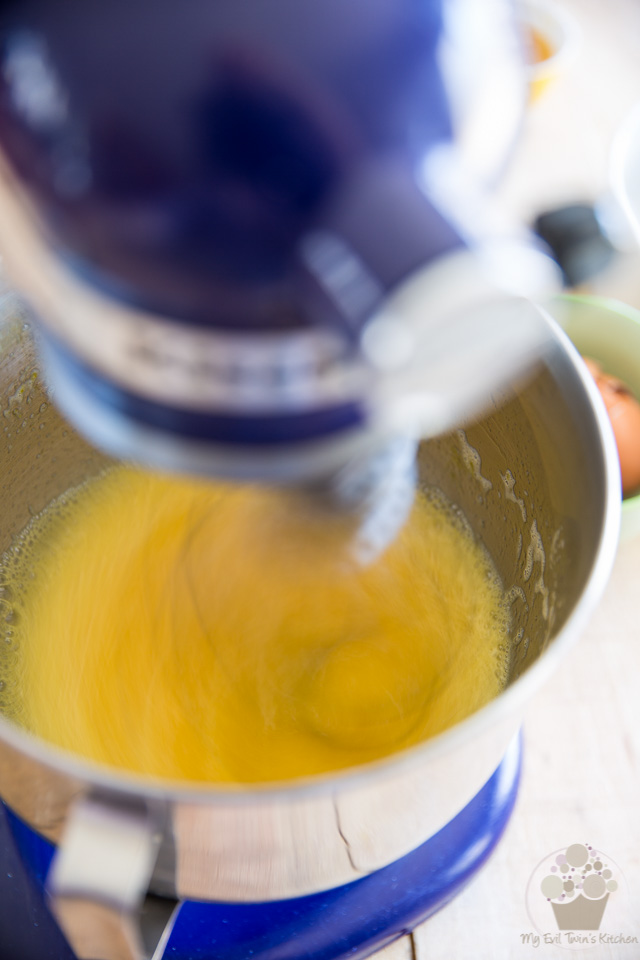
At first, your egg mixture will be really thin and a vibrant yellow…
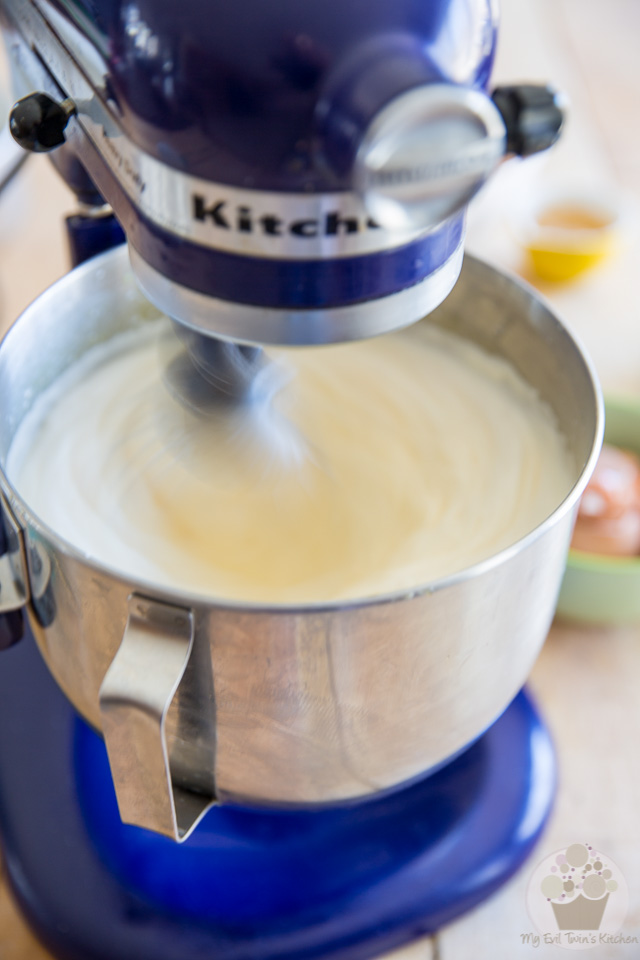
As it whips, it’ll get lighter and lighter and will expand greatly.
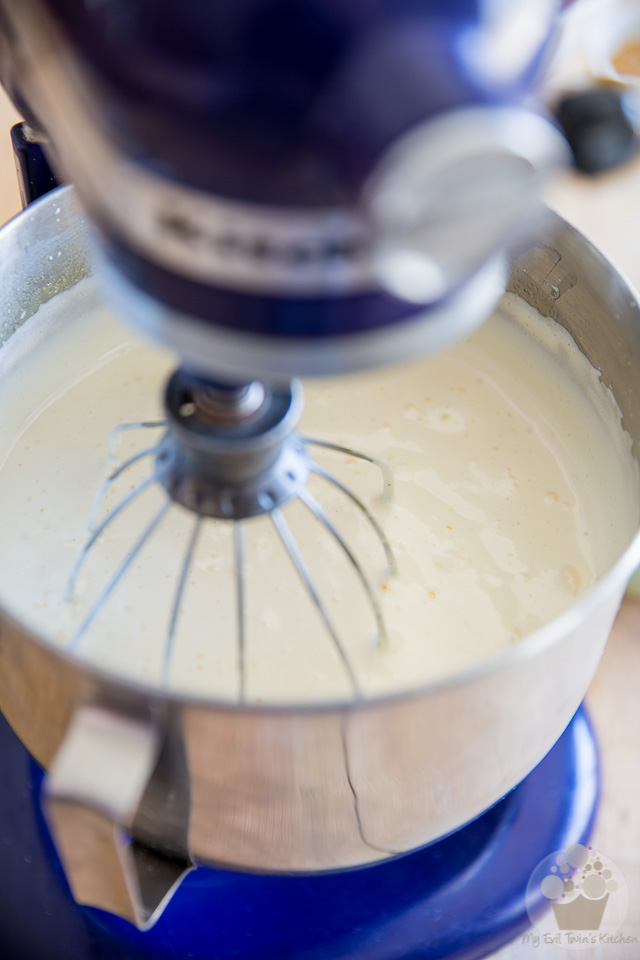
After 10 minutes, it should have just about tripled in volume and will no longer climb up the side of the bowl.
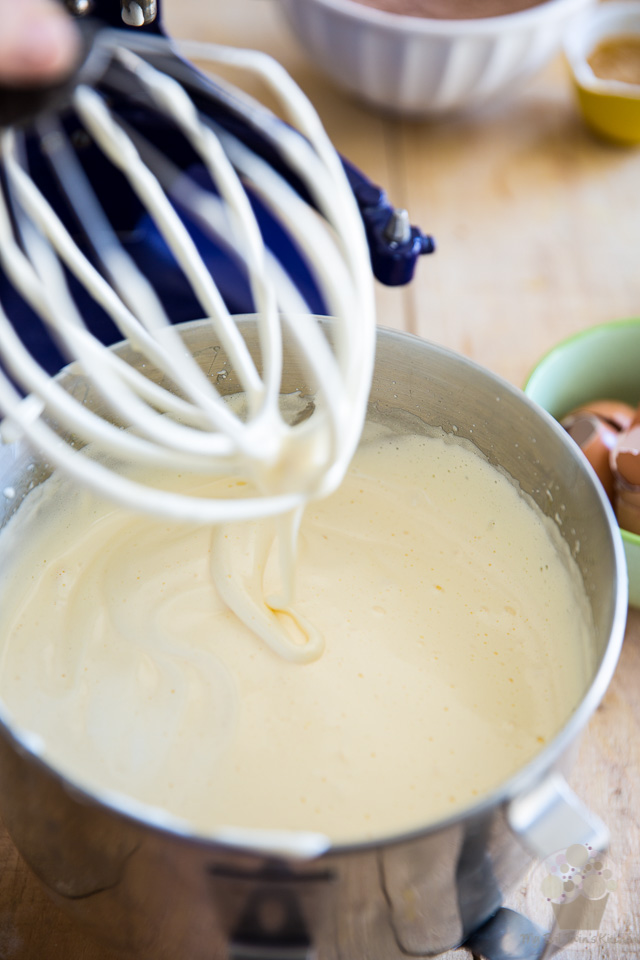
Also, the egg mixture should form a ribbon that holds its shape for a few seconds when you lift the whisk and let it drip.
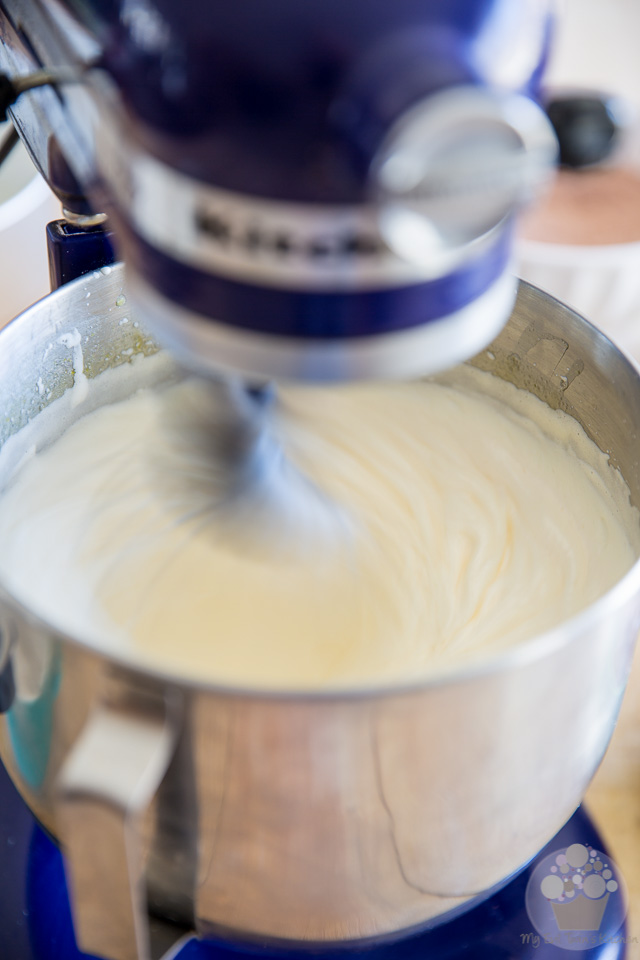
At this point, you want to reduce the speed to medium and continue whisking for another 5 minutes, until the mixture is really pale and gets thicker in consistency.
Can you get a sense of how much thicker this got?
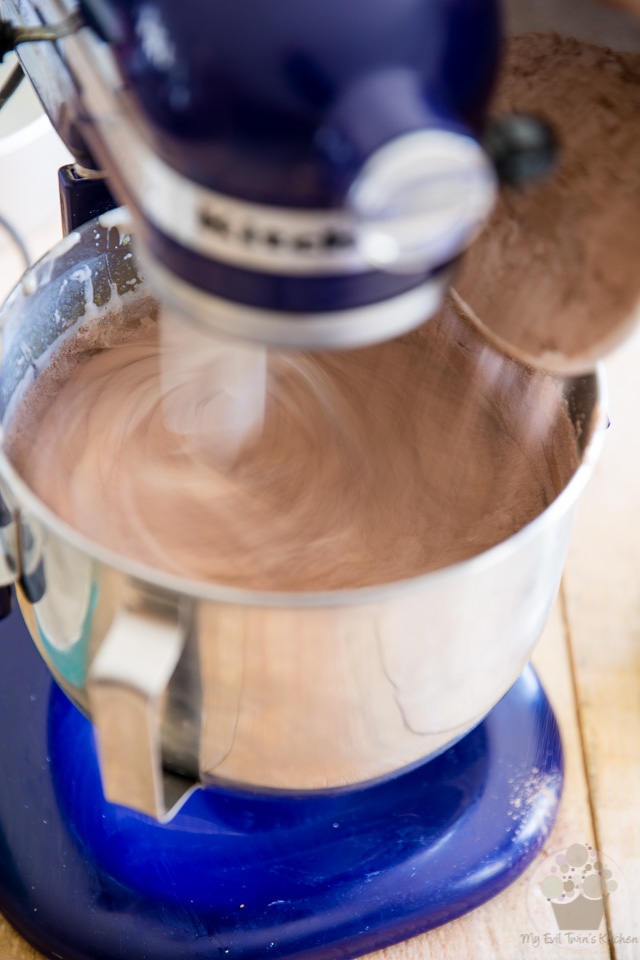
Now switch to the paddle attachment and VERY DELICATELY sprinkle (in a fine shower) the SIFTED flour and cocoa mixture in, while the motor is turning on the lowest possible setting.
Mix until all the flour has been added, no more, which shouldn’t take more than a few seconds. There may still be streaks in the batter and that’s perfectly fine.
If you wanted to play it real safe, though, and preserve as much of that precious air as possible in your eggs, you could also incorporate the flour by hand, folding it delicately with a rubber spatula instead.
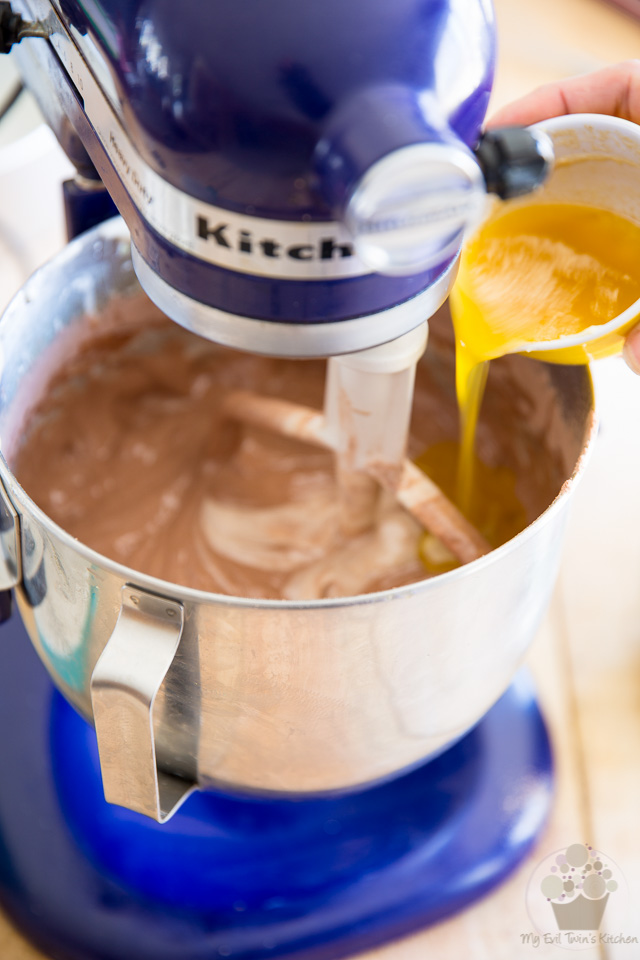
Pour in the melted butter and continue mixing until just incorporated, no more. That should take about 5 seconds, tops!
Oh, and about that butter, I know that I said your typical sponge cake doesn’t call for it, but I like to add some to mine to give my cake a little bit of extra richness as well as a tad more moisture. You could very well leave it out, though, if you wanted to.
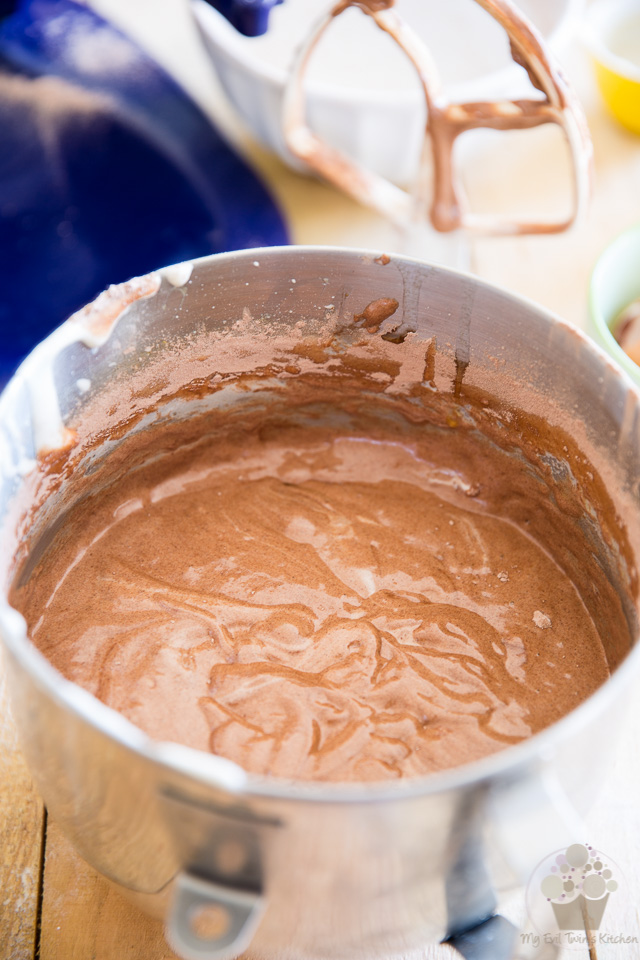
As you can see, the eggs will lose a little bit of their volume as you add the flour, but not so much. It is absolutely imperative that you do not overmix your batter, though, otherwise you will end up totally deflating your eggs.
If you have to, DELICATELY finish mixing the batter with a rubber spatula.
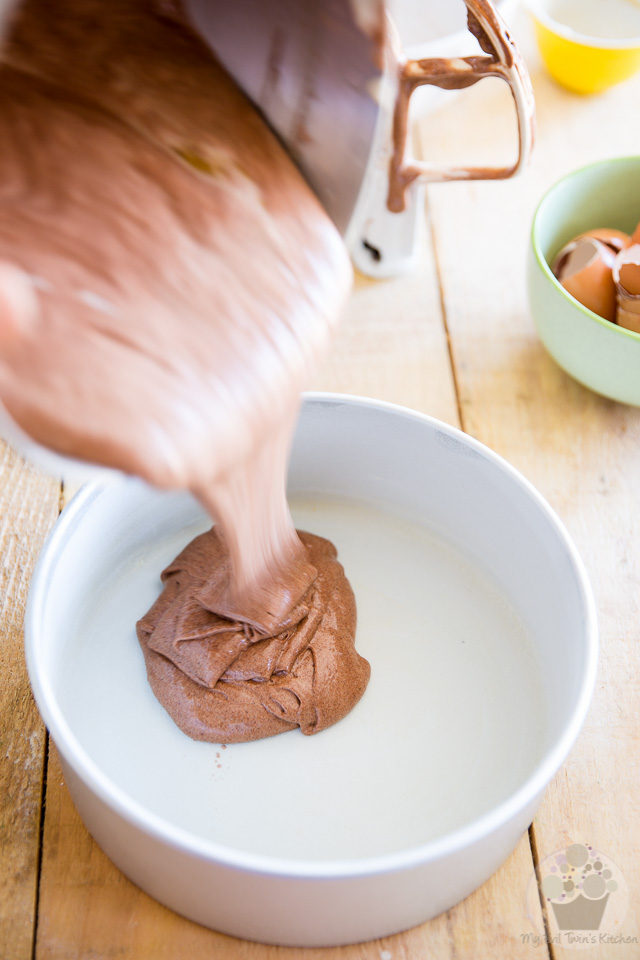
Pour the batter into the prepared pans, dividing it equally between both pans. Do not spread the batter: it is thin enough that it will settle nicely into place without any assistance on your part.
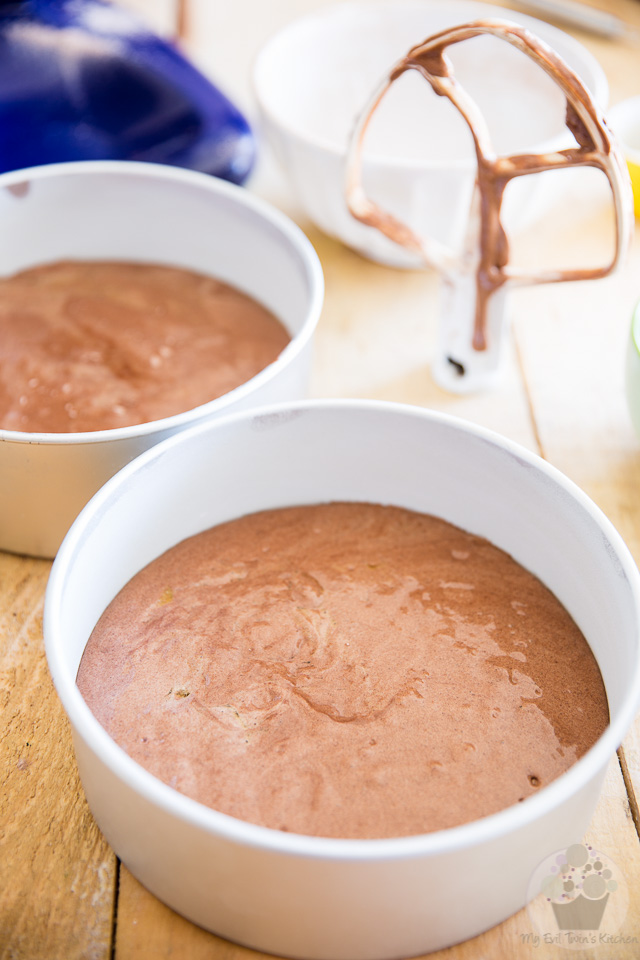
Bake the cakes for about 20 minutes or until a toothpick inserted in the center comes out clean.
Do not open the oven door sooner than 15 minutes into the baking process, though, and shut it very gently so to not disturb the rise of this delicate cake.
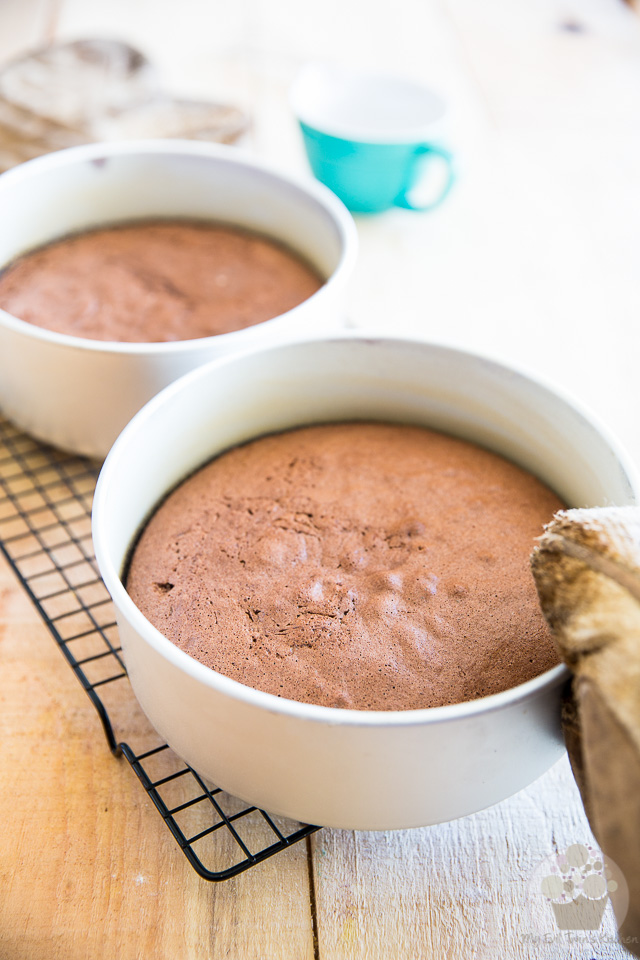
When fully baked, remove the cakes from the oven and allow them to cool slightly in the pans for about 5 minutes…
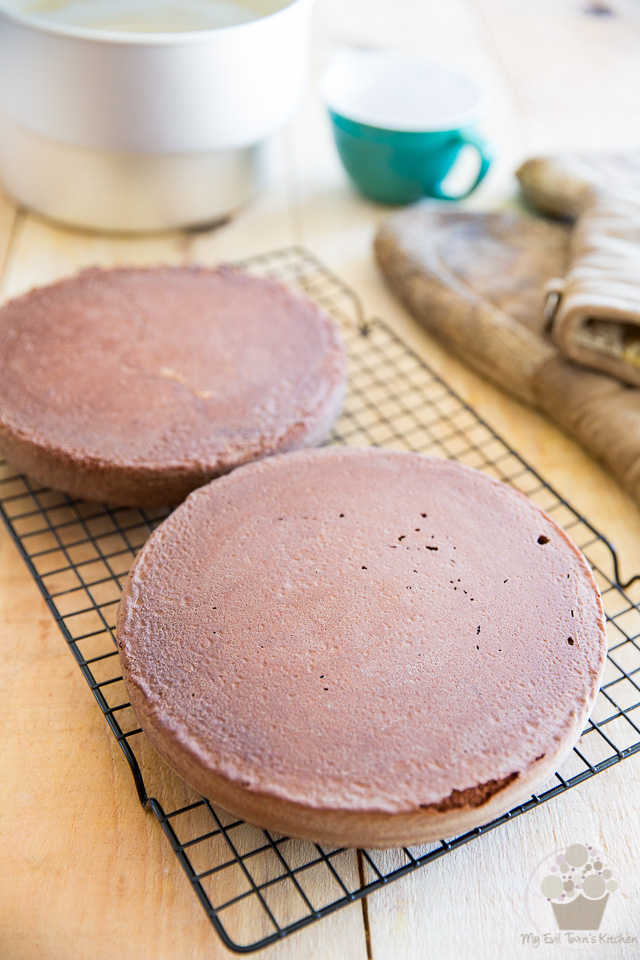
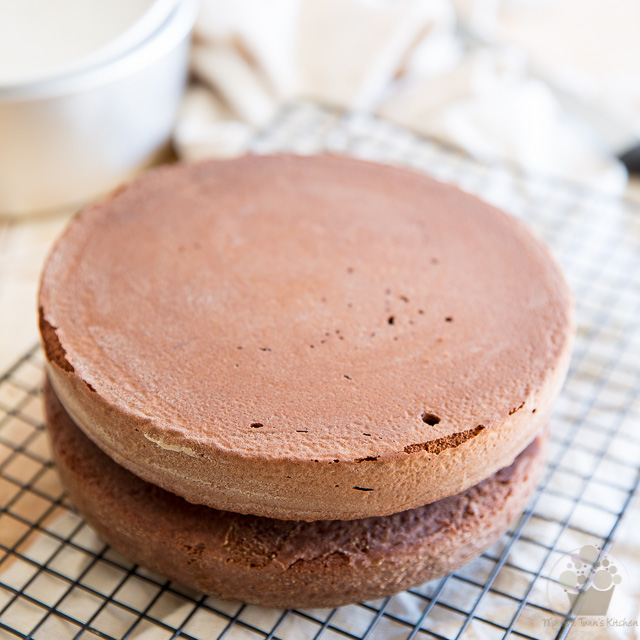
…then turn them onto a cooling rack and let them cool completely.
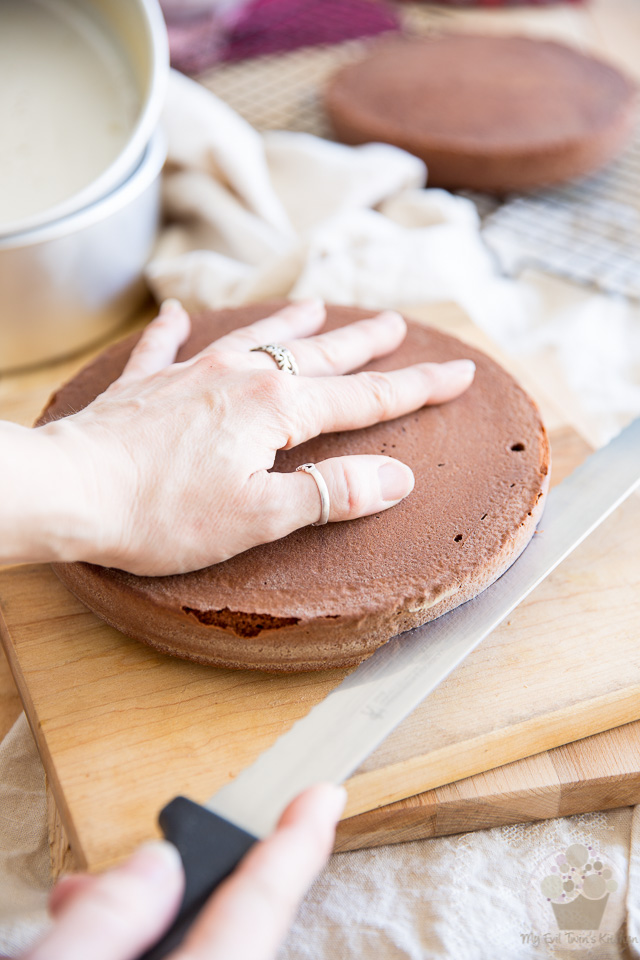
When you are ready to use the cakes, split them into two even layers. To do that, gently place one hand on top of the cake and with your other hand, score the side of the cake with a long serrated knife, exactly halfway up the height of the cake.
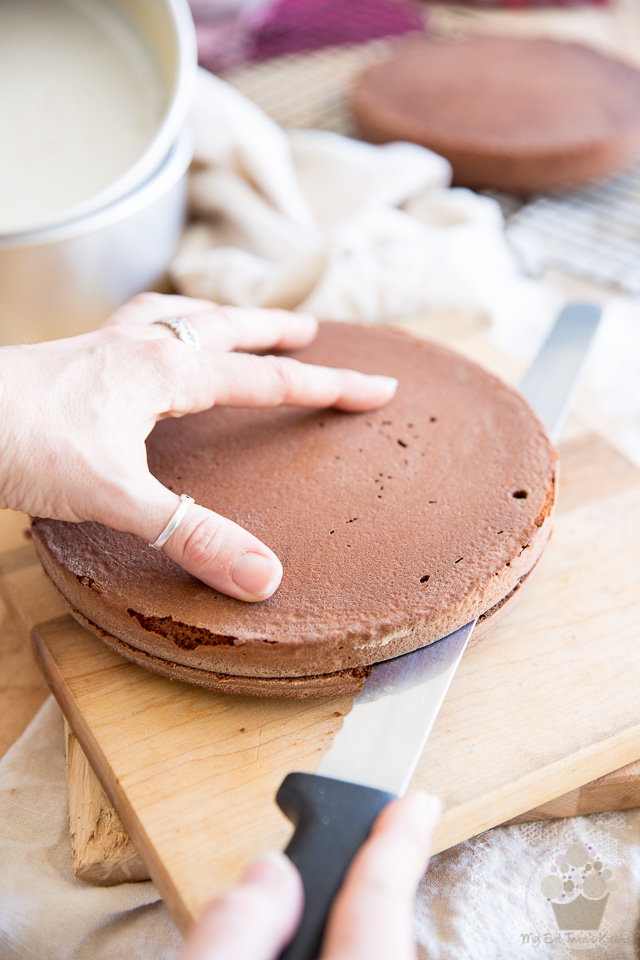
Score all around the side, cutting about half an inch deep into the cake.
Once you’ve gone around once, rotate the cake again and cut about 1 inch into the cake this time; keep rotating the cake, cutting deeper and deeper inside the cake with every new turn.
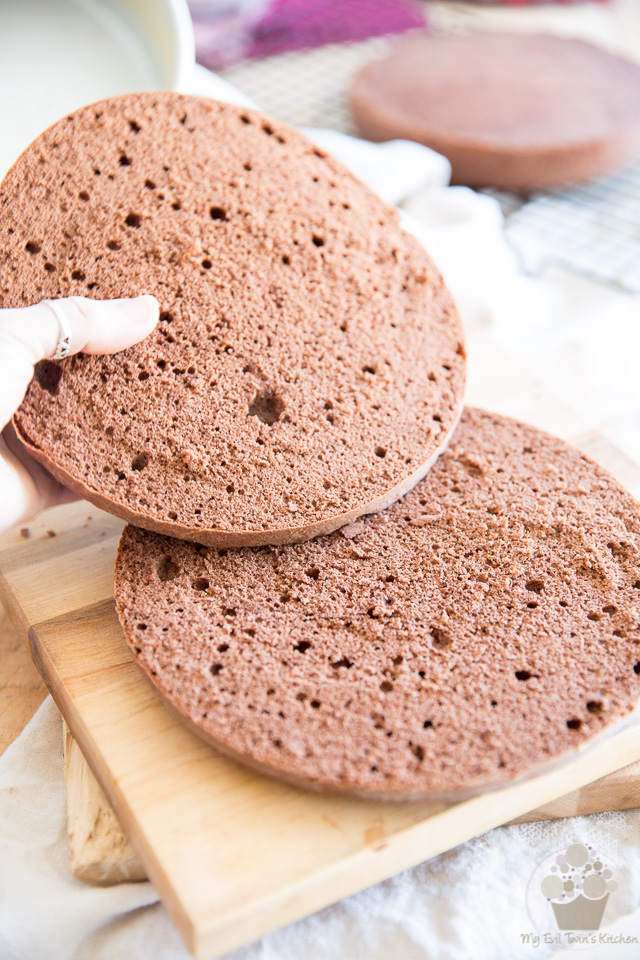
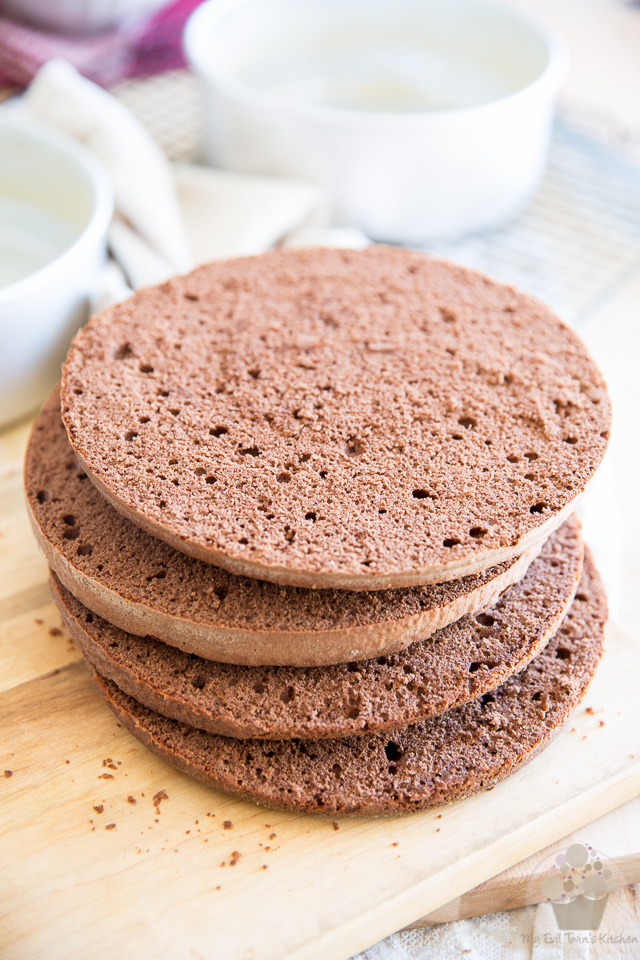
Until finally, your cake is split into two separate layers, exposing all its beautiful pockets of air!
I’d say that’s a complete success. All it needs now is a little bit of sugar coating…
So tell me, what’s it gonna be?
Ingredients
- 8 large eggs
- 1-1/4 cup (250g | 8.8oz) granulated sugar
- 1 cup (150g | 5.3oz) unbleached all-purpose flour
- 1/2 cup (55g | 2oz) corn starch
- 3/4 cup (65g 2.25oz) unsweetened cocoa powder
- 1/2 tsp salt (I use Himalayan salt)
- 1/4 cup (60g | 2.1oz) butter, melted
- 1 tsp pure vanilla extract, (store-bought or homemade)
Instructions
- Preheat the oven to 375°F; butter and flour two 8" round cake pans. Hold the pans upside down and bang them gently on the counter a few times to remove any excess flour. Set aside.
- Sift together the flour, corn starch, cocoa powder, and salt; set aside.
- Melt the butter and mix the vanilla extract right into it. Set that too, aside.
- Now crack the eggs into the bowl of your stand mixer, pour in the sugar and whisk without delay, until well combined.
- Place your eggs and sugar over a bath of simmering water and whisk lightly but continuously until the sugar is completely dissolved and the mixture feels warm to the touch.
- Equip your stand mixer with the whisk attachment and whip the eggs on high speed for 10 minutes, or until the eggs have reached their maximum volume (it'll stop expanding in the bowl) and the mixture forms a ribbon when you lift the whisk and let it drip.
- At this point, reduce the speed to medium and continue whisking for another 5 minutes, until the mixture gets really pale and thick.
- Switch to the paddle attachment and very delicately sprinkle the flour mixture in, while the motor is turning on the lowest possible setting. Mix just until all the flour has been added (there will still be streaks in the batter) and then pour in the melted butter. Continue mixing until just incorporated, no more (that's about 5 seconds, tops) Whatever you do, DO NOT overmix the batter, as this would seriously deflate your eggs. Delicately finish mixing the batter with a rubber spatula and then divide equally between the 2 prepared pans. Bake for about 20 minutes or until a toothpick inserted in the center of a cake comes out clean. Do not open the oven door sooner than 15 minutes into the baking process and shut it very gently to not disturb the rise of the cake.
- When fully baked, remove the cakes from the oven and allow them to cool slightly in the pans for about 5 minutes, then turn them onto a cooling rack and let them cool completely.
- When you are ready to use the cakes, split them into two even layers: gently place one hand on top of the cake and with your other hand, score the side of the cake with a long serrated knife, exactly halfway up the height of the cake. Score all around the side, cutting about half an inch deep into the cake. Keep rotating the cake and cut about 1 inch into the cake; rotate the cake some more, cutting deeper and deeper inside the cake until your cake is split into two separate layers.
Cant beat this recipe. So delcious, thanks for sharing.
Simon
I LOVE THE RECIPE ………….BUT WHY COULD YOU CALL YOURSELF EVIL,I DONT LIKE THAT NAME
Hi!! Can these cakes be frozen? Also, when heating the eggs and sugar, is there a target temp i should be looking for?
Absolutely! And not really a specific temp. Just be sure the sugar is entirely dissolved and of course, don’t let the mixture get too hot or the eggs will curdle.
Hello! This looks like an amazing recipe! I’d like to make it with cake flour, in which case I’m guessing I should reduce the amount of corn starch in the recipe. Do you have any idea the proportions I should use? Thank you!