This Brown Sugar Maple Apple Pie is a veritable food of love thing – A delicious way to occupy a lazy autumn afternoon…
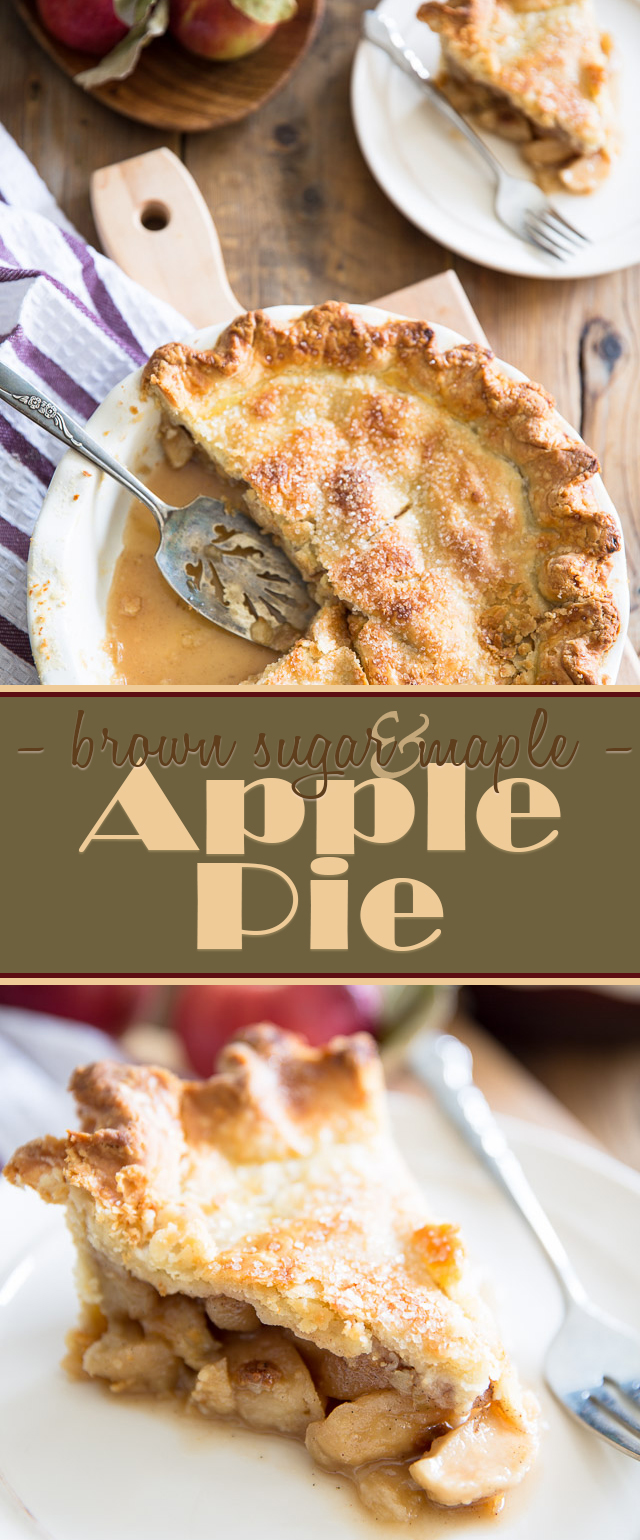
I may be a tad late to the party with my Brown Sugar Maple Apple Pie… or maybe I’m just early for next year’s apple season?
Mind you, if you’re anything like me, there’s a chance that you went totally overboard if you went apple picking this year and are still stuck with pounds and pounds of apples that you’re not sure what to do with.
Plus, it’s time to start planning our Christmas menu, right? And well, Apple Pie and Christmas, me thinks, go extremely well together. Well, Christmas and just about any kind of pie, if you ask me.
However, there are 3 flavors that I think are a particularly good match for that special day: Apple Pie, Raisin Pie (actually, that one would be my son’s favorite, not mine, but I still make it for him year after year after year – or rather he makes the filling and leaves me to take care of the rest…) and my personal favorite, my absolute-must-have-cuz-you-know-Christmas-just-wouldn’t-be-Christmas-without-it, Classic Sugar Pie.
I’ll most probably share my Raisin Pie recipe eventually, but let’s focus on this beauty for now, if you don’t mind.
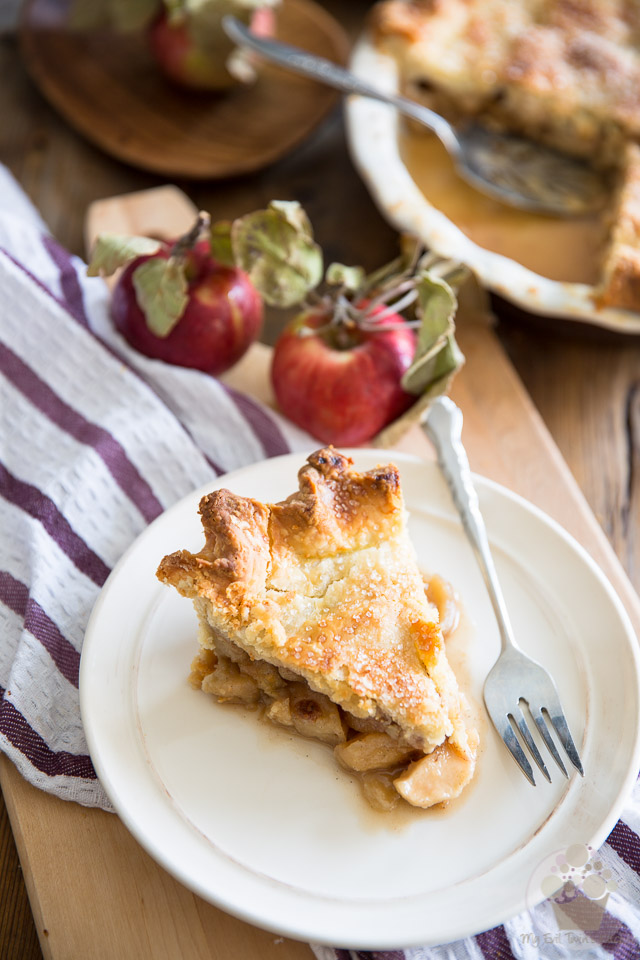
This Brown Sugar Maple Apple Pie, you see, it’s a veritable food of love thing – It’s the kind of recipe that can’t be rushed, the kind that you want to tackle on a lazy autumn (or winter) afternoon…
First, you need to make some pie dough, if you don’t already have some on hand. This takes a bit of time, as well as some planning ahead, because of resting times and all, you know.
Peeling the apples will also require a great chunk of time… It’s a task that I usually don’t have much patience for, but this time it’s for a good cause!
Just make sure that you choose a good baking apple, one that will keep its shape even after cooking for a while, otherwise you’ll end up with mushy applesauce pie… not exactly what we’re after here.
Finally, you’ll need to precook the apples in a delicious brown sugar and maple sauce. If you didn’t pre-cook those apples, they wouldn’t get quite soft enough from their time in the oven alone. Not only that, but precooking them in the caramel allows them to absorb all the delicious brown sugar and maple flavors and also gives the caramel sauce itself a chance to reduce and thicken up some.
It’s a beautiful thing, trust me; one that’s entirely worth spending a little time on…
STEP-BY-STEP INSTRUCTIONS & PICTURES
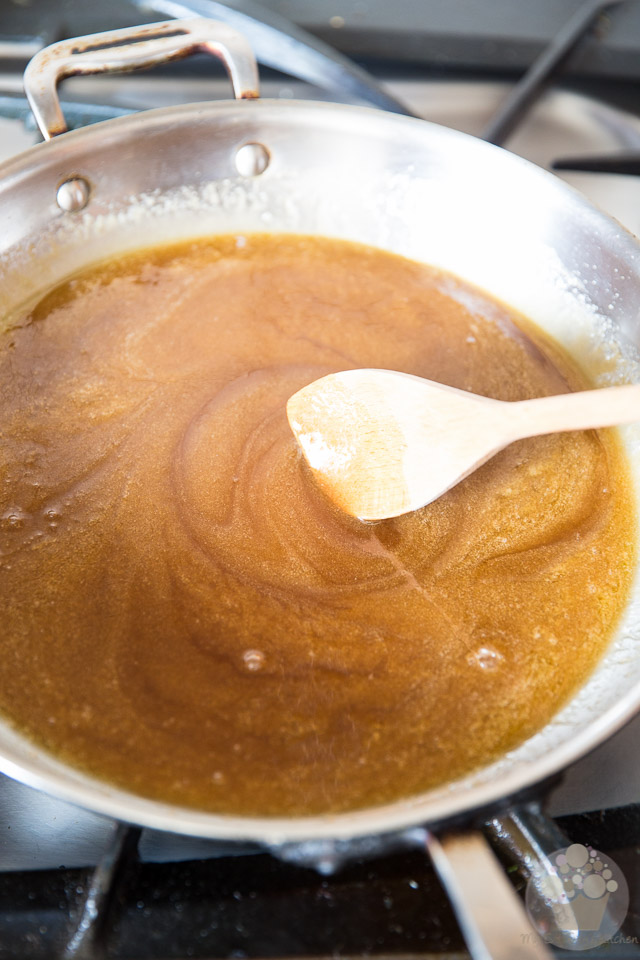
Once you’ve made your pie dough and prepped your apples, combine the brown sugar, maple syrup and butter in a large, heavy skillet.
Cook this over medium heat, stirring constantly, until the butter is completely melted
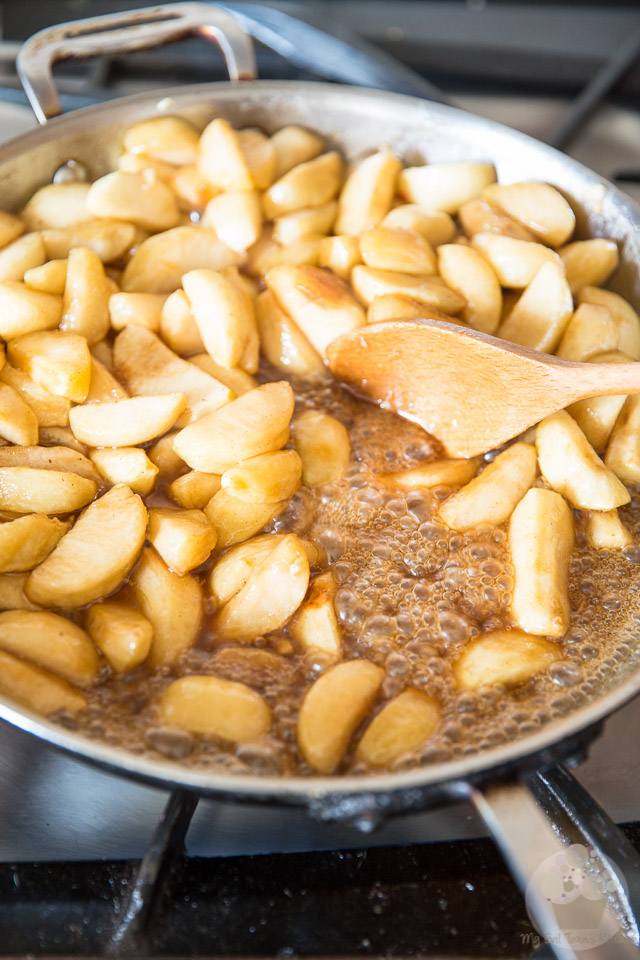
Increase the heat to medium-high, add the apples, vanilla seeds, cinnamon and salt and bring to a boil…
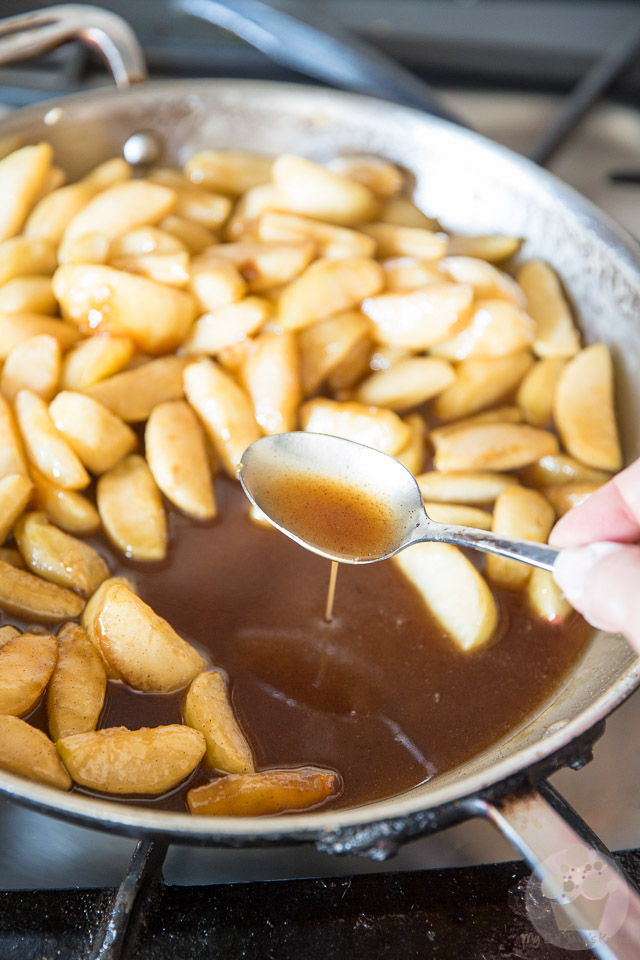
Continue cooking until the apples are tender and the liquid has taken a thick, syrupy consistency and has evaporated by a little more than half. This should take about 25 minutes.
Set aside to cool for 20 minutes.
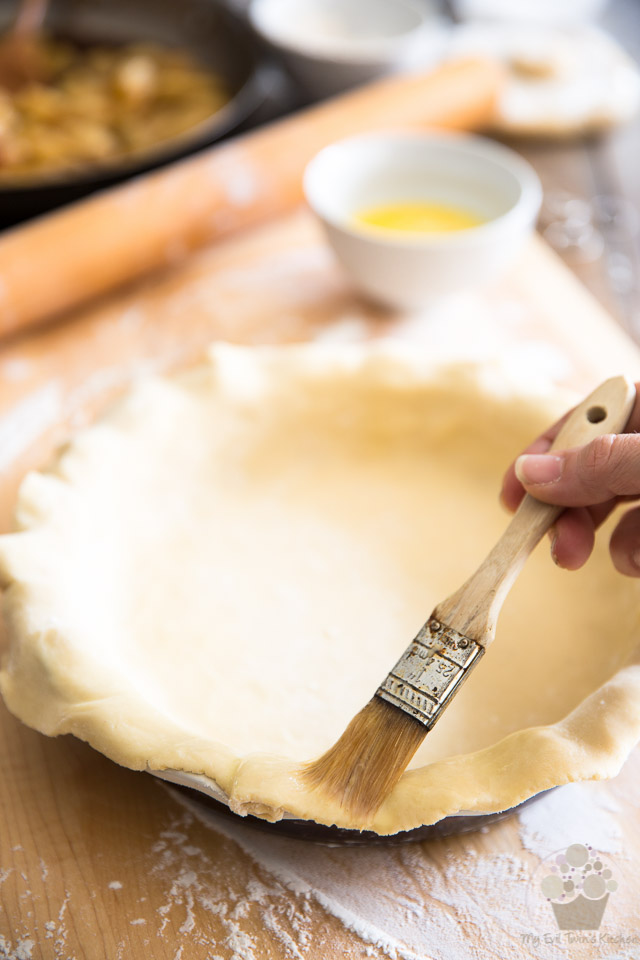
While your apples are cooling down, roll the bottom crust (see this post for detailed instructions); press it into a into 9″ deep dish pie plate and set aside.
While you’re at it, you might as well roll the top crust also and keep it handy.
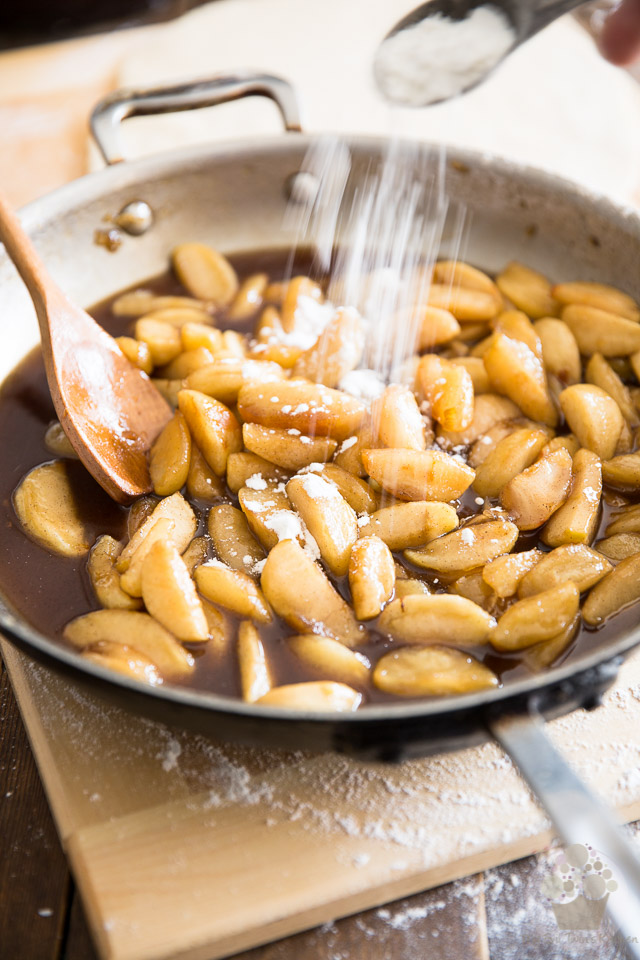
Once your apple mixture has sufficiently cooled — it should barely feel warm to the touch — sprinkle one tablespoon of corn starch over the apples and gently mix it in.
The corn starch will take care of making that caramel sauce even thicker as it bakes in the oven.
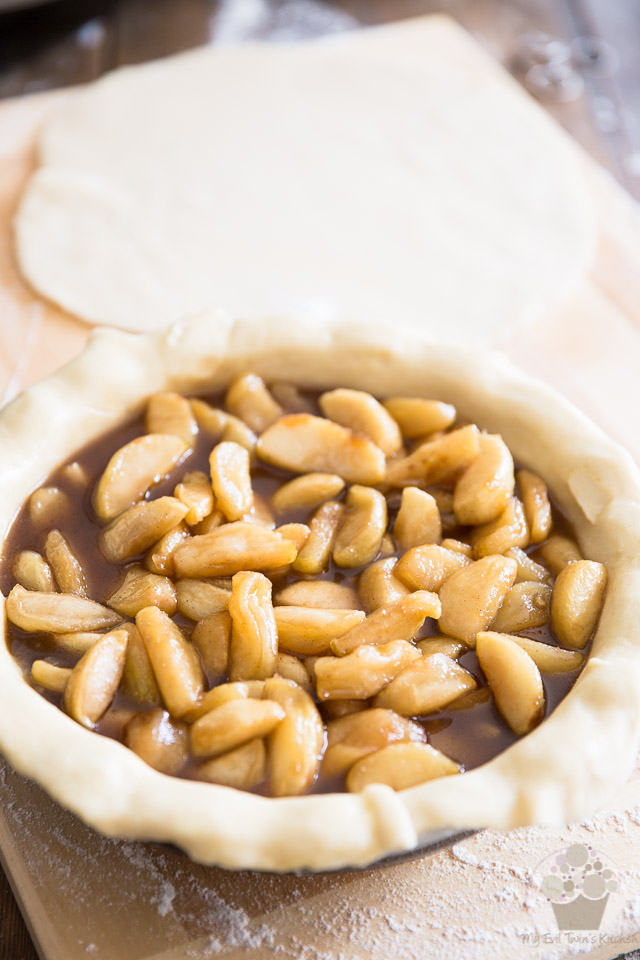
Pour the apple filling into the reserved pie shell then brush the edge with the egg wash and top with the second pie crust.
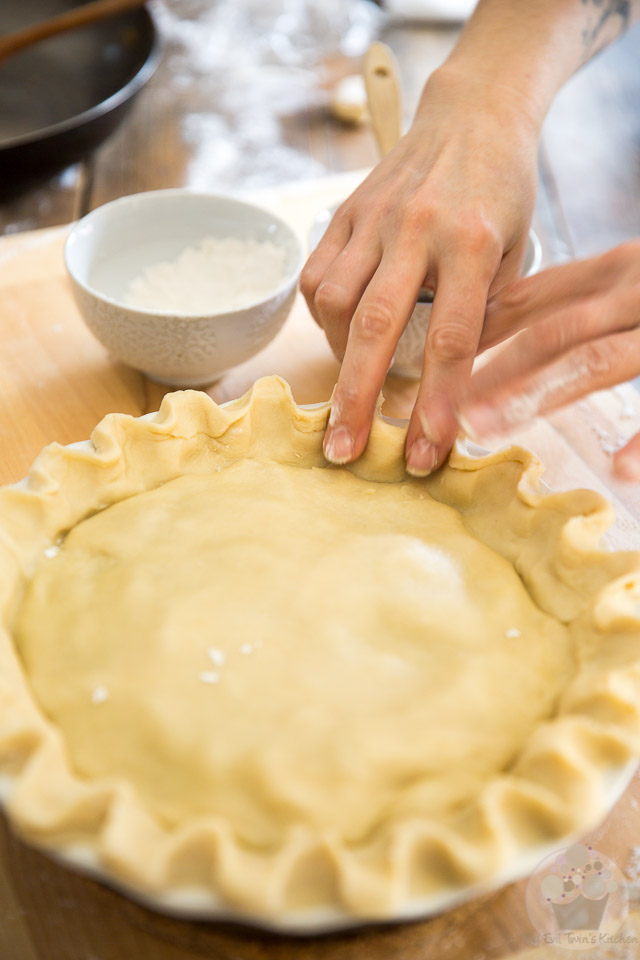
Crimp the edges real nice, brush the entire top with egg wash, cut out little vents — again, see this post for detailed instructions…
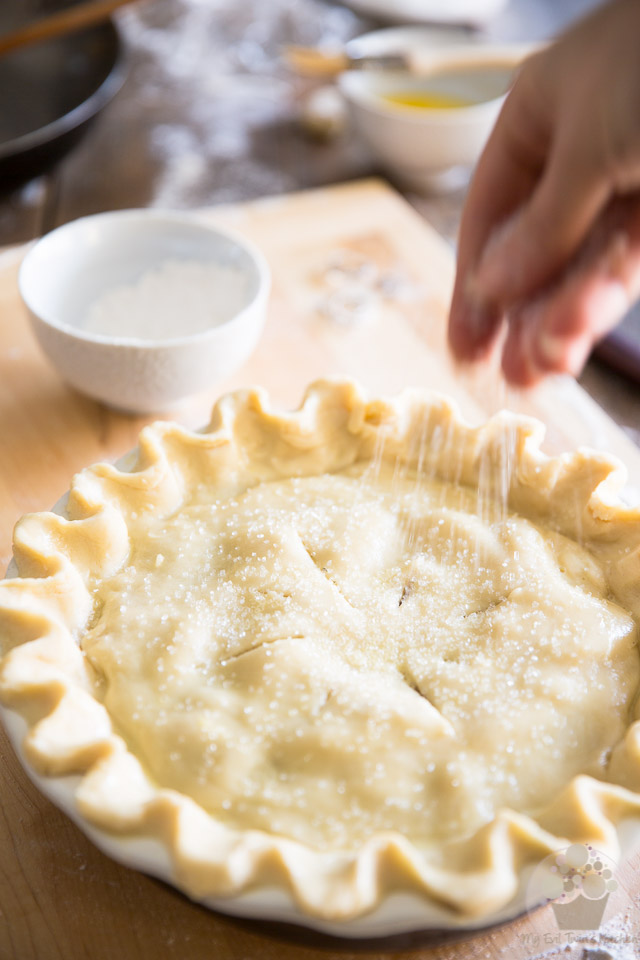
Sprinkle the entire surface of the pie with sparkling sugar, if desired. While not entirely necessary, the coarse sugar does a lot for the pie. Not only does it look pretty, but it adds the most agreeable little crunch. I totally recommend it!
If time permits, I strongly recommend that you let your pie rest for about 30 minutes before you bake it; this will allow the gluten to relax and will prevent the dough from shrinking excessively as it bakes. It will also make for a flakier crust!
You could even refrigerate or freeze your pie at this point and bake it later, if you wanted to.
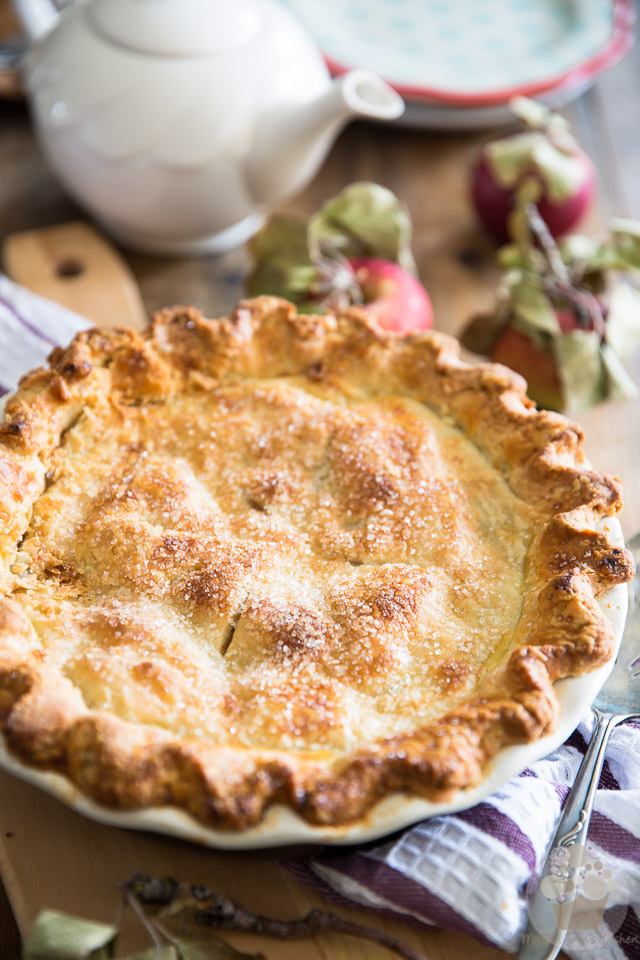
When you are ready to bake your pie, preheat your oven to 425°F and place a rack in the bottom third position.
Bake the pie for 25-35 minutes, or until top gets nice and golden brown. Baking time will vary depending on whether your pie was at room temperature, chilled or frozen when you placed it in the oven.
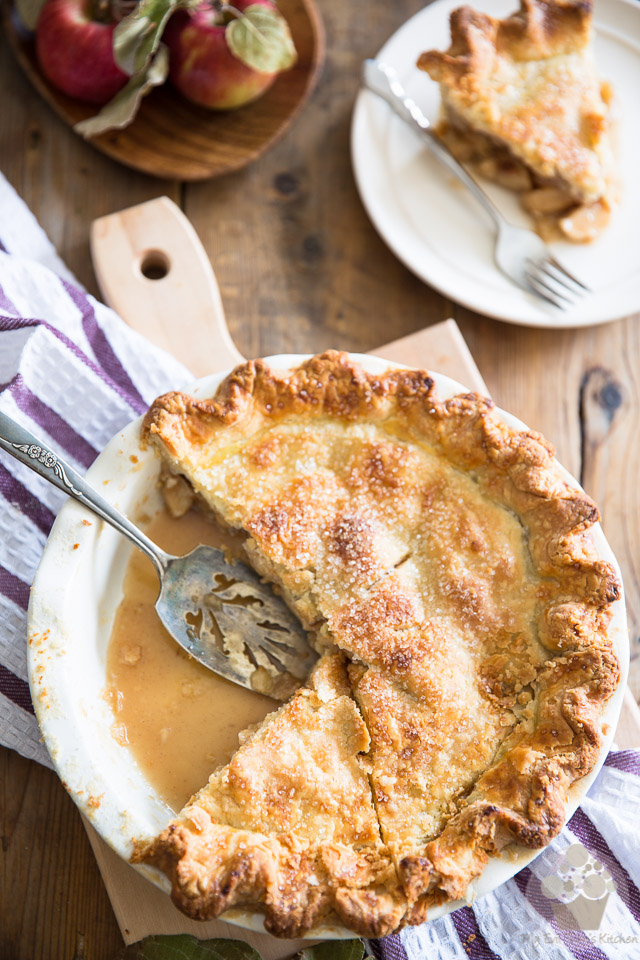
Carefully remove the pie from the oven and let it cool for at least 3 hours before serving.
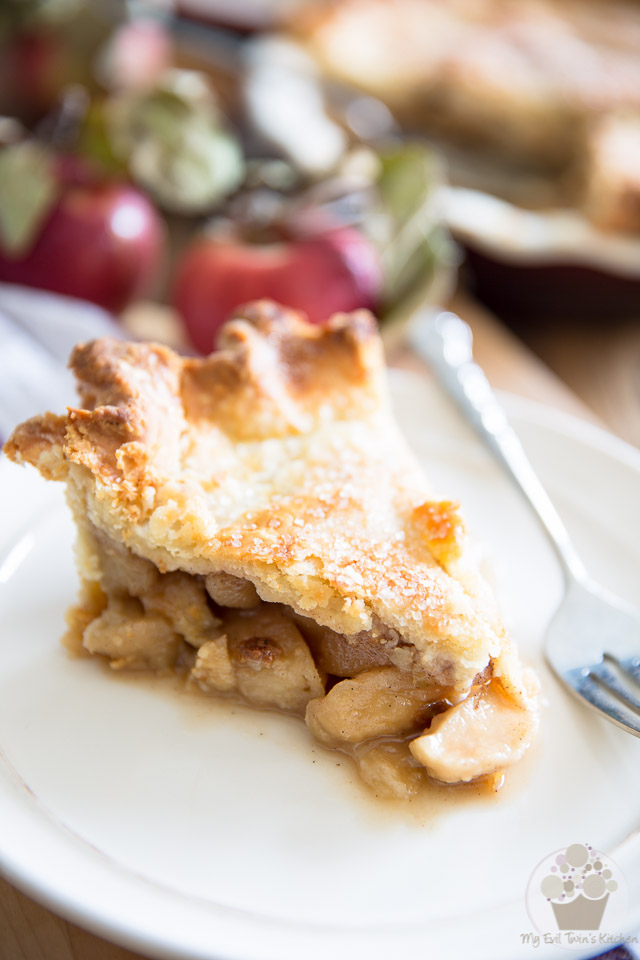
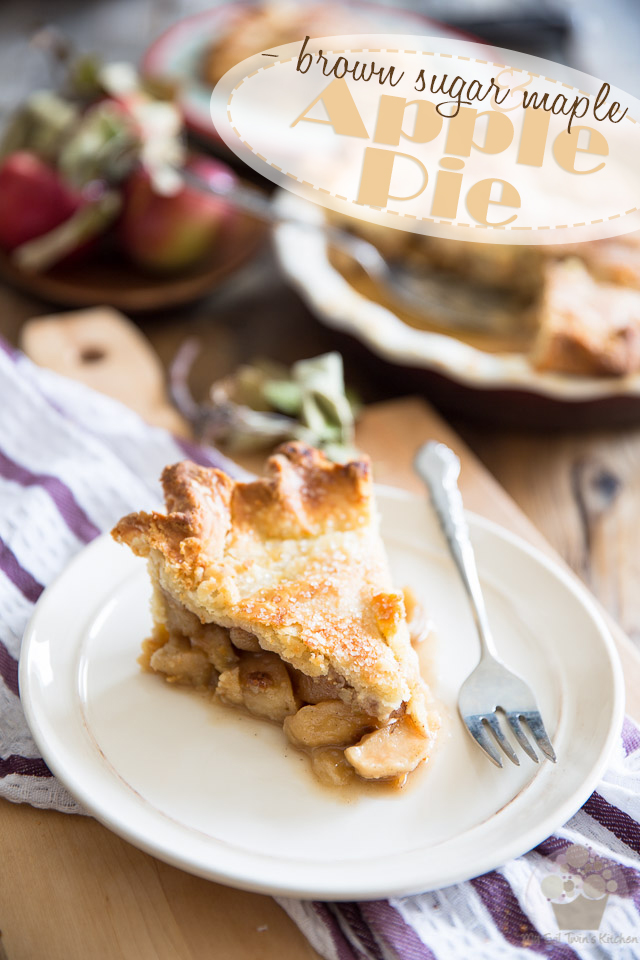
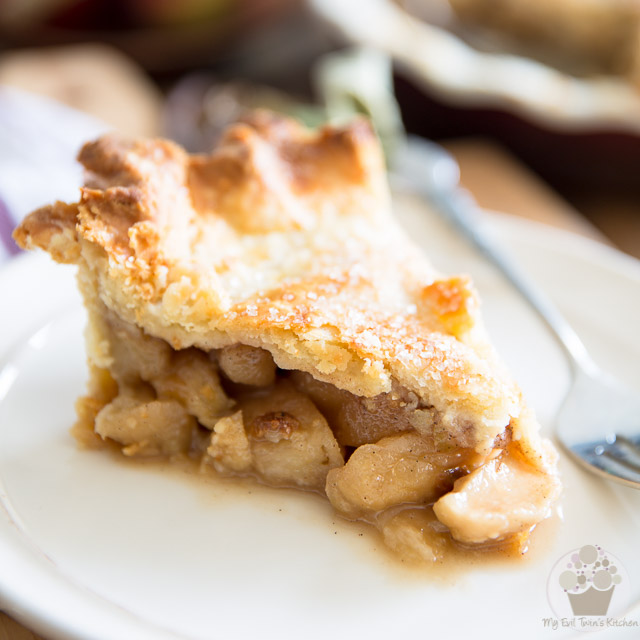
Look at all that beautiful caramel sauce… and those big chunks of apples! And can you get a feel of how flaky that crust is?
YUM! Talk about tasty!
Ingredients
- 12 cups (1.25kg | 2.75lb) baking apples, cored, peeled and cut into wedges (I used Cortland)
- 1 cup (200g | 7.1oz) light brown sugar
- 1/2 cup (120ml) pure maple syrup
- 1/2 cup (120g | 4.2oz) butter
- 1/2 tsp ground cinnamon
- the seeds from 1 vanilla bean
- 1/4 tsp salt (I use Himalayan salt)
- 1 tbsp corn starch
- 2 pie shells
- Eggwash (that's 1 egg mixed with 2 tbsp of milk)
- 2-3 tbsp sparkling sugar, if desired
Instructions
- In a large, heavy skillet, combine the brown sugar, maple syrup and butter. Cook over medium heat stirring constantly until the butter is completely melted
- Increase the heat to medium-high, add the apples, vanilla seeds, cinnamon and salt and bring to a boil then continue cooking until the apples are soft and the liquid has taken a thick, syrupy consistency and has evaporated by a little more than half, about 25 minutes.
- Set aside to cool for 20 minutes.
- Meanwhile, roll the bottom crust (see this post for detailed instructions) and press it into a into 9" deep dish pie plate. Set aside. While you're at it, you might as well roll the top crust too and keep it handy.
- Once your apple mixture has sufficiently cooled down, sprinkle 1 tbsp corn starch over the apples and gently mix it in. Pour the apple filling into the reserved pie shell then brush the edge with the eggwash and top with the second pie crust. Crimp the edges real nice, brush the entire top with eggwash, cut out vents (again, see this post for detailed instructions) and then sprinkle the entire surface of the pie with sparkling sugar, if desired.
- Let the pie rest for about 30 minutes. Meanwhile, preheat your oven to 425°F and place a rack in the bottom third position.
- Bake the pie for 25-35 minutes, or until top gets nice and golden brown.
- Carefully remove the pie from the oven and let it cool for at least 3 hours before serving.
- Leftovers will keep in the refrigerator for up to 5 days.
This looks great too Sonia..I made an apple pie once by cooking the apples first..and thought: “mais c’est génial!”
Time to make another;)Thank you.
Thanks Monique! Time to start planning for Christmas, right? 😉
12 cups ? Did i read it right?
Absolutely, Ana! That’s 12 cups indeed!
I am making this for my daughters 35th birthday this weekend. I chose your recipe as the filling is cooked before the pie is baked. In my 50 years of pie making apple is the one I struggle with as it is so hard to get the apples cooked by the time the pie is “done”. She is my little Autumn baby and wanted something spicy, not a cake this year. I am still waiting for you to put up your Raisin Pie recipe. Any chance we will get that this year before Christmas?
Oh my! You are so right! I never got around to posting that recipe after all. I’ll definitely try to post it before Christmas! Hope the pie turns out great! 🙂