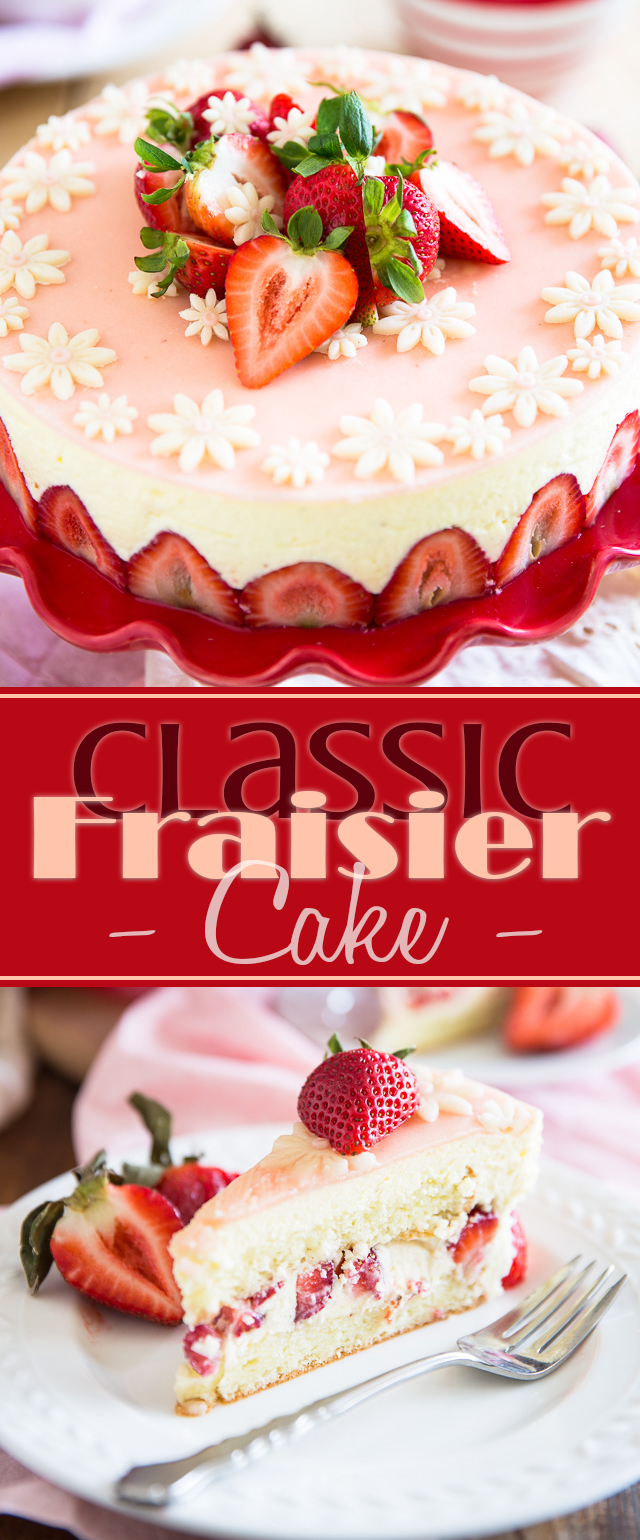
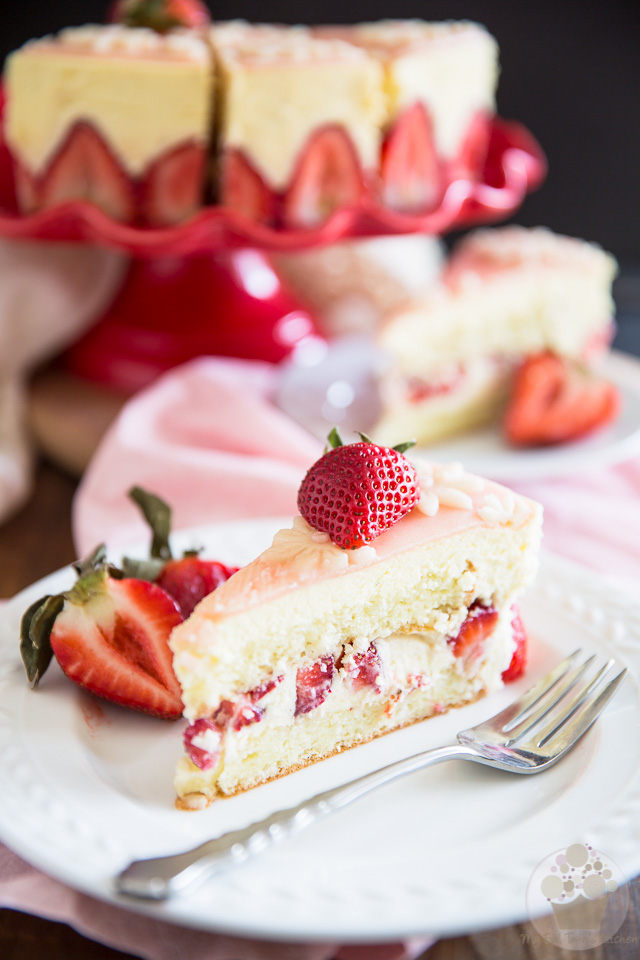
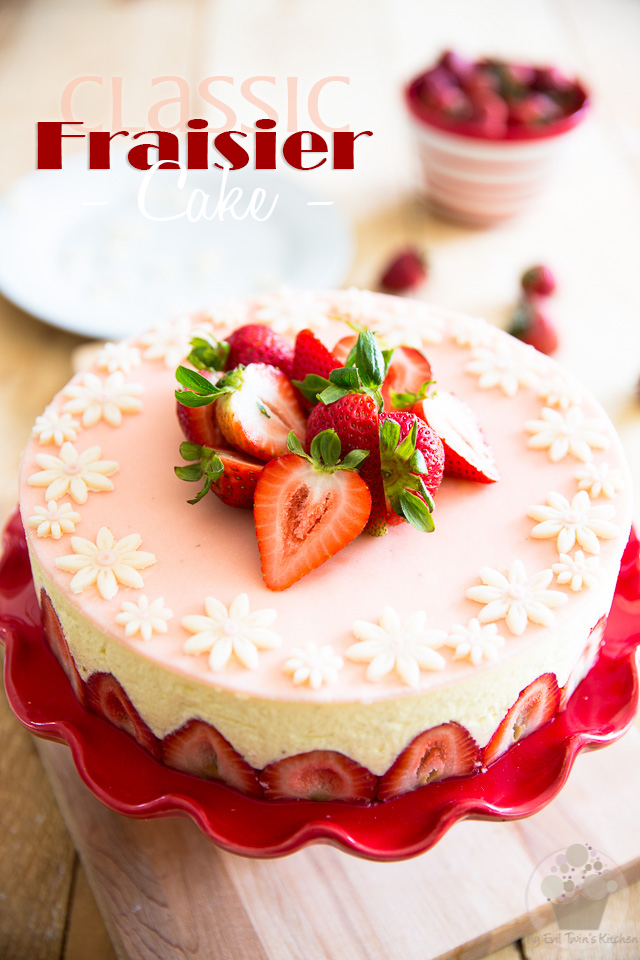
The Classic Fraisier is a spectacular, summery fresh cake loaded with fresh strawberries, mousseline cream and topped with a thin layer of marzipan.
The Classic Fraisier Cake is a long-established, sophisticated and instantly recognizable French delicacy that most upscale pastry shops usually exhibit with great pride in their cake display.
In case you’re not familiar with it, the Fraisier cake, as its name implies, is a light and refreshing treat that’s loaded fresh strawberries; indeed, the name Fraisier is derived from the French word “fraise”, which means strawberry.
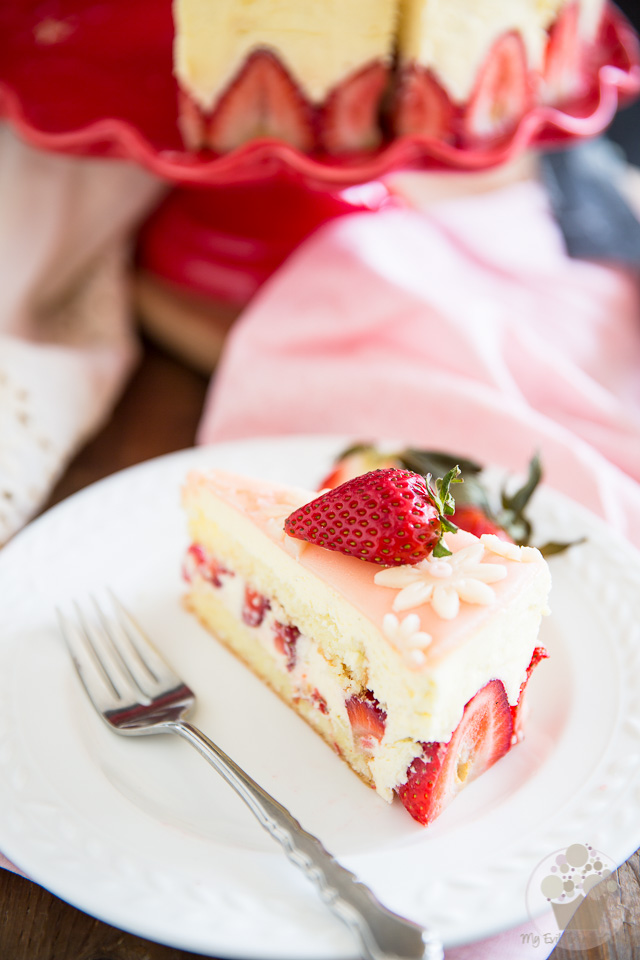
So it is a classic French cake that is traditionally comprised of a génoise, more commonly known as sponge cake, imbibed liberally with a sweet kirsch syrup, filled with loads of fresh strawberries trapped in a delicious kirsch flavored mousseline cream (or crème mousseline, as it is officially called in France, its country of origin) and finally, topped with a thin layer of tinted almond paste (which we tend to refer to as marzipan in this part of the world).
One of its star components, the crème mousseline is basically a standard pastry cream, to which A LOT of extra butter gets added in order to emulsify it, thus rendering it super light and dreamy and airy and fluffy…
A totally heavenly concoction that, I have no doubt, has been created with the gods in mind.
I’m telling you, this is a cake that will have you instantly fall in love, with the very fist bite. You simply cannot NOT be all over this cake.
The classic Fraisier is extremely fresh and light, making it the perfect ending to your meal any time of year, but it is particularly suited during the hot months of summer.
And while this cake may be a tad demanding to make, because of all its different components, and may be somewhat tricky to master, I can guarantee you that it will never fail to impress your guests! It truly is a spectacular dessert that’s just as pleasing on the palate as it is on the eye.
It definitely makes my personal top 5 list of favorite cakes!
STEP-BY-STEP INSTRUCTIONS & PICTURES
FOR THE CREME MOUSSELINE – PART I
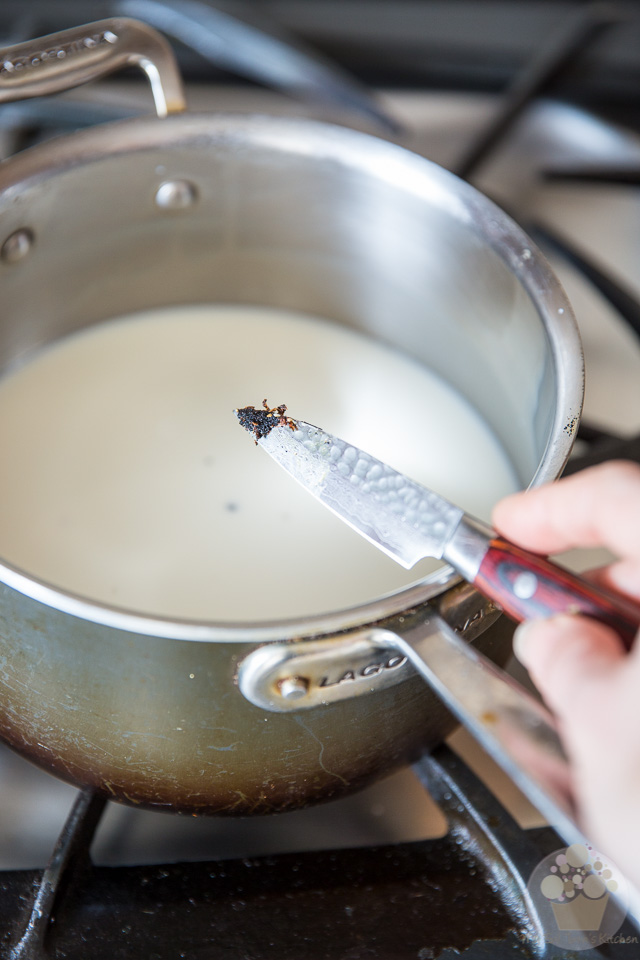
Let’s start by making the pastry cream that will later become our mousseline. In a medium saucepan, combine the milk, vanilla seeds and 2 tablespoons of kirsch and bring that to a slow simmer over medium-low heat. Do not let the milk come to a boil.
If you didn’t have fresh vanilla beans, you *could* always use vanilla extract, but this is a case where I find using fresh is almost imperative. First, because the flavor is so much better and second, because you WANT those beautiful little specks that the fresh vanilla adds to the cream, which are, in my opinion, an unmistakable sign of absolute quality.
Plus, it’s the real classic way of doing it. So there. That’s reason enough!
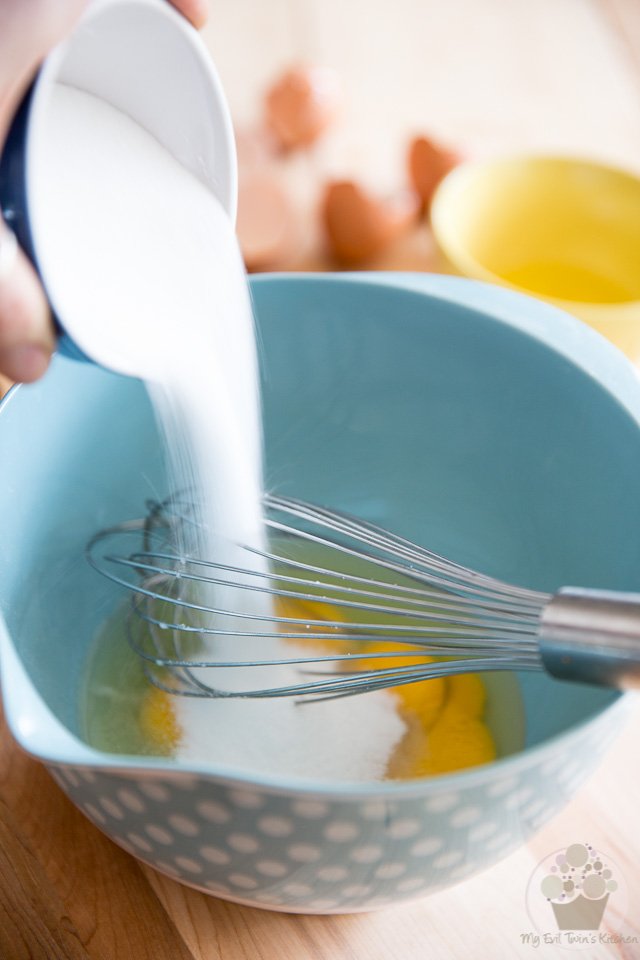
While the milk is warming, combine the eggs, egg yolks and sugar in a mixing bowl.

Whisk vigorously until the mixture turns a light shade of yellow and becomes slightly thick and frothy, about 3 minutes.
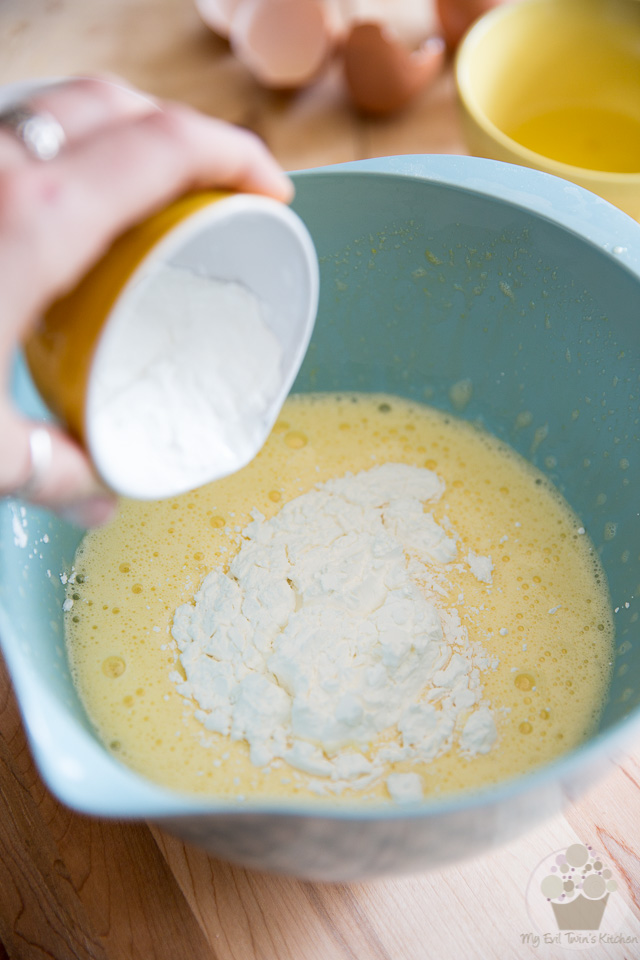
Add the corn starch, all at once…
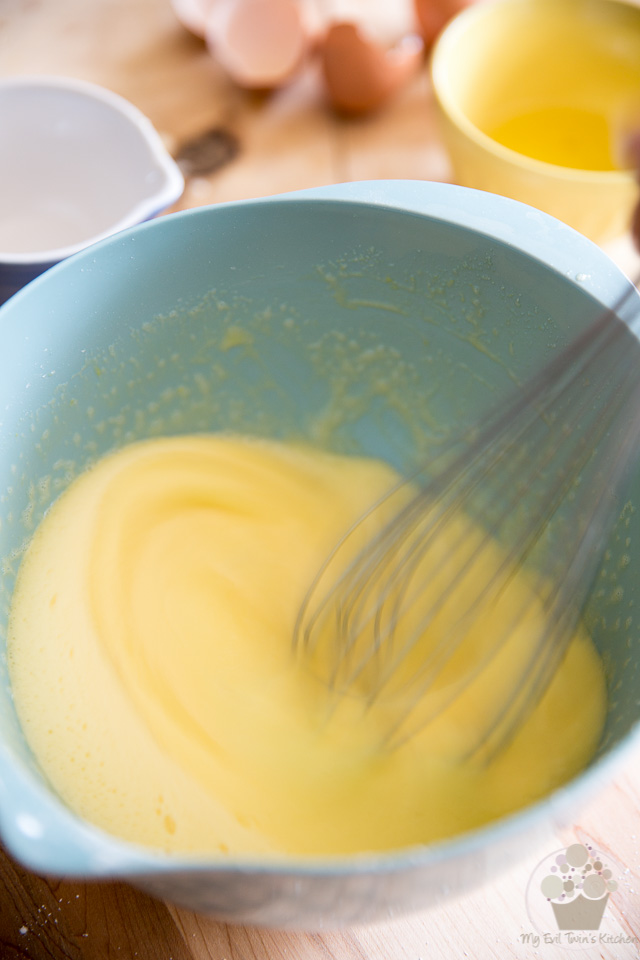
…and resume whisking just until it’s completely incorporated.
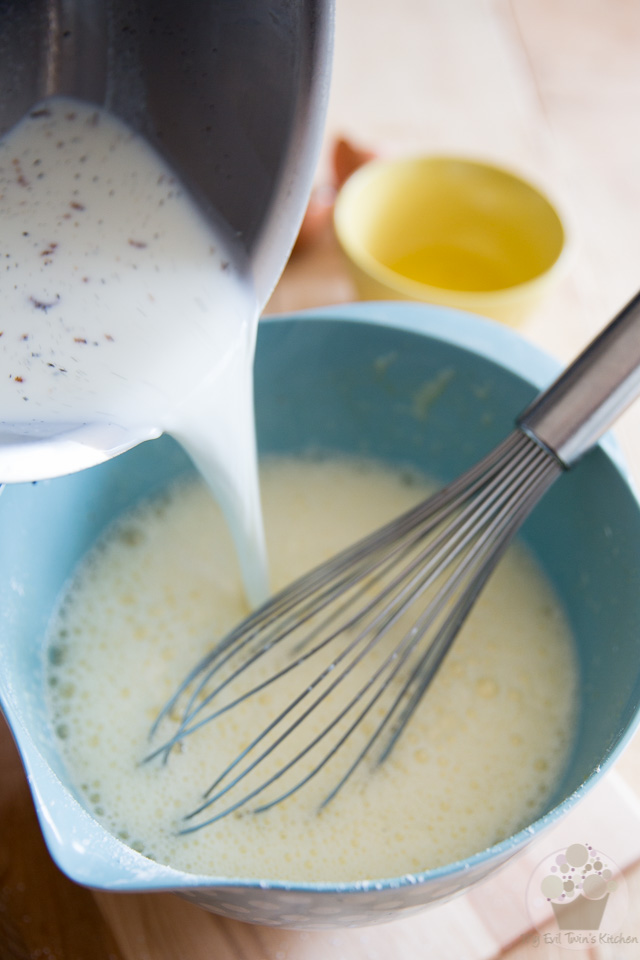
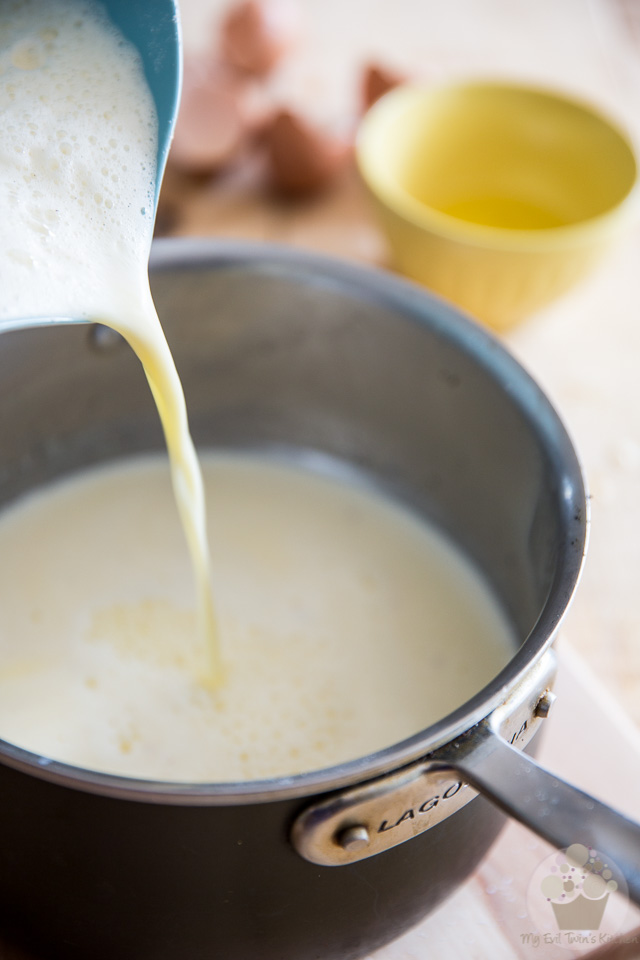
Now slowly pour the warm milk into the egg mixture while whisking continuously.
If you’re in no position to do both at the same time (like if you’re taking pictures, for instance) add the milk delicately, about a cup at a time, whisking well between each addition.
Adding the milk to the eggs like this will insure that your eggs slowly come up in temperature, preventing them from cooking and scrambling on you. That wouldn’t be really desirable…
Once all the milk has been added to the eggs, pour everything back into the saucepan. Place the pot back over medium heat and start whisking!
From this point on, you won’t be allowed to stop whisking, not even for a second, until your cream has come to a full boil. Be extra mindful to always cover the entire bottom of the pan, as pastry cream tends to attach to the pan and burns fairly easily, leaving behind all kinds of brown bits in your cream.
Again, not really desirable… but if that were to happen, fear not, there’s a solution for that. Keep going, I’ll fill you in later…
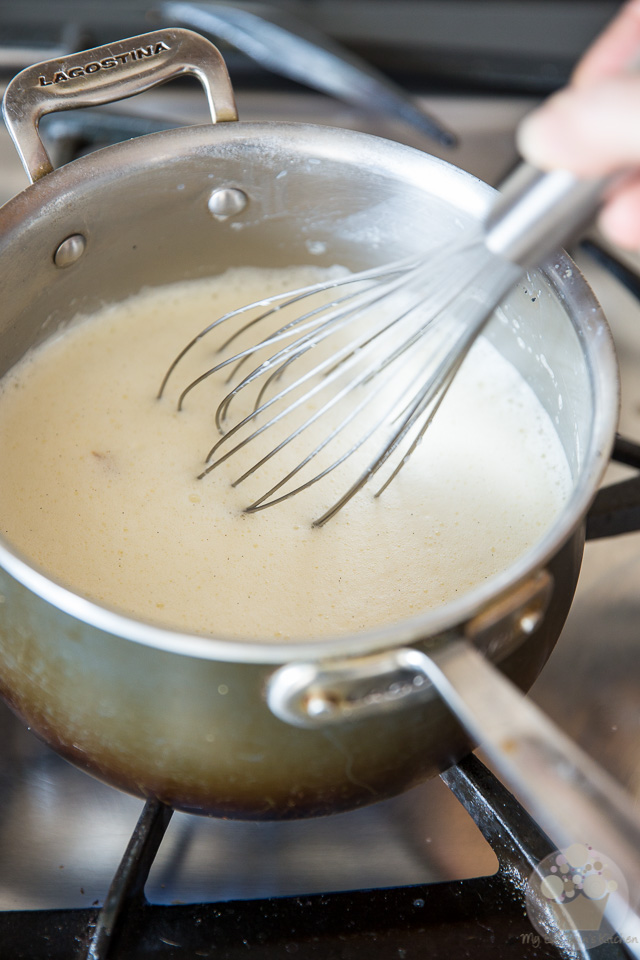
Initially, the mixture will be fairly thin and frothy, but it will eventually start to thicken. When this happens, pause whisking every 10 seconds or so, to see if the mixture has actually come to a boil.
It is imperative that the cream come to a complete boil so the starch reaches its full thickening power.
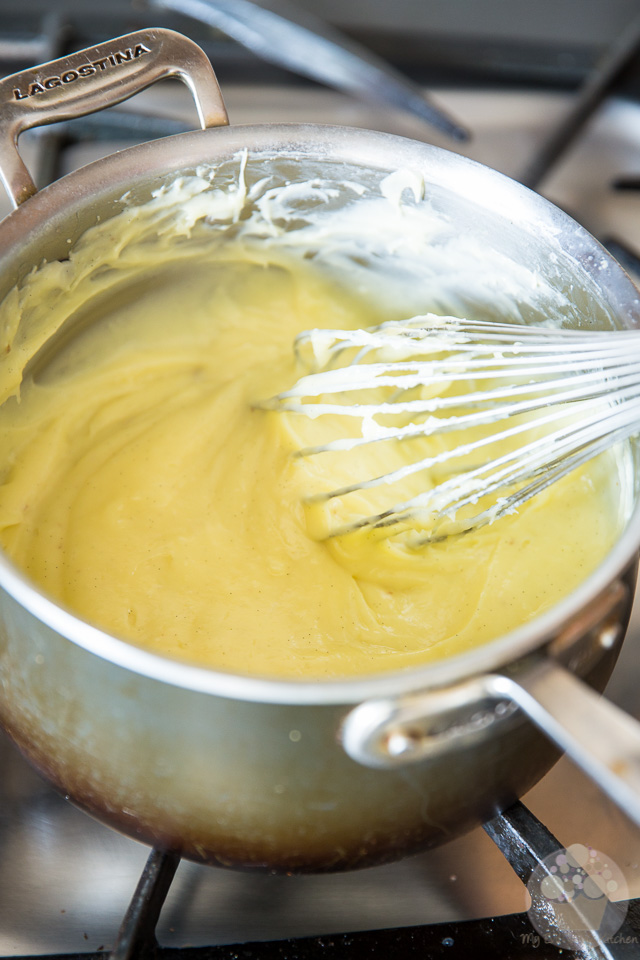
When large bubbles start coming to the surface, continue whisking for 15 seconds.
Your pastry cream is now ready!
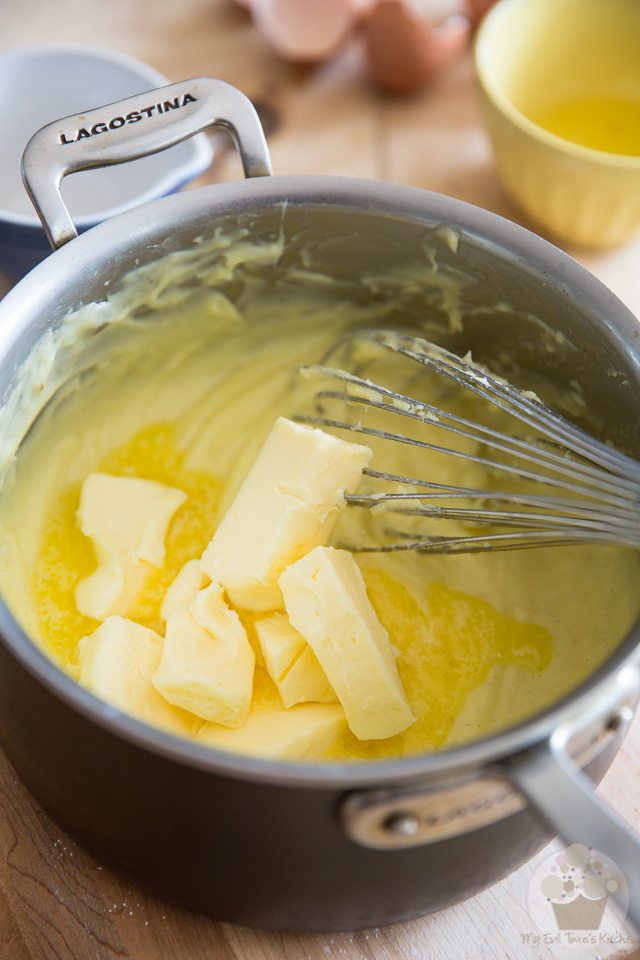
Remove the pan from heat and whisk in half of the butter. You’ll be adding the rest later, once the cream is completely chilled.
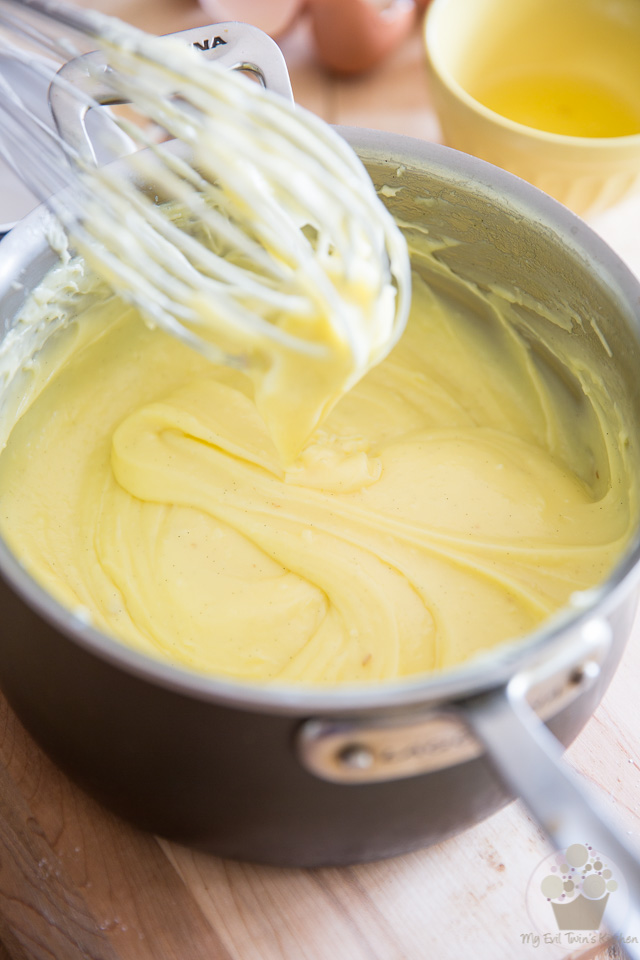
At this point, if you find that your pastry cream has perhaps attached to the pan a little bit too much and has too many little brown bits in it for you liking, you can force it through a fine mesh sieve to get rid of them.
I found mine to be very acceptable, so I opted not to strain it…
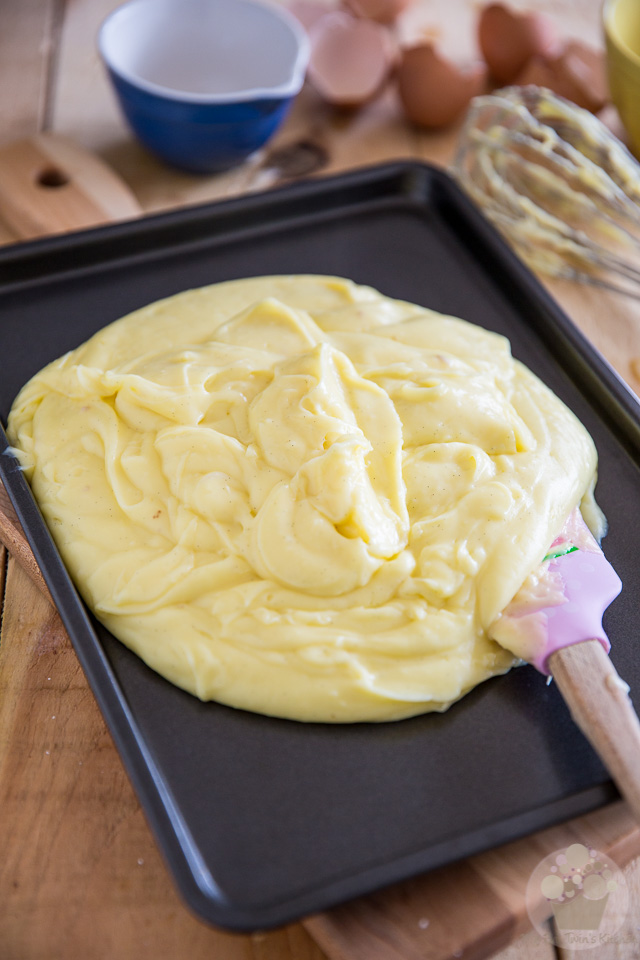
Transfer your pastry cream to a jelly roll pan (if you are going to strain it, you can do it directly over the pan…)
Now the reason why you want to use a jelly roll pan as as opposed to a bowl is that it will allow your cream to cool down much faster. By the time we’re done baking the cake, you pastry cream will be nice and cold and ready for action.
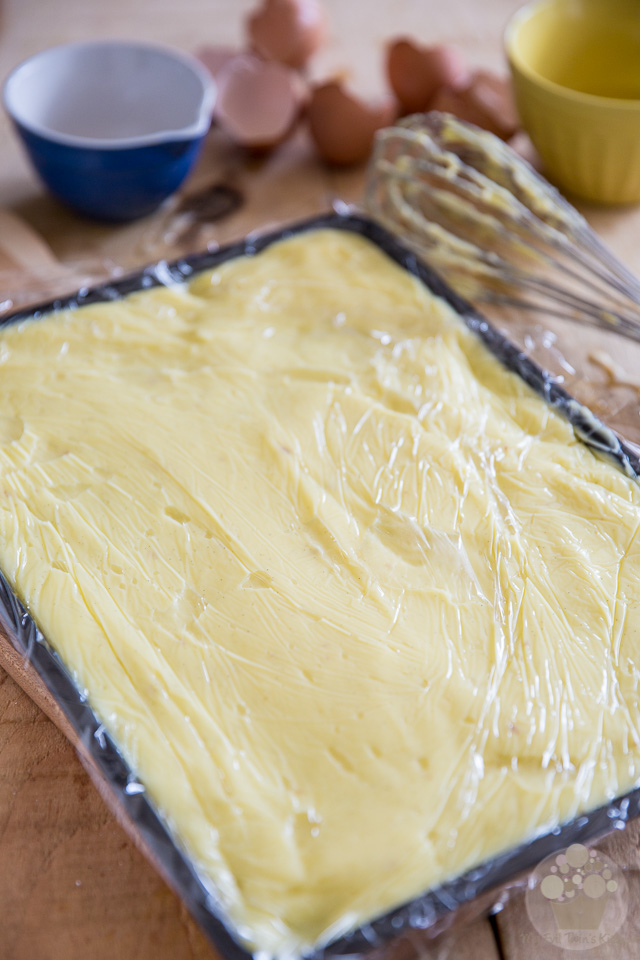
Cover your cream with a piece of plastic film pressed directly against its surface. It’s absolutely imperative that the film comes in contact with the entire surface of the cream, so no air can get between the film and the cream. If that happened, a crust would inevitably form on the pastry cream and that would result in a lumpy mousseline; trust me, no one wants a lumpy mousseline!
Place the cream in the refrigerator and chill completely.
FOR THE SPONGE CAKE
While the pastry cream is chilling, let’s work on the génoise (or sponge cake)
Preheat the oven to 375°F; grease and flour one 8″ round cake pan. Hold the pan upside down and knock it gently against the counter a few times to remove any excess flour. Set aside.
Combine the flour, corn starch and salt in a bowl; mix well and reserve.
Crack the eggs into the bowl of your stand mixer, add the egg whites and powdered sugar and whisk on high speed for 10 minutes…
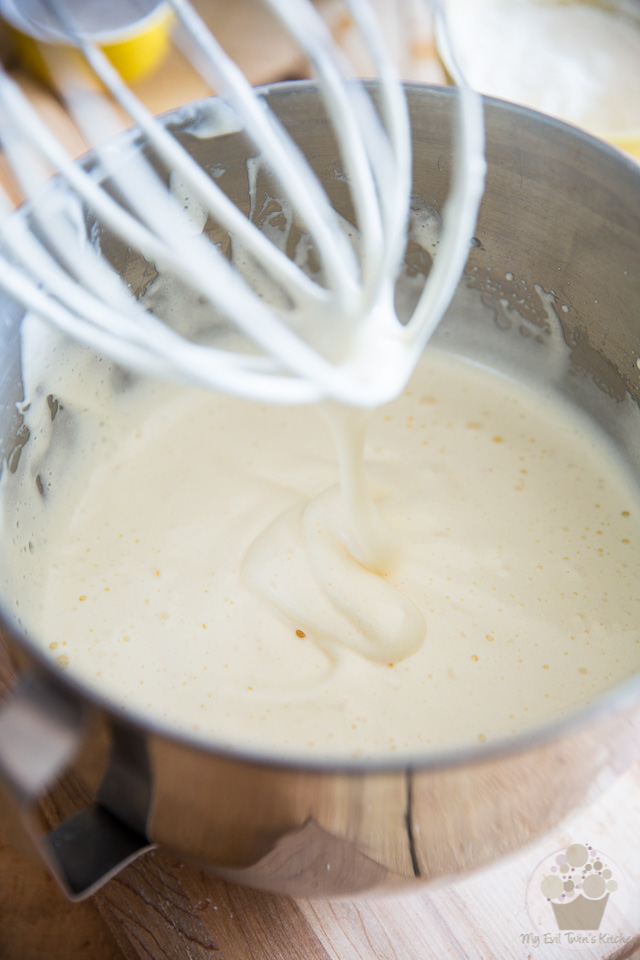
… or until the mixture is really pale and thick and forms a soft ribbon when you lift the whisk and let it drip.
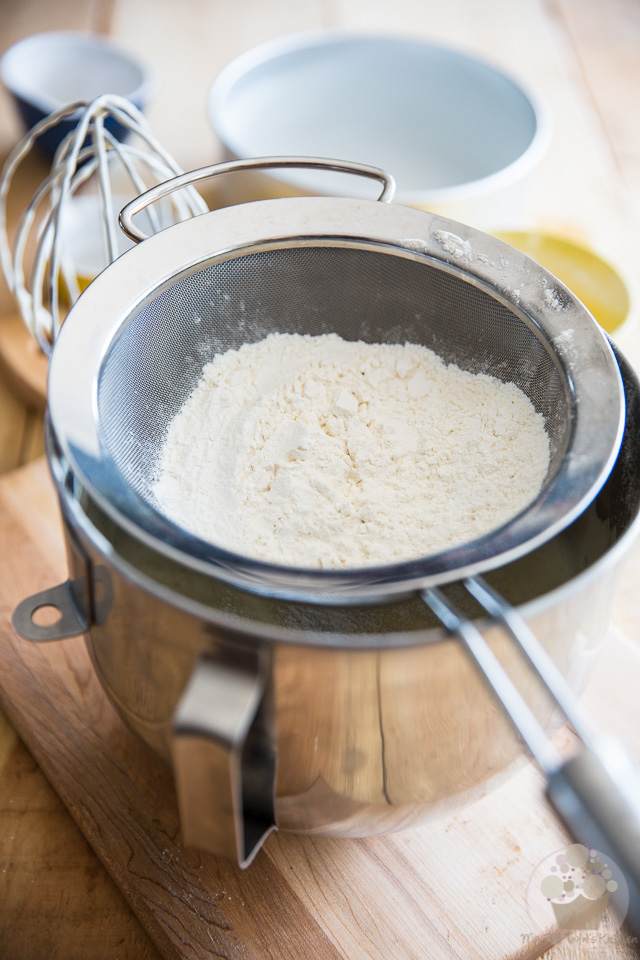
Transfer your flour mixture to a fine meshed sieve…
Now add that flour mixture to the eggs by sifting it directly over the bowl, in thirds, and then delicately fold with a rubber spatula after each addition
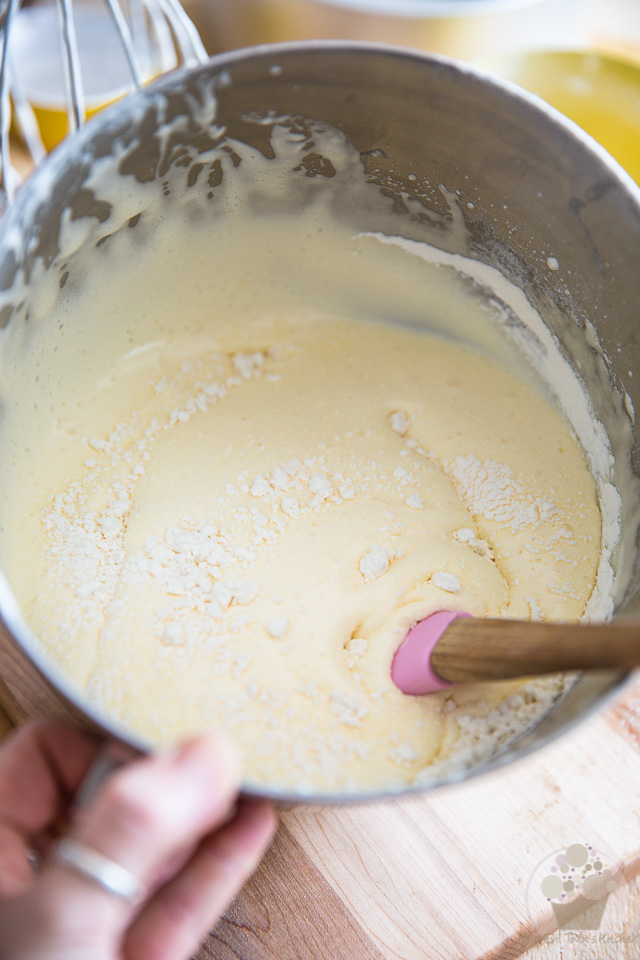
Be careful not to deflate the eggs: gently go down in the batter, then back up over towards the middle and down again, rotating the bowl slightly as you go.
Fold just until the flour is barely incorporated.
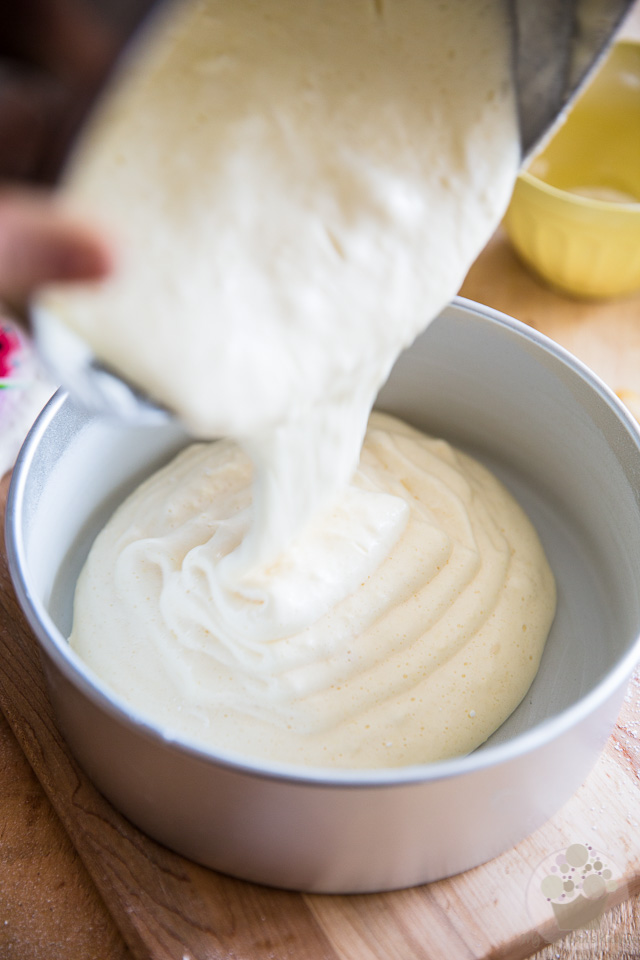
Pour the batter into the prepared pan and bake for about 20 minutes or until the top is nice and golden brown and bounces back when pressed delicately with your finger.
Do not open the oven door sooner than 15 minutes into the baking process and shut it very gently to not disturb the rise of the cake.
FOR THE SIMPLE SYRUP
While the cake is baking, make the simple syrup.
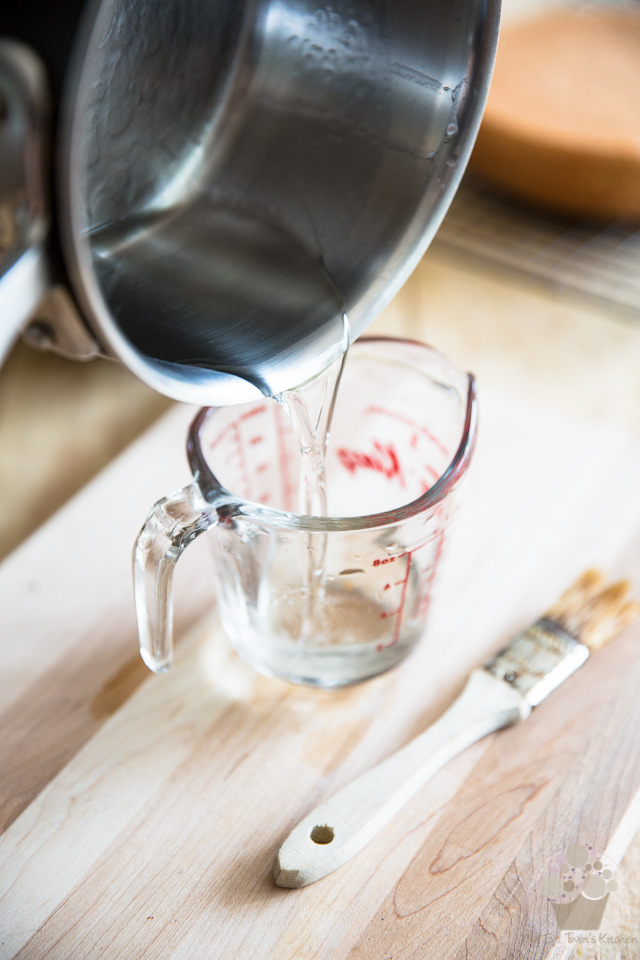
Combine the sugar and water in a small saucepan; bring to a boil over medium heat and keep boiling for one full minute, or until the sugar is completely dissolved and the syrup has a slightly viscous consistency.
Don’t let your syrup get overly thick, else your cake won’t be able to absorb it well. Remove from heat, stir in kirsch and reserve.
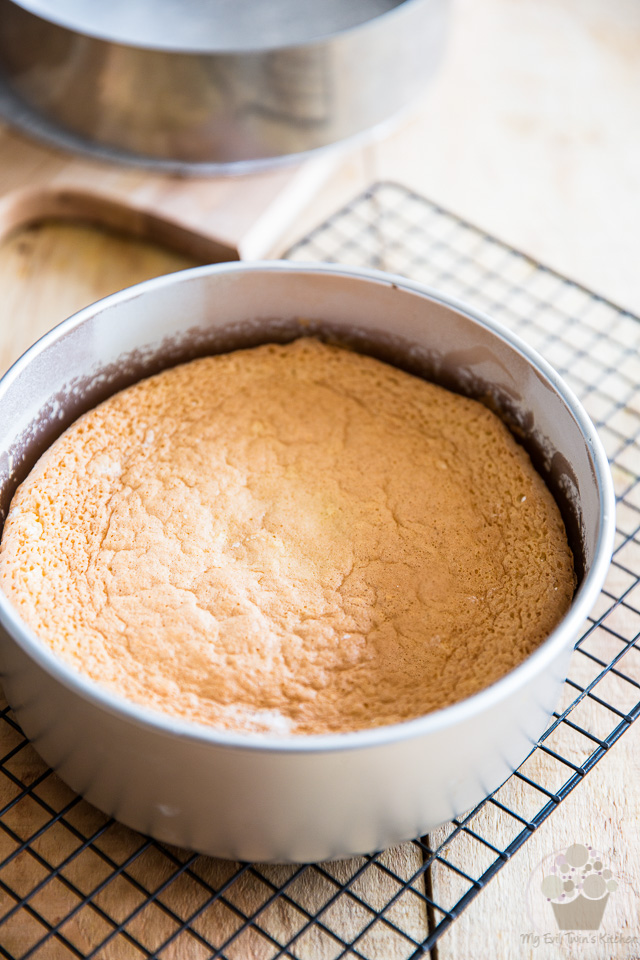
When fully baked, remove the cake from the oven and allow it to cool slightly in the pan, for about 2 minutes.

Then, turn it onto a wire rack to cool completely.
FOR THE CREME MOUSSELINE – PART II
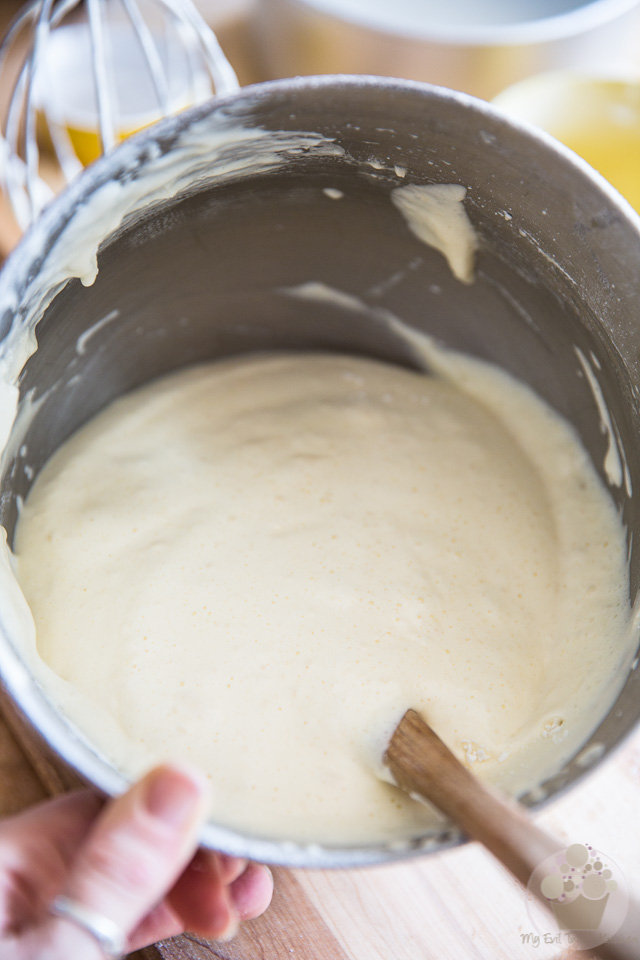
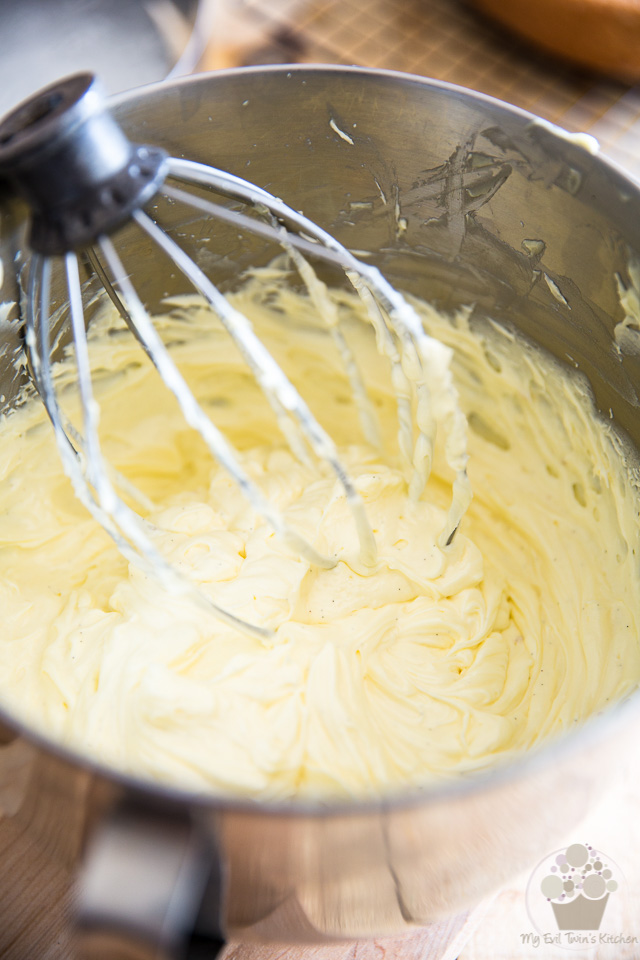
Alright, now let’s turn our pastry cream into a delicious, light and fluffy crème mousseline!
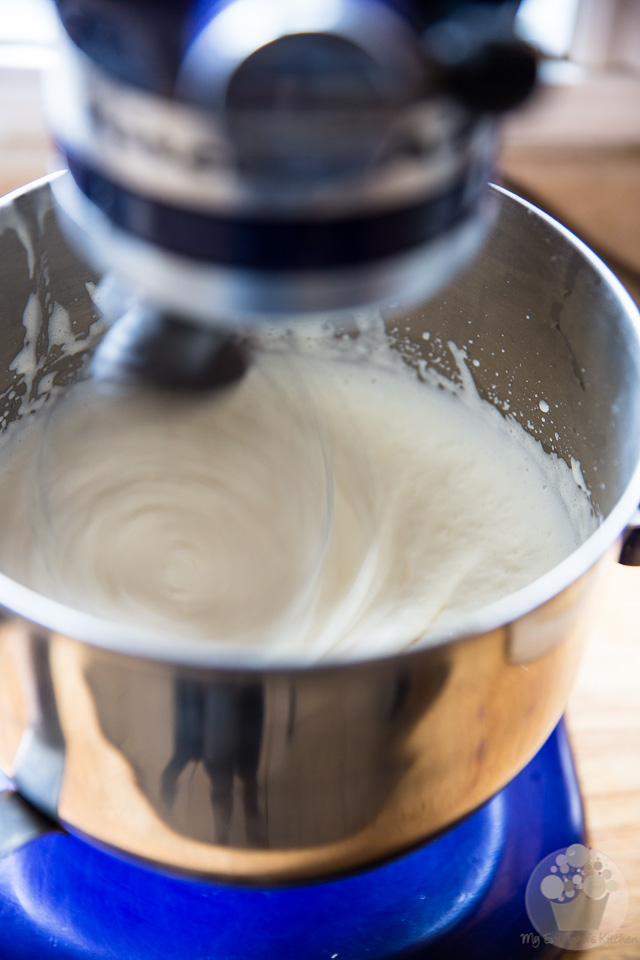
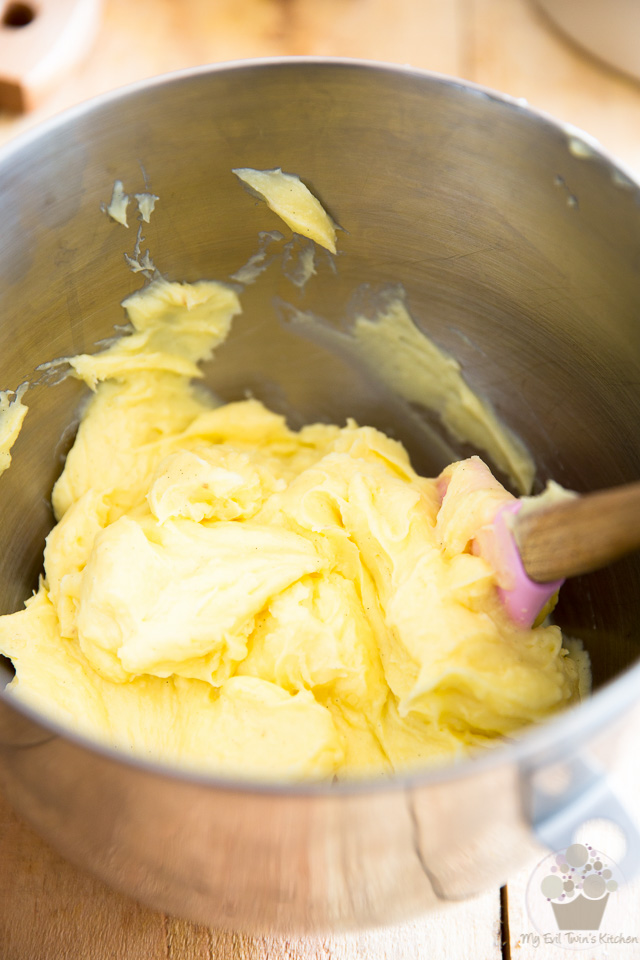
Take your chilled pastry cream out of the refrigerator and place it in the bowl of your stand mixer.
Whip it on high for about 2 minutes, or until the cream is nicely emulsified.
Doesn’t that look amazing already? Wait, it’s about to get even butter! Erm, better, I mean!
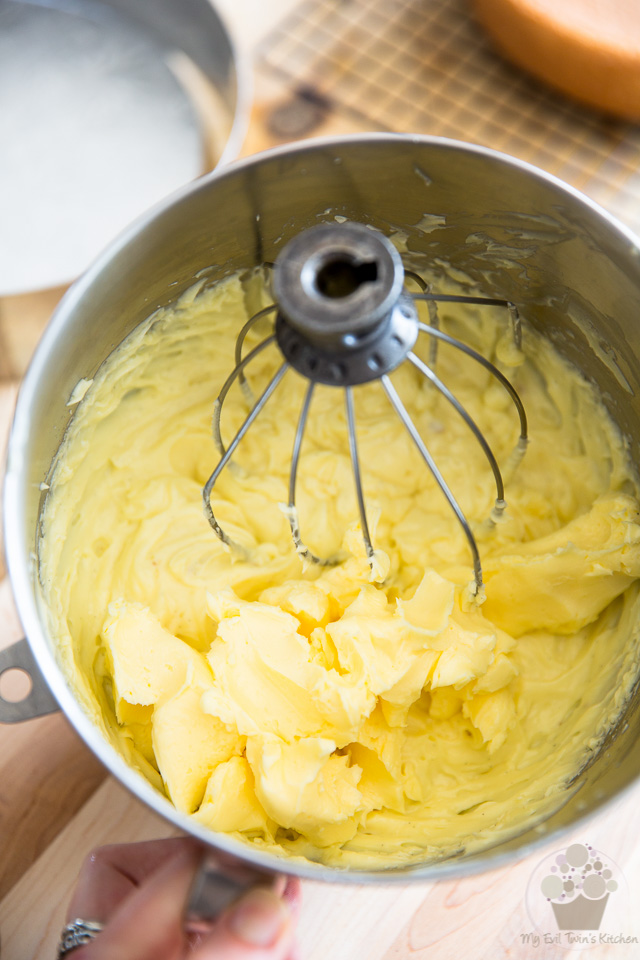
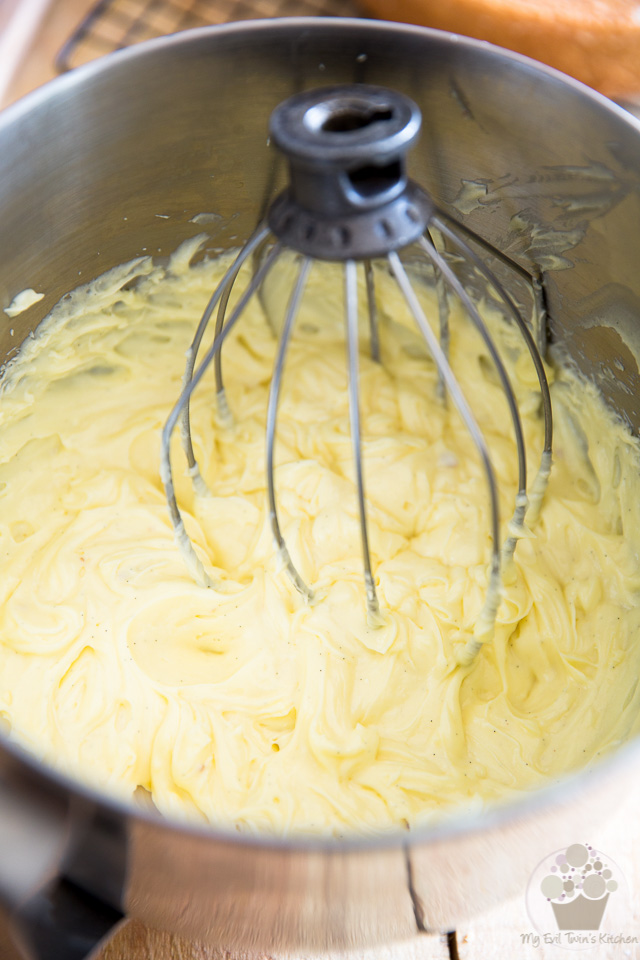
Add the rest of the butter to the bowl (you should have about half a pound left)…
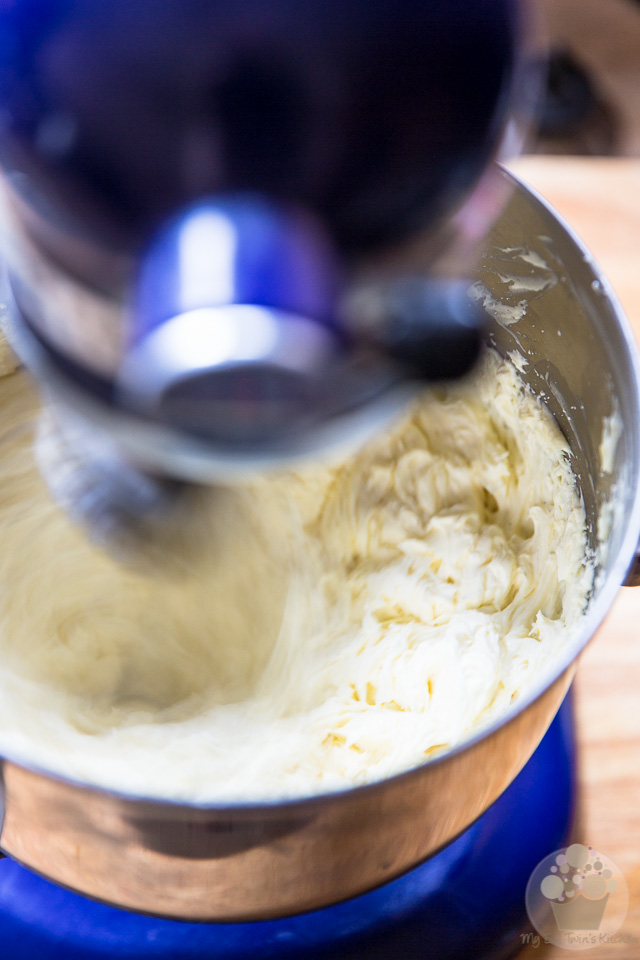
…and resume whisking on high, for about 5 minutes this time, or until the cream is light and fluffy.
Oh, now that’s what I’m talking about. Time to add a little bit of booze to this already dreamy concoction.
To do that, you’ll want to transfer about 1/4 cup of mousseline in a small bowl and then whisk in 2 tablespoons of kirsch. Then, you’ll want to add this back to the main bowl and whisk on high for a few seconds, just long enough to fully incorporate the alcohol.
You might be tempted to add the kirsch directly into the creme mousseline, but doing that may cause your cream to separate… It would still taste awesome, but it wouldn’t be as visually pleasing… and since looks are very important with this cake, I think you better play it safe and mix it in with a small quantity first.
Now set your cream aside until ready to use.
ASSEMBLY – PART I
Finally, we’re about to put this baby together! Well, to start, anyway… this will be a 2 part process, as your cake will need to chill completely before we can put the finishing touches on it.
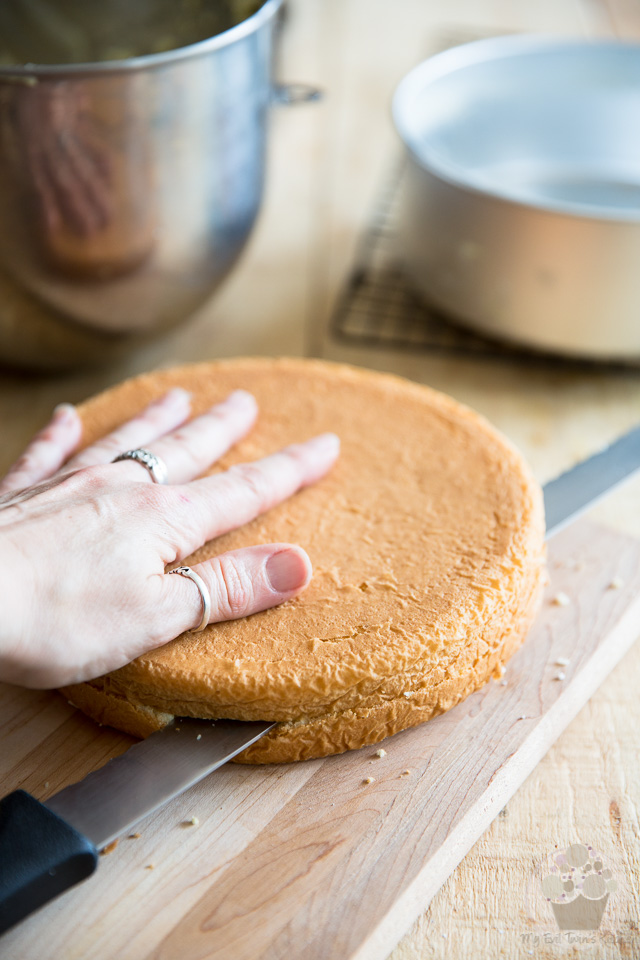
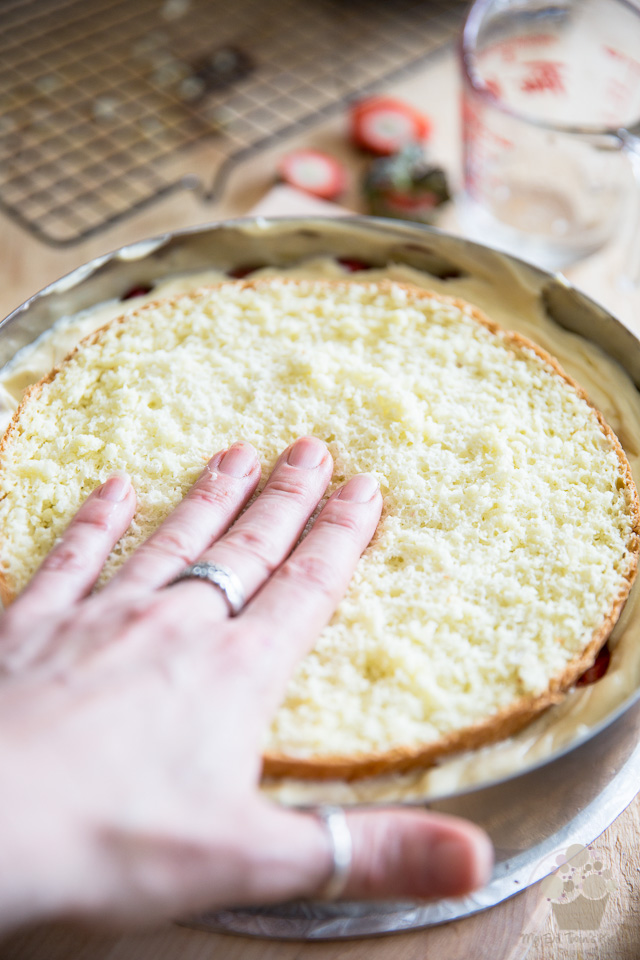
For now, you’ll need to split your cake into two even layers.
To do that, gently place one hand on top of the cake and with your other hand, score the side of the cake with a long serrated knife, exactly halfway up the height of the cake. Score all around the side, cutting about half an inch deep into the cake. Keep rotating the cake and cut about 1 inch into the cake; rotate the cake some more, cutting deeper and deeper inside the cake until your cake is split into two separate layers.
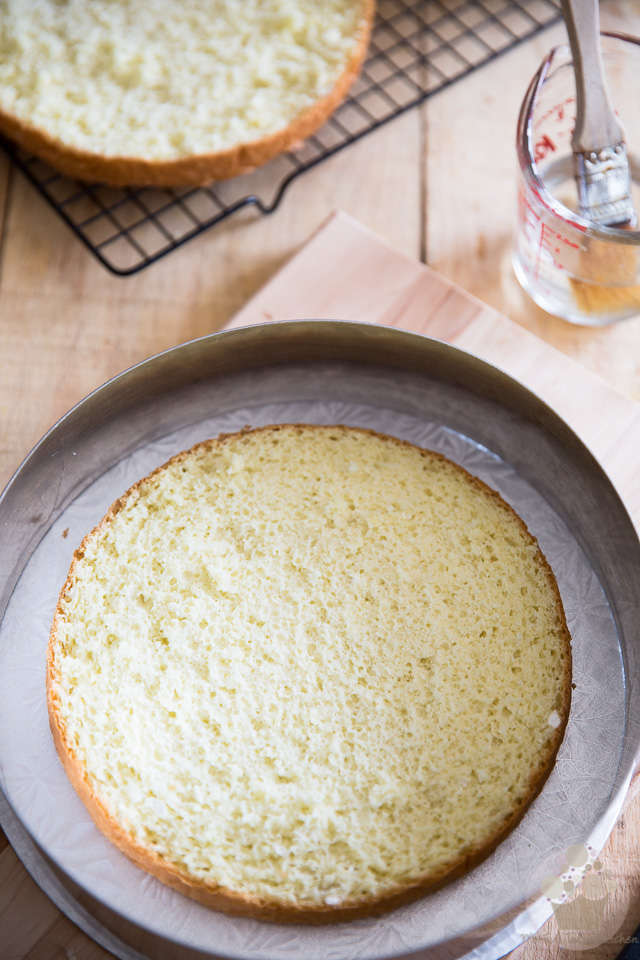
Place a 9.5″ x 2.5″ cake ring on a 10″ cake board or plate. Make sure it’s well centered.
Place one cake layer, cut side up, right in the center of that cake ring.
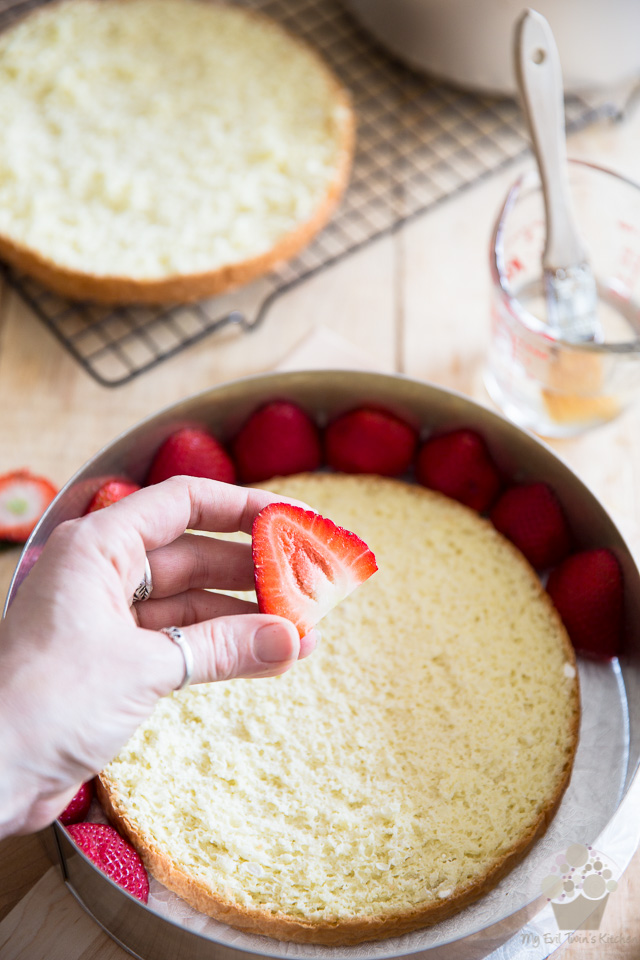
Hull 10 to 12 large, picture perfect strawberries and slice them in half lengthwise.
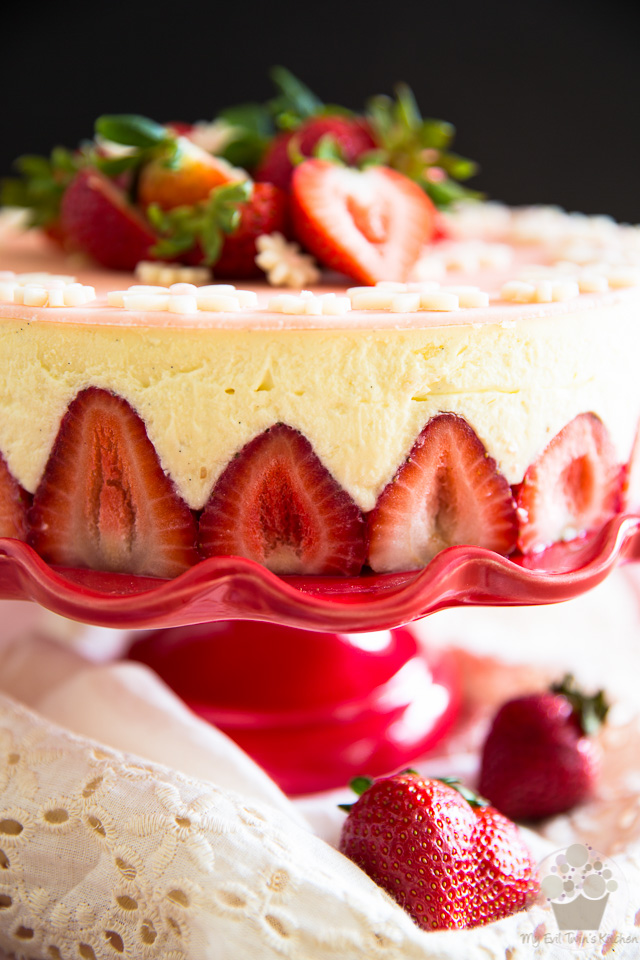
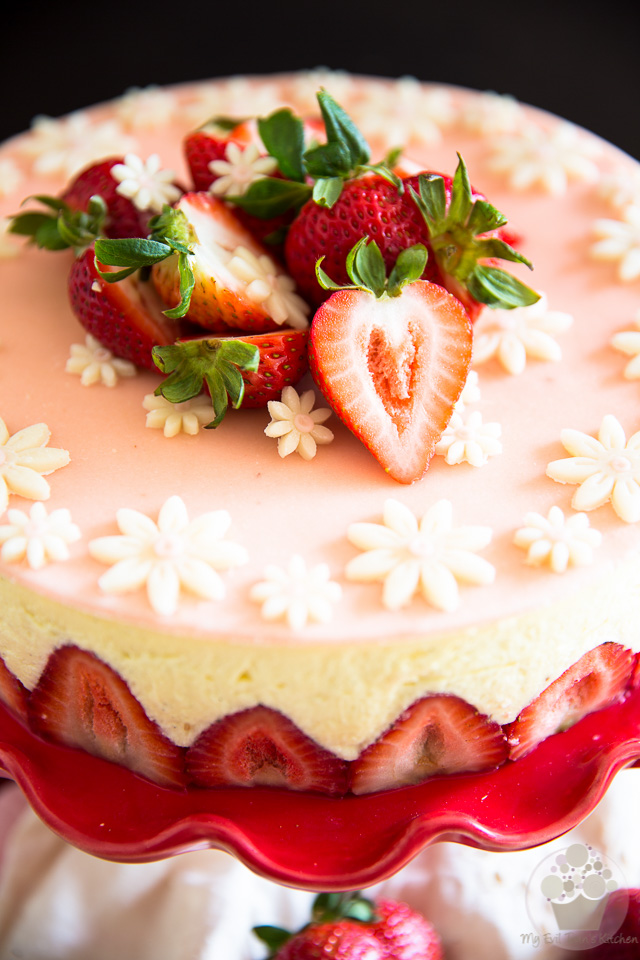
Arrange your sliced strawberries vertically, narrow tip facing up, around the circumference of the cake circle with the cut side facing out as this side will be revealed once the cake ring is removed. They should fit snugly between the cake and ring, but if they didn’t, you could always trim them a little bit…
Press lightly on your strawberries to ensure good contact with the metal ring: you don’t want any cream to get between the ring and the strawberries.
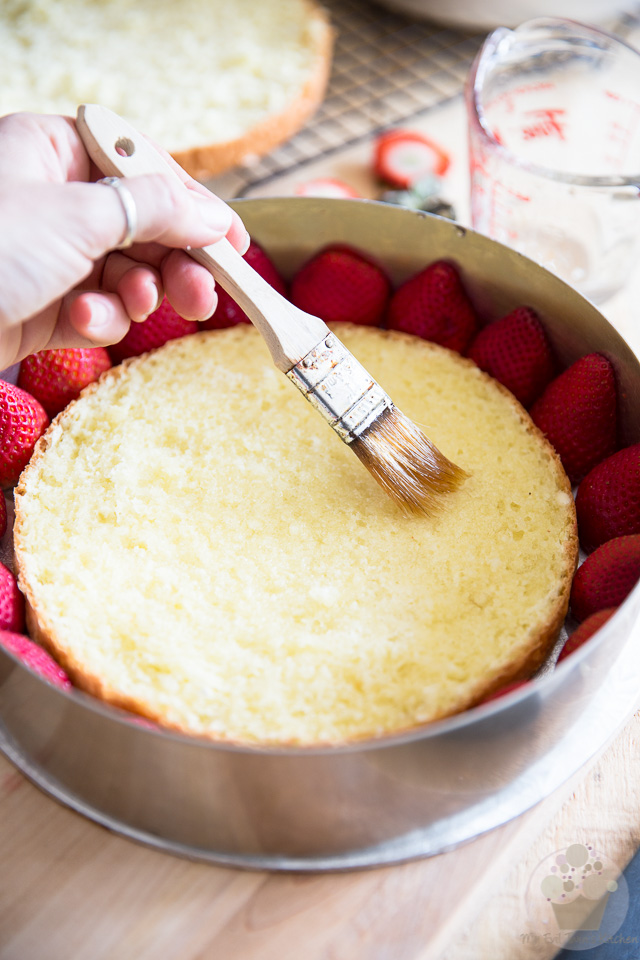
Brush about 1/2 of the kirsch syrup all over the surface of the cake, paying special attention to the edges.
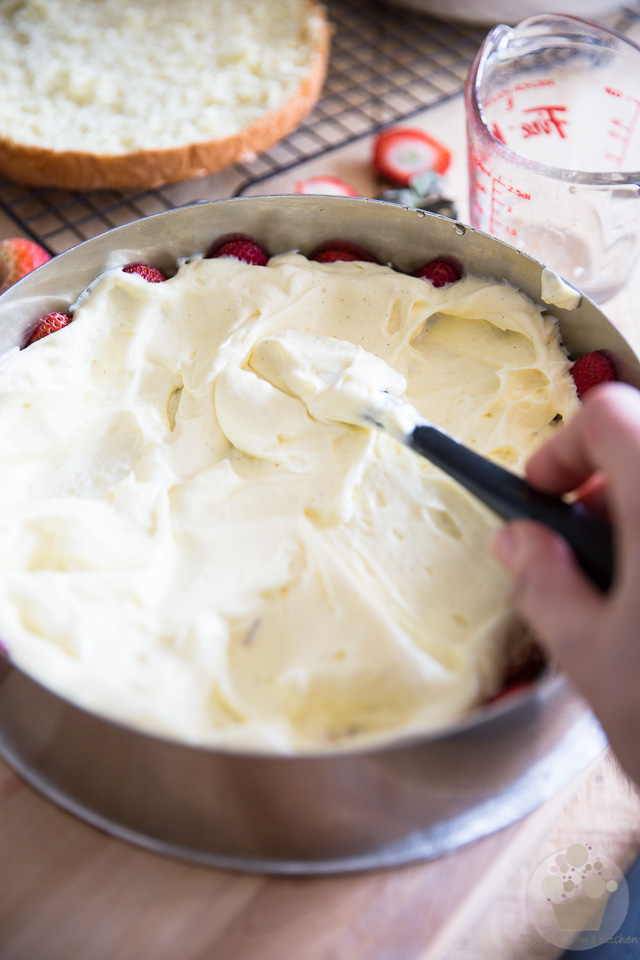
Top with about half the reserved mousseline cream; spread it all the way to the edge, making certain that you push the cream well against the ring to fill in all the cracks between the strawberries.
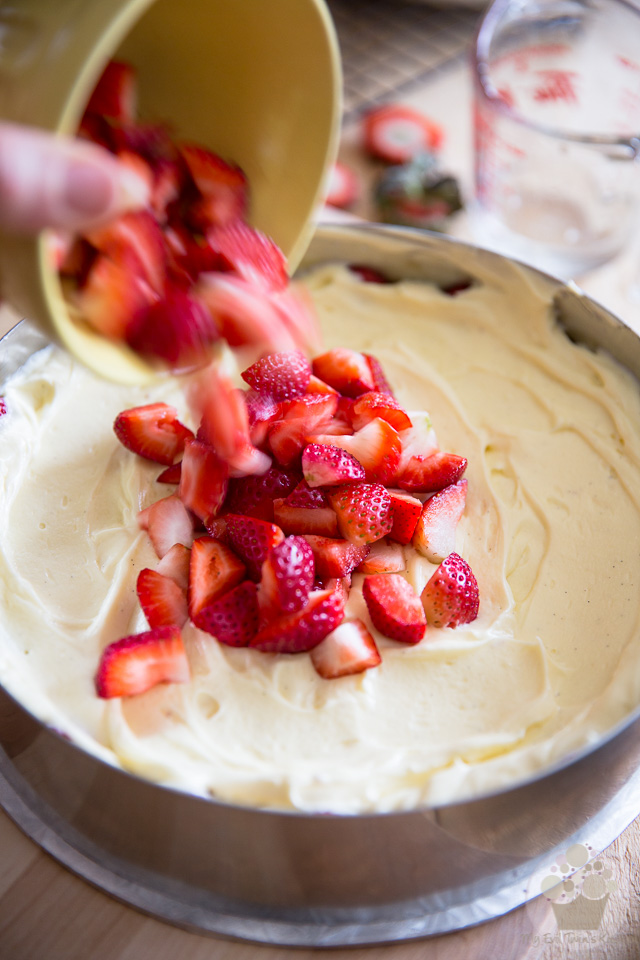
Hull and dice 12 medium strawberries and distribute them across the top of the mousseline.
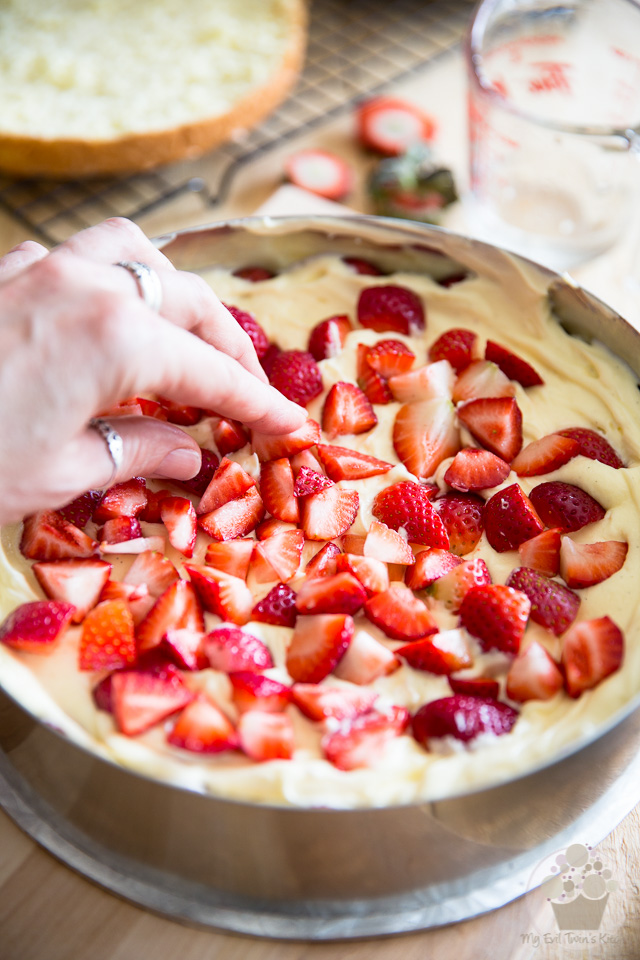
Make sure that none of the diced strawberries come in contact with the cake ring, otherwise they would show once you’d removed the ring.
Top with the second cake layer, cut side up; press it down lightly and then brush it with the rest of the kirsch syrup.
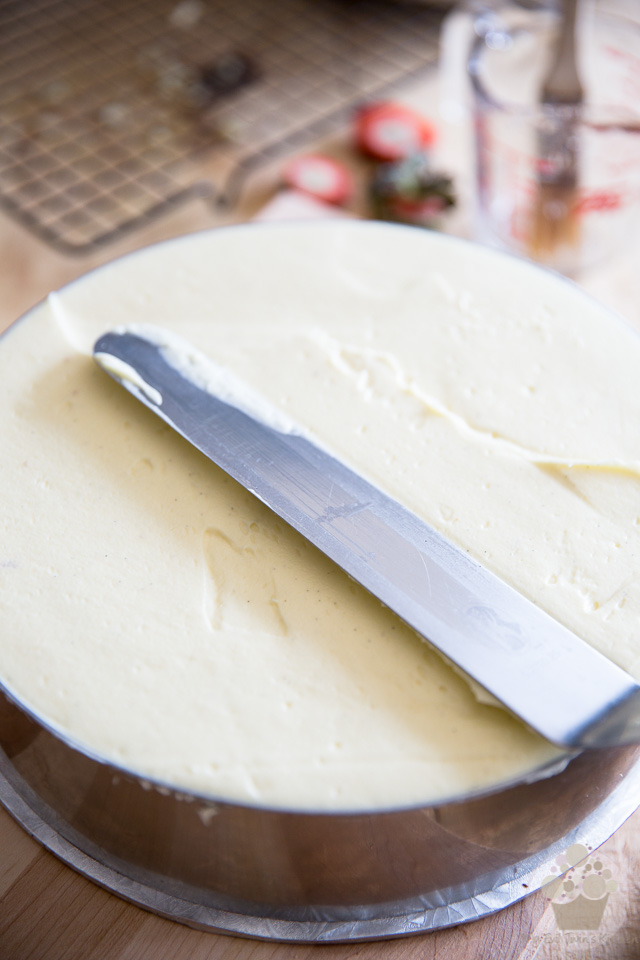
Top with the rest of the mousseline cream and smooth the top with an offset spatula.
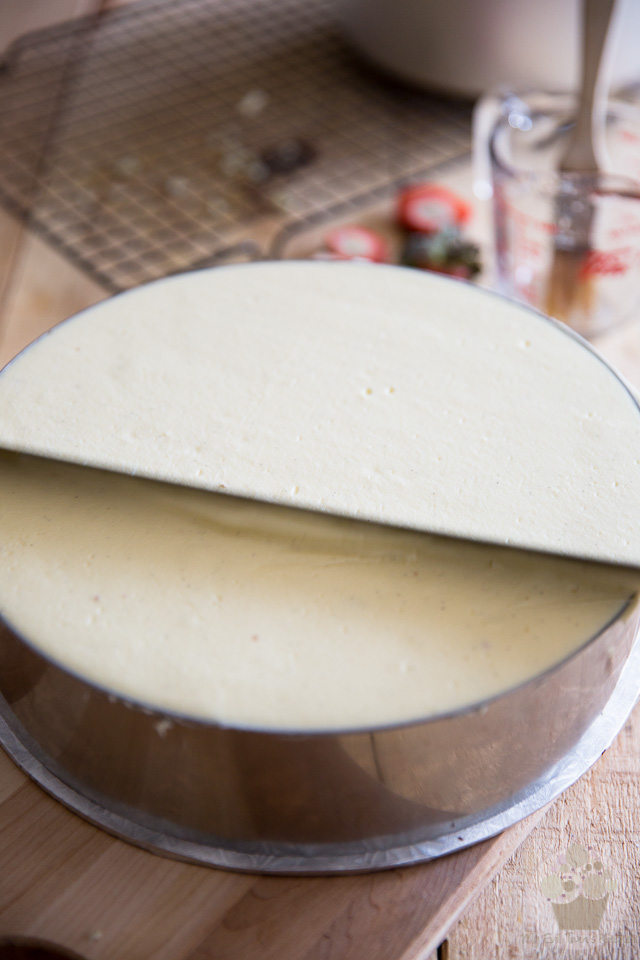
Here’s a neat tip for you: if you happen to own an extra long blade, one that’s longer than the diameter of your cake ring, run it at a slight angle while actually rubbing it against the top of the cake ring. This will make that top perfectly smooth.
A serrated knife held upside down works really well for this, or even a long stainless steel ruler.
Now place your cake in the fridge to set for at least 2 hours, or up to overnight.
ASSEMBLY – PART II
HA! Now for the fun part! We’re about to put the finishing touches on our classic masterpiece. The real true way of topping off a Fraisier is with a thin layer of almond paste, better known as marzipan. Traditionally, this top layer is a light shade of green or pink, but you can use basically any color you want, really. Personally, I’m a big fan of pink.
So start by tinting your marzipan with the desired color; you’ll want to keep that color very light and pastel, so you really won’t be needing much food coloring at all.
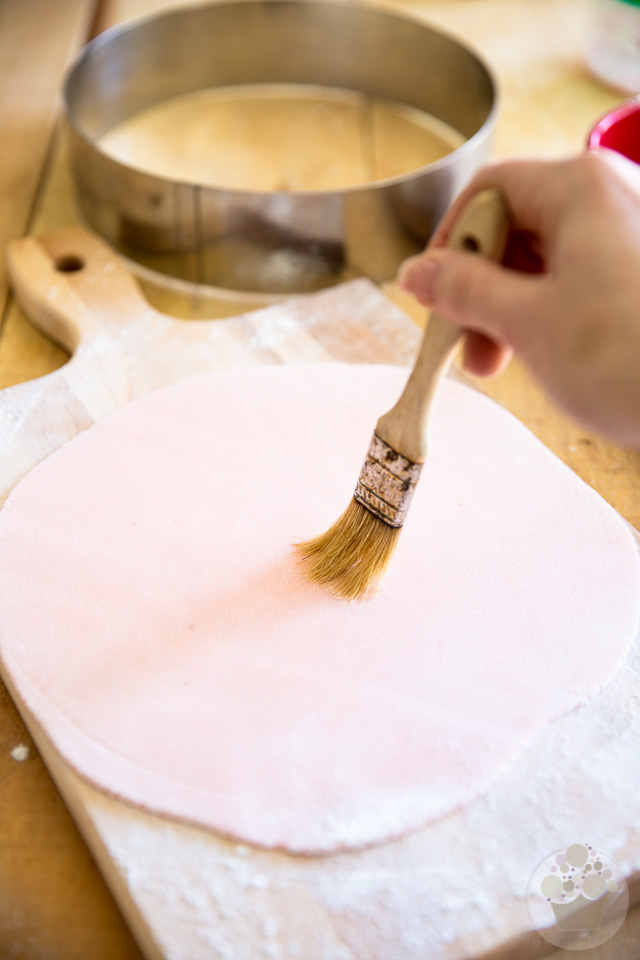
Spread your tinted marzipan into a thin 10″ disk. Make sure you dust your work surface with powdered sugar to prevent the marzipan from sticking, and then use a dry pastry brush to brush off any excess.

Carefully remove the ring from around your cake, clean it well and wipe it really dry. Then, use that cake ring to cut your marzipan into a perfect circle of the perfect size.
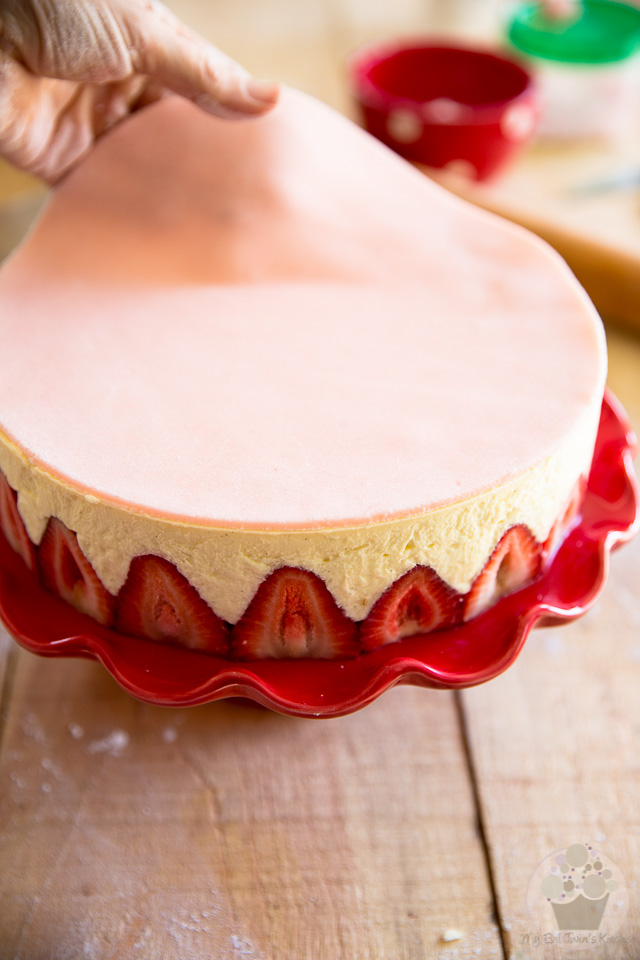
Delicately place that disk of marzipan over your cake.
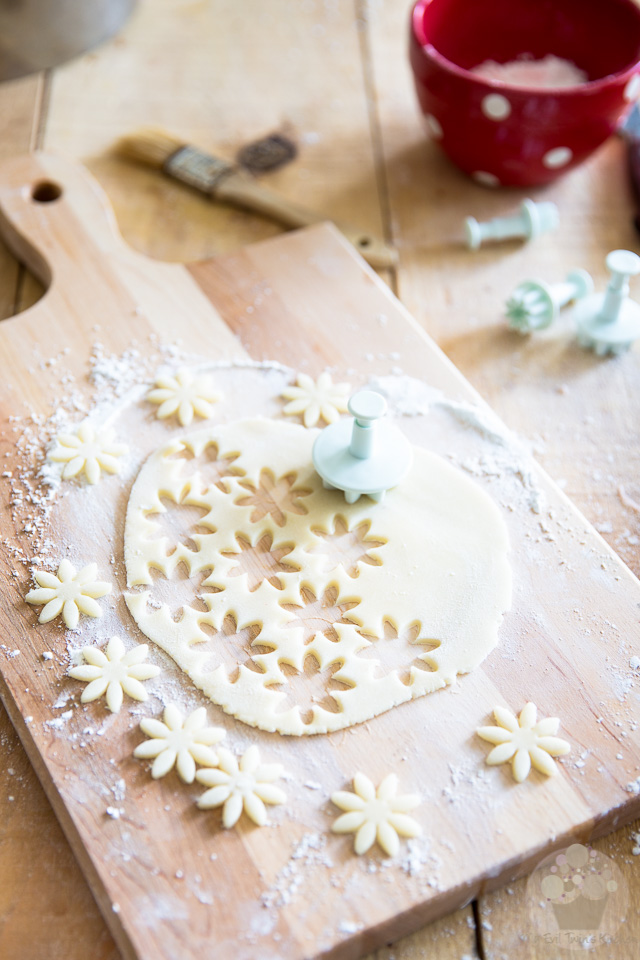
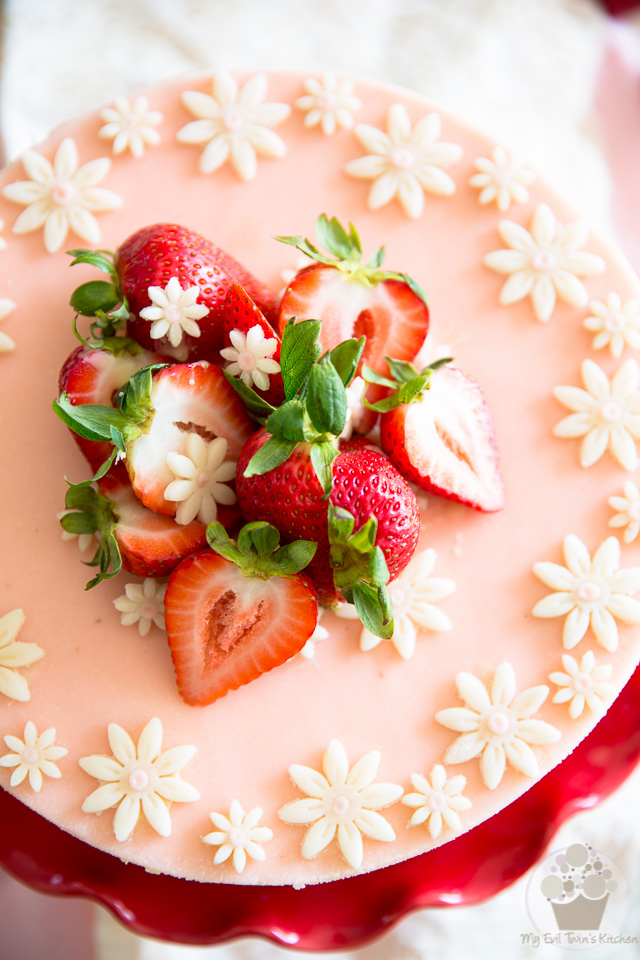
If you wish to decorate your cake with cute little marzipan flowers, you’ll need to spread about 50g (1.8oz) of white marzipan and, with the help of a plunger cutter tool, cut out as many or as little flowers as you wish to use.
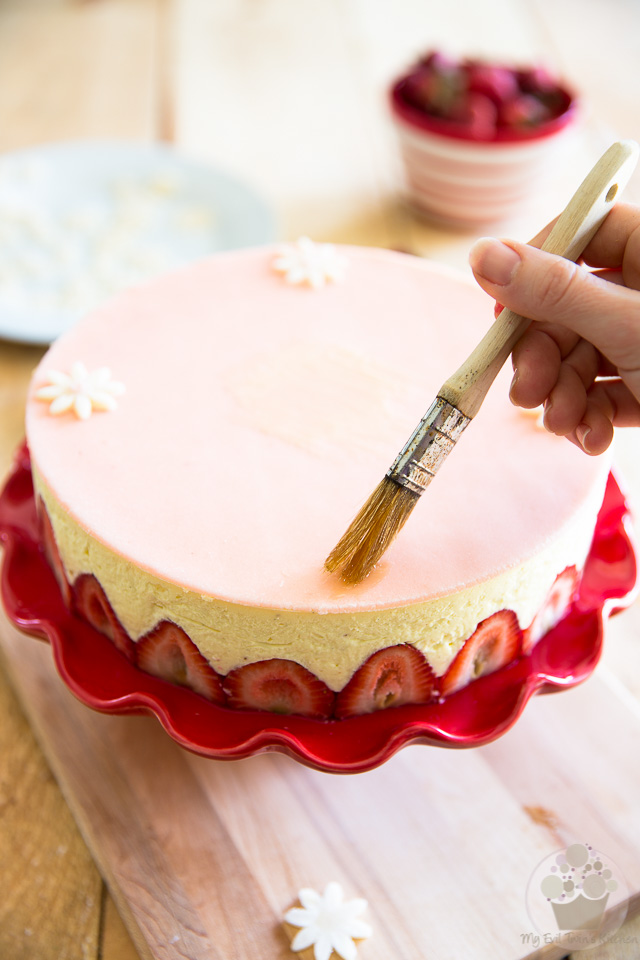
To make the flowers adhere to the top of your cake, brush a tiny little bit of melted cocoa butter in the spot where you want your flower to be and then delicately press your flower in its place.
Now we’ll be garnishing the center of the cake with a handful of extra large, juicy, picture perfect halved strawberries.
To prevent the marzipan from becoming soggy (because of the moisture that’s in the strawberries, you know), brush a little bit of melted cocoa butter over the area where you are planning on placing your strawberries.
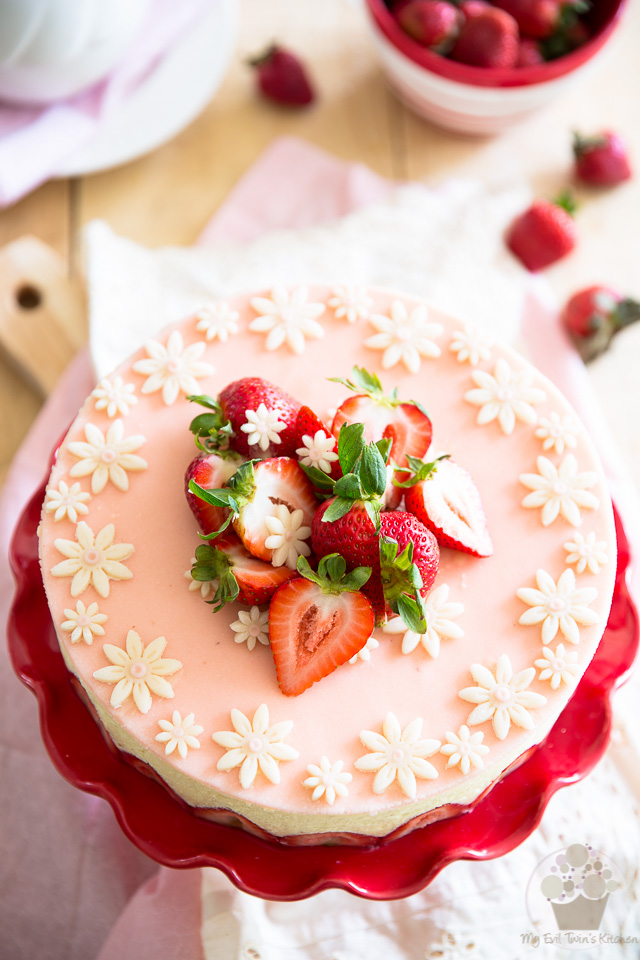
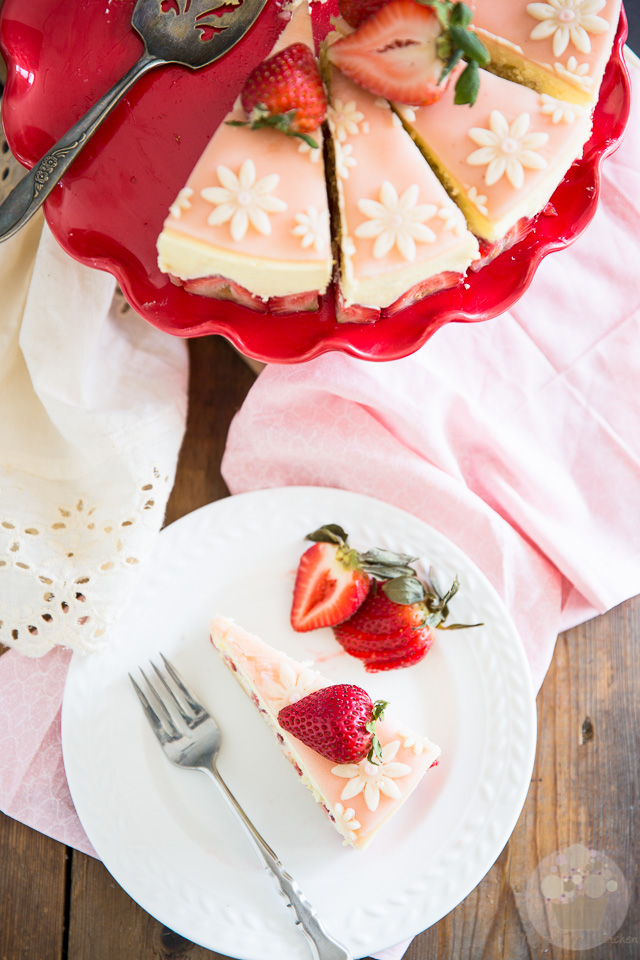
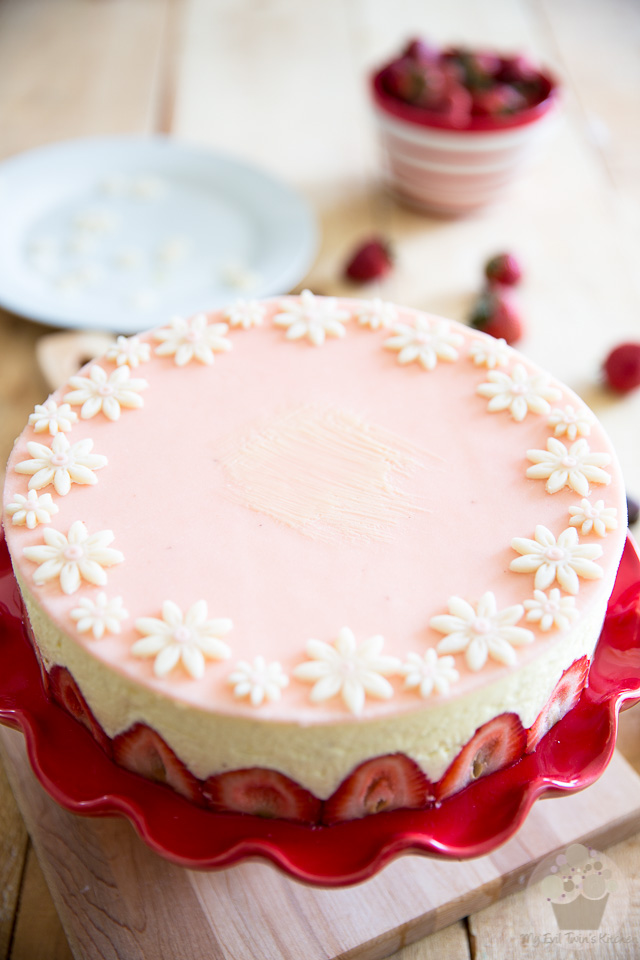
Now arrange your fresh strawberries on top of you cake, and you are finally ready to slice and serve!
Oh, and impress a whole bunch of people, too!
This cake is best consumed straight from the ice box and leftovers should be stored in the refrigerator in an airtight container, for up to 5 days.
I honestly doubt that they’ll ever last that long, though. And that’s IF there are any leftovers to store in the first place…

Ingredients
- 2½ cups (600ml) whole milk
- 2+2 tbsp Kirsch
- 1 vanilla bean, seeds scraped
- 3 large eggs
- 2 egg yolks (save the whites)
- 3/4 cup (150g | 5.3oz) granulated sugar
- 1/2 cup (56g | 2oz) corn starch
- 454g (1lb) butter, softened, divided
- 3 large eggs
- 2 egg whites (saved earlier)
- 1 cup (120g | 4.2oz) powdered sugar
- 1/2 cup (75g | 2.6oz) unbleached all-purpose flour
- 1/4 cup (28g | 1oz) corn starch
- 1/2 tsp salt
- 1/4 cup (50g | 1.8oz) granulated sugar
- 1/2 cup (60ml) water
- 3 tbsp Kirsch
- 900g (2lb) fresh strawberries (plan on 10 to 12 large to go around cake, 12 medium for center, 5-6 large to garnish top)
- 150g (5.3oz) marzipan
- Powdered sugar to roll the marzipan
- Pink or green food coloring (use VERY little)
- 50g (1.8oz) marzipan to make flowers, if desired
- 1-2 tbsp melted cocoa butter
Instructions
- In a medium saucepan, combine the milk, vanilla seeds and 2 tablespoons of kirsch and bring to a slow simmer over medium-low heat. Do not let the milk come to a boil.
- While the milk is warming, combine the eggs, egg yolks and sugar in a mixing bowl. Whisk vigorously until the mixture turns a light shade of yellow and becomes slightly thick and frothy, about 3 minutes. Add the corn starch and resume whisking until it's completely incorporated.
- Slowly pour the warm milk into the egg mixture while whisking continuously. If you're in no position to do both at the same time (like if you're taking pictures, for instance) add the milk delicately and about a cup at a time, whisking well between each addition. This precaution will insure that your eggs slowly come up in temperature, preventing them from cooking and scrambling.
- Once all the milk has been added to the eggs, pour everything back into the saucepan. Set the pan back over medium heat and start whisking! From now on, you won't be able to stop whisking, not even for a second, until your cream has come to a full boil. Be extra mindful to always cover the entire bottom of the pan, as pastry cream tends to attach to the pan and burns fairly easily, leaving all kinds of brown bits in your cream.
- Initially, the mixture will be fairly thin and frothy, but it will eventually start to thicken. When this happens, pause whisking every 10 seconds or so, to see if the mixture has actually come to a boil. It is imperative that the cream come to a complete boil so it reaches its full thickness. When large bubbles start coming to the surface, continue whisking for 15 seconds, then remove from heat and whisk in half of the butter.
- If you find that your pastry cream has too many little brown bits in it for you liking, you can force it through a fine mesh sieve to get rid of them.
- Transfer your pastry cream to a jelly roll pan and cover it with a piece of plastic film pressed directly against its surface.
- Place in the refrigerator and chill completely.
- Preheat the oven to 375°F; grease and flour one 8" round cake pan. Hold the pan upside down and knock it gently against the counter a few times to remove any excess flour. Set aside.
- Combine the flour, corn starch and salt in a bowl; mix well and set aside.
- Crack the eggs into the bowl of your stand mixer, add the egg whites and powdered sugar and whisk on high speed for 10 minutes, or until the mixture is really pale and thick and forms a ribbon when you lift the whisk and let it drip.
- Add the flour mixture by sifting it directly over the eggs, in thirds, and delicately fold with a rubber spatula after each addition, being careful not to deflate the eggs: gently go down in the batter, then back up over towards the middle and down again, rotating the bowl slightly as you go. Fold just until the flour is barely incorporated.
- Pour the batter into the prepared pan and bake for about 20 minutes or until the top is nice and golden brown and bounces back when pressed delicately with your finger. Do not open the oven door sooner than 15 minutes into the baking process and shut it very gently to not disturb the rise of the cake.
- When fully baked, remove the cake from the oven and allow it to cool slightly in the pan for about 2 minutes, then turn it onto a wire rack to cool completely.
- Combine the sugar and water in a small saucepan; bring to a boil over medium heat and keep boiling for one full minute, or until the sugar is completely dissolved and the syrup has a slightly viscous consistency. Don't let your syrup get overly thick, else your cake won't be able to absorb it well. Remove from heat, stir in kirsch and reserve.
- Take your chilled pastry cream out of the refrigerator and place it in the bowl of your stand mixer. Whip on high for about 2 minutes, or until the cream is nicely emulsified.
- Add the rest of the butter and resume whisking on high, for about 5 minutes this time, or until the cream is light and fluffy.
- Put about 1/4 cup of mousseline in a small bowl and whisk in 2 tablespoons of kirsch. Add this back to the main bowl and whisk on high for a few seconds to fully incorporate the alcohol. Set aside until ready to use.
- Split your cake into two even layers: gently place one hand on top of the cake and with your other hand, score the side of the cake with a long serrated knife, exactly halfway up the height of the cake. Score all around the side, cutting about half an inch deep into the cake. Keep rotating the cake and cut about 1 inch into the cake; rotate the cake some more, cutting deeper and deeper inside the cake until your cake is split into two separate layers.
- Place a 9.5" x 2.5" cake ring on a 10" cake board or plate. Make sure it's well centered.
- Place one cake, cut side up, right in the center of that cake ring.
- Hull 10 to 12 large, picture perfect strawberries and slice them in half lengthwise.
- Arrange your sliced strawberries vertically, narrow tip facing up, around the circumference of the cake circle with the cut side facing out as this side will be revealed once the cake ring is removed. Press them lightly to ensure good contact with the metal ring.
- Brush about 1/2 of the kirsch syrup all over the surface of the cake, paying special attention to the edges, then top with about half the reserved mousseline cream; spread it all the way to the edge, making certain that you push the cream well against the ring to fill in all the cracks between the strawberries.
- Hull and dice 12 medium strawberries and distribute them over the top of the mousseline, making sure that none of them come in contact with the cake ring.
- Top with the second cake layer, cut side up, press it down lightly and then brush it with the rest of the kirsch syrup.
- Top with the rest of the mousseline cream and smooth the top with an offset spatula.
- Place in the fridge to set for at least 2 hours, or up to overnight.
- Tint your marzipan with the desired color (the classic colors are green or pink) You want to keep that color very light and pastel, so you really won't be needing much food coloring at all.
- Spread the colored marzipan into a thin 10" disk. Dust your work surface with powdered sugar to prevent the marzipan from sticking, then use a dry brush to brush off any excess.
- Carefully remove the ring from around the cake, clean it well and wipe it dry. Use that cake ring to cut your marzipan into a perfect circle of the perfect size.
- Delicately place that disk of marzipan over your cake.
- If you wish to decorate your cake with marzipan flowers, spread about 50g (1.8oz) of white marzipan and, with the help of a plunger cutter tool, cut out as many or as little flowers as you wish to use.
- To make the flowers adhere to the top of your cake, brush a tiny little bit of melted cocoa butter in the spot where you want your flower to go and then delicately press your flower in place.
- Garnish the center your cake with a handful of extra large, picture perfect strawberries, cut in half. To prevent the marzipan from becoming soggy from the moisture that's in the strawberries, brush the area where your strawberries will be with a little bit of melted cocoa butter.
- You are now ready to slice and serve!
- Leftovers should be stored in the refrigerator in an airtight container, for up to 5 days.
This cake has my heart on fire! It is similar to a cake my eldest daughter requests each year for her birthday, yours being on a much grander scale. I will be giving it a try and hope that it looks as exquisite as yours! Sonia, your culinary creativity is stupendous, your photographs are spectacular, and every post you write is most enjoyable and much appreciated!
Oh wow! Thank you so much Nancy, that’s so very incredibly nice of you to say. I am sincerely touched!
What. The. Cake.! :O
*best Gordon Ramsay intonation* “Incredible…”
Hahahaha, thank you Jess! You’re too funny! 🙂
Hello! Can you make this the day before you serve it?
Sorry for the late answer Katy I was away on vacation… Absolutely, you can! You might want to add the fresh strawberries on top of the cake at the last minute, though…
How mush salt do you combine with flour and powder sugar for the sponge . Seems to be absent in recipe .
Dk
So very sorry about that! I just corrected the recipe!
Made it for Thanksgiving and it’s turned out perfect! Stunning dessert.
Real happy to hear, Patrick! Glad it turned out great!
could this be made without the Kirsch. would it affect the taste?
It would definitely change the taste, but it would still taste great!
Excellent recipe ! better history! great narrative ! thanks; Why do you top with the second cake layer, cut side up? why not cut side down?
Because this way, it will absorb that kirsch syrup much better! 🙂
Hi! Can’t wait to make this for my birthday this week! The circle of marzipan is 10 inches and the cake is 8 inches. So you make the circle slightly larger than the cake? Thank you!!!!
Please take the time to read the recipe and assembly instructions carefully, it’s all explained in details.
Does anyone sell these in the USA? I have a 2 year old and just not enough time to make one but would happily buy one. I’ve been looking for something like this for 5 years since we had one in France.
Hiii just wanted to check is the quantity of butter correct, isn’t it too high?